1. Introduction
This manual provides detailed instructions for the assembly, operation, and maintenance of your vidaXL Greenhouse, model 45534, measuring 300 x 300 x 200 cm. Please read these instructions carefully before beginning assembly and retain them for future reference. Proper assembly and care will ensure the longevity and optimal performance of your greenhouse.
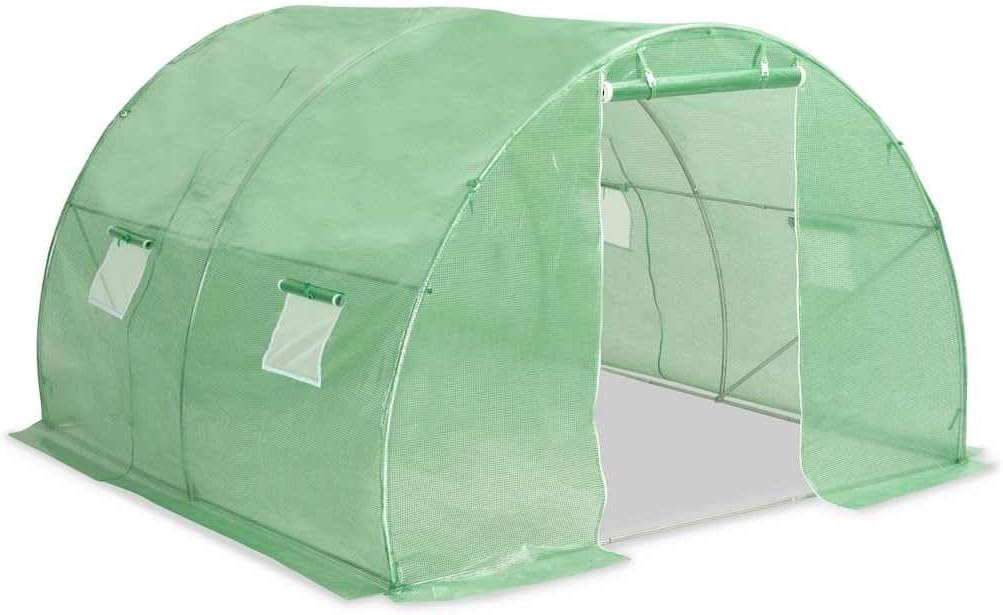
Image 1.1: Fully assembled vidaXL Greenhouse (300 x 300 x 200 cm) in an outdoor setting.
2. Safety Information
Always prioritize safety during assembly and use. Failure to follow these guidelines may result in injury or damage to the product.
- Ensure all components are present and undamaged before assembly.
- Assemble the greenhouse on a level, stable surface.
- Securely anchor the greenhouse to the ground to prevent wind damage.
- Do not use the greenhouse in extreme weather conditions, such as strong winds or heavy snow.
- Keep children and pets away from the assembly area.
- Wear appropriate safety gear, such as gloves, during assembly.
- Periodically check all connections and anchors for tightness.
3. Package Contents
Verify that all parts are included in your package. If any parts are missing or damaged, contact vidaXL customer support.
- Galvanized steel frame tubes (various lengths and shapes)
- Connectors and fasteners
- Polyethylene (PE) cover (140 g/m²)
- Ground stakes or anchoring ropes (may vary by model)
- Instruction manual
4. Assembly Instructions
Assembly typically requires two people. Follow the steps below for proper construction.
4.1. Site Preparation
Choose a level, well-drained area for your greenhouse. Clear the area of any debris, rocks, or sharp objects that could damage the cover.

Image 4.1: Greenhouse dimensions (300 cm x 300 cm x 200 cm).
4.2. Frame Assembly
- Unpack all frame components and lay them out according to the included diagram.
- Connect the base frame tubes using the provided connectors. Ensure all connections are secure.
- Assemble the arched roof sections by connecting the curved tubes.
- Attach the arched sections to the base frame, ensuring they are evenly spaced and upright.
- Install any horizontal support bars to reinforce the structure.

Image 4.2: Diagram of the greenhouse frame structure.
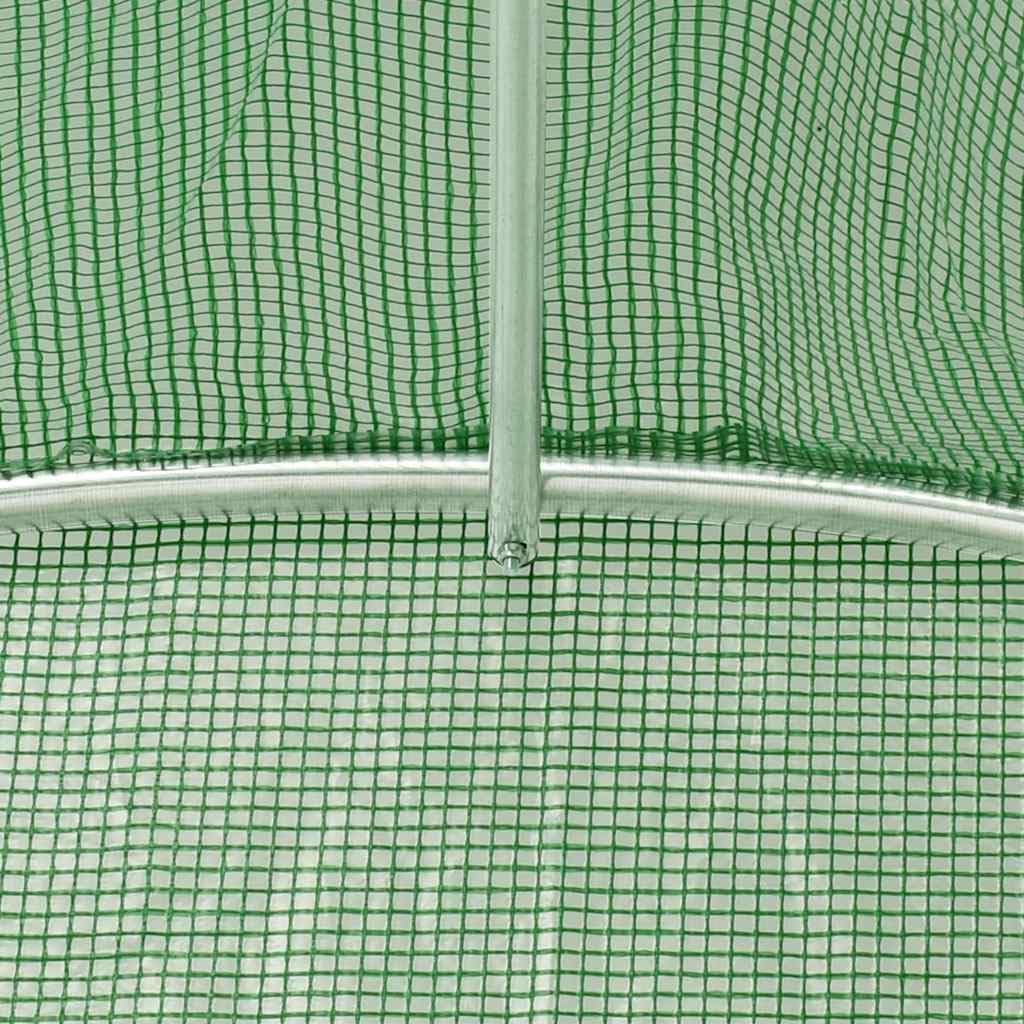
Image 4.3: Detail of a frame connection point, showing the sturdy galvanized steel.

Image 4.4: Detail of the base frame connection, showing how the frame is secured.
4.3. Cover Installation
- Carefully unfold the polyethylene cover over the assembled frame.
- Ensure the cover is centered and draped evenly over the frame.
- Secure the cover to the frame using the ties, clips, or fasteners provided. Ensure it is taut to prevent flapping in the wind.
- Zip up the main entrance and ensure all window flaps are closed.
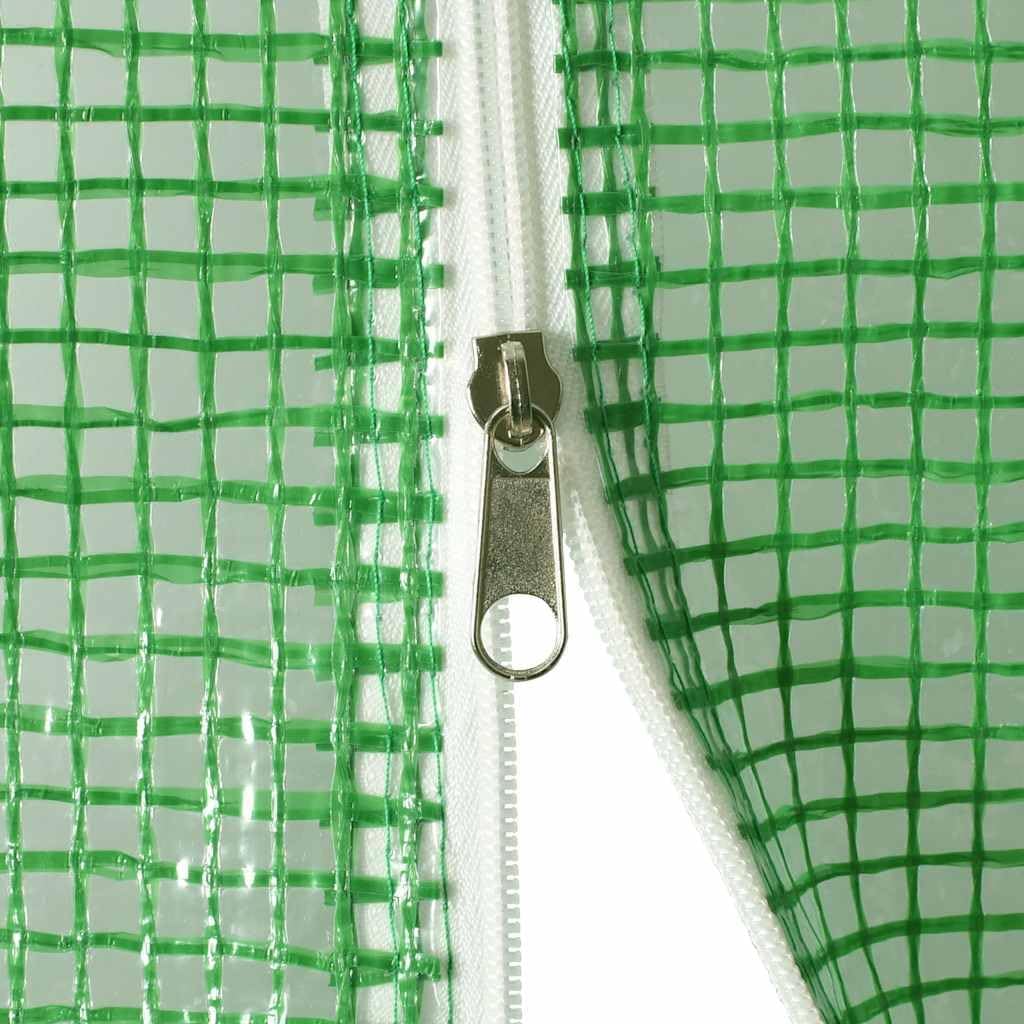
Image 4.5: Detail of the heavy-duty zipper on the greenhouse cover.

Image 4.6: Detail of a ventilation window, showing the roll-up flap and tie mechanism.
4.4. Anchoring
Once the cover is in place, securely anchor the greenhouse to the ground using the provided stakes or by burying the skirt of the cover. This is crucial for stability, especially in windy conditions.
5. Operating Your Greenhouse
To maximize the benefits of your greenhouse, consider the following operational guidelines:
5.1. Ventilation
The greenhouse is equipped with 4 ventilation openings. Open these windows during warm periods to prevent overheating and ensure adequate air circulation for your plants. Close them during cooler temperatures or at night to retain heat.
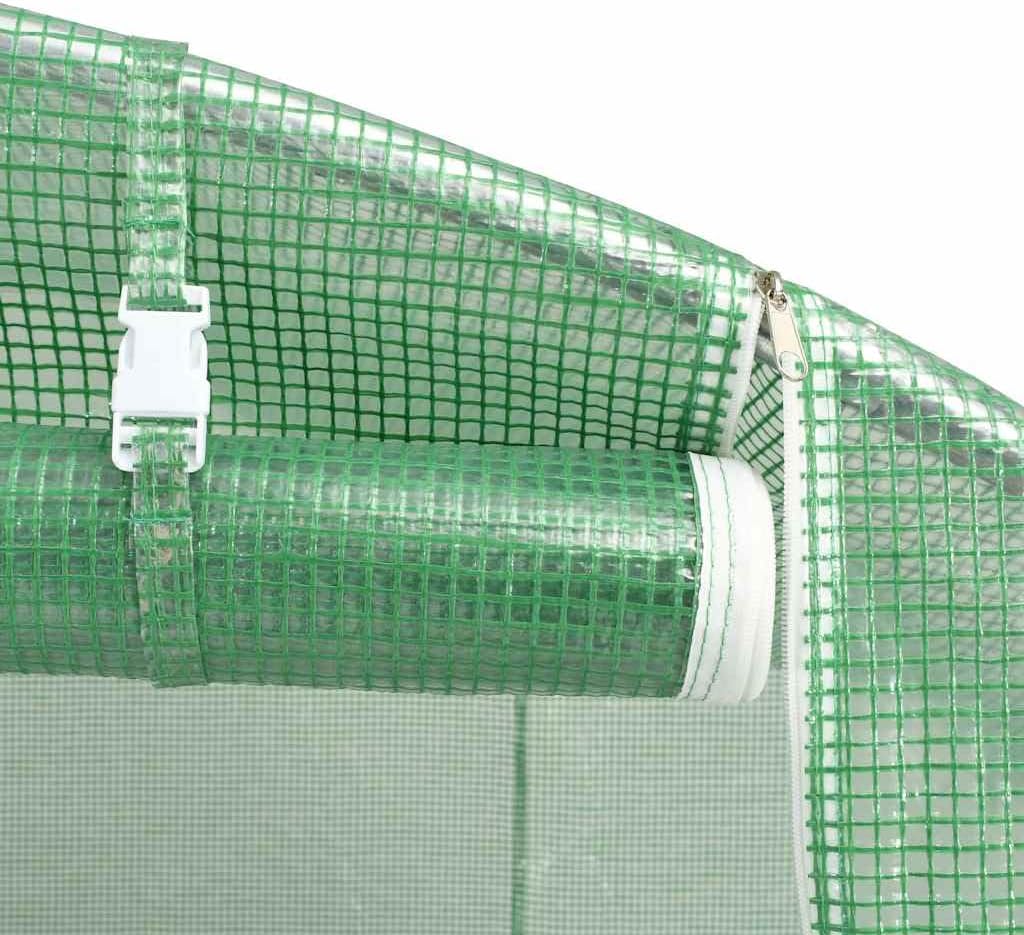
Image 5.1: Mechanism for rolling up and securing a door or window flap for ventilation.
5.2. Access
The greenhouse features 1 door for easy access. Use the zipper to open and close the door. For extended periods of access or ventilation, the door can be rolled up and secured.
5.3. Temperature and Humidity Control
Monitor the internal temperature and humidity. Adjust ventilation as needed to maintain optimal conditions for your specific plants. Consider using a thermometer and hygrometer inside the greenhouse.
6. Maintenance
Regular maintenance will extend the life of your greenhouse.
- Cleaning the Cover: Periodically clean the polyethylene cover with mild soap and water to remove dirt and algae, which can reduce light transmission. Avoid abrasive cleaners.
- Frame Inspection: Regularly inspect the steel frame for any signs of rust, damage, or loose connections. Tighten any loose bolts or connectors.
- Anchoring Check: Ensure the greenhouse remains securely anchored, especially after strong winds. Re-secure stakes or ropes if necessary.
- Winter Care: In areas with heavy snowfall, consider removing the cover during winter months to prevent structural damage from snow accumulation. Store the cover in a dry, protected area.
7. Troubleshooting
Here are solutions to common issues you might encounter:
| Problem | Possible Cause | Solution |
|---|---|---|
| Greenhouse unstable/wobbles | Insufficient anchoring; loose frame connections | Ensure all anchors are firmly in the ground. Tighten all frame bolts and connectors. Consider additional anchoring if in a windy area. |
| Cover flapping in wind | Cover not tautly secured | Re-tension all ties and clips securing the cover to the frame. Ensure the cover skirt is properly weighted or buried. |
| Excessive heat inside | Inadequate ventilation | Open all ventilation windows and the door during warm periods to allow airflow. |
| Water pooling on roof | Cover not taut; frame sagging | Ensure the cover is pulled taut over the frame. Check frame integrity for any sagging or bending. |
8. Specifications
| Feature | Detail |
|---|---|
| Model Number | 45534 |
| Dimensions (L x W x H) | 300 x 300 x 200 cm (9 m²) |
| Product Weight | 19.2 kg |
| Frame Material | Galvanized Steel |
| Cover Material | Polyethylene (PE), 140 g/m² |
| Color | Green |
| Number of Doors | 1 |
| Number of Ventilation Openings | 4 |
| Special Feature | Durable |
| Usage | Outdoor |
9. Warranty and Support
vidaXL products are designed for quality and durability. For specific warranty information or technical support, please refer to the warranty card included with your purchase or visit the official vidaXL website. Keep your proof of purchase for any warranty claims.
If you encounter any issues not covered in this manual, please contact vidaXL customer service for assistance.


