Introduction
This manual provides essential information for the safe and effective use of your DEWALT DWS715 12-Inch Single Bevel Compound Miter Saw. Please read and understand all instructions before operating the tool. The DWS715 is powered by a 15 Amp motor, delivering 4,000 RPM for extended power and durability. It features a stainless-steel miter detent plate and cam miter lock for repeatable accuracy and easy adjustments. Tall sliding fences support 5-1/2-inch base molding vertically and 5-1/2-inch crown molding vertically nested. Its lightweight design and built-in carry handle enhance portability.
General Safety Information
WARNING: Always wear appropriate personal protective equipment (PPE), including safety glasses, hearing protection, and a dust mask, when operating power tools. Read and understand all safety warnings and instructions provided with the product.
- Keep work area clean and well lit. Cluttered or dark areas invite accidents.
- Do not operate power tools in explosive atmospheres, such as in the presence of flammable liquids, gases or dust. Power tools create sparks which may ignite the dust or fumes.
- Keep children and bystanders away while operating a power tool. Distractions can cause you to lose control.
- Avoid accidental starting. Ensure the switch is in the off-position before plugging in.
- Do not overreach. Keep proper footing and balance at all times. This enables better control of the power tool in unexpected situations.
- Use clamps or another practical way to secure and support the workpiece to a stable platform. Holding the work by hand or against your body is unstable and may lead to loss of control.
Included Components & Key Features
The DEWALT DWS715 Miter Saw comes with the following components:
- DWS715 Single Bevel Compound Miter Saw
- 12" Carbide Tipped Blade
- Wrench
- Dust Bag
- Vertical Clamp

Image: DEWALT DWS715 Miter Saw with key components labeled, including the arbor, dust bag, headlock pin, 14 positive stops, and sturdy design.
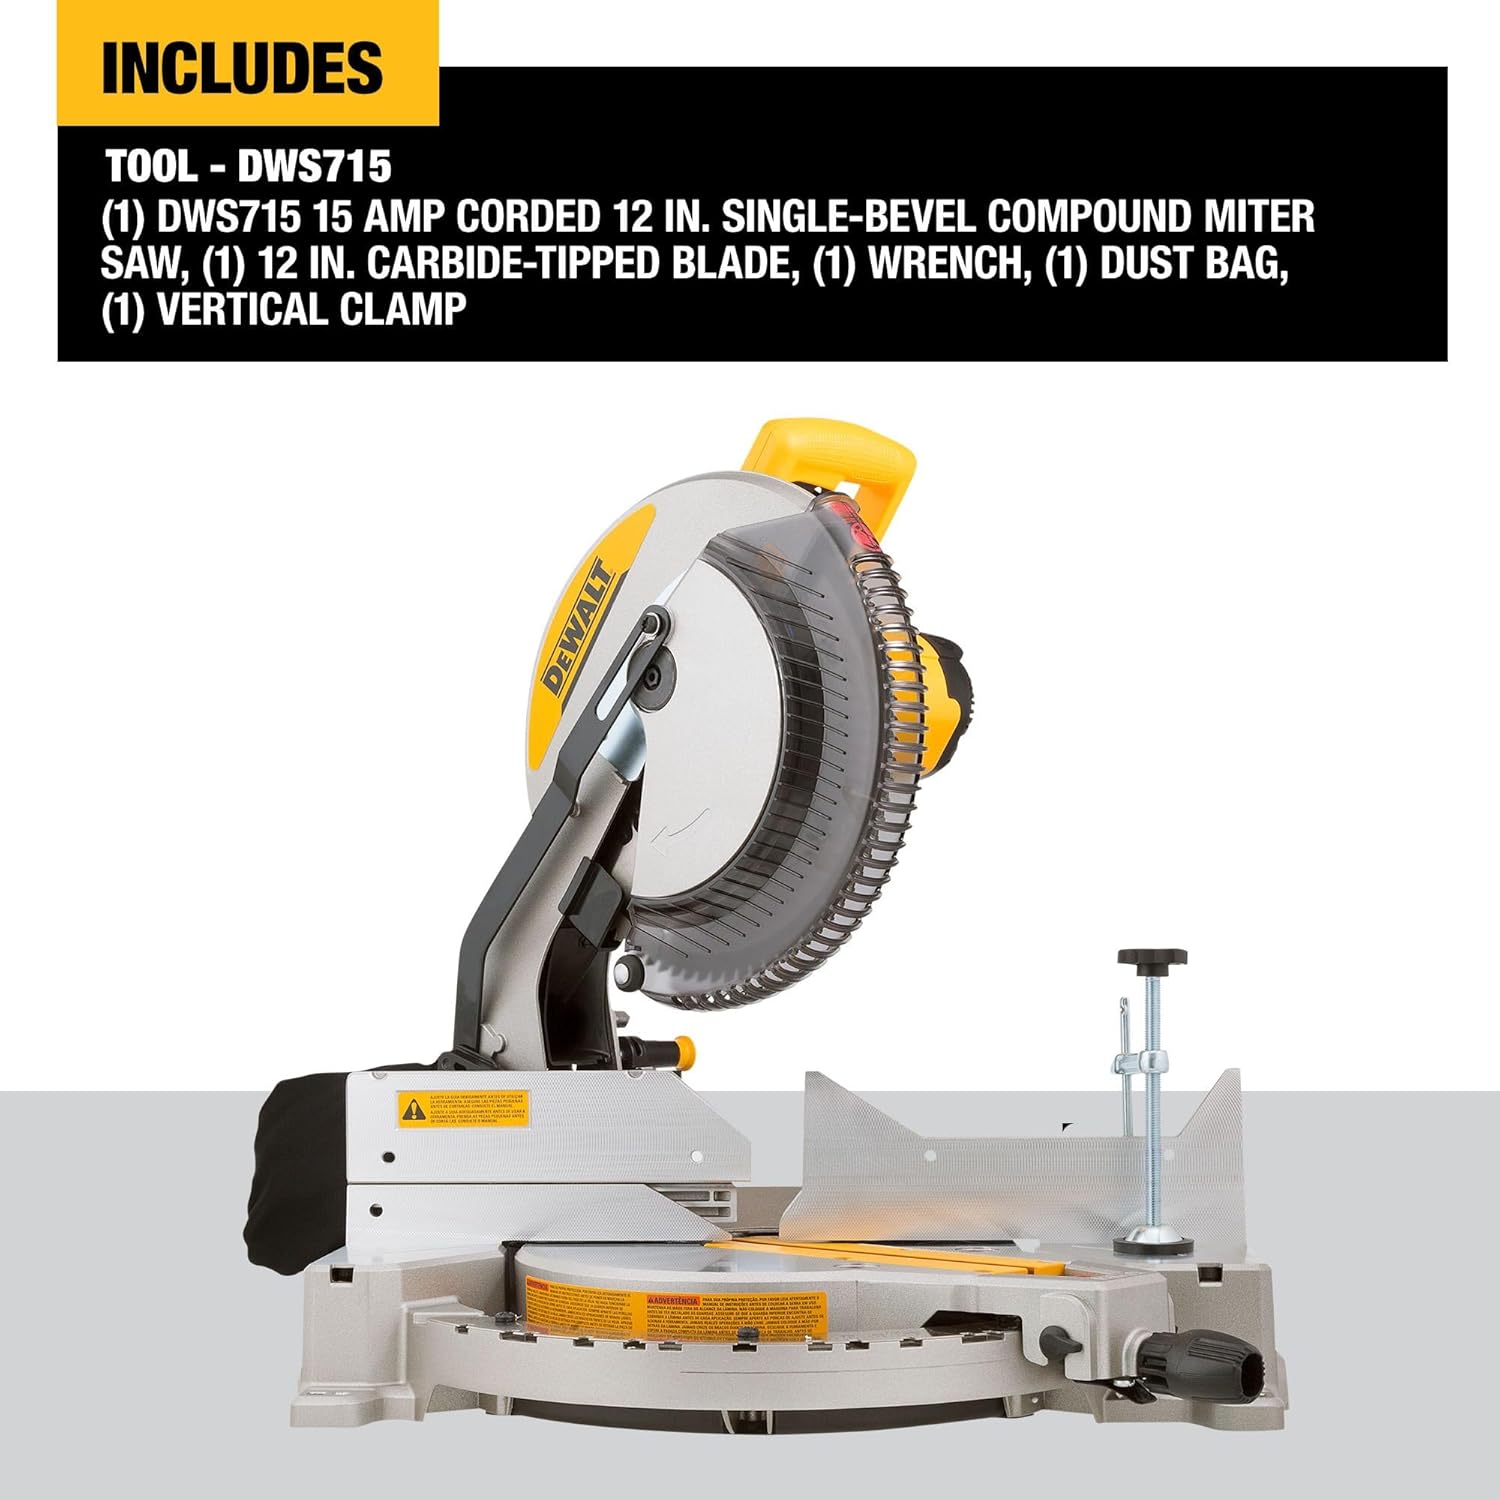
Image: The DEWALT DWS715 Miter Saw shown with its included 12-inch carbide-tipped blade, wrench, dust bag, and vertical clamp.
Setup
1. Unpacking and Inspection
Carefully remove the saw and all accessories from the packaging. Inspect for any damage that may have occurred during shipping. Ensure all listed components are present.
2. Mounting the Saw
For stable operation, the miter saw should be securely mounted to a workbench or a compatible miter saw stand. Use the mounting holes provided in the base of the saw to fasten it with appropriate hardware.
3. Blade Installation/Replacement
- Ensure the saw is unplugged from the power source.
- Press the spindle lock button to prevent the blade from rotating.
- Using the provided wrench, loosen the arbor bolt by turning it clockwise (note: this is a reverse thread).
- Remove the outer washer and the old blade.
- Install the new 12-inch carbide-tipped blade, ensuring the teeth are pointing downwards towards the table.
- Replace the outer washer and tighten the arbor bolt by turning it counter-clockwise. Do not overtighten.
4. Dust Bag/Collection Setup
Attach the included dust bag to the dust port at the rear of the saw. For improved dust collection, connect a shop vacuum to the dust port.
5. Adjusting Fences and Detents
The tall sliding fences can be adjusted to support various material sizes. The stainless-steel miter detent plate features 14 positive stops for common miter angles, allowing for quick and accurate adjustments. Use the cam miter lock for securing angles.
Operation
1. Powering On/Off
Plug the saw into a standard 120V power outlet. To start the saw, depress the trigger switch located on the handle. Release the trigger to turn off the saw.
2. Making Miter Cuts
To adjust the miter angle:
- Loosen the miter lock handle.
- Rotate the turntable to the desired angle, aligning the indicator with one of the 14 positive stops or a custom angle.
- Tighten the miter lock handle to secure the position.
Place the workpiece firmly against the fence and table. Lower the blade slowly through the material, maintaining a steady pace.
3. Making Bevel Cuts
The DWS715 allows for single bevel cuts from 0° to 48° to the left and 0° to 3° to the right. To adjust the bevel angle:
- Loosen the bevel lock knob.
- Tilt the saw head to the desired angle.
- Tighten the bevel lock knob to secure the position.

Image: The DEWALT DWS715 Miter Saw illustrating its ability to bevel from 0-48 degrees to the left and 0-3 degrees to the right.
4. Using the Vertical Clamp
The included vertical clamp can be used to secure workpieces to the saw table, preventing movement during cuts and enhancing precision. Position the clamp to hold the material firmly without obstructing the blade path.

Image: The DEWALT DWS715 Miter Saw demonstrating the use of its vertical clamp to secure a workpiece for precise cutting.
5. Headlock Pin
The headlock pin allows for simple adjustments and secures the saw head in a lowered position for transport or storage.

Image: Close-up of the DEWALT DWS715 Miter Saw's headlock pin, used for simple adjustments and securing the saw head.
Maintenance
Regular maintenance ensures the longevity and optimal performance of your miter saw.
1. Cleaning
After each use, unplug the saw and clean off sawdust and debris from the motor housing, blade guard, and table. Use a brush or compressed air. Periodically empty the dust bag or clean the dust collection hose.
2. Blade Inspection and Replacement
Regularly inspect the blade for sharpness, damage, or missing teeth. A dull or damaged blade can cause kickback and poor cut quality. Replace the blade as described in the Setup section when necessary.
3. General Inspection
Check all screws, nuts, and bolts for tightness. Ensure all moving parts operate smoothly. Lubricate pivot points as recommended in the full product manual (not provided here).
Troubleshooting
- Saw does not start: Check if the saw is properly plugged into a live outlet. Ensure the trigger switch is fully depressed. Verify there is no power outage.
- Poor cut quality (rough cuts, burning): The blade may be dull or damaged. Replace the blade. Ensure the correct blade type is used for the material. Check that the workpiece is securely clamped.
- Excessive vibration: Ensure the saw is securely mounted. Check the blade for damage or improper installation.
- Dust collection is inefficient: Empty the dust bag or clear any blockages in the dust port/hose. Ensure the dust bag is properly attached.
For more detailed troubleshooting, refer to the complete DEWALT DWS715 user manual or contact DEWALT customer support.
Specifications
| Feature | Detail |
|---|---|
| Model Number | DWS715 |
| Power Source | Corded Electric |
| Amperage | 15 Amps |
| No-Load Speed | 4000 RPM |
| Blade Diameter | 12 Inches |
| Miter Detent Stops | 14 Positive Stops |
| Bevel Capacity | 0°-48° Left, 0°-3° Right |
| Vertical Base Molding Capacity | 5-1/2 Inches |
| Vertical Crown Molding Capacity (Nested) | 5-1/2 Inches |
| Cross Cut Capacity (90°) | 2x8 Inches |
| Cross Cut Capacity (45°) | 2x6 Inches |
| Item Weight | 42.8 Pounds |
| Product Dimensions | 26.77"L x 21.85"W x 18.9"H |
Warranty & Support
Warranty Information
The DEWALT DWS715 Miter Saw comes with a limited warranty. Please refer to the official DEWALT warranty documentation included with your product for specific terms, conditions, and duration. Typically, DEWALT offers a 3-year limited warranty, 1-year free service, and 90-day money-back guarantee.
Customer Support
For technical assistance, service, or to locate a service center, please visit the official DEWALT website or contact their customer service department. Keep your purchase receipt and product model number (DWS715) handy when contacting support.


