
Introduction
This manual provides instructions for the Nilight 270 pcs 3:1 Dual Wall Adhesive Heat Shrink Tubing Kit, Model 50090R. This kit offers a versatile solution for insulating and protecting electrical connections, wires, and cables. The tubing is designed to shrink when heated, forming a tight, protective seal with an internal adhesive layer for enhanced durability and environmental resistance.

Image: Overview of the Nilight 270 pcs 3:1 Dual Wall Adhesive Heat Shrink Tubing Kit, showcasing the assortment of black and red tubes in different sizes within its clear storage container.
Key Features:
- 3:1 Shrink Ratio: Shrinks to one-third of its original diameter for a tight fit.
- Dual Wall Adhesive: Provides a secure, waterproof, and insulated seal.
- Flame Retardant: Enhances safety in various applications.
- High Temperature Resistance: Suitable for demanding environments.
- Versatile Sizes: Includes 6 common sizes for diverse needs.
Setup
Proper preparation is essential for effective heat shrink application. Follow these steps to prepare your wires and tubing:
- Select the Correct Size: Choose a heat shrink tube that is large enough to slide over the wire or connection, but small enough to shrink down to a snug fit (considering the 3:1 shrink ratio).
- Prepare the Wires: Ensure the wires or connections to be insulated are clean, dry, and free from any debris or sharp edges that could damage the tubing.
- Position the Tubing: Slide the selected heat shrink tube over the area requiring insulation. Center it evenly over the connection or exposed wire section.

Image: A visual guide illustrating the four steps for applying heat shrink tubing, from selecting the correct size to allowing it to cool after heating.
Operating Instructions
Once the heat shrink tubing is correctly positioned, apply heat to initiate the shrinking process. The internal adhesive will melt and create a strong, waterproof bond.
- Apply Heat: Use a heat gun for best results. A lighter can be used for smaller tubes, but exercise caution to avoid direct flame contact which can scorch the tubing. Move the heat source evenly back and forth over the tubing.
- Observe Shrinkage: The tubing will begin to shrink rapidly, conforming tightly to the shape of the underlying wire or connection. You may see the adhesive ooze slightly from the ends, indicating a good seal.
- Ensure Even Shrinkage: Continue applying heat until the tubing has shrunk completely and evenly, with no loose spots or air bubbles. The 3:1 shrink ratio ensures a very snug fit.
- Allow to Cool: Once fully shrunk, remove the heat source and allow the tubing to cool completely before handling or stressing the connection. This allows the adhesive to set.

Image: Illustration of the 3:1 shrinkage ratio, showing a heat shrink tube before and after heat application.
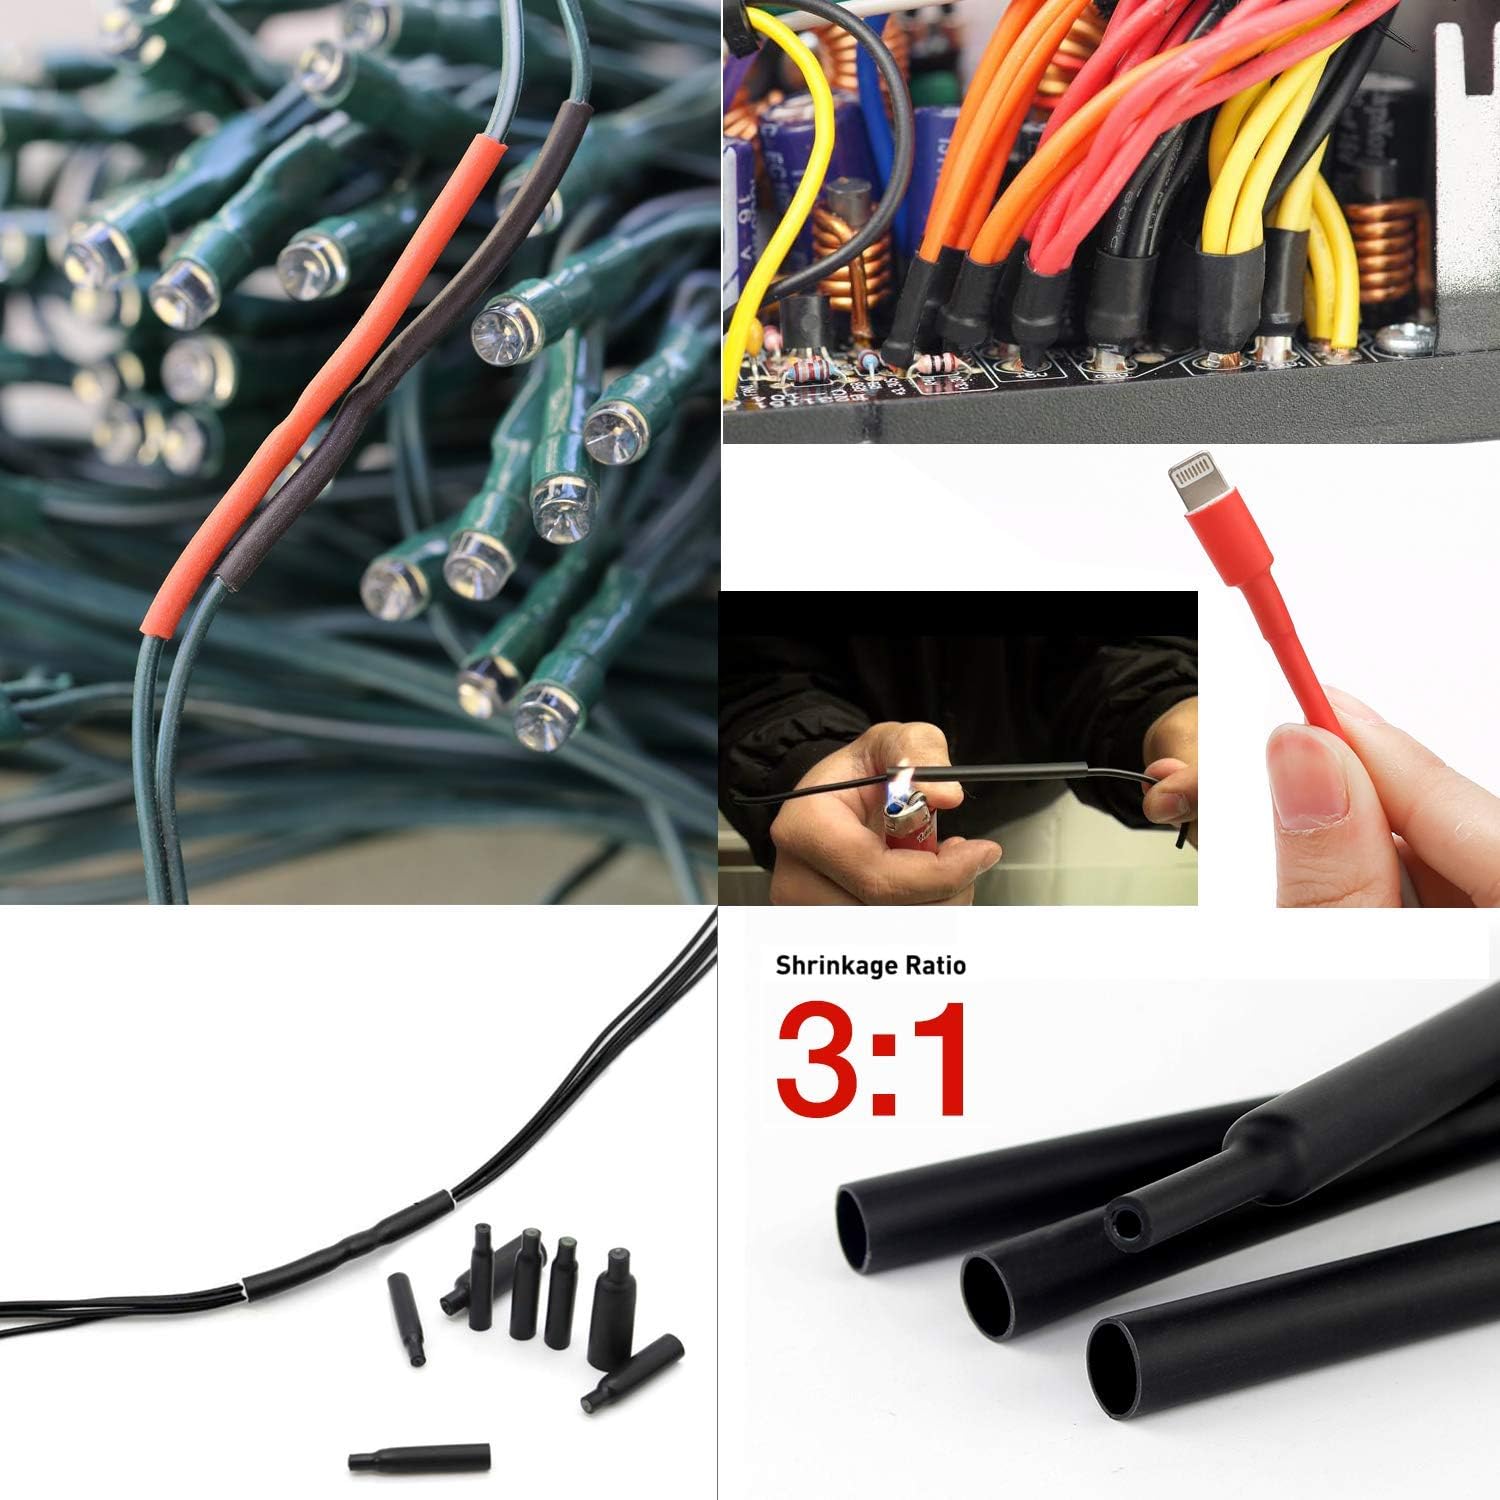
Image: Examples of heat shrink tubing applied to various electrical components, such as LED light wiring, computer power cables, and a phone charger cable, demonstrating its versatility.
Demonstration Video:
Video: A seller-provided video demonstrating the application and features of a heat shrink tubing kit. Note that while the video title mentions a 4:1 ratio, this specific product is a 3:1 ratio kit.
Maintenance
To ensure the longevity and effectiveness of your Nilight Heat Shrink Tubing Kit, proper storage and handling are recommended:
- Storage: Store the heat shrink tubing in its original clear organizer box in a cool, dry place away from direct sunlight and extreme temperatures.
- Handling: Avoid bending or creasing the tubing excessively before use, as this can affect its ability to shrink evenly. Keep the tubing free from dust and contaminants.

Image: The clear plastic organizer box for the heat shrink tubing kit, showing the neatly organized tubes in various compartments.
Troubleshooting
If you encounter issues during the application of your heat shrink tubing, consider the following:
- Tubing Not Shrinking: Ensure the heat source is sufficient and applied evenly. The shrinkage temperature is 212°F (100°C).
- Uneven Shrinkage or Bubbles: This often indicates uneven heat application. Move the heat source continuously to distribute heat uniformly.
- Poor Seal or Adhesive Not Bonding: Verify that the surface of the wire/connection is clean and dry. Ensure adequate heat is applied for the adhesive to melt and flow.
- Tubing Too Loose After Shrinking: The initial size selected might be too large. Choose a smaller diameter tube that still fits over the connection before shrinking.
Specifications
| Specification | Value |
|---|---|
| Brand | Nilight |
| Model Number | 50090R |
| Material | Polyolefin |
| Heat Shrink Ratio | 3:1 |
| Operating Temperature | -131°F to +257°F (-90°C to +125°C) |
| Shrinkage Temperature | 212°F (100°C) |
| Full Shrinkage Temperature | 230°F (110°C) maximum |
| Tensile Strength | 10.4 MPa |
| Dielectric Strength | 15 kV/mm |
| Flammability | Flame Retardant |
| Voltage Rating | Up to 600V |
| Certifications | UL & CSA Certified, RoHS Compliant, Formaldehyde (HCHO) Free |
Kit Contents:
- Total: 270 pieces
- 6 Sizes (Diameter):
- 1/16" (70 pcs)
- 3/32" (80 pcs)
- 1/8" (80 pcs)
- 3/16" (20 pcs)
- 1/4" (12 pcs)
- 3/8" (8 pcs)
- Colors: Black and Red
- Comes with a storage box.

Image: A close-up view of the heat shrink tubing kit, highlighting the different sizes and colors of tubes neatly arranged in their respective compartments.
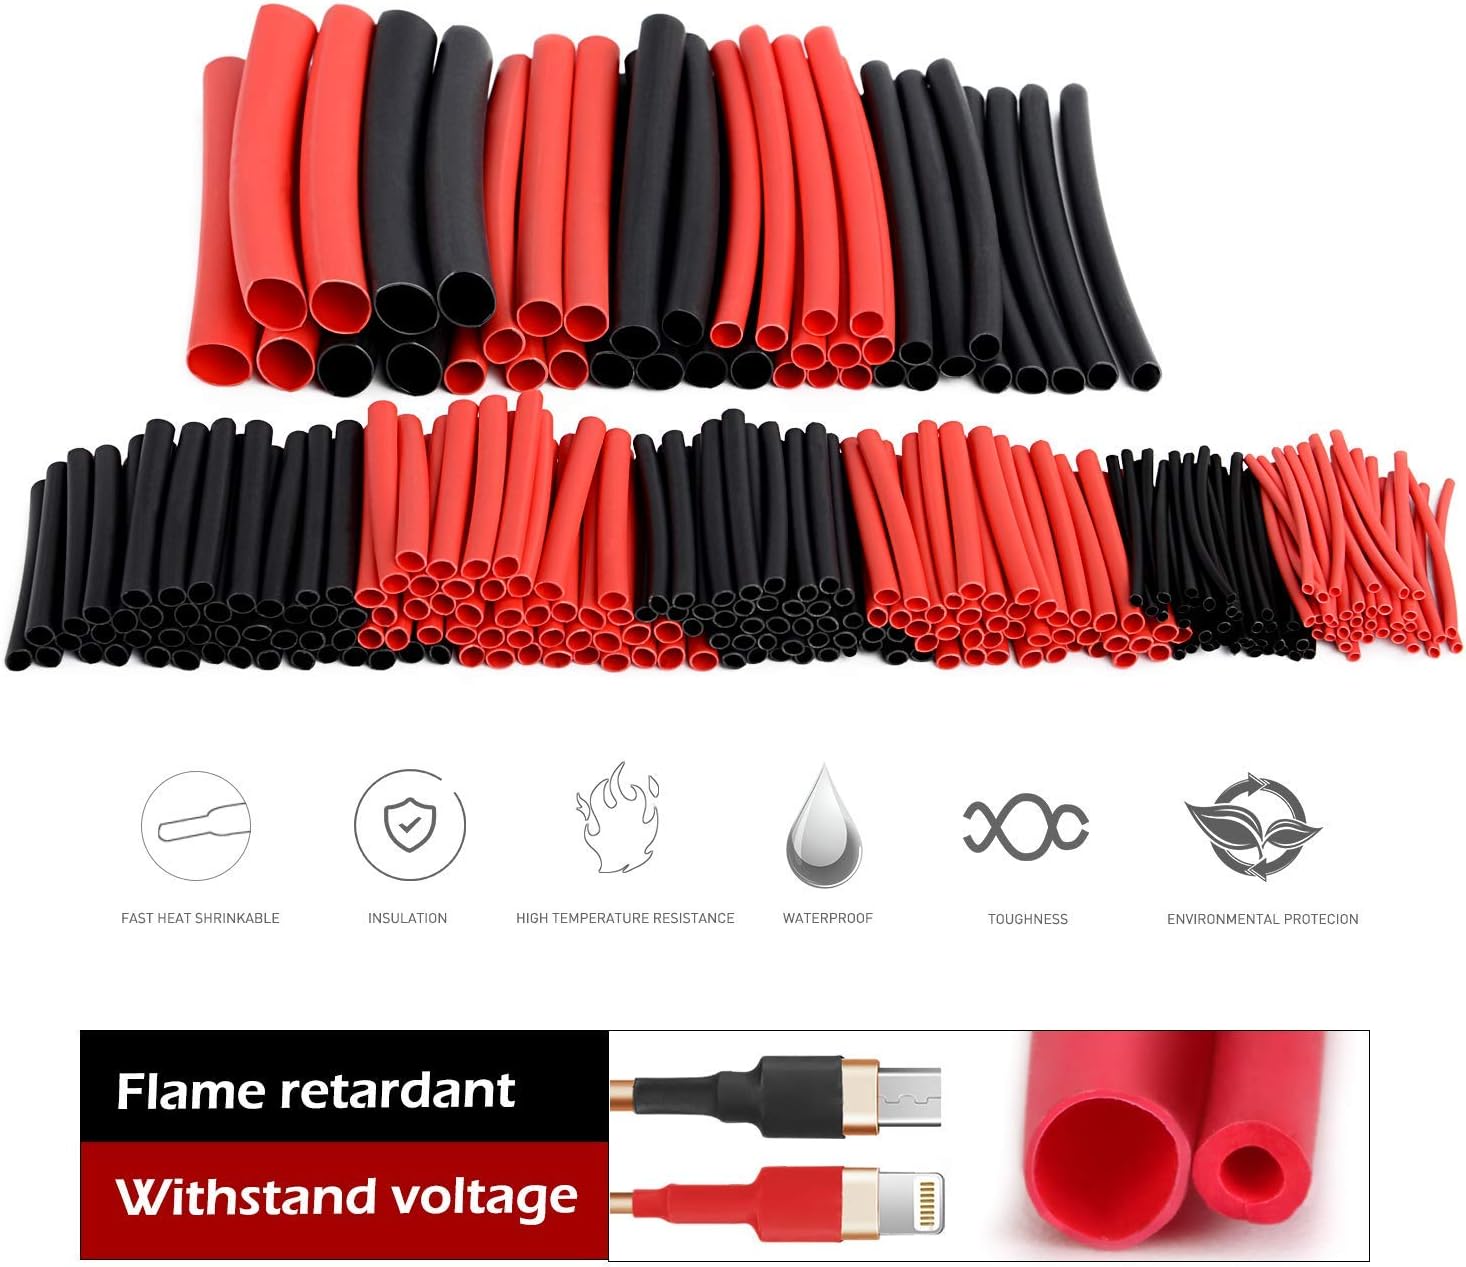
Image: An infographic detailing the key characteristics of the heat shrink tubing, including its fast shrinkage, insulation properties, high temperature resistance, waterproof nature, toughness, environmental protection, flame retardancy, and voltage withstand capability.
Warranty & Support
The Nilight 270 pcs 3:1 Dual Wall Adhesive Heat Shrink Tubing Kit comes with a 2-year warranty. For any product inquiries, technical assistance, or warranty claims, please contact Nilight customer support directly. Refer to the official Nilight website or product packaging for the most current contact information.
You can visit the Nilight Store on Amazon for more information and support resources.