Introduction
Thank you for choosing the Plumeet LED Digital Alarm Clock. This clock is designed for simplicity and functionality, featuring a large white digit display, adjustable brightness, dual alarm volume, a snooze function, and a convenient USB charging port. This manual provides detailed instructions for setup, operation, and maintenance to ensure optimal performance.
Package Contents
Please check the package for the following items:
- Plumeet LED Alarm Clock
- Power Adapter
- Charging Cable (USB)
- User Manual
- Thanks Card

Figure 1: Included Package Contents
Product Overview
Familiarize yourself with the main components and controls of your Plumeet LED Digital Alarm Clock.
Front View and Key Features

Figure 2: Front View with Feature Highlights
Rear View and Controls
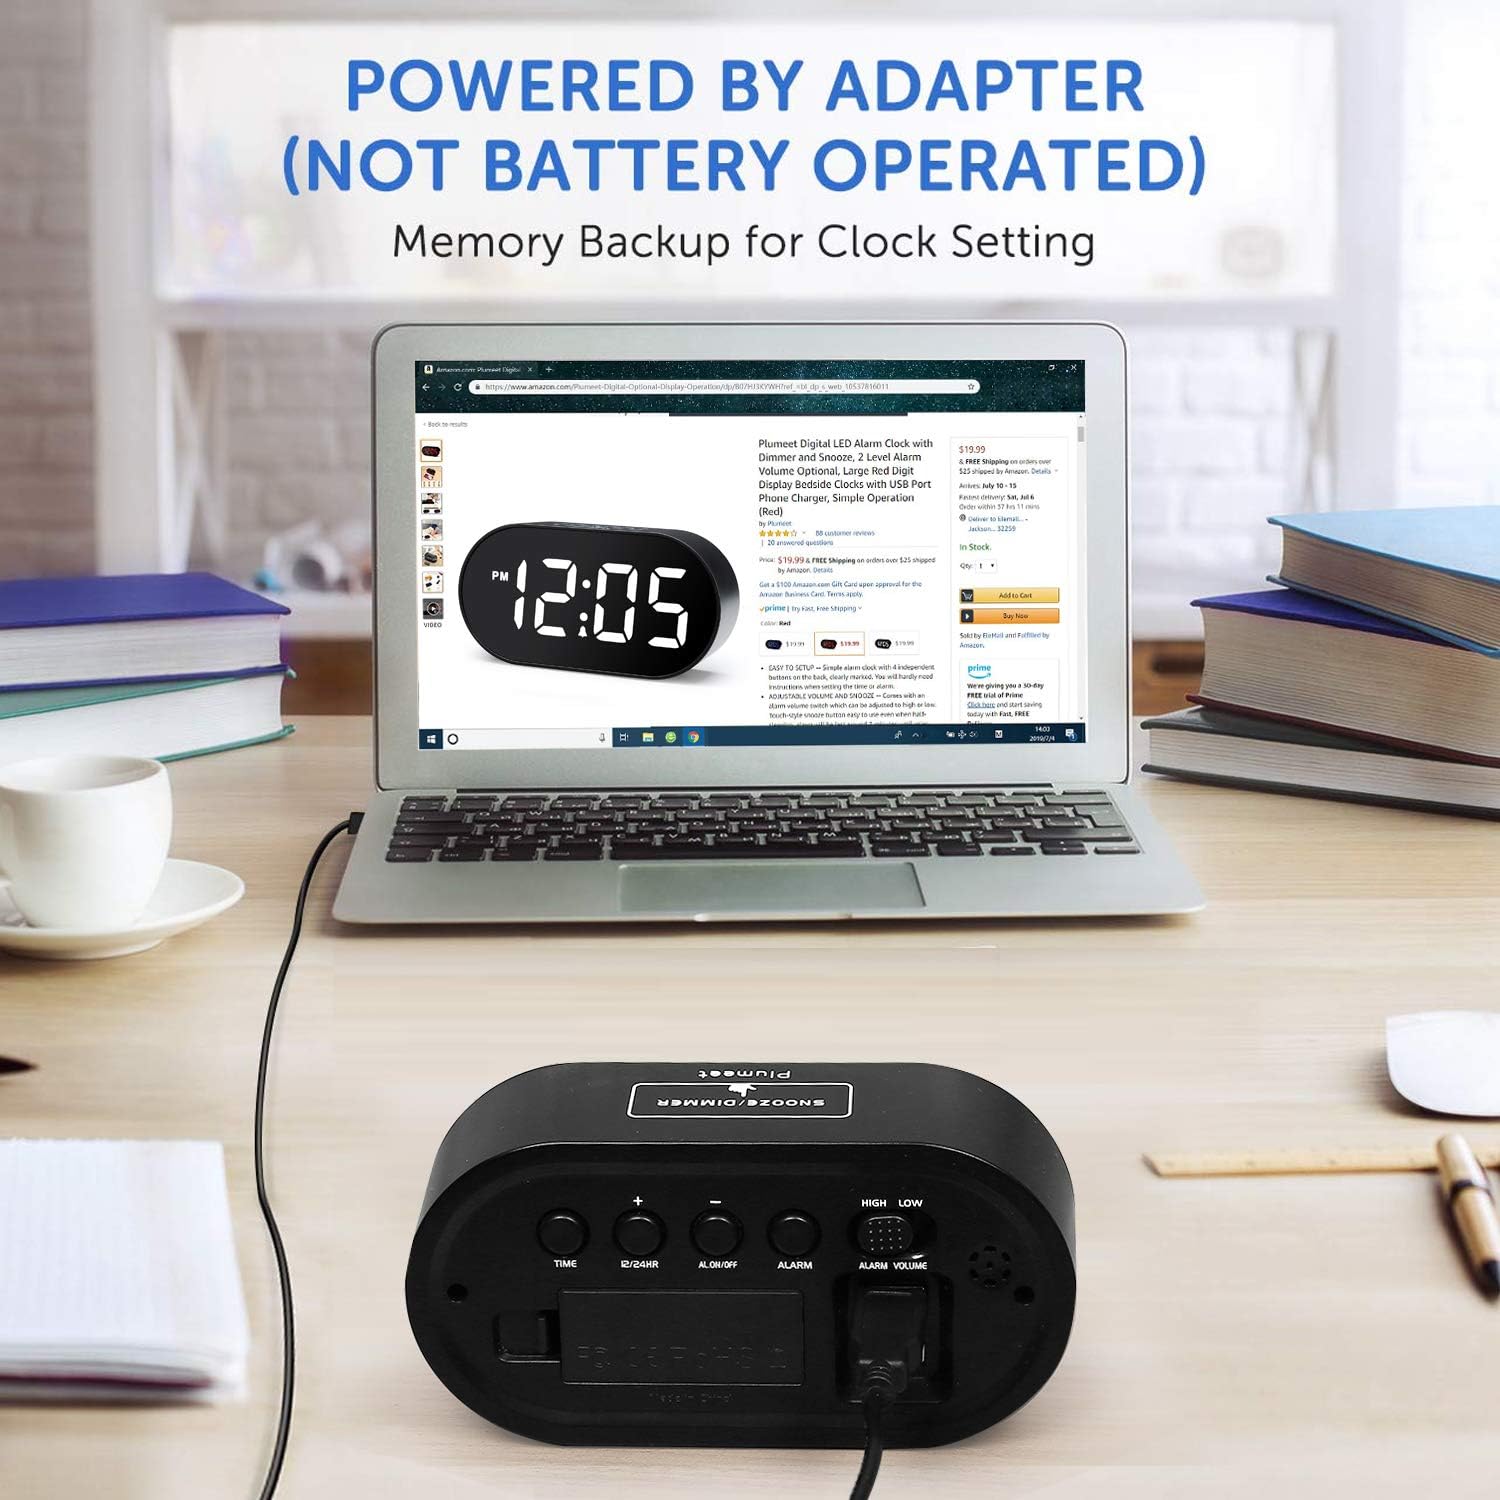
Figure 3: Rear View with Control Buttons and Ports
The clock features a large LED display on the front. On the top, you will find the SNOOZE/DIMMER button. The rear panel houses the TIME SET, 12/24HR, AL ON/OFF, ALARM SET, '+' and '-' buttons, along with sliders for DIMMER and VOLUME control. A battery compartment for backup power and two USB charging ports are also located on the rear.
Setup
- Install Backup Batteries: Open the battery compartment on the rear of the clock. Insert 2 AAA batteries (not included) according to the polarity markings. These batteries provide memory backup for time settings during power outages. The clock is primarily powered by the adapter and is not battery-operated for daily use.
- Connect Power Adapter: Plug the provided power adapter into the DC IN port on the back of the clock, then plug the adapter into a standard wall outlet. The display will light up.
Video 1: Product Overview and Basic Setup. This video demonstrates the physical features of the alarm clock, including button locations, battery installation for backup, and connecting the power adapter.
Operating Instructions
Setting the Time
- Press and hold the TIME SET button on the back of the clock. The hour digits will begin to flash.
- Use the '+' or '-' buttons to adjust the hour.
- Press TIME SET again to confirm the hour and move to minute setting. The minute digits will flash.
- Use the '+' or '-' buttons to adjust the minutes.
- Press TIME SET one more time to save the time and exit time setting mode.
12/24 Hour Format
To switch between 12-hour and 24-hour time formats, press the 12/24HR button on the back of the clock.
Setting the Alarm
- Press and hold the ALARM SET button on the back of the clock. The alarm hour digits will begin to flash.
- Use the '+' or '-' buttons to adjust the alarm hour.
- Press ALARM SET again to confirm the alarm hour and move to alarm minute setting. The alarm minute digits will flash.
- Use the '+' or '-' buttons to adjust the alarm minutes.
- Press ALARM SET one more time to save the alarm time.
- To activate or deactivate the alarm, press the AL ON/OFF button. An alarm icon will appear on the display when the alarm is active.
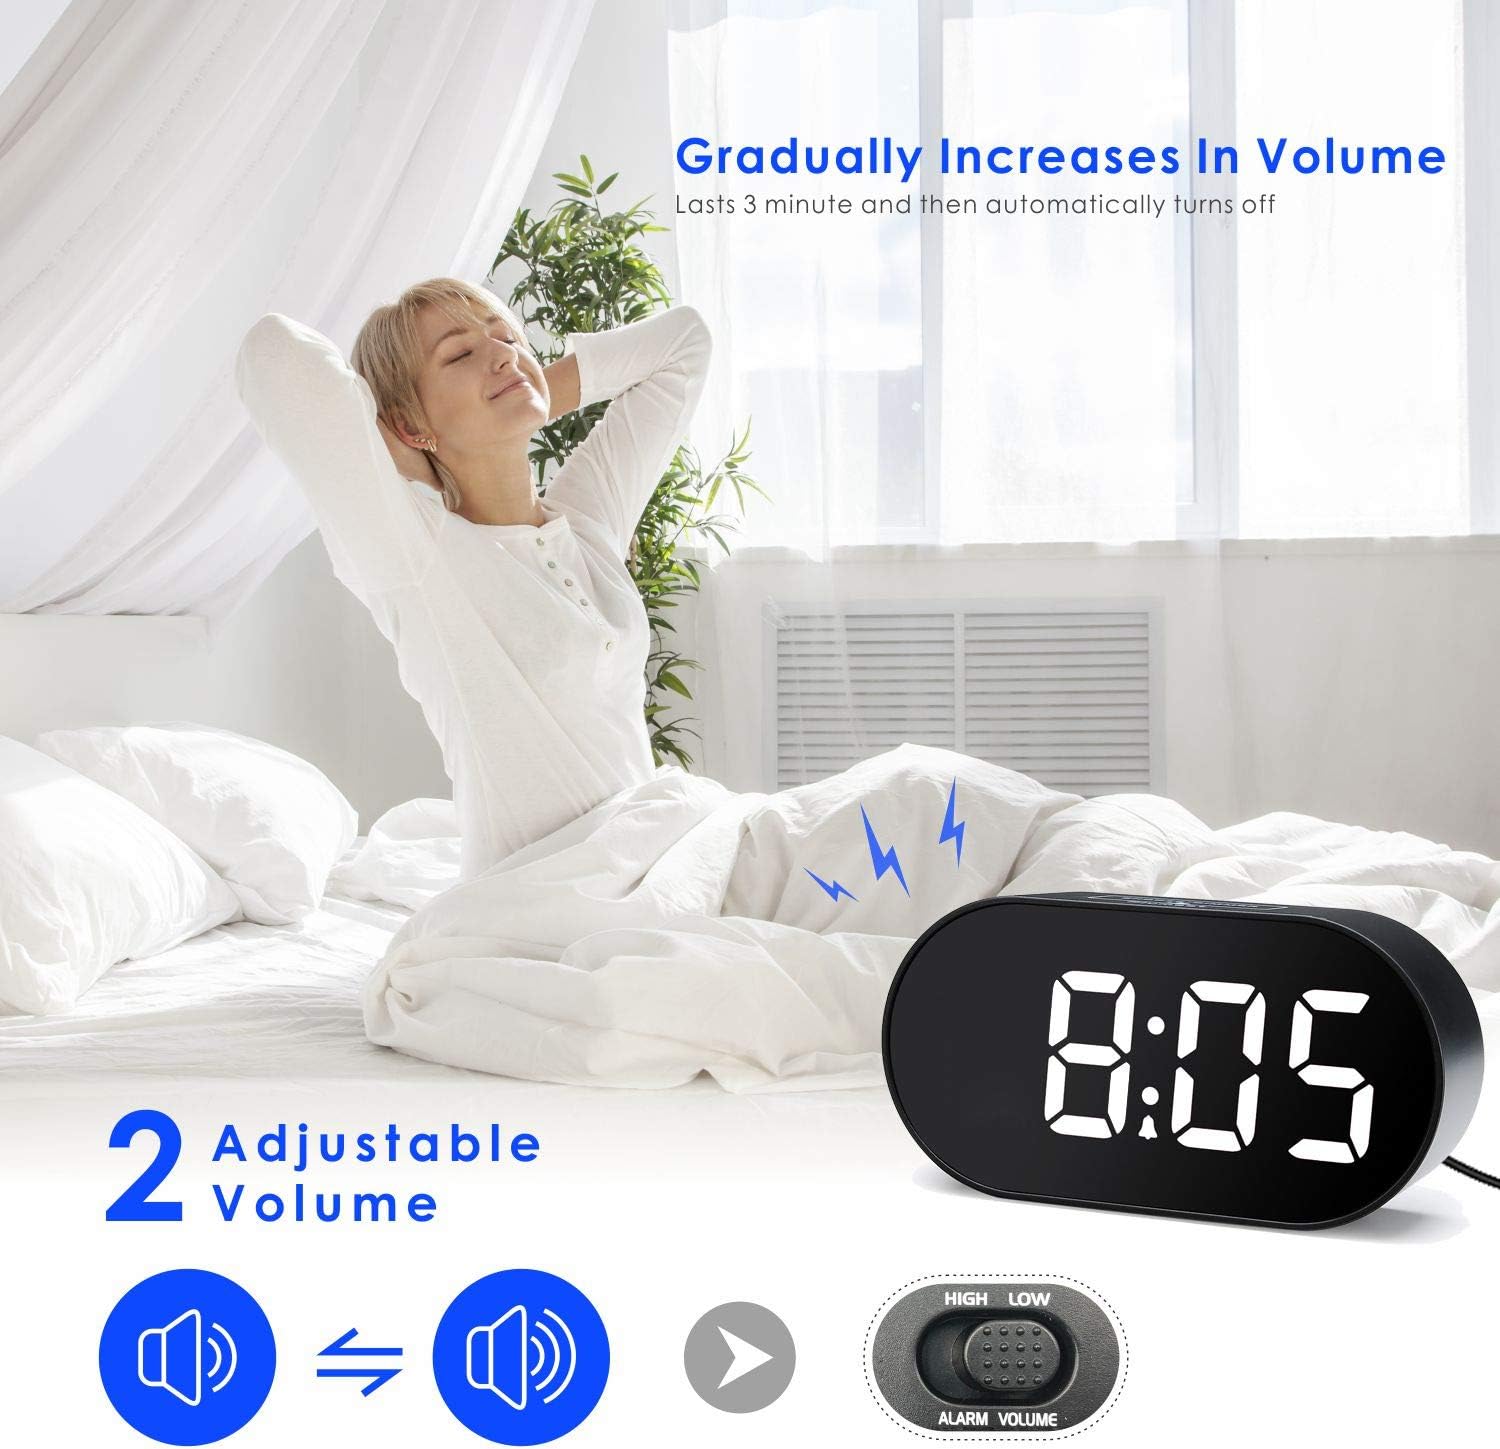
Figure 4: Adjustable Alarm Volume
Alarm Volume Adjustment
Adjust the alarm volume using the LOW VOLUME / HIGH VOLUME slider located on the right side of the clock's rear panel. The alarm sound gradually increases in volume over 3 minutes before automatically turning off if not snoozed or turned off.
Snooze Function
When the alarm sounds, press the large SNOOZE/DIMMER button on the top of the clock to activate the snooze function. The alarm will pause for 10 minutes and then sound again. To turn off the alarm completely, press the AL ON/OFF button on the back.

Figure 5: Snooze Function in Use
Display Brightness (Dimmer)
The clock features an adjustable display brightness. Use the LOW DIMMER / HIGH DIMMER slider on the left side of the clock's rear panel to set the desired brightness level. Alternatively, you can tap the SNOOZE/DIMMER button on top to cycle through brightness levels.

Figure 6: Adjusting Display Brightness
USB Charging Ports
The Plumeet LED Digital Alarm Clock is equipped with two USB ports on the rear. These ports can be used to charge your mobile devices, such as smartphones or tablets, while the clock is powered on.
Maintenance
- Clean the clock with a soft, dry cloth. Do not use abrasive cleaners or solvents.
- Keep the clock away from direct sunlight, extreme temperatures, and moisture.
- Ensure proper ventilation around the clock, especially if using the USB charging ports.
- If the clock will not be used for an extended period, remove the backup batteries to prevent leakage.
Troubleshooting
| Problem | Solution |
|---|---|
| Display is blank or not lighting up. |
|
| Alarm does not sound. |
|
| Time is incorrect after a power outage. |
|
| USB charging ports are not working. |
|
Specifications
- Brand: Plumeet
- Model: EM-8028-WH
- Display Type: LED Digital
- Special Features: Alarm, Auto Dimmable, Snooze, USB Charging Ports
- Product Dimensions: 5.7"W x 2.8"H
- Item Weight: 8 ounces
- Power Source: AC Powered (Adapter included)
- Battery Backup: 2 x AAA batteries (not included)
- Mounting Type: Tabletop
Warranty and Support
For warranty information or technical support, please refer to the contact details provided on the product packaging or visit the official Plumeet website. Keep your purchase receipt for warranty claims.


