Product Overview
The KICKER 46CSS674 CS-Series CSS67 6.75-Inch (165mm) Component System with .75-inch tweeters is designed to deliver remarkable audio performance and ultra-clean bass. This system utilizes a heavy-duty motor/magnet structure with EVC (Extended Voice Coil) for deeper lows, providing a significant upgrade from standard factory speaker systems. Phase plugs are incorporated to eliminate distortion, ensuring utmost clarity and accuracy in sound reproduction.

Image: Overview of the KICKER 46CSS674 CS-Series Component System, showing woofers, tweeters, and crossovers.
What's in the Box
Your KICKER 46CSS674 CS-Series Component System package includes the following items:
- (2) Woofers
- (2) Woofer grilles
- (2) Tweeters (each with 36" Wire attached)
- (2) Crossovers (each with 35" Input wire/ 35" Tweeter output wire/ 35" Woofer output wire attached)
- (2) Flush mount tweeter rings
- (2) Short tweeter mounting nuts
- (2) Long tweeter mounting nuts
- (2) Back angled tweeter rings
- (2) Front angled tweeter rings
- (2) Angled surface mount tweeter housings
- (12) 1" Screws
- (4) 5/8" Screws
- (8) Speed clips
- (4) 7" Zip-ties
- Red plastic wire caps
- Owner's Manual

Image: All components of the KICKER CS-Series system, including speakers, tweeters, crossovers, and mounting hardware.
Installation Guide
This section provides step-by-step instructions for installing your KICKER CS-Series Component System. Please ensure you have all necessary tools and safety equipment before beginning.
1. Prepare the Tweeters
The tweeters come with pre-attached wires. For this installation, you will need to cut the existing ends and splice them into the supplied butt connectors. Ensure you leave sufficient wire length for proper connection. Match the black stripe wire to the black wire, and the plain wire to the white wire.

Image: Close-up view of the KICKER tweeters and their wiring, showing the connection points.
2. Install Tweeters into Pods
Feed the tweeter wires through the designated hole in the soundbar pod. The tweeter features a collar that screws off. Once the wires are through, re-attach and tighten the collar to secure the tweeter in place. Align the KICKER logo as desired.

Image: KICKER soundbar pods, highlighting the main speaker opening and the smaller tweeter mounting hole.
3. Apply Foam Seal to Pods
Apply the provided peel-and-stick foam material along the back lip of both soundbar pods. This foam provides a seal and helps prevent vibrations.
4. Remove Existing Speakers from Vehicle Soundbar
Locate the existing speaker grills in your vehicle's soundbar. Remove the four bolts securing each grill. Once the grills are off, carefully remove the foam guides and disconnect the wire harness from the existing speakers. The speaker wire harness typically has a small tab that needs to be pressed to release. Remove the existing speakers by unscrewing the Torx screws (T20) that hold them in place. You may also need to remove the port covers (T30 Torx bolts) from the soundbar.
5. Install New Pods and Speakers
Connect the tweeter wires from your new pods to the vehicle's existing tweeter connection. Position the new soundbar pods in place. You can attempt to reuse the factory bolts, but if they are too short or difficult to start due to the foam gasket, use the provided replacement bolts. Once the pods are secured, install the new KICKER woofers into the larger openings of the pods, securing them with the provided screws.

Image: KICKER woofer with its grille installed into the soundbar pod, ready for vehicle integration.

Image: KICKER woofer without its grille, showing the speaker cone and mounting points within the soundbar pod.
Note on Video Content:
The provided video for this product is from an influencer and does not meet the criteria for official product video embedding. Therefore, no video content is displayed here.
Operating Instructions
Once installed, your KICKER CS-Series Component System will integrate with your vehicle's existing audio system. Adjust audio settings (bass, treble, balance, fader) on your head unit to optimize sound quality. Experiment with different settings to find your preferred audio profile. The system is designed for clear, crisp sound with enhanced bass.
Maintenance
To ensure the longevity and optimal performance of your KICKER CS-Series speakers, follow these maintenance tips:
- Regularly inspect speaker grilles for any debris or obstructions and gently clean them.
- Avoid exposing speakers to excessive moisture or direct sunlight for prolonged periods, as the UV-treated poly-foam surround resists heat but extreme conditions can still cause wear.
- Ensure all connections remain secure to prevent signal loss or distortion.
Troubleshooting
If you encounter issues with your KICKER CS-Series Component System, consider the following:
- No Sound: Check all wiring connections to ensure they are secure. Verify that the head unit is powered on and set to the correct audio source.
- Distorted Sound: Reduce the volume level on your head unit. Check for loose connections or damaged speaker wires. Ensure the speakers are not overdriven by an amplifier.
- Weak Bass: Adjust the bass settings on your head unit. Verify proper wiring polarity (+/-) for all speakers.
Specifications
| Feature | Value |
|---|---|
| Brand | KICKER |
| Model Name | 46CSS674 |
| Speaker Type | Component |
| Mounting Type | Flush Mount |
| Material | Plastic |
| Speaker Maximum Output Power | 300 Watts |
| Impedance | 4 Ohm |
| Woofer Diameter | 6.75 Inches |
| Tweeter Diameter | 0.75 Inches |
| Frequency Response | 21 KHz |
| Product Dimensions | 3.25"D x 10.5"W x 15"H |
| Item Weight | 5.59 pounds |
| Color | Black |
| Recommended Uses For Product | For Cars |
| Warranty Type | Limited |
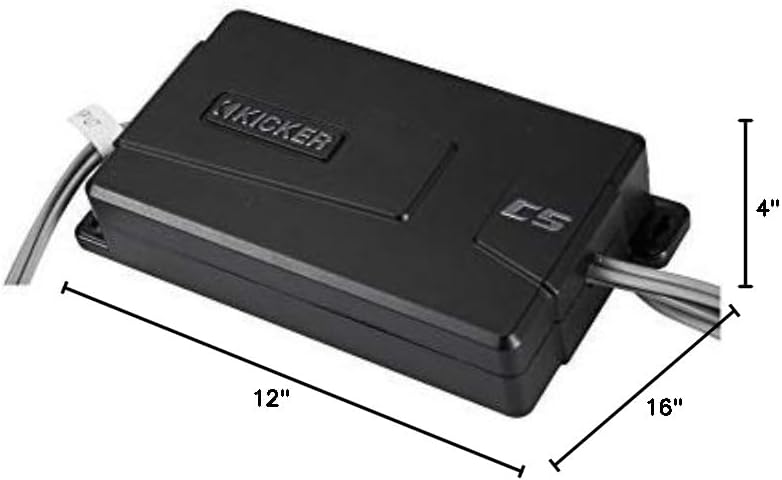
Image: Dimensional view of the KICKER 46CSS674 Component System packaging.
Warranty and Support
Your KICKER 46CSS674 CS-Series Component System comes with a limited warranty. For detailed warranty information, technical support, or service inquiries, please refer to the Owner's Manual included in your package or visit the official KICKER website.


