
1. Introduction & Product Overview
The OREI HD14-EX165-K is a 4K 1x4 HDMI Extender Splitter designed to distribute one HDMI source to four HDMI displays simultaneously over CAT6/7 Ethernet cable. It supports resolutions up to 4K@30Hz for distances up to 165 feet (50 meters) and 1080P@60Hz for distances up to 230 feet (70 meters). This unit features Power over Cable (PoC), meaning only the transmitter requires a power adapter, simplifying installation for the receivers. It also includes IR control for remote management of the source device and EDID management for optimal display compatibility.

Figure 1: OREI HD14-EX165-K HDMI Extender Splitter Kit
2. Product Features
- 1-in-4-out Distribution: Distributes 1 HDMI source to 4 HDMI displays over Cat6 network cable simultaneously.
- Extended Range: Supports 4K@30Hz up to 165 ft (50m) and 1080P@60Hz up to 230 ft (70m).
- Power over Cable (PoC): Receivers are powered via the Cat6 cable, requiring only one power adapter for the transmitter.
- HDMI Loop Out: Transmitter includes an additional HDMI output to connect to a local display or monitor.
- IR Remote Control: Supports 20-60Hz IR pass-back, allowing control of the HDMI source from remote display locations.
- EDID Management: Ensures compatibility with various displays and optimal video/audio settings.
- Plug & Play: Simple setup without any software installation.
- Wide Compatibility: Compatible with Cat6/6a/7 network cables. Ideal for HDMI exhibition, video conferences, meeting rooms, and bars.

Figure 2: Power over Cable (PoC) support for simplified receiver power.

Figure 3: Diagram showing Full HD signal distribution to multiple displays.
3. Setup Guide
Setting up your OREI HDMI Extender Splitter is a straightforward process. Follow these steps for a successful installation:
- Unpack Components: Carefully unbox the transmitter, four receivers, power adapter, IR Blaster Cable, and IR Receiver Cables.
- Connect HDMI Source to Transmitter: Plug your HDMI source (e.g., DVD player, game console, satellite box) into the HDMI IN port on the transmitter unit.
- Connect Local Display (Optional): If you wish to have a local display near the transmitter, connect an HDMI cable from the HDMI OUT (Loop Out) port on the transmitter to your local monitor.
- Connect Cat6/7 Cables: Run Cat6/7 Ethernet cables from the CAT OUT ports (CAT OUT 1-4) on the transmitter to the corresponding RJ45 ports on each receiver unit. Ensure you use high-quality Cat6/7 cables for optimal performance, especially for longer distances.
- Connect Receivers to Displays: Connect an HDMI cable from the HDMI OUT port on each receiver unit to your respective display (TV, monitor, projector).
- Connect IR Cables:
- Plug the IR Blaster Cable into the IR OUT port on the transmitter. Position the blaster head in front of the IR sensor of your HDMI source device.
- Plug the IR Receiver Cables into the IR IN ports on each receiver unit. Position the receiver head in a location where it can pick up signals from your remote control.
- Power On: Connect the provided power adapter to the DC 12V port on the transmitter unit. The power LED on the transmitter should illuminate. Since the receivers are PoC, they will power on automatically via the Ethernet cables.
- Configure EDID Settings: Use the EDID switches on the transmitter to select the desired video and audio format for your displays. Refer to the EDID settings table in the Specifications section for common configurations.
Video 1: OREI 1x4, 1x8 HDMI Extender Splitter Overview and Setup Guide by OREI Direct.
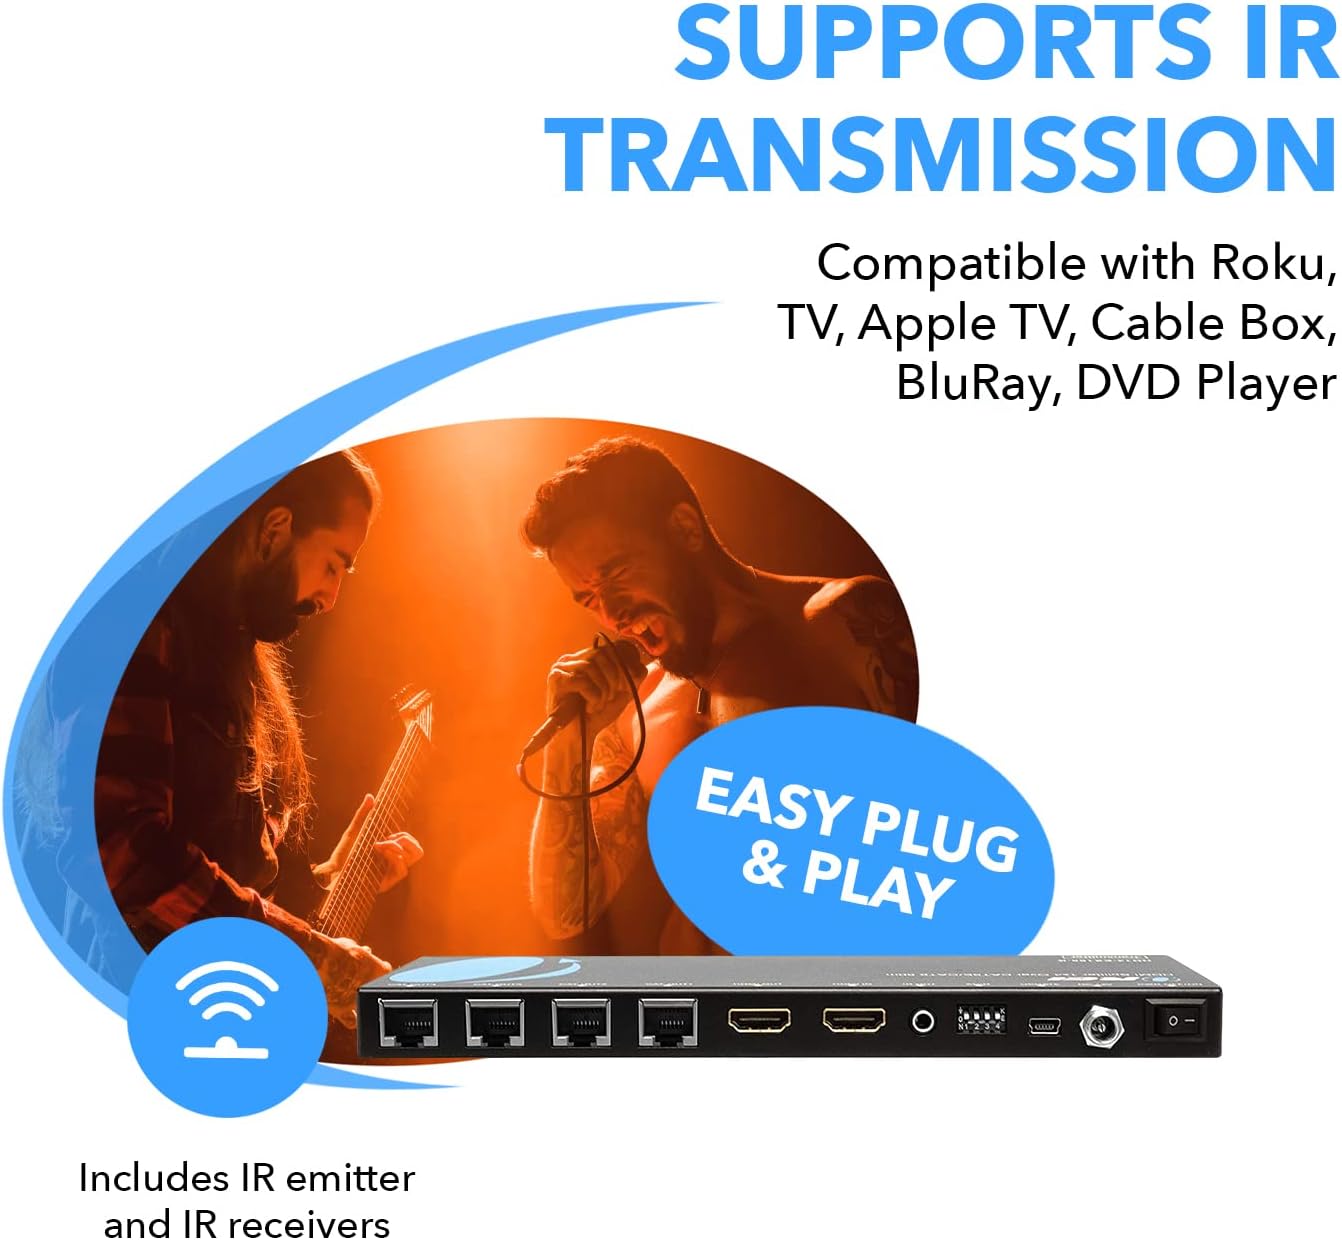
Figure 4: The system is designed for easy plug-and-play setup.
4. Operating Instructions
Once the setup is complete, operating the OREI HDMI Extender Splitter is seamless:
- Automatic Signal Distribution: The system automatically detects the HDMI input signal and distributes it to all connected displays via the receivers.
- Remote Control: Use your original remote control for the HDMI source device (e.g., cable box, DVD player) from any remote display location. The IR Receiver will pick up the signal and transmit it back to the IR Blaster connected to the source device.
- EDID Adjustment: If you encounter display issues or wish to optimize video/audio quality, adjust the EDID switches on the transmitter according to the EDID settings table in the Specifications section.

Figure 5: The system supports IR transmission for various HDMI source devices.
5. Maintenance
To ensure the longevity and optimal performance of your OREI HDMI Extender Splitter, follow these simple maintenance guidelines:
- Keep Clean: Regularly wipe the units with a soft, dry cloth. Avoid using liquid cleaners or aerosol sprays.
- Ventilation: Ensure proper ventilation around the units. Do not block any ventilation openings.
- Temperature: Operate the device within the recommended temperature range. Avoid extreme heat or cold.
- Cable Management: Keep cables organized and free from kinks or excessive bending to prevent damage.
- Power Off When Not in Use: If the system will not be used for an extended period, it is recommended to power off the transmitter.
6. Troubleshooting
If you encounter issues with your OREI HDMI Extender Splitter, refer to the following common troubleshooting steps:
- No Picture/Signal:
- Check all HDMI and Cat6/7 cable connections. Ensure they are securely plugged in.
- Verify the power adapter is correctly connected to the transmitter and the power LED is on.
- Adjust the EDID switches on the transmitter to try different video/audio formats that might be compatible with your display.
- Try a different HDMI source or display to isolate the issue.
- Ensure the Cat6/7 cables meet the required specifications (e.g., pure copper, not CCA).
- IR Control Not Working:
- Ensure the IR Blaster head is directly in front of the source device's IR sensor.
- Ensure the IR Receiver head is positioned to receive signals from your remote control.
- Check that the IR cables are securely plugged into their respective ports.
- Picture Flickering/Poor Quality:
- Use shorter or higher-quality Cat6/7 cables.
- Verify the EDID settings are correctly configured for your display's capabilities.
- Ensure there are no strong electromagnetic interferences nearby.
7. Specifications
| Feature | Description |
|---|---|
| Model Number | HD14-EX165-K |
| Product Dimensions | 6 x 4.5 x 1 inches (Transmitter) |
| Item Weight | 1 pound |
| Connector Type | HDMI, RJ45 |
| Cable Type | CAT6/6a/7 Ethernet Cable |
| Number of Ports | 4 (Outputs) |
| Max Resolution & Distance | 4K@30Hz up to 165 ft (50m) 1080P@60Hz up to 230 ft (70m) |
| IR Frequency | 20-60Hz |
| Power Supply | DC 12V (Transmitter only) |
EDID Settings (Transmitter)
Adjust the DIP switches on the transmitter to match the desired audio/video output. The following table provides common settings:
| Switch Setting | EDID Description |
|---|---|
| 0000 | 1080p, 2CH Audio |
| 0001 | 1080p, Dolby/DTS 5.1 |
| 0010 | 1080p, HD Audio |
| 0011 | 3D, 1080p, 2CH Audio |
| 0100 | 3D, 1080p, Dolby/DTS 5.1 |
| 0101 | 3D, 1080p, HD Audio |
| 0110 | 4K@30Hz, 2CH Audio |
| 0111 | 4K@30Hz, Dolby/DTS 5.1 |
| 1000 | 4K@30Hz, HD Audio |
| 1001 | Copy EDID from the Transmitter HDMI loop out |
8. Warranty & Support
The OREI HD14-EX165-K comes with a 1-Year OREI Manufacturer's Warranty. For any technical assistance or support, please refer to the contact information provided in your product packaging or visit the official OREI website.

Figure 6: OREI offers 10+ years of experience and a 1-year manufacturer's warranty.
For the most up-to-date information and additional resources, please refer to the official user manual PDF: OREI HD14-EX165-K User Manual (PDF)


