
1. Introduction
The OREI HD18-EX165-K is a high-performance 1x8 HDMI Extender Splitter designed to distribute a single HDMI source to up to eight HDMI displays simultaneously over CAT6/6a/7 network cables. This device supports resolutions up to 4K@30Hz (for 1x2 and 1x4 models) and 1080p@60Hz (up to 230ft), making it suitable for various applications including home entertainment, video conferences, meeting rooms, and digital signage. It features Power Over LAN (PoL) for receiver units, eliminating the need for separate power adapters at each display location, and includes EDID management and IR pass-back functionality for enhanced control and compatibility.
2. Package Contents
Please ensure all items listed below are included in your package:
- 1 x OREI HD18-EX165-K Transmitter Unit
- 8 x OREI HD18-EX165-K Receiver Units
- 1 x 12V DC Power Adapter
- 1 x IR Blaster Cable
- 8 x IR Receiver Cables
- 1 x User Manual
- Mounting Brackets (for transmitter)

Figure 1: OREI HD18-EX165-K Transmitter and Receiver Units
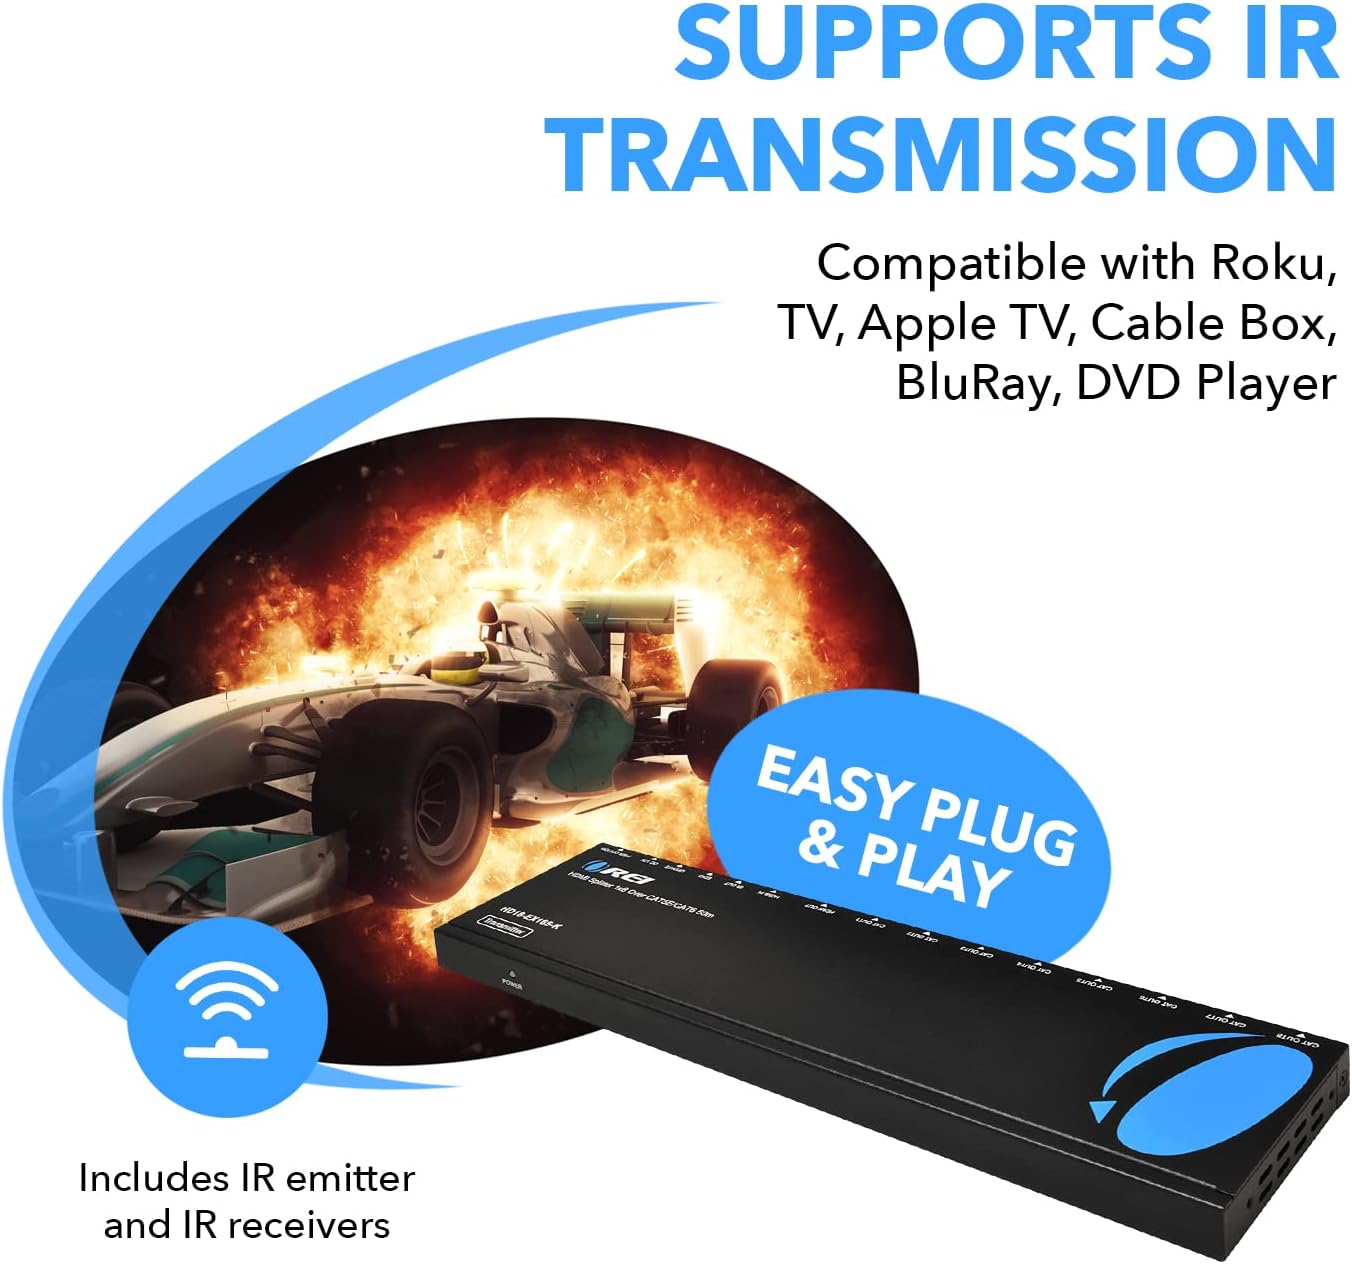
Figure 2: Package Contents Overview
3. Product Overview
3.1 Transmitter Unit (HD18-EX165-K)
The transmitter unit is the central hub for your HDMI signal distribution. It features multiple CAT output ports, an HDMI input, an HDMI loop-out, and controls for EDID management and IR transmission.

Figure 3: Transmitter Unit Ports and Indicators
- CAT OUT 1-8: RJ45 outputs for connecting to receiver units via CAT6/6a/7 cable.
- HDMI IN: Connect your HDMI source device (e.g., DVD player, game console).
- HDMI OUT (Loop Out): Connect a local display to monitor the HDMI source.
- IR OUT: Connect the IR Blaster cable to control the source device remotely.
- EDID: DIP switches for EDID management to ensure display compatibility.
- UPDATE: Micro USB port for firmware updates.
- DC 12V: Power input for the transmitter unit.
- PWR ON/OFF: Power switch for the unit.
- POWER LED: Indicates power status.
3.2 Receiver Unit
Each receiver unit connects to a display and receives the HDMI signal and power via a single CAT6/6a/7 cable from the transmitter. It also features an IR input for remote control functionality.
- CAT IN: RJ45 input for connecting to the transmitter unit via CAT6/6a/7 cable.
- HDMI OUT: Connect to your display device (e.g., TV, monitor).
- IR IN: Connect the IR Receiver cable to receive remote control signals.
- EQ: DIP switches for equalization adjustment based on cable length.
4. Setup Instructions
Follow these steps to set up your OREI HD18-EX165-K HDMI Extender Splitter:
- Connect HDMI Source: Connect your HDMI source device (e.g., DVD player, cable box) to the HDMI IN port on the transmitter unit using a high-quality HDMI cable.
- Connect Displays: Connect each HDMI display to the HDMI OUT port on its respective receiver unit using high-quality HDMI cables.
- Connect CAT Cables: Connect the CAT OUT ports on the transmitter unit to the CAT IN ports on each receiver unit using individual CAT6/6a/7 network cables. Ensure cables are properly terminated.
- (Optional) Local Display: If desired, connect a local display to the HDMI OUT (Loop Out) port on the transmitter unit to monitor the source signal.
- (Optional) IR Control:
- Connect the IR Blaster cable to the IR OUT port on the transmitter unit and position the blaster head near the IR sensor of your HDMI source device.
- Connect the IR Receiver cables to the IR IN ports on each receiver unit and position the receiver head in a location where it can receive signals from your remote control.
- Power On: Connect the 12V DC power adapter to the DC 12V port on the transmitter unit and plug it into a power outlet. Turn on the power switch. The Power LED on the transmitter should illuminate. Receiver units will receive power via the CAT cable (PoL).
- Adjust EQ Switches (Receivers): Based on the length of your CAT cable runs, adjust the EQ DIP switches on each receiver unit for optimal signal quality. Refer to the user manual for specific settings based on cable length.
- Adjust EDID Switches (Transmitter): Configure the EDID DIP switches on the transmitter unit to match the desired audio and video format for your displays. Refer to the user manual for specific settings.

Figure 4: Typical Connection Diagram
Video 1: OREI HDMI Extender Splitter Multiple Over Single Cable - This video demonstrates the setup and functionality of the HDMI extender splitter.
Video 2: Send HDMI Signal to 8 TVs over LAN cable - A detailed guide on sending HDMI signals to multiple displays using the OREI extender splitter.
5. Operating Instructions
5.1 EDID Management
The EDID (Extended Display Identification Data) switches on the transmitter unit allow you to manage the communication between your source and displays, ensuring optimal compatibility and picture quality. Incorrect EDID settings can lead to display issues or no signal. Refer to the EDID table in your user manual to select the appropriate settings for your setup.
5.2 EQ (Equalization) Adjustment
The EQ switches on each receiver unit are used to compensate for signal degradation over long CAT cable runs. Adjust these switches based on the actual length of the CAT cable connecting the receiver to the transmitter. Proper EQ adjustment is crucial for maintaining signal integrity and preventing flickering or signal loss. Consult the EQ settings table in your user manual for guidance.
5.3 IR Remote Control
The IR pass-back feature allows you to control your HDMI source device from any of the remote display locations. Simply point your source device's remote control at the IR Receiver connected to the display's receiver unit. The signal will be transmitted back to the IR Blaster connected to the transmitter unit, which then relays the command to your source device.
6. Specifications
| Product Dimensions | 10 x 4.5 x 1 inches |
| Item Weight | 1 pounds |
| Item Model Number | HD18-EX165-K |
| Brand | OREI |
| Color | Black |
| Connector Type | HDMI |
| Compatible Devices | DVD Player, Monitor |
| Cable Type | HDMI, CAT6/6a/7 |
| Max Resolution (1x2 & 1x4 models) | 4K@30Hz |
| Max Resolution (1x8 model) | 1080p@60Hz |
| Max Transmission Distance (1080p) | Up to 230ft (70m) |
| Max Transmission Distance (4K@30Hz) | Up to 165ft (50m) |
| IR Pass-back | 20~60Hz |
| Power Over LAN (PoL) | Supported (receivers powered by transmitter) |
7. Troubleshooting
- No Picture/Flickering Image:
- Check all HDMI and CAT cable connections. Ensure they are secure.
- Verify the CAT cable type and quality. CAT6/6a/7 is recommended.
- Adjust the EQ switches on the receiver units according to the cable length.
- Adjust the EDID switches on the transmitter unit to match your display's capabilities. Try different EDID settings.
- Ensure the power adapter is securely connected to the transmitter and the unit is powered on.
- IR Remote Control Not Working:
- Ensure the IR Blaster is correctly connected to the transmitter and positioned directly in front of the source device's IR sensor.
- Ensure the IR Receiver is correctly connected to the receiver unit and positioned to receive signals from your remote control.
- Check for any obstructions between your remote and the IR Receiver.
- Intermittent Signal:
- Ensure all cables are of good quality and not damaged.
- Avoid bending CAT cables sharply, as this can affect signal integrity.
- Check for electromagnetic interference (EMI) from other electronic devices.
8. Warranty and Support
The OREI HD18-EX165-K HDMI Extender Splitter comes with a 1-Year OREI Manufacturer's Warranty. For technical assistance or warranty claims, please contact OREI customer support. Contact information can typically be found on the OREI website or in the product packaging.


