1. Introduction
This manual provides detailed instructions for the installation, adjustment, maintenance, and troubleshooting of your maXpeedingrods AB16 Adjustable Front Lower Control Arms. These control arms are designed to improve suspension geometry and performance for lifted Jeep models.

Image 1.1: maXpeedingrods Adjustable Front Lower Control Arms (Orange)
2. Product Overview
2.1 Key Features
- Adjustable Length: Designed for vehicles with 0-4 inch suspension lifts, allowing for proper alignment and geometry correction. The length range is 15.2-18.5 inches (385-470 mm).
- Durable Construction: Manufactured from high-strength alloy steel with an industrial powder coating to resist rust and corrosion.
- Polyurethane Bushings: Premium poly bushings are firm and strong, designed to withstand harsh off-road conditions, resist oil and heat, and offer a longer service life compared to standard rubber bushings.

Image 2.1: Durable Alloy Steel Construction with Anti-Corrosion Surface

Image 2.2: Upgraded Polyurethane Bushings with Grease Fitting
2.2 Compatibility
These adjustable control arms are compatible with the following Jeep models:
- Jeep Wrangler TJ: 1997-2006 (Front lower or rear lower control arms)
- Jeep Cherokee XJ: 1984-2001 (Front lower control arms)
- Jeep Grand Cherokee ZJ: 1993-1998 (Front lower control arms)

Image 2.3: Vehicle Compatibility Chart
2.3 Package Contents
The package includes the following components:
- 2 x Front Lower Control Arms
- 4 x Sleeves
- 1 x Installation Manual (refer to this document)

Image 2.4: Package Contents
3. Installation Guide
Professional installation is recommended. Ensure the vehicle is safely supported on jack stands or a lift before beginning any work. Always wear appropriate safety gear.
- Prepare Vehicle: Park the vehicle on a level surface, engage the parking brake, and block the wheels. Lift the vehicle using a jack and secure it with jack stands.
- Remove Old Control Arms: Carefully remove the bolts securing the existing lower control arms to the axle and frame. Retain all hardware for potential reuse or comparison.
- Install New Control Arms: Install the new maXpeedingrods adjustable control arms. It may be necessary to adjust the length of the new control arms to match the mounting points. Do not fully tighten bolts until the vehicle is at ride height.
- Final Tightening: Once both control arms are in place and the vehicle is at its approximate ride height (or on its wheels), tighten all bolts to the manufacturer's specified torque settings.
- Alignment: After installation, a professional wheel alignment is crucial to ensure correct suspension geometry, especially with a lifted vehicle.
Video 3.1: Installation overview of adjustable control arms. This video demonstrates the unboxing and installation process for similar control arms.
4. Adjustment and Operation
The adjustable design of these control arms allows for precise tuning of your vehicle's suspension geometry, particularly important after installing a lift kit. Proper adjustment helps correct caster angles and reduce issues like bump steer.
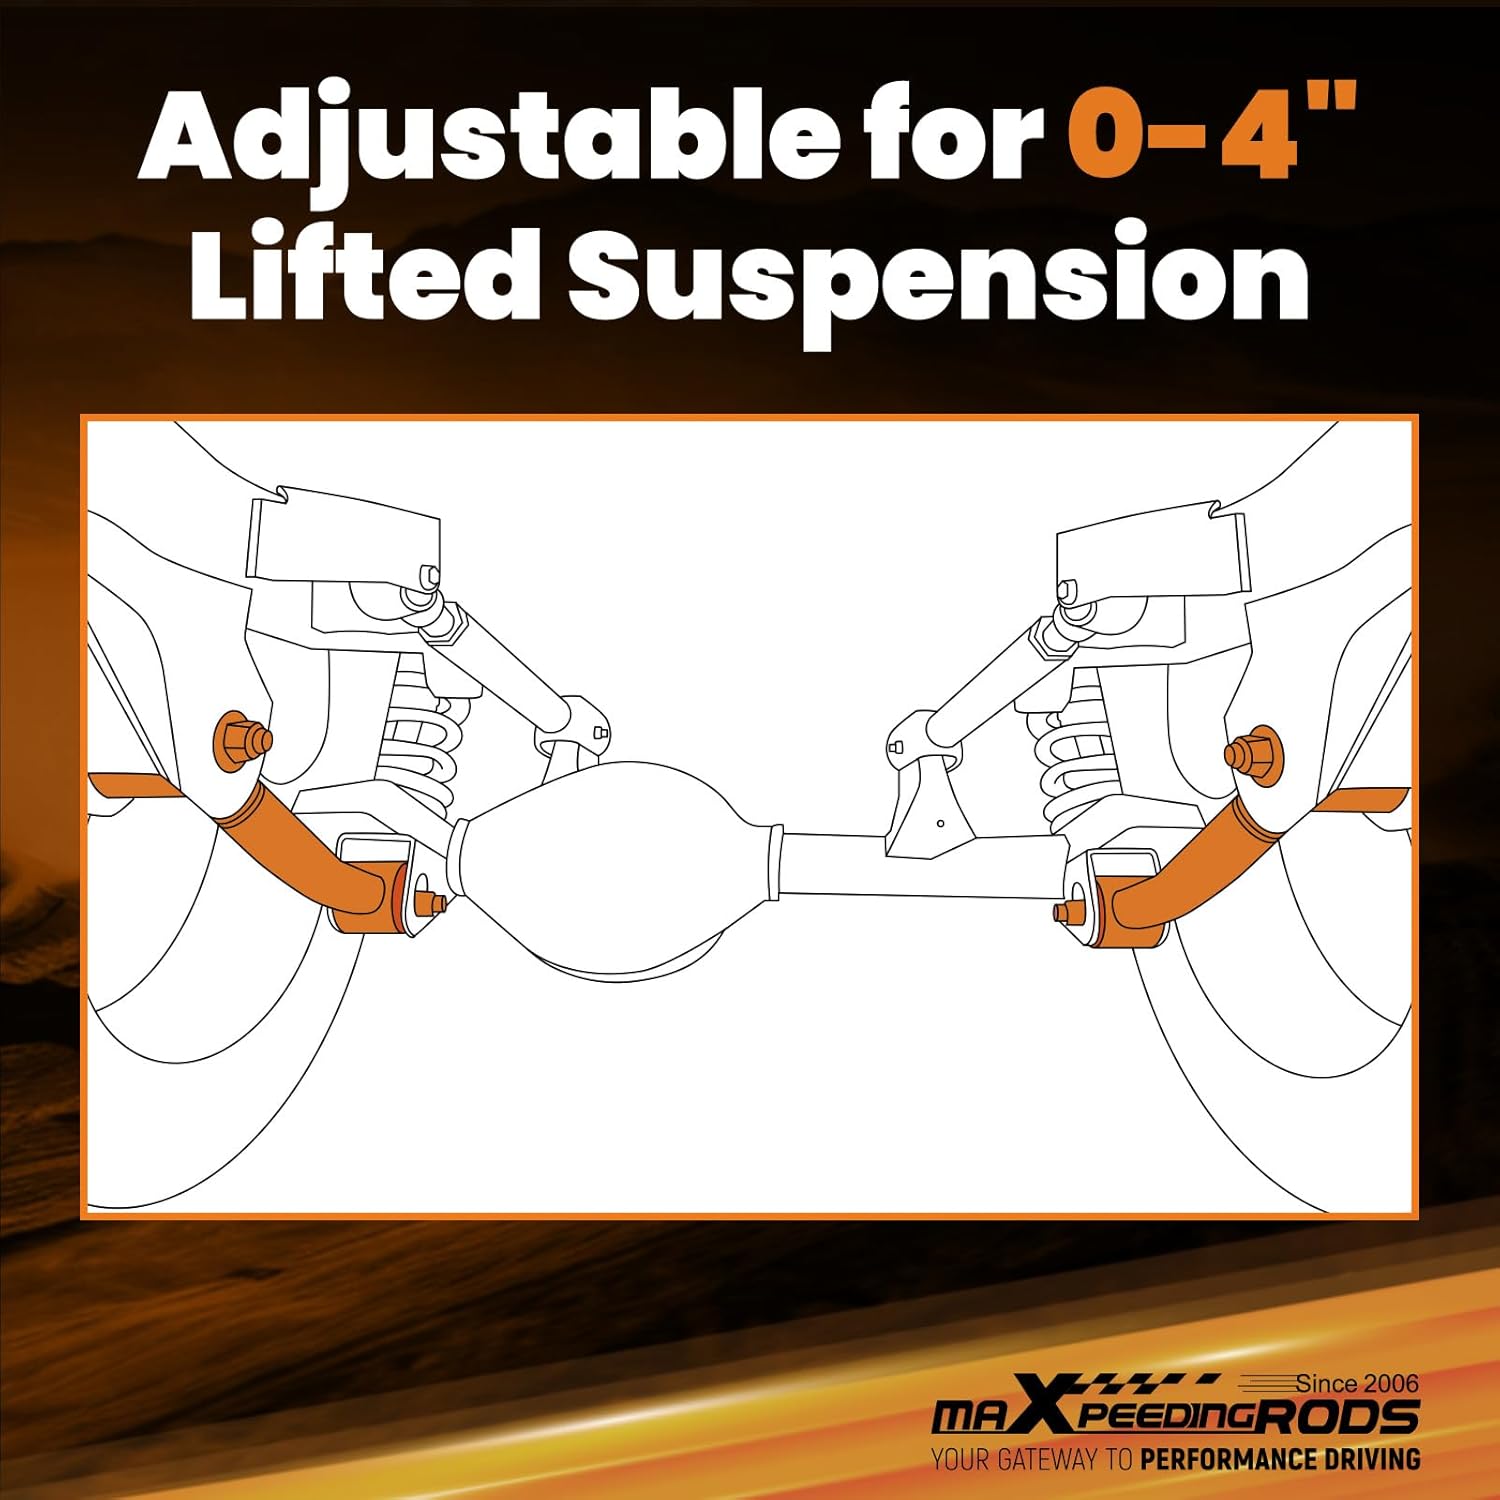
Image 4.1: Adjustable Control Arm for Lifted Suspension
4.1 Adjusting Length
The control arms feature a threaded section for length adjustment. To adjust:
- Loosen the lock nuts on the threaded section of the control arm.
- Rotate the arm body to extend or retract its length.
- Once the desired length is achieved (often determined by a professional alignment technician), tighten the lock nuts securely.
Note: Adjustments should be made incrementally and followed by a professional alignment to ensure optimal handling and tire wear.
5. Maintenance
Regular maintenance ensures the longevity and performance of your control arms.
- Bushing Inspection: Periodically inspect the polyurethane bushings for signs of wear, cracking, or deterioration. Replace worn bushings promptly to prevent excessive play and noise.
- Greasing: The polyurethane bushings are equipped with grease fittings. Regularly apply appropriate grease to these fittings to maintain lubrication and prevent squeaking. Consult your vehicle's service manual or a professional for recommended greasing intervals.
- Hardware Check: Periodically check all mounting bolts and nuts for tightness. Re-torque to factory specifications if necessary, especially after off-road use.
- Corrosion Protection: While the control arms have an anti-corrosion coating, inspect for any chips or damage to the coating, especially in harsh environments. Touch up as needed to prevent rust.
6. Troubleshooting
If you experience issues after installing your control arms, consider the following:
- Noise (Clunking/Squeaking):
- Cause: Loose hardware, worn bushings, or lack of lubrication.
- Solution: Check all bolts for proper torque. Inspect bushings for wear and replace if necessary. Apply grease to the polyurethane bushings via the grease fittings.
- Poor Handling/Steering Issues (e.g., bump steer, wandering):
- Cause: Incorrect control arm length leading to improper caster angle.
- Solution: A professional wheel alignment is required to adjust the control arm length and correct the caster angle for optimal handling.
- Premature Bushing Wear:
- Cause: Insufficient lubrication, improper installation, or extreme operating conditions.
- Solution: Ensure regular greasing. Verify correct installation and torque. Consider operating conditions and adjust maintenance frequency accordingly.
7. Specifications
| Brand | maXpeedingrods |
| Model Number | AB16 |
| Fit Type | Vehicle Specific Fit |
| Auto Part Position | Front Lower |
| Color | Orange |
| Material | Alloy Steel |
| Adjustable Lift Range | 0-4 inches |
| Length Range | 15.2-18.5 inches (385-470 mm) |
| Special Features | Adjustable Control Arm, Polyurethane Bushing, Steel |
| Item Weight | 17.51 pounds |
| Product Dimensions | 27.17 x 7.87 x 5.12 inches |
8. Warranty and Support
maXpeedingrods offers lifetime technical support and a 1-year limited warranty for quality-related issues from the date of purchase. For any questions or assistance, please contact maXpeedingrods customer service.
Contact information can typically be found on the maXpeedingrods official website or through your purchase platform.


