
Onyehn LA068
Onyehn 3D Analog Joystick Replacement Repair Kit User Manual
Model: LA068
Introduction
This manual provides essential information for the Onyehn 8pcs Controller 3D Analog Joystick Thumb Sticks Replacement Repair Parts. These components are designed to replace faulty analog joysticks in compatible Xbox One, Xbox Elite, and PS4 controllers, addressing common issues such as stick drift, creeping, stuttering, blind spots, dead zones, and non-centered joysticks. Please read all instructions carefully before proceeding with installation.
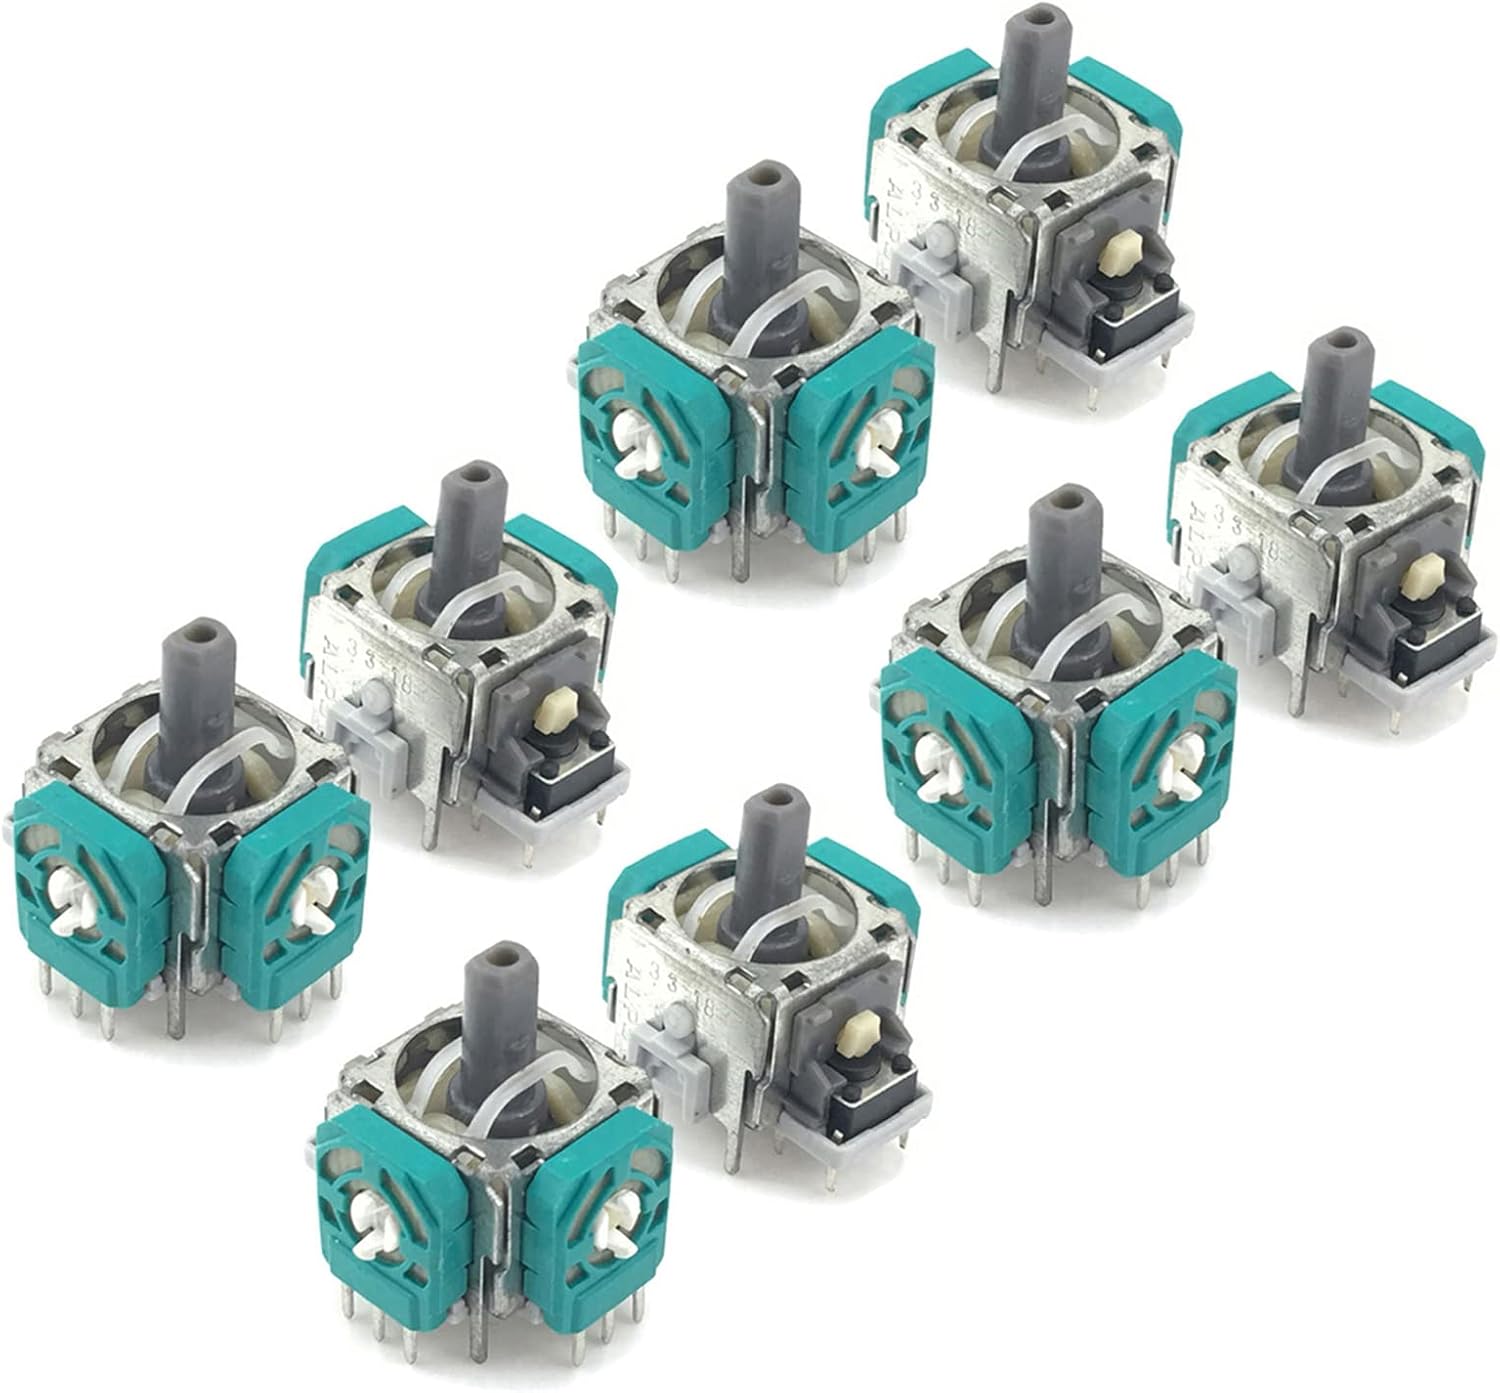
Image: Eight Onyehn 3D Analog Joystick replacement modules, showing their compact design and the grey thumbstick shaft, ready for installation.
Compatibility
- Xbox One Wired Controller
- Xbox One Wireless Controller
- Xbox Elite Controller
- PS4 Controllers
These replacement joysticks are compatible with official Microsoft Xbox One/Xbox Elite Controllers and PS4 Controllers.
Installation Guide
Important Note: Installation of these 3D analog joysticks requires moderate soldering skills. Professional installation is highly recommended. This package does not include detailed step-by-step instructions or specialized tools for controller disassembly and soldering.
Users are advised to consult online resources, such as video tutorials, for comprehensive installation guidance specific to their controller model. Search for terms like "Xbox One controller joystick replacement" or "PS4 controller analog stick repair" on video platforms.
Required Tools (Not Included):
- Soldering Iron
- Electronic Solder Wire
- Desoldering Wick or Solder Sucker
- Electronic Soldering Flux
- Small Screwdrivers (Torx T8/T9 for Xbox, Phillips for PS4)
- Prying Tools (plastic spudgers)
- Optional: Helping Hand/Soldering Stand
General Installation Steps (Consult external guides for details):
- Disassemble Controller: Carefully open your controller using appropriate tools.
- Locate Faulty Joystick: Identify the analog joystick module on the controller's circuit board.
- Desolder Old Joystick: Using a soldering iron and desoldering wick/sucker, carefully remove the solder from the pins of the old joystick.
- Remove Old Joystick: Once all pins are free, gently remove the old joystick module.
- Insert New Joystick: Place the new Onyehn 3D Analog Joystick into the vacant holes on the PCB, ensuring correct orientation.
- Solder New Joystick: Solder each pin of the new joystick to the PCB, ensuring strong, clean connections.
- Reassemble Controller: Carefully reassemble your controller, ensuring all components are correctly seated.
- Test Functionality: After reassembly, test the controller's functionality, paying close attention to joystick movement and calibration.

Image: A pair of Onyehn 3D Analog Joystick modules, highlighting their structural components and solder pins for board mounting.
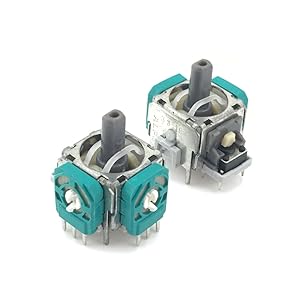
Image: An Onyehn 3D Analog Joystick module integrated into a controller's circuit board, demonstrating its placement and connection points.
Operating the Repaired Controller
Once the replacement joystick is successfully installed and the controller is reassembled, its operation should be identical to a new or properly functioning controller. The 3D analog joystick allows for precise 360-degree movement input in games and applications.
After installation, it is recommended to calibrate your controller through your console's or PC's settings to ensure optimal performance and accurate input registration.
Maintenance
To prolong the life of your controller and its new joysticks:
- Keep Clean: Regularly clean the exterior of your controller to prevent dust and debris from entering the joystick mechanism. Use a soft, dry cloth.
- Avoid Excessive Force: Do not apply excessive force or impact to the joysticks, as this can damage the internal components.
- Storage: Store your controller in a clean, dry environment when not in use.
Troubleshooting
If you encounter issues after replacing the joystick, consider the following:
- Stick Drift or Inaccurate Input:
- Recalibration: Perform a controller calibration through your console's or PC's settings.
- Solder Joints: Inspect the solder joints for the new joystick. Cold joints, bridges, or incomplete connections can cause erratic behavior. Re-solder if necessary.
- Component Damage: Ensure no other components on the PCB were damaged during the desoldering or soldering process.
- Joystick Not Centering Properly:
- Physical Obstruction: Check for any debris or physical obstruction preventing the joystick from returning to its center position.
- Module Issue: While rare, a faulty replacement module could be the cause. If you have multiple modules, try replacing it with another from the pack.
- "No Rebound" Design: Some joystick designs, including this one, may not automatically return to a perfect center after installation without manual adjustment. This is a design characteristic, not a defect. Manual adjustment may be required.
- Increased Sensitivity:
- In-Game Settings: Adjust sensitivity settings within your game or console's controller options.
- Calibration: Ensure proper calibration has been performed.
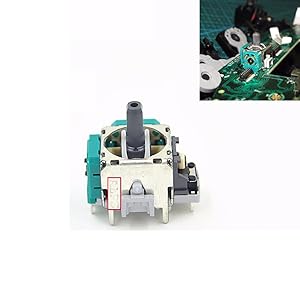
Image: A graphic explaining that the joystick's inability to return to center after installation is a design feature, not a defect, and can be manually adjusted.
Specifications
| Brand | Onyehn |
| Model Number | LA068 |
| Item Weight | 1.06 ounces |
| Product Dimensions | 3.15 x 1.97 x 0.59 inches (individual module dimensions may vary slightly) |
| Material | Plastic, Metal |
| Color | Red and Metallic (referring to internal components/housing) |
| Compatible Devices | Gaming Console (Xbox One, Xbox Elite, PS4 Controllers) |
Warranty and Support
Specific warranty information for this product is not provided in the available documentation. For any questions regarding product defects, returns, or technical support, please contact the seller or manufacturer directly through your purchase platform.
Ask a question about this manual
Ask about setup, troubleshooting, compatibility, parts, safety, or missing instructions. Manuals+ will review the question and use this page’s manual context to help answer it.