
1. Important Safety Information
Please read all instructions carefully before using this appliance to prevent injury and property damage. Keep this manual for future reference.
- This machine is designed for household use only.
- Ensure the power supply matches the machine's requirements (110 Volts, 3 prongs).
- Do not operate the machine if the power cord or plug is damaged.
- Always unplug the machine before cleaning or performing any maintenance.
- Keep children and pets away from the machine during operation.
- Do not wash items that are soiled with gasoline, dry-cleaning solvents, or other flammable or explosive substances.
2. Product Overview
The Panda PAN56MGP3 is a compact, full-automatic portable washing machine designed for small loads and spaces such as apartments, dorms, and RVs. It features a top-load design with a durable stainless steel drum.
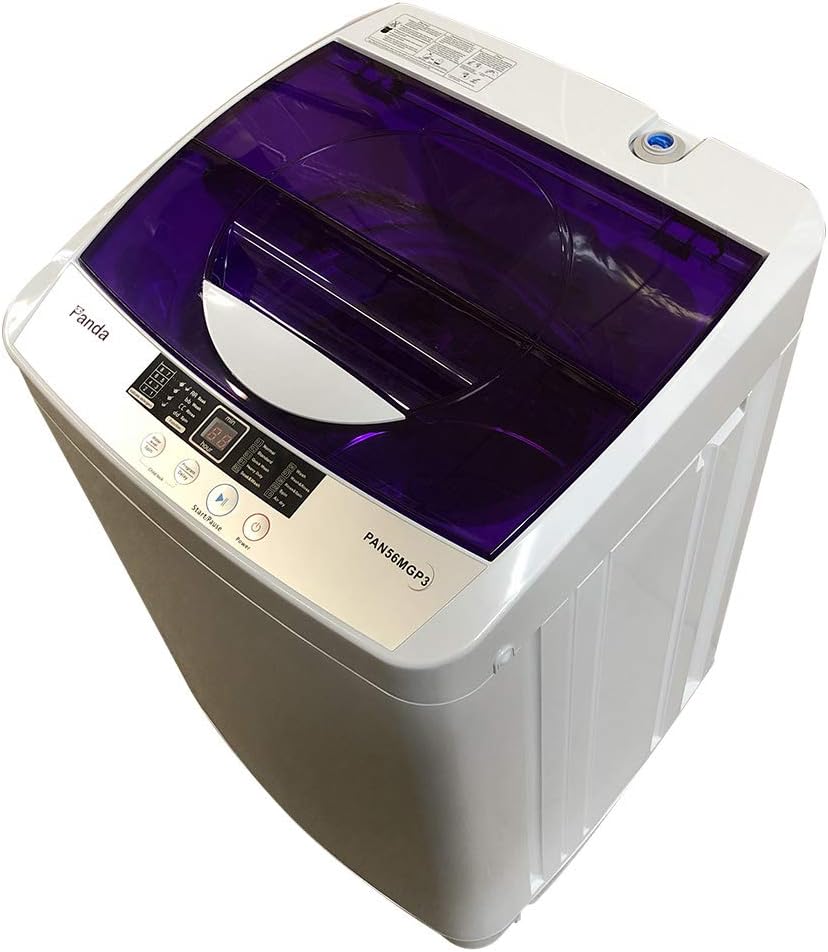
Figure 2.1: Overall view of the Panda PAN56MGP3 Portable Washing Machine.
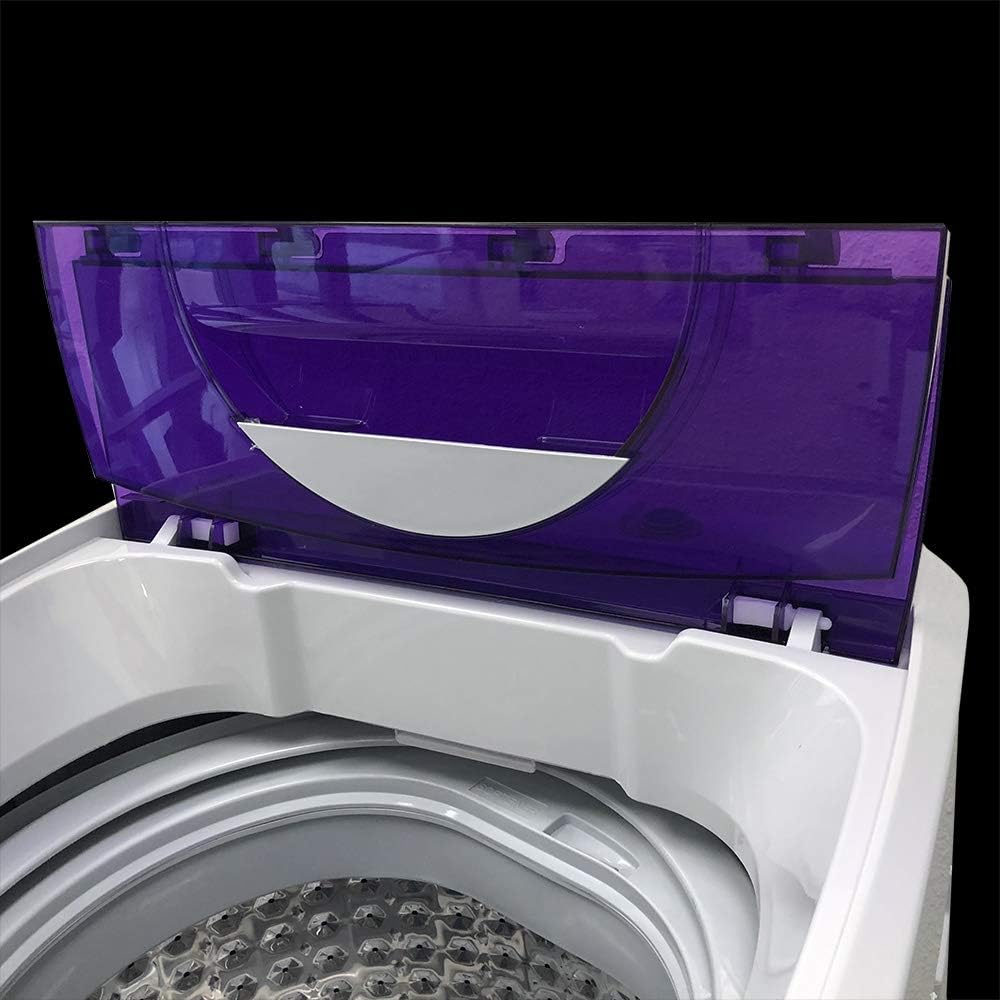
Figure 2.2: Top-load access with the lid open, revealing the drum.

Figure 2.3: Interior view of the stainless steel drum, designed for durability and rust resistance.
3. Setup
3.1 Unpacking and Initial Inspection
- Carefully remove all packaging materials.
- Inspect the machine for any shipping damage.
- Important Note: A black rectangular plastic piece located at the bottom of the machine is a motor protection part used during shipment. It is not part of the machine and must be removed before using the machine.
- Water Test Residue: To ensure product quality, all machines are water tested by the manufacturer before shipping. It is normal to find water marks or residual water inside or outside the machine. This does not indicate a used product.
3.2 Placement
- Place the washing machine on a firm, level surface to minimize vibration and noise during operation.
- Ensure adequate space around the machine for ventilation and access.
3.3 Water Inlet Connection
This machine has ONE water inlet. It connects to a standard faucet using the provided inlet hose and quick adapter.

Figure 3.1: Included inlet hose and quick adapter kit.
- Attach the quick adapter to your standard faucet. Ensure a tight seal to prevent leaks.
- Connect one end of the inlet hose to the quick adapter on the faucet.
- Connect the other end of the inlet hose to the water inlet port on the back of the washing machine.
- Adjust the water temperature directly from the faucet, as the machine does not have a built-in water heater.

Figure 3.2: Inlet hose connected to a standard faucet.

Figure 3.3: Inlet hose connected to the machine's water inlet.
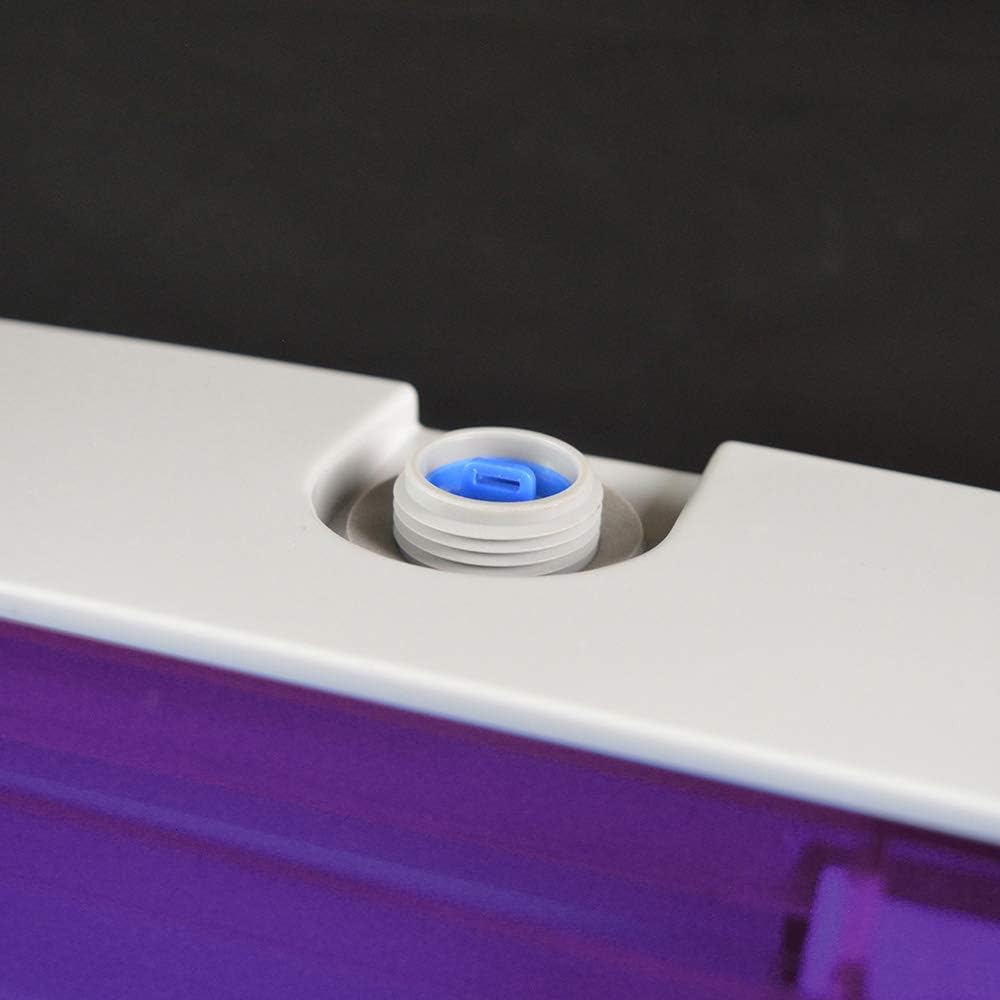
Figure 3.4: Close-up of the water inlet port on the washing machine.
3.4 Drain Hose Setup
Position the drain hose to allow for proper water drainage. The machine features upper drainage.

Figure 3.5: The drain hose, which should be securely placed for proper drainage.
- Ensure the drain hose is securely placed in a sink, bathtub, or drain pipe to prevent it from dislodging during the drain cycle.
- Do not block the drain hose, as this can cause water to back up.
3.5 Power Connection
- Plug the regular 3-prong power cord into a grounded 110V electrical outlet.
- Avoid using extension cords if possible. If one is necessary, ensure it is rated for the appliance's power requirements.
4. Operating Instructions
4.1 Control Panel Overview
The electronic controls with LED display allow for easy selection of wash programs and settings.

Figure 4.1: The control panel with various buttons and the digital display.
- Power Button: Turns the machine on/off.
- Start/Pause Button: Starts or pauses the selected wash cycle.
- Program Button: Cycles through the 10 available wash programs.
- Water Level/Spin Button: Adjusts the water level or selects spin-only function.
- Delay Button: Sets a delayed start time for the wash cycle.
- Child Lock: Activates/deactivates the child lock feature (refer to specific instructions on the panel).
- LED Display: Shows remaining time, selected program, and error codes.
4.2 Loading Laundry
- Do not overload the machine. The maximum capacity is 10 lbs (1.34 cu. ft.). Overloading can affect washing performance and cause imbalance during spin cycles.
- Distribute laundry evenly around the drum to prevent excessive vibration.
- Add appropriate detergent to the dispenser.
4.3 Selecting a Wash Program
The machine offers 10 wash programs:
- Normal
- Standard
- Quick Wash
- Heavy Duty
- Soak & Wash
- Wash
- Wash & Rinse
- Rinse & Spin
- Spin
- Air Dry
Press the Program button repeatedly to select the desired wash cycle. The corresponding indicator on the control panel will light up.
4.4 Water Level Settings
There are 5 water level settings available. Press the Water Level/Spin button to select the appropriate water level for your load size.
4.5 Starting a Wash Cycle
- After loading laundry, adding detergent, and selecting your program and water level, close the lid.
- Press the Start/Pause button to begin the wash cycle.
- The machine will automatically fill with water, wash, rinse, and spin according to the selected program.
5. Maintenance
5.1 Cleaning the Exterior
- Wipe the exterior of the machine with a soft, damp cloth. Do not use abrasive cleaners or solvents.
5.2 Cleaning the Drum
- Periodically run a cleaning cycle with a washing machine cleaner or a mixture of vinegar and baking soda to prevent odors and residue buildup.
- After each use, leave the lid open for a period to allow the interior to air dry and prevent mildew.
5.3 Filter Maintenance
While not explicitly detailed, most washing machines have a lint filter or drain pump filter that requires periodic cleaning. Consult the full product manual for specific instructions on locating and cleaning any internal filters.
5.4 Storage
- If storing the machine for an extended period, drain all water from the hoses and drum.
- Store in a dry, well-ventilated area, away from direct sunlight and extreme temperatures.
6. Troubleshooting
Before contacting customer support, please refer to the following common issues and solutions:
| Problem | Possible Cause | Solution |
|---|---|---|
| Machine does not start | Power cord not plugged in; Lid not closed properly; Program not selected. | Check power connection; Ensure lid is fully closed; Select a wash program. |
| Excessive vibration/noise | Machine not level; Laundry unevenly distributed; Shipping protection not removed. | Adjust leveling feet; Redistribute laundry; Remove the black motor protection piece from the bottom. |
| Water leakage | Hoses not securely connected; Drain hose dislodged. | Tighten all hose connections; Secure the drain hose properly. |
| Water not draining | Drain hose kinked or blocked; Drain pump filter clogged (if applicable). | Check and clear drain hose; Clean drain pump filter (refer to full manual). |
| Clothes not clean | Overloading; Insufficient detergent; Incorrect program selection. | Reduce load size; Use appropriate amount of detergent; Select suitable wash program. |
7. Specifications
| Feature | Detail |
|---|---|
| Brand | Panda |
| Model | PAN56MGP3 |
| Capacity | 1.34 Cubic Feet (approx. 10 lbs) |
| Dimensions (D x W x H) | 20 x 19 x 34 inches |
| Item Weight | 58 pounds |
| Voltage | 110 Volts |
| Motor Rate | 310 Watts |
| Wash Programs | 10 |
| Water Levels | 5 |
| Tub Material | Stainless Steel |
| Color | Light Gray & Purple |
| Max Spin Speed | 800 RPM |
| Noise Level | 74 dB |
| Included Components | Inlet hose with faucet adaptor, Regular 3 prongs Power Cord |
8. Warranty and Support
8.1 Manufacturer's Warranty
This Panda washing machine comes with a 1-Year Manufacturer's Warranty from the date of purchase. This warranty covers defects in materials and workmanship under normal use.
Please retain your proof of purchase for warranty claims.
8.2 Customer Support
For technical assistance, troubleshooting beyond this manual, or warranty inquiries, please contact Panda customer support. Refer to the product packaging or the manufacturer's official website for the most current contact information.