
Introduction
Thank you for purchasing the Magic Chef MCSTCW30W4 3.0 Cubic Foot Compact Washer. This manual provides essential information for the safe installation, operation, and maintenance of your new appliance. Please read it thoroughly before use and retain it for future reference.
This compact top-load washer is designed for small spaces, offering convenience with its electronic controls, LED display, and multiple wash cycles. Its stainless steel inner tub ensures durability.
Important Safety Information
Always follow basic safety precautions when using electrical appliances to reduce the risk of fire, electric shock, or injury.
- Read all instructions before using the appliance.
- Do not wash articles that have been previously cleaned in, washed in, soaked in, or spotted with gasoline, dry-cleaning solvents, or other flammable or explosive substances, as they emit vapors that could ignite or explode.
- Do not allow children to play on or in the appliance. Close supervision of children is necessary when the appliance is used near children.
- Before the appliance is removed from service or discarded, remove the door to the washing compartment.
- Do not reach into the appliance if the tub or agitator is moving.
- Do not install or store this appliance where it will be exposed to the weather or freezing temperatures.
- Do not tamper with controls.
- Do not repair or replace any part of the appliance or attempt any servicing unless specifically recommended in the user-maintenance instructions or in published user-repair instructions that you understand and have the skills to carry out.
- Always disconnect the appliance from the power supply before cleaning or performing any maintenance.
Setup and Installation
1. Unpacking
Carefully remove all packaging materials. Ensure all components are present: washer unit, bottom cover, screw, quick connect adapter, water intake cap, and two water supply hoses.
2. Location Requirements
Place the washer on a firm, level surface. Ensure there is adequate space around the unit for ventilation and connections. Avoid direct sunlight or extreme temperatures.
3. Installing the Bottom Cover
Attach the bottom cover to the base of the washer using the provided screw. This helps reduce noise and protects internal components.
4. Connecting Water Hoses
Connect the two water supply hoses to the hot and cold water inlets on the back of the washer. Connect the other ends to your household hot and cold water faucets. Use the quick connect adapter for sink faucet connections if needed. Ensure all connections are tight to prevent leaks.
5. Drain Hose Setup
Position the drain hose into a utility sink or standpipe. Ensure the hose is securely fastened to prevent it from dislodging during the drain cycle, which could cause flooding.
6. Leveling the Washer
Adjust the leveling feet at the bottom of the washer until the unit is stable and level. An unlevel washer can cause excessive vibration and noise during operation.
7. Power Connection
Plug the power cord into a grounded electrical outlet. Do not use extension cords.

Image: Washer dimensions. This image illustrates the overall dimensions of the compact washer, including height, width, and depth, which are important for placement and installation.
Operating Instructions
1. Control Panel Overview

Image: Control Panel. This image shows a detailed view of the washer's control panel, highlighting the LED display, cycle selection buttons, water level, and temperature controls.
The control panel features an LED display, buttons for selecting wash cycles, water levels, temperature settings, and a delay start function. The 'ON/OFF' button powers the unit, and 'START/PAUSE' controls the cycle progression.
2. Loading Laundry
Open the soft-close lid. Load clothes loosely into the stainless steel inner tub. Do not overload the washer, as this can affect cleaning performance and cause excessive wear. For best results, distribute items evenly.
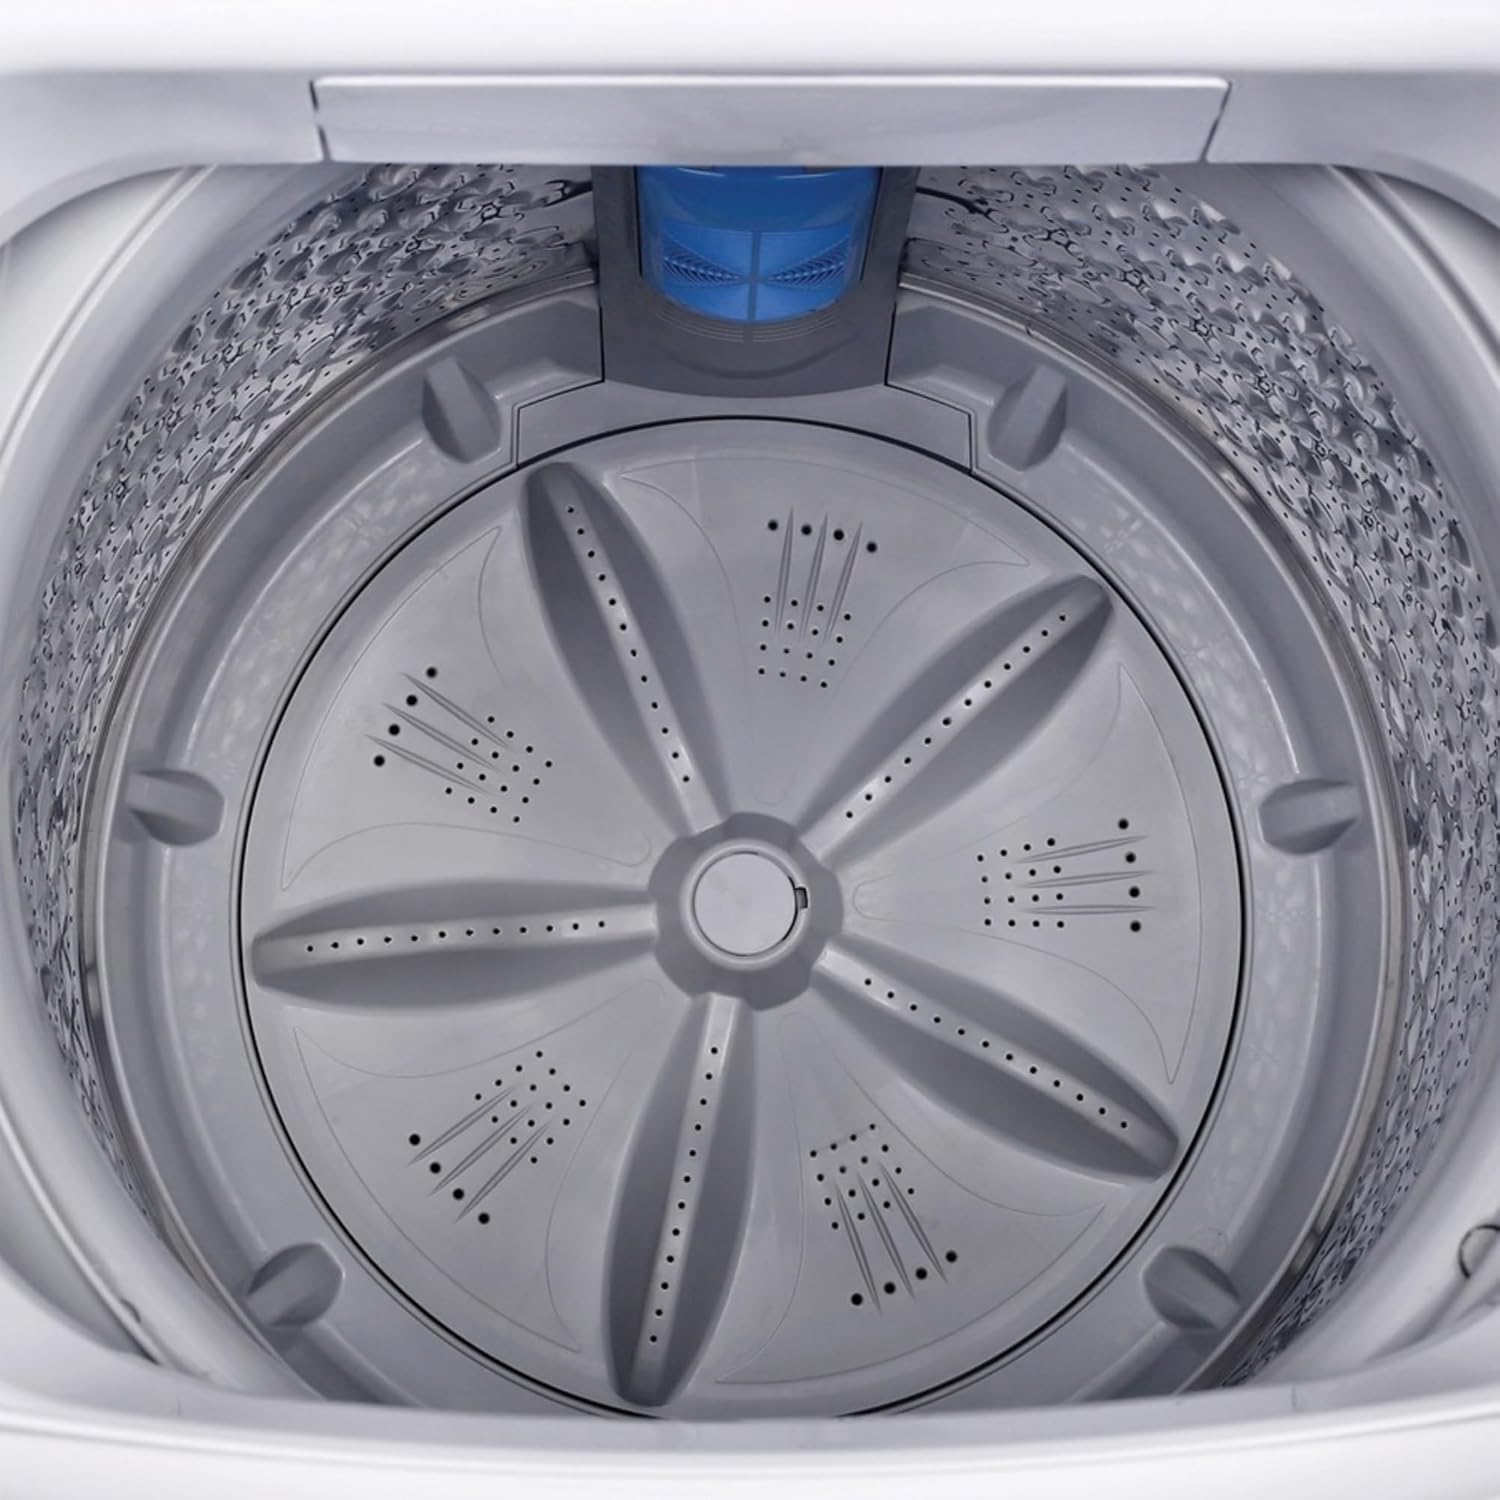
Image: Washer Tub Interior. This image provides a clear view inside the washer's stainless steel tub, showing the agitator and the textured surface designed for effective cleaning.
3. Adding Detergent
Add the appropriate amount of detergent to the detergent dispenser. Refer to your detergent's instructions for recommended quantities based on load size and soil level.
4. Selecting Wash Cycles
Choose from 6 fully automatic wash cycles using the cycle selection buttons on the control panel. Common cycles include Normal, Delicates, Heavy Duty, Quick Wash, and Rinse. Select the cycle that best suits your laundry type.
5. Adjusting Water Level and Temperature
Select one of the 3 available water level settings based on your load size. Choose from 3 temperature controls (Hot, Warm, Cold) according to fabric care instructions.
6. Using Delay Start
The delay start function allows you to set a time for the wash cycle to begin automatically. Press the 'Delay Start' button and adjust the desired delay time before pressing 'START/PAUSE'.
7. Starting a Cycle
After loading laundry, adding detergent, and selecting your desired settings, press the 'START/PAUSE' button to begin the wash cycle. The washer will automatically shut off after the cycle ends.
Maintenance
1. Cleaning the Water Pump Filter
Regularly clean the water pump filter to capture and collect debris, ensuring efficient operation and preventing drainage issues. Refer to the diagram in your full manual for the exact location and removal instructions.
2. Cleaning the Washer Exterior
Wipe the exterior surfaces with a soft, damp cloth. Avoid abrasive cleaners or solvents that could damage the finish.
3. Cleaning the Inner Tub
Periodically run a cleaning cycle with a washing machine cleaner or a mixture of vinegar and baking soda to remove detergent residue and odors from the stainless steel tub.
4. Winterizing (for infrequent use in cold environments)
If the washer will not be used for an extended period in an area subject to freezing temperatures, drain all water from the hoses and pump to prevent damage. Consult a qualified technician if unsure.
Troubleshooting
Before contacting service, review the following common issues and solutions:
- Washer does not start: Ensure the power cord is securely plugged in, the lid is closed, and the 'START/PAUSE' button has been pressed. Check if a circuit breaker has tripped.
- Excessive noise or vibration: Verify the washer is level. Ensure the load is balanced inside the tub. Remove any shipping bolts or packing materials if recently installed.
- Clothes are still wet after spin cycle: An unbalanced load can prevent proper spinning. Redistribute clothes and restart the spin cycle. Ensure the drain hose is not kinked or blocked, and the water pump filter is clean.
- Water leaks: Check all hose connections for tightness. Ensure the drain hose is properly secured in the standpipe or sink.
- Unusual odor (e.g., burning rubber): This can sometimes occur with new appliances during initial use. If the smell persists or is accompanied by smoke, immediately unplug the unit and contact customer support. Ensure the washer is not overloaded.
- Water not draining: Check the drain hose for kinks or blockages. Clean the water pump filter.
For issues not resolved by these steps, please refer to the support section.
Product Specifications
| Brand Name | Magic Chef |
| Model Info | MCSTCW30W4 |
| Item Weight | 99.2 pounds |
| Product Dimensions | 24.8 x 23.7 x 39.4 inches (D x W x H) |
| Capacity | 3 Cubic Feet |
| Installation Type | Screw In |
| Special Feature | Delay Start |
| Color | White |
| Control Console | Knob |
| Standard Cycles | 6 |
| Access Location | Top Load |
| Material Type | Stainless Steel |
| Included Components | Dispenser, Drain Hose, Bottom Cover, Screw, Quick Connect Adapter, Water Intake Cap, 2 Water Supply Hoses |
| Date First Available | January 30, 2019 |
Warranty and Customer Support
For warranty information, please refer to the warranty card included with your product or visit the official Magic Chef website. If you require technical assistance, replacement parts, or have questions regarding your appliance, please contact Magic Chef customer support.
Keep your purchase receipt and model number (MCSTCW30W4) readily available when contacting support.