
Introduction
Thank you for choosing the SCITOO AH3100 OBD2 Scanner. This device is designed to assist you in diagnosing vehicle issues by reading and clearing Diagnostic Trouble Codes (DTCs), viewing live data, and performing other essential diagnostic functions. This manual provides detailed instructions for the proper use and maintenance of your scanner.
Safety Information
- Always perform automotive testing in a safe environment.
- Wear eye protection that meets ANSI standards.
- Keep clothing, hair, hands, tools, test equipment, etc., away from all moving or hot engine parts.
- Operate the vehicle in a well-ventilated work area; exhaust gases are poisonous.
- Put blocks in front of the drive wheels and never leave the vehicle unattended while running tests.
- Use extreme caution when working around the ignition coil, distributor cap, ignition wires, and spark plugs. These components create hazardous voltages when the engine is running.
- Keep a fire extinguisher suitable for gasoline/chemical/electrical fires nearby.
- Do not connect or disconnect any test equipment while the ignition is on or the engine is running.
Product Overview
The SCITOO AH3100 OBD2 Scanner features a compact design with an easy-to-read LCD display and intuitive button controls. Below is an illustration of the device components and their functions.

Figure 1: Device Layout and Buttons
This image displays the SCITOO AH3100 OBD2 scanner from a side angle, highlighting its five control buttons: Up, Down, ESC (Cancel/Return), OK (Enter/Select), and I/M (I/M Readiness). The device also features an LCD screen showing "I/M Readiness" status.
Device Components:
- LCD Display (2.4 inch): Shows test results and menu options.
- Test Cable (30 inch): Connects the scanner to the vehicle's OBD-II port.
- Up Button: Navigates up through menu items or increases data values.
- Down Button: Navigates down through menu items or decreases data values.
- ESC (Escape) Button: Exits the current menu or cancels an operation.
- OK (Enter) Button: Confirms a selection or enters a menu.
- I/M Button: Quickly checks I/M Readiness status.

Figure 2: Scanner with Test Cable and Display
This image illustrates the SCITOO AH3100 scanner, highlighting its 30-inch test cable (labeled 1) and its 2.4-inch LCD display (labeled 2). The scanner is shown in a vehicle context, emphasizing its connectivity.
Key Functions:
- Read Codes: Retrieves Diagnostic Trouble Codes (DTCs) from the vehicle's computer.
- Clean Codes: Erases DTCs and turns off the Check Engine Light (CEL).
- Datastream: Displays real-time operational parameters of the vehicle.
- Freeze Data: Captures a snapshot of sensor data when a fault occurs.
- Vehicle Information: Retrieves vehicle identification number (VIN), calibration ID, and calibration verification number (CVN).
- I/M Readiness: Checks the status of emission-related monitors.
- DTC Lookup: Provides definitions for generic (P0, P2, P3, U0) and manufacturer-specific (P1, P3, U1) codes.

Figure 3: Scanner Function List
This image shows the SCITOO AH3100 scanner with its screen displaying a list of primary functions, including "Read Codes," "Clean Codes," "Datastream," "Freeze Data," "Vehicle Information," and "I/M Readiness."
Setup Guide
- Locate the OBD-II Port: The 16-pin Data Link Connector (DLC) is usually located under the dashboard on the driver's side of the vehicle. Refer to your vehicle's service manual for the exact location if you cannot find it.
- Connect the Scanner: With the vehicle's ignition off, firmly plug the scanner's OBD-II connector into the vehicle's DLC. Ensure a secure connection.
- Power On: Turn the vehicle's ignition to the "ON" position (engine off). The scanner will automatically power on and initiate communication with the vehicle's onboard computer. If the scanner does not power on, check the connection and the vehicle's battery.

Figure 4: OBD-II Connector
This image provides a close-up view of the 16-pin OBD-II connector of the SCITOO AH3100 scanner, illustrating its design for secure connection to a vehicle's diagnostic port.
Operating Instructions
Once the scanner is connected and powered on, it will display the main menu. Use the UP and DOWN buttons to navigate through the menu options, the OK button to select an option, and the ESC button to return to the previous screen.
1. Reading Diagnostic Trouble Codes (DTCs)
- From the main menu, select "Read Codes" and press OK.
- The scanner will communicate with the vehicle and display any stored DTCs.
- Use the UP and DOWN buttons to scroll through multiple codes if present.
- Press ESC to return to the main menu.
2. Clearing Diagnostic Trouble Codes (DTCs)
Caution: Clearing DTCs erases all diagnostic data. Ensure you have recorded all codes and freeze frame data before clearing.
- From the main menu, select "Clean Codes" and press OK.
- A confirmation message will appear. Select "Yes" and press OK to proceed.
- The Check Engine Light (CEL) will turn off, and all diagnostic data will be reset.
3. Viewing Live Data
- From the main menu, select "Datastream" and press OK.
- The scanner will display real-time sensor data. Use UP and DOWN to scroll through various parameters.
- Press ESC to exit.
4. I/M Readiness Status
- Press the dedicated I/M button or select "I/M Readiness" from the main menu and press OK.
- The scanner will display the status of various emission-related monitors (e.g., Misfire Monitor, Fuel System Mon, Comp. Component).
- "OK" indicates the monitor has completed its test, while "INC" (Incomplete) or "N/A" (Not Applicable) indicates otherwise.
5. Freeze Frame Data
- From the main menu, select "Freeze Data" and press OK.
- This function displays a snapshot of operating conditions at the moment a fault code was set.
- Use UP and DOWN to view different parameters.
6. DTC Lookup
- From the main menu, select "DTC Lookup" and press OK.
- Enter the 5-digit DTC using the UP and DOWN buttons to change digits and OK to move to the next digit.
- Press OK after entering the full code to view its definition.
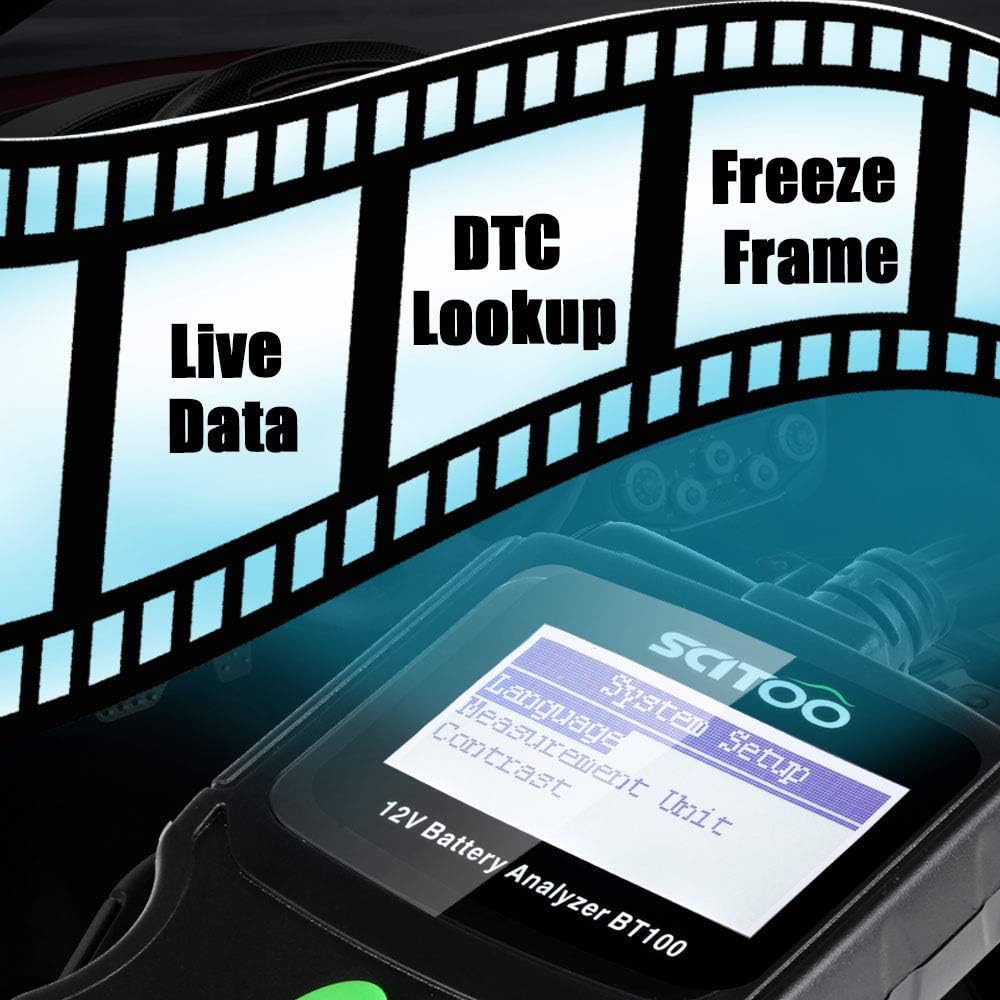
Figure 5: Advanced Diagnostic Functions
This image highlights the SCITOO AH3100 scanner's capabilities, including "Live Data," "DTC Lookup," and "Freeze Frame," as displayed on its screen.
Maintenance
- Cleaning: Clean the scanner's casing with a soft, damp cloth. Do not use abrasive cleaners or solvents.
- Storage: Store the device in a dry, clean environment away from extreme temperatures and direct sunlight when not in use.
- Cable Care: Avoid bending or twisting the OBD-II cable excessively to prevent internal damage.
Troubleshooting
| Problem | Possible Cause | Solution |
|---|---|---|
| Scanner does not power on. |
|
|
| "Communication Error" message. |
|
|
| Cannot clear codes. |
|
|
Specifications
- Model: AH3100
- Brand: SCITOO
- Display: 2.4-inch LCD
- Connectivity: Standard 16-pin OBD-II connector
- Cable Length: Approximately 30 inches
- Supported Protocols: OBD-II / EOBD / CAN
- Operating Voltage: 9-16V (from vehicle battery)
- Weight: 11.68 ounces (approximately 331 grams)
Warranty and Support
For warranty information or technical support, please refer to the documentation included with your purchase or contact SCITOO customer service directly. Contact details can typically be found on the manufacturer's official website or on the product packaging.