1. Introduction
The Thule Range Hitch Bike Rack is engineered for secure and convenient transportation of up to four bicycles on RVs and travel trailers. Its robust design is specifically adapted to withstand the dynamic forces encountered during long-distance travel, ensuring your bikes remain stable and protected. This manual provides essential information for proper assembly, operation, maintenance, and troubleshooting to ensure safe and effective use of your bike rack.
2. Safety Information
Always prioritize safety when installing and using the Thule Range Hitch Bike Rack. Failure to follow these instructions could result in property damage, personal injury, or death.
- Read and understand all instructions before installation and use.
- Ensure the bike rack is securely attached to a compatible hitch receiver on your RV or travel trailer. Refer to your vehicle's manual for hitch specifications.
- Do not exceed the maximum load capacity of 150 lbs (68 kg) or 37.5 lbs (17 kg) per bike.
- Verify that all bikes are properly secured using the anti-sway cradles and ratcheting straps before each journey.
- Be aware of the increased length and width of your vehicle when the bike rack is installed, especially when maneuvering or parking.
- This product contains chemicals known to the State of California to cause cancer and birth defects or other reproductive harm.
3. Package Contents
Carefully unpack all components and verify that all parts are present and undamaged. If any parts are missing or damaged, contact Thule customer support immediately.
- 1 x Thule Range Hitch Bike Carrier
- Mounting hardware (bolts, washers, nuts)
- Integrated cable lock and keys
- Instruction Manual

Figure 3.1: Main components of the Thule Range Hitch Bike Rack.
4. Setup and Installation
4.1 Attaching to Vehicle Hitch
- Insert the hitch arm of the bike rack into your vehicle's hitch receiver.
- Align the hitch pin hole on the rack with the hole on your vehicle's receiver.
- Insert the provided hitch pin through both holes and secure it with the locking mechanism. Ensure it is fully engaged and tight to minimize wobble.
- Confirm the rack is stable and does not excessively move within the hitch receiver.

Figure 4.1: Thule Range Hitch Bike Rack securely mounted to an RV.
5. Operating Instructions
5.1 Loading Bikes
- Lift each bicycle and place its top tube onto the rack's arms. The rack is designed to accommodate a wide variety of bike sizes and frame styles.
- Position bikes to utilize the 7-inch spacing between cradles, preventing contact during transport.
- Secure each bike using the integrated anti-sway cradles and ratcheting straps. Ensure the straps are tightened firmly around the bike frame to prevent movement.
- For optimal stability, load the heaviest bikes closest to the vehicle.
5.2 Folding Arms
When not in use, the bike rack arms can be folded down for a more compact profile. Locate the release mechanism (typically a pin or lever) at the base of the arms, disengage it, and carefully fold the arms downwards until they lock into place.
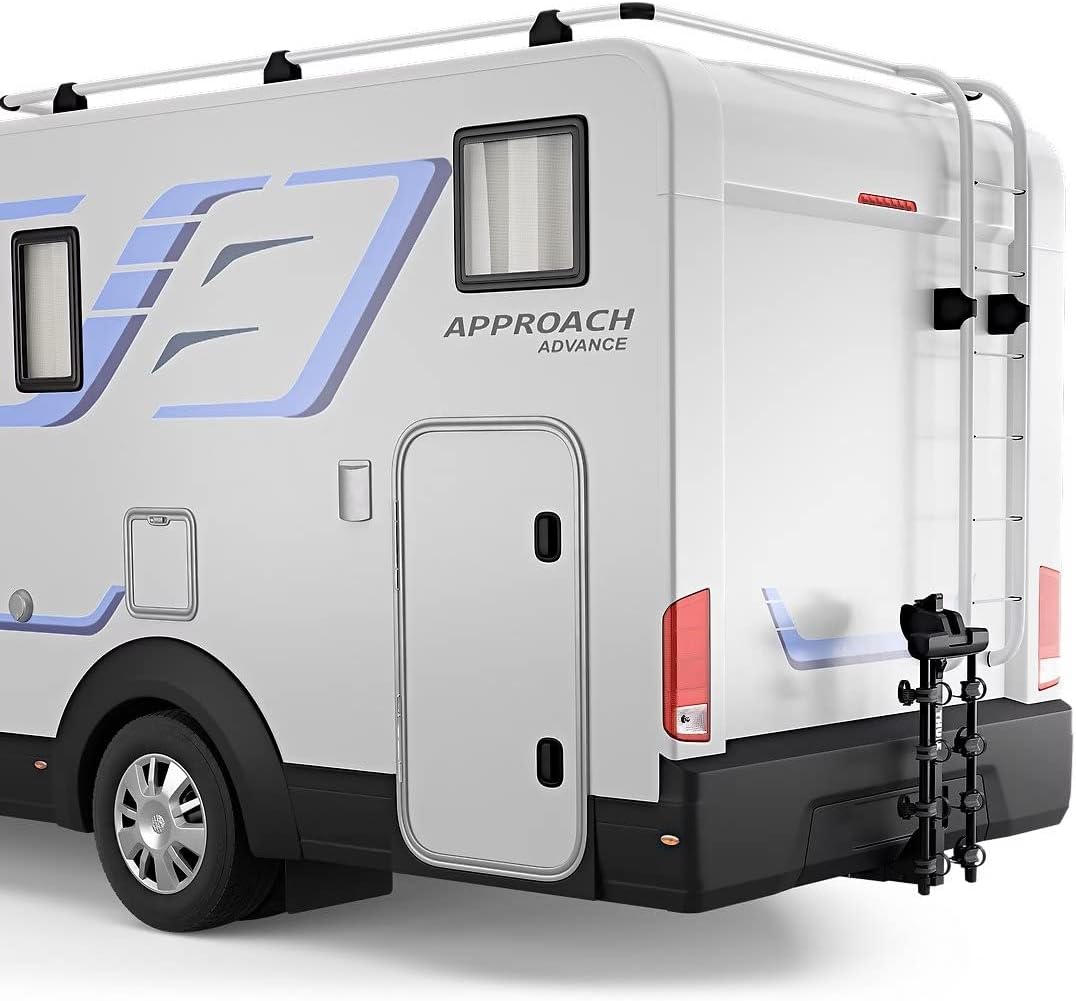
Figure 5.1: Bike rack arms folded down for storage or when not carrying bikes.
5.3 Security Features
The Thule Range includes an integrated cable lock to secure your bikes to the rack and the rack to the vehicle. Extend the cable, loop it through the bike frames and around the rack, and secure it with the key. Always remove the key after locking.
6. Maintenance
Regular maintenance ensures the longevity and safe operation of your Thule Range Hitch Bike Rack.
- Cleaning: Clean the rack regularly with mild soap and water, especially after exposure to dirt, salt, or harsh weather conditions. Rinse thoroughly and dry.
- Lubrication: Periodically lubricate moving parts, such as the folding mechanism and hitch pin, with a silicone-based lubricant to ensure smooth operation.
- Fastener Check: Before each use, check all bolts, nuts, and straps for tightness. Re-tighten as necessary.
- Storage: When not in use, store the bike rack in a dry, protected area to prevent corrosion and damage.
7. Troubleshooting
| Problem | Possible Cause | Solution |
|---|---|---|
| Rack wobbles in hitch receiver | Hitch pin not fully tightened; improper hitch fit. | Ensure the hitch pin is fully tightened. Consider using an anti-wobble device if excessive play persists. |
| Bikes are not stable on the rack | Straps not tight enough; bikes improperly positioned. | Re-tighten all ratcheting straps. Ensure bikes are seated firmly in anti-sway cradles and utilize the 7-inch spacing. |
| Integrated cable lock is stiff or stuck | Lack of lubrication; debris in mechanism. | Apply a small amount of lubricant to the cable and lock mechanism. Work the cable in and out to distribute the lubricant. |
| Plastic clips/straps appear damaged | Wear and tear; excessive force during use. | Contact Thule customer support for replacement parts. Do not use the rack with damaged components. |
8. Specifications
| Feature | Detail |
|---|---|
| Brand | Thule |
| Model Name | Range |
| Model Number | 9057 |
| Color | BLACK |
| Load Capacity | 150 lbs (68 kg) |
| Maximum Bike Weight | 37.5 lbs (17 kg) per bike |
| Product Weight | 36 lbs (16.3 kg) |
| Item Dimensions (LxWxH) | 42.1 x 11 x 35.6 inches (106.9 x 27.9 x 90.4 cm) |
| Mounting Type | Hitch Rack |
| Bike Spacing | 7 inches (17.8 cm) |
| UPC | 091021630741 |
9. Warranty Information
The Thule Range Hitch Bike Rack comes with a Limited Lifetime Warranty. This warranty covers defects in materials and workmanship for the original purchaser. For full details on warranty coverage, limitations, and how to file a claim, please refer to the official Thule website or contact customer support.
10. Customer Support
For further assistance, technical support, or to order replacement parts, please visit the official Thule website or contact their customer service department. Always have your product model number (9057) and purchase information ready when contacting support.
Visit the Thule Store: Thule Official Store


