
1. Introduction
Thank you for purchasing the Vamvo VF340 Home Projector. This manual provides essential information for setting up, operating, and maintaining your projector. Please read it thoroughly before use to ensure proper functionality and to maximize your viewing experience.
What's in the Box:
- Vamvo VF340 Video Projector
- Remote Control
- Power Adapter
- User Manual
- Warranty Card
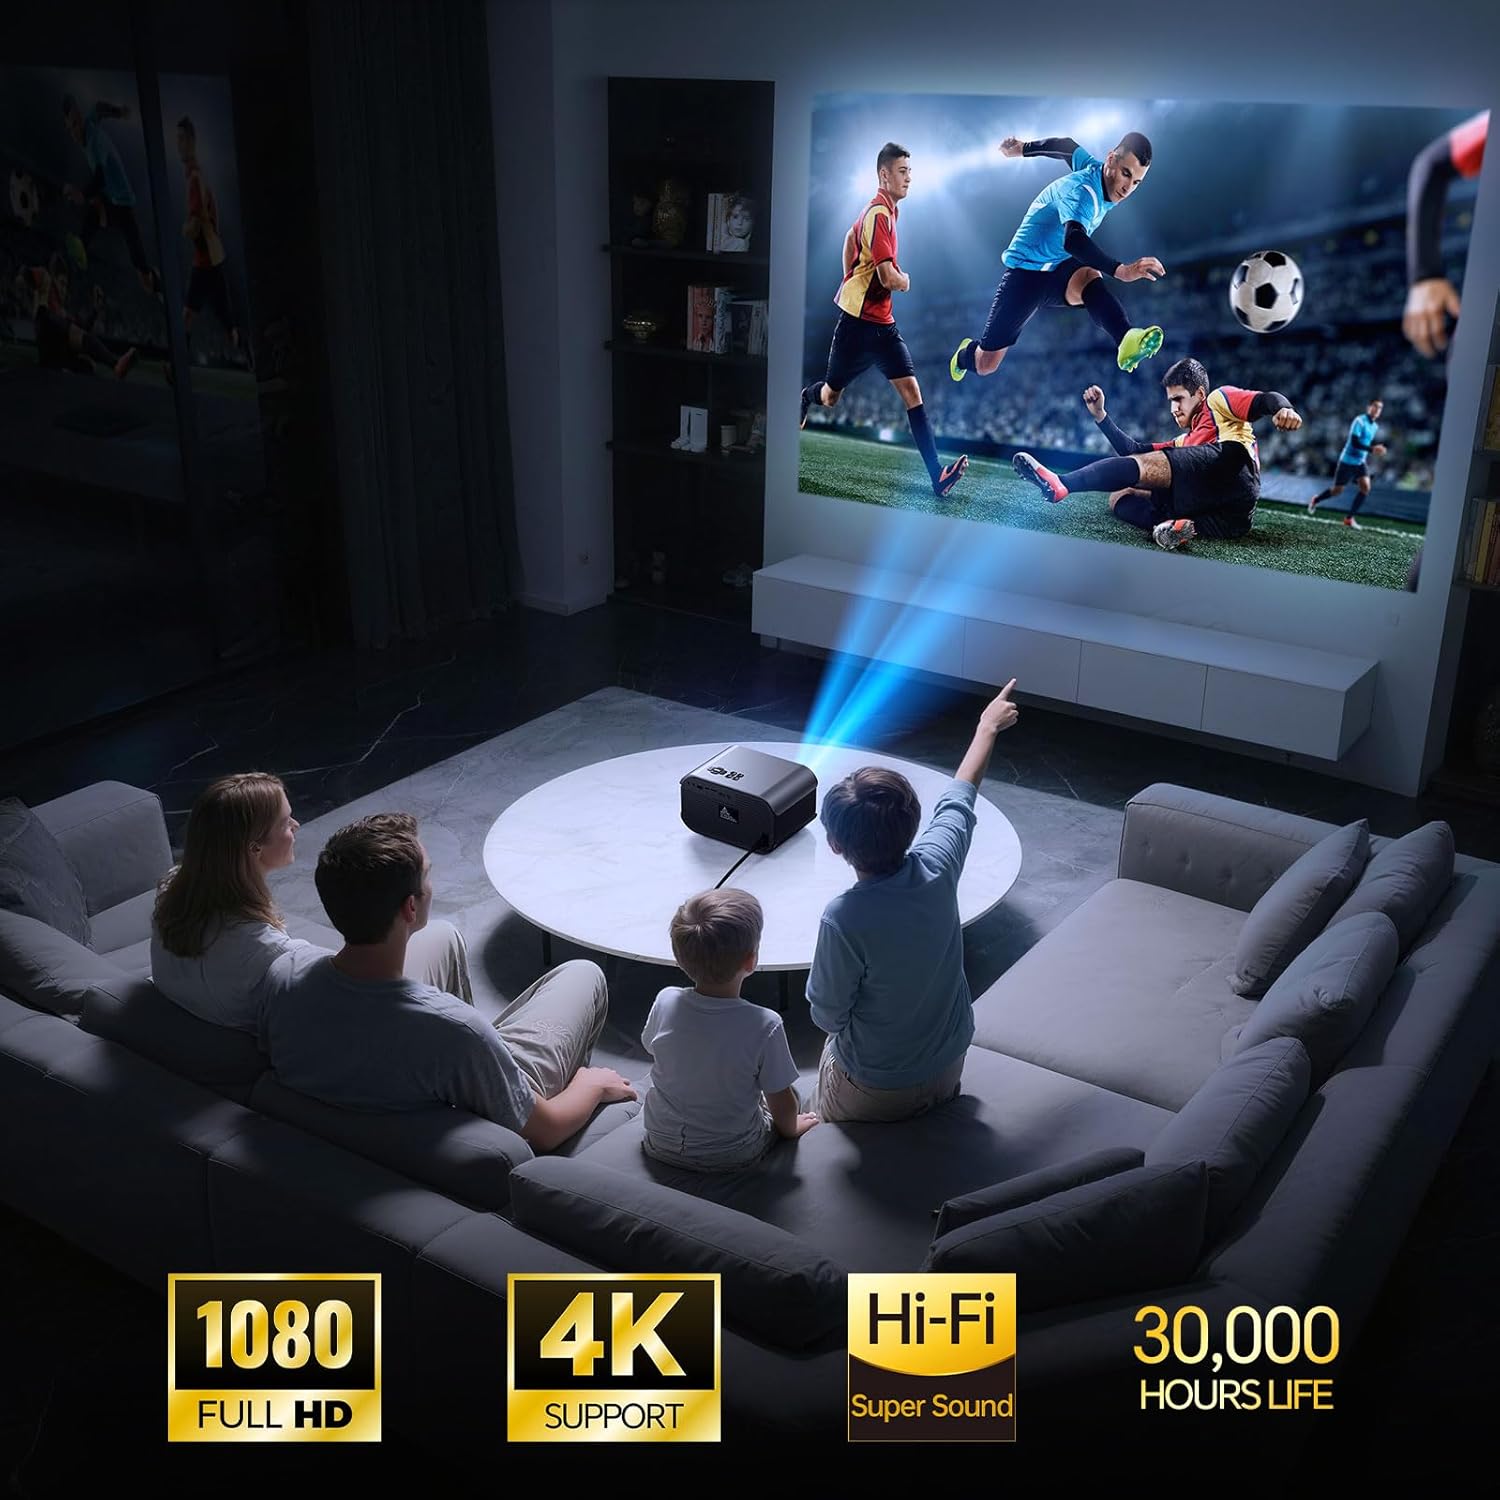
Image 1.1: The Vamvo VF340 projector in a home entertainment setting.
2. Safety Information
- Do not look directly into the projector lens when the lamp is on.
- Ensure proper ventilation around the projector to prevent overheating.
- Keep the projector away from water or other liquids.
- Use only the provided power adapter.
- Avoid placing the projector on unstable surfaces.
- Do not attempt to disassemble or repair the projector yourself. Contact customer support for assistance.
3. Product Overview
Familiarize yourself with the projector's components and connection ports.
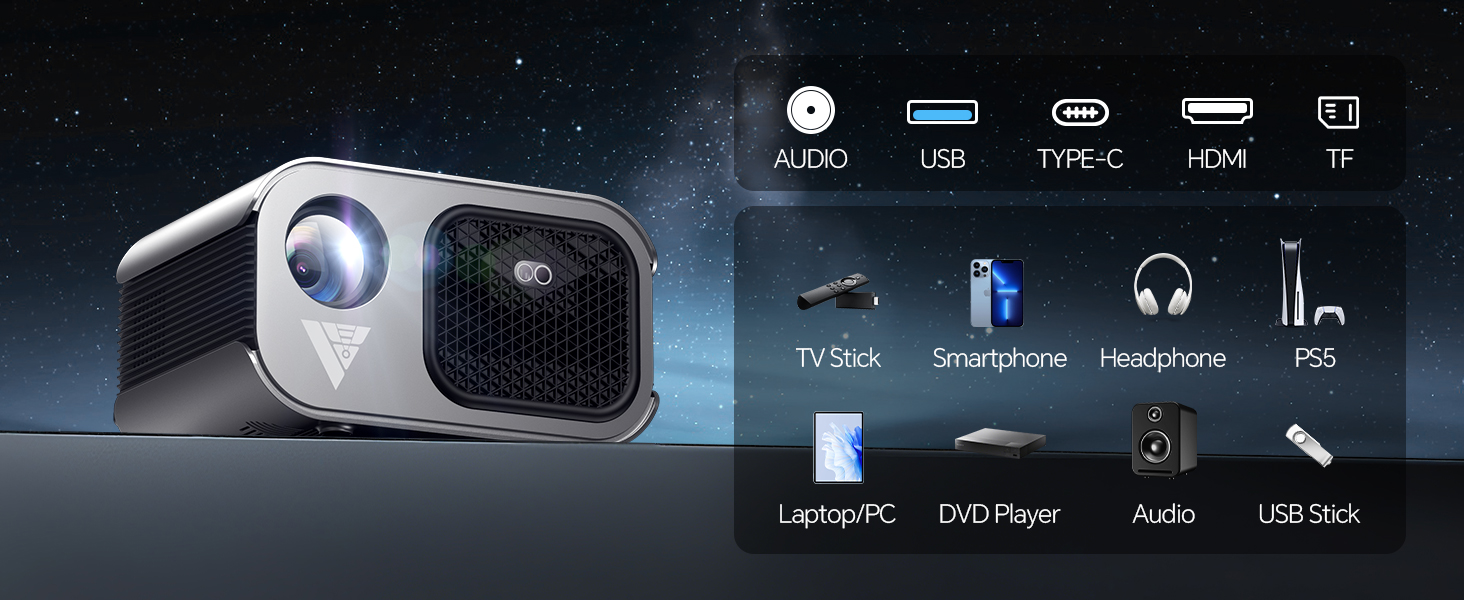
Image 3.1: Overview of the Vamvo VF340 projector with its input/output ports labeled.
Available Ports:
- DC IN: Power input.
- USB: For USB drives or connecting compatible devices.
- TYPE-C: For compatible Type-C devices.
- HDMI: For connecting devices like laptops, TV sticks, gaming consoles.
- TF: For TF (MicroSD) cards.
- AUDIO: 3.5mm audio output for headphones or external speakers.
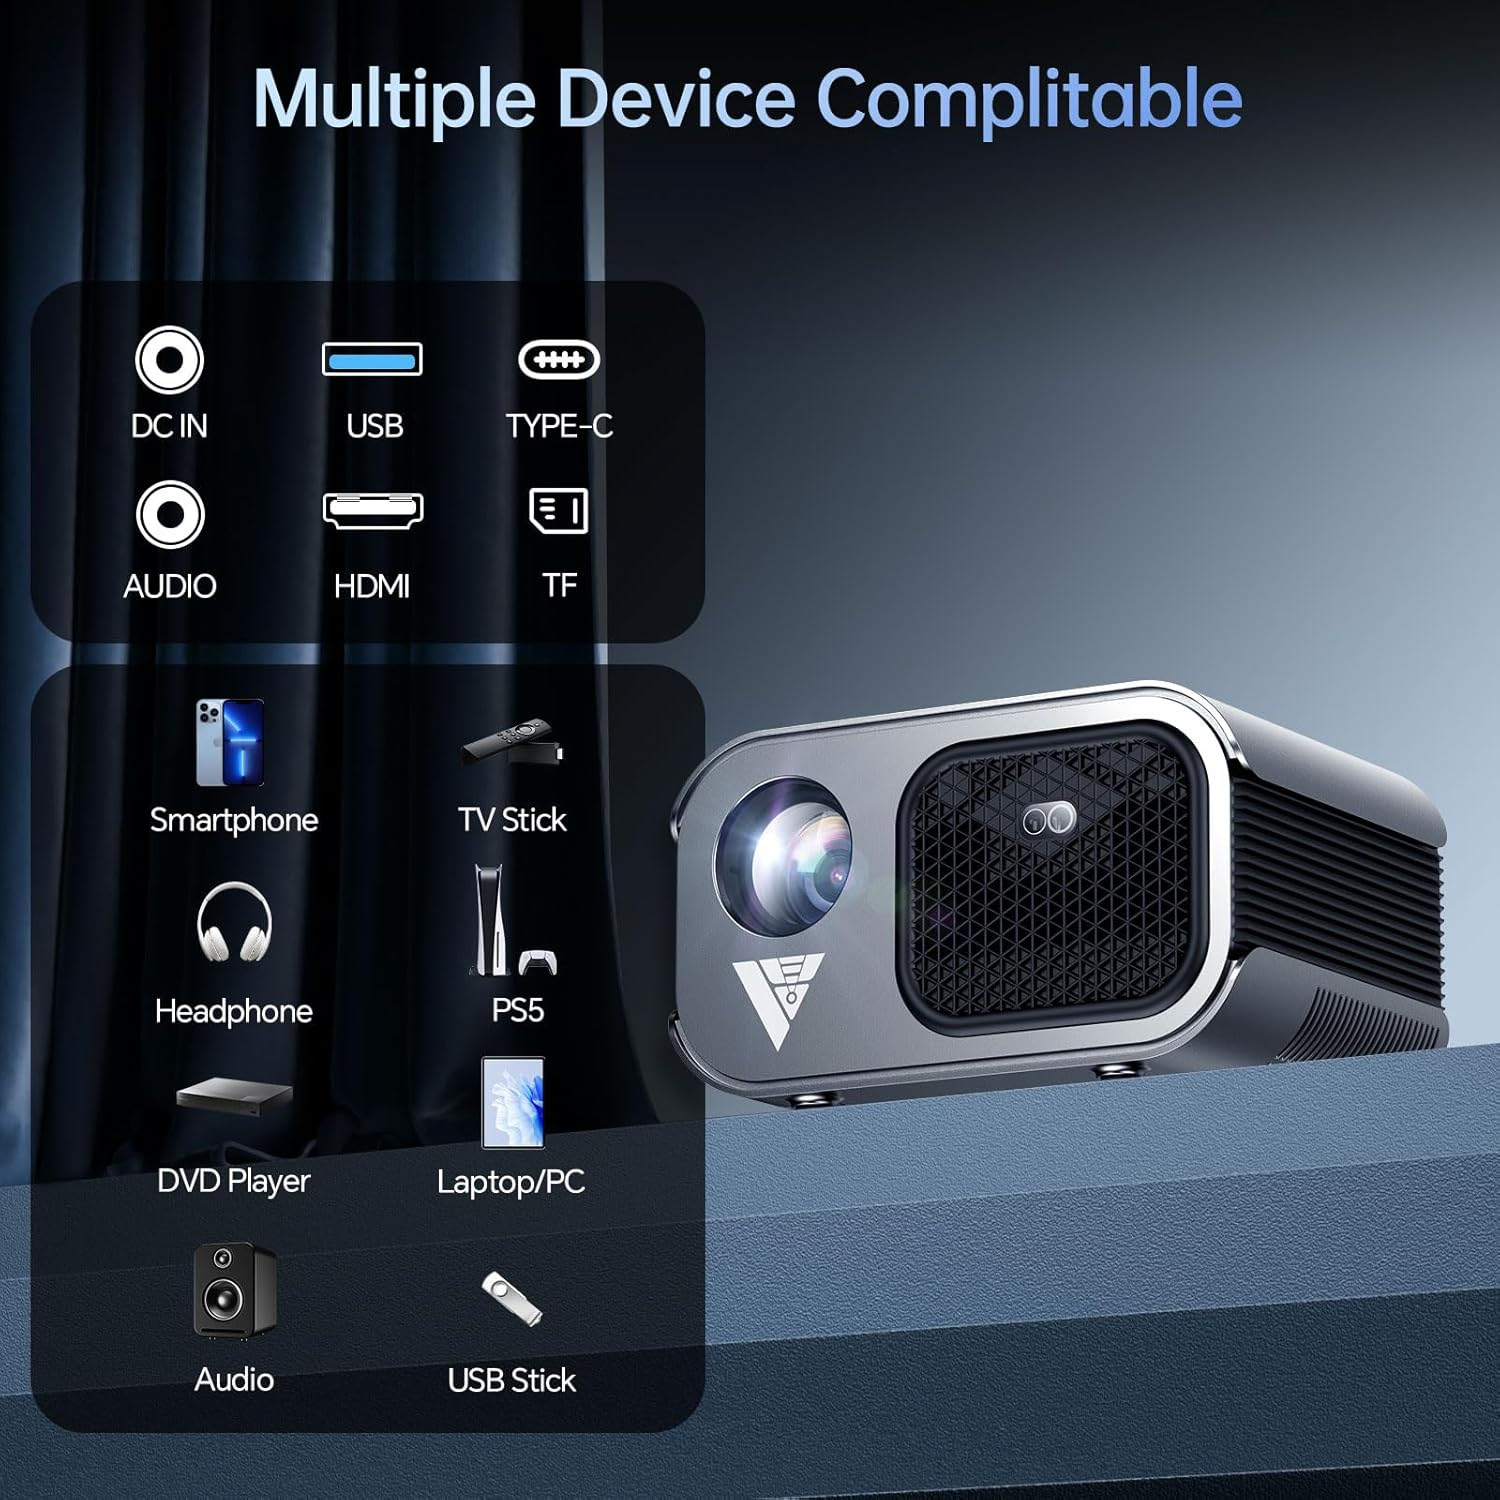
Image 3.2: The Vamvo VF340 projector supports multiple device connections.
4. Setup
4.1 Initial Placement
Place the projector on a stable, flat surface. Ensure there is enough space around the projector for proper ventilation. The projector can be placed on a table, stand, or ceiling mounted.
4.2 Power Connection
- Connect the power adapter to the DC IN port on the projector.
- Plug the power adapter into a power outlet.
- Press the power button on the projector or remote control to turn it on.
4.3 Focus and Keystone Adjustment
The Vamvo VF340 features instant focus and automatic keystone correction for a clear image.
- Focus: Press the focus button on the remote control to achieve a sharp image.
- Keystone Correction: The projector automatically adjusts the image to be rectangular, even if placed at an angle.
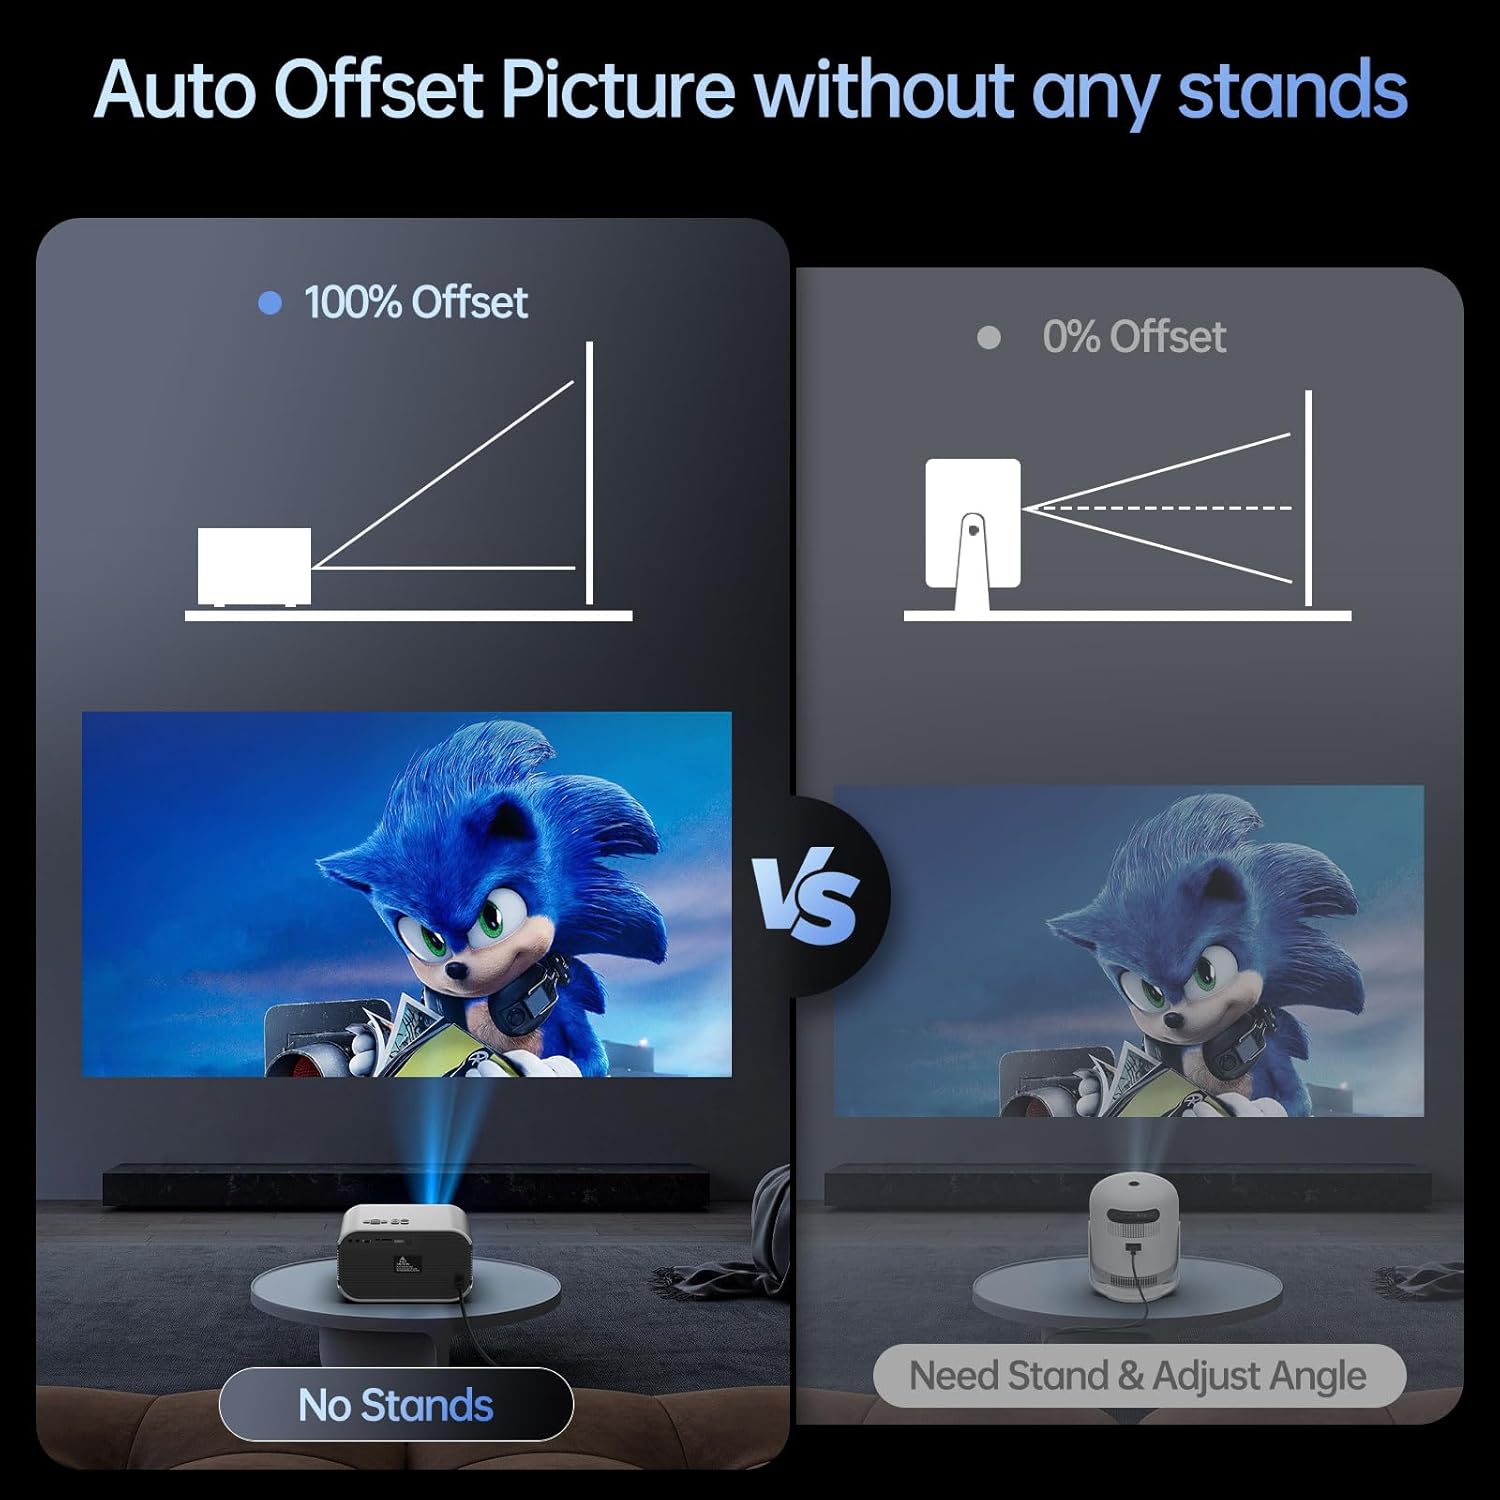
Image 4.1: Automatic keystone correction and electric focus features.
4.4 Projection Size and Distance
The projector supports a maximum display size of 200 inches. For the best projection experience, select a distance from 5ft to 10ft to project.
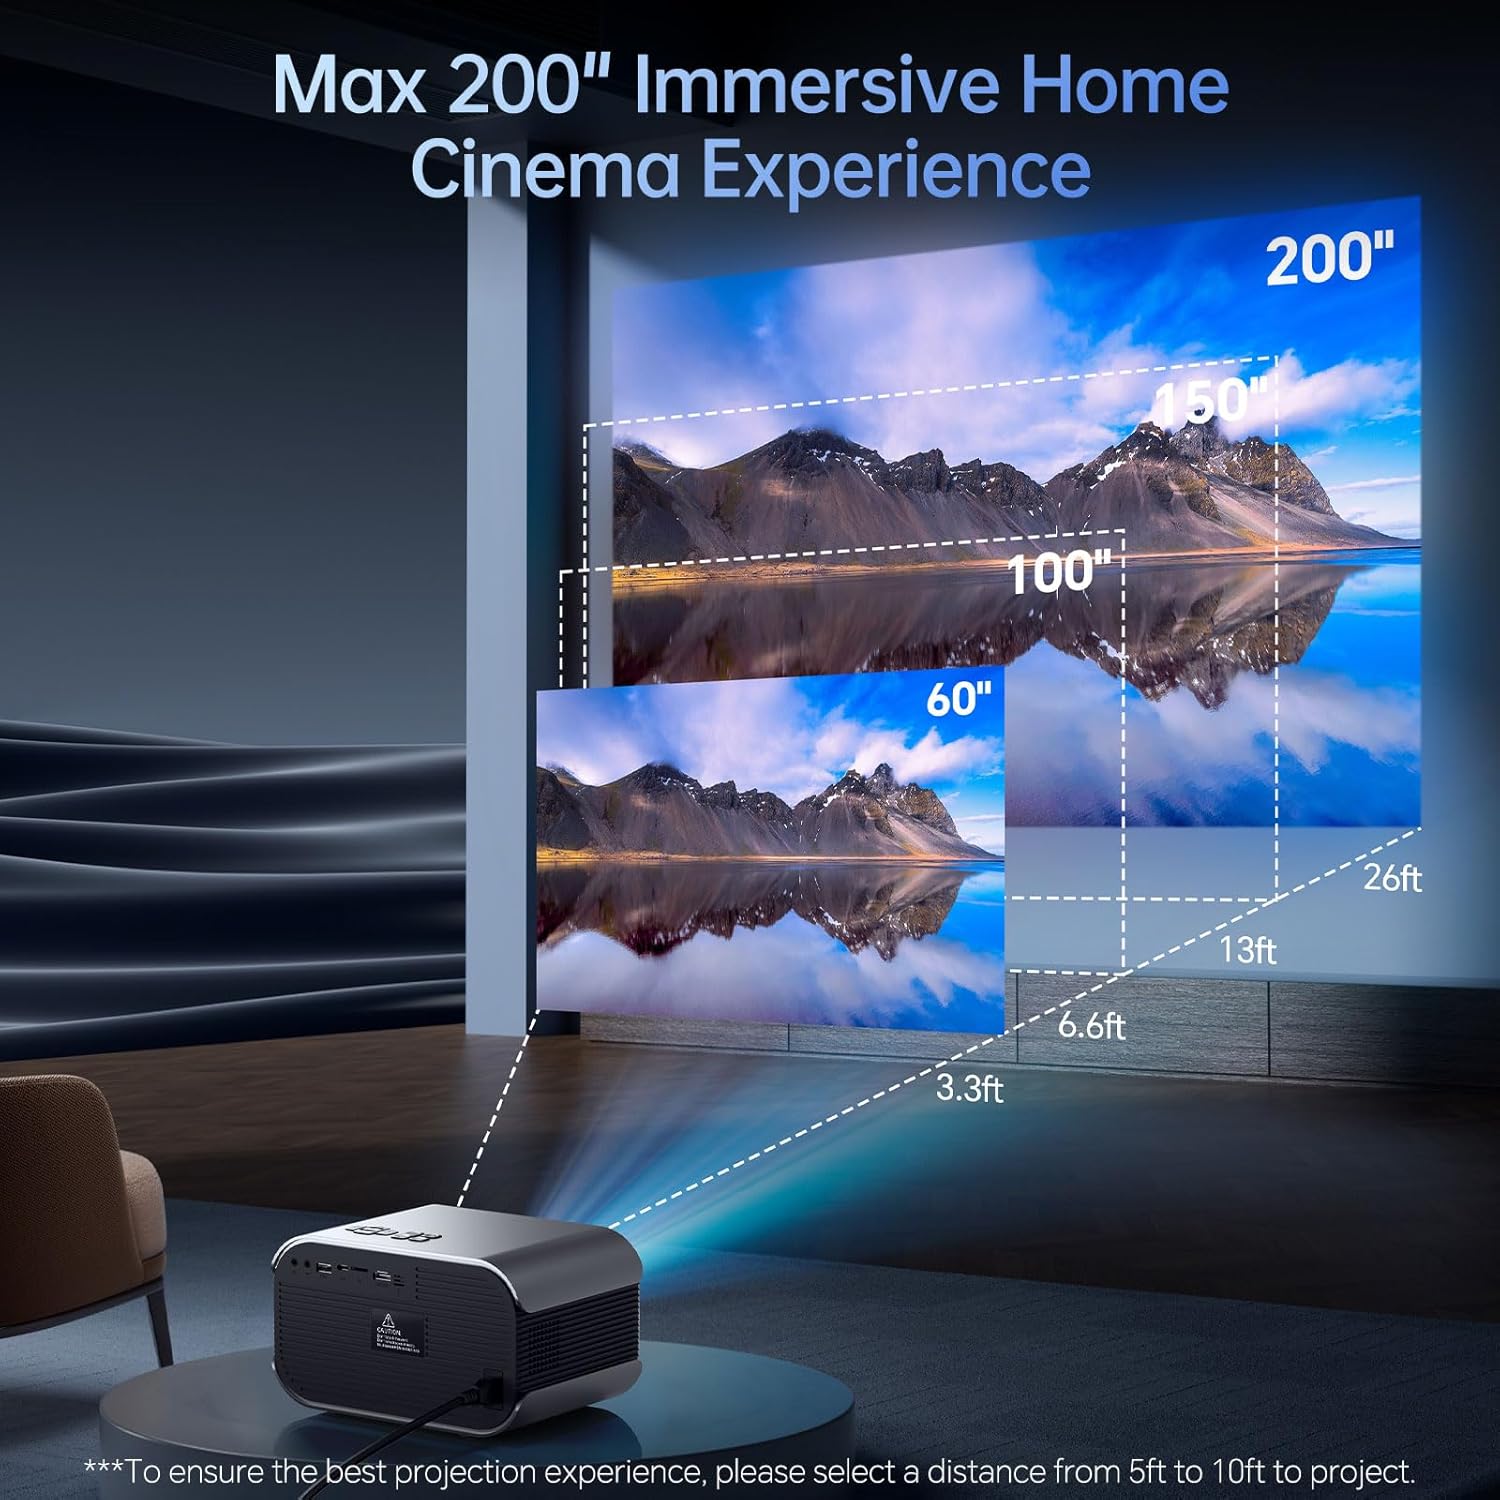
Image 4.2: Recommended projection distances for optimal viewing.
5. Operating Instructions
5.1 Connecting Devices via HDMI/USB/Type-C
Connect your external devices (e.g., laptop, TV stick, gaming console, USB drive) to the corresponding ports on the projector. The projector will automatically detect the input or you may need to select the input source from the projector's menu.
5.2 WiFi Connection (Screen Mirroring)
The projector supports dual-band 5G/2.4G WiFi for wireless screen mirroring from your smartphone or tablet.
- Navigate to the "Mirroring" option in the projector's main menu.
- Select "Wireless Connection".
- Follow the on-screen instructions to connect your mobile device (Android or iOS) to the projector's WiFi network and initiate screen mirroring.
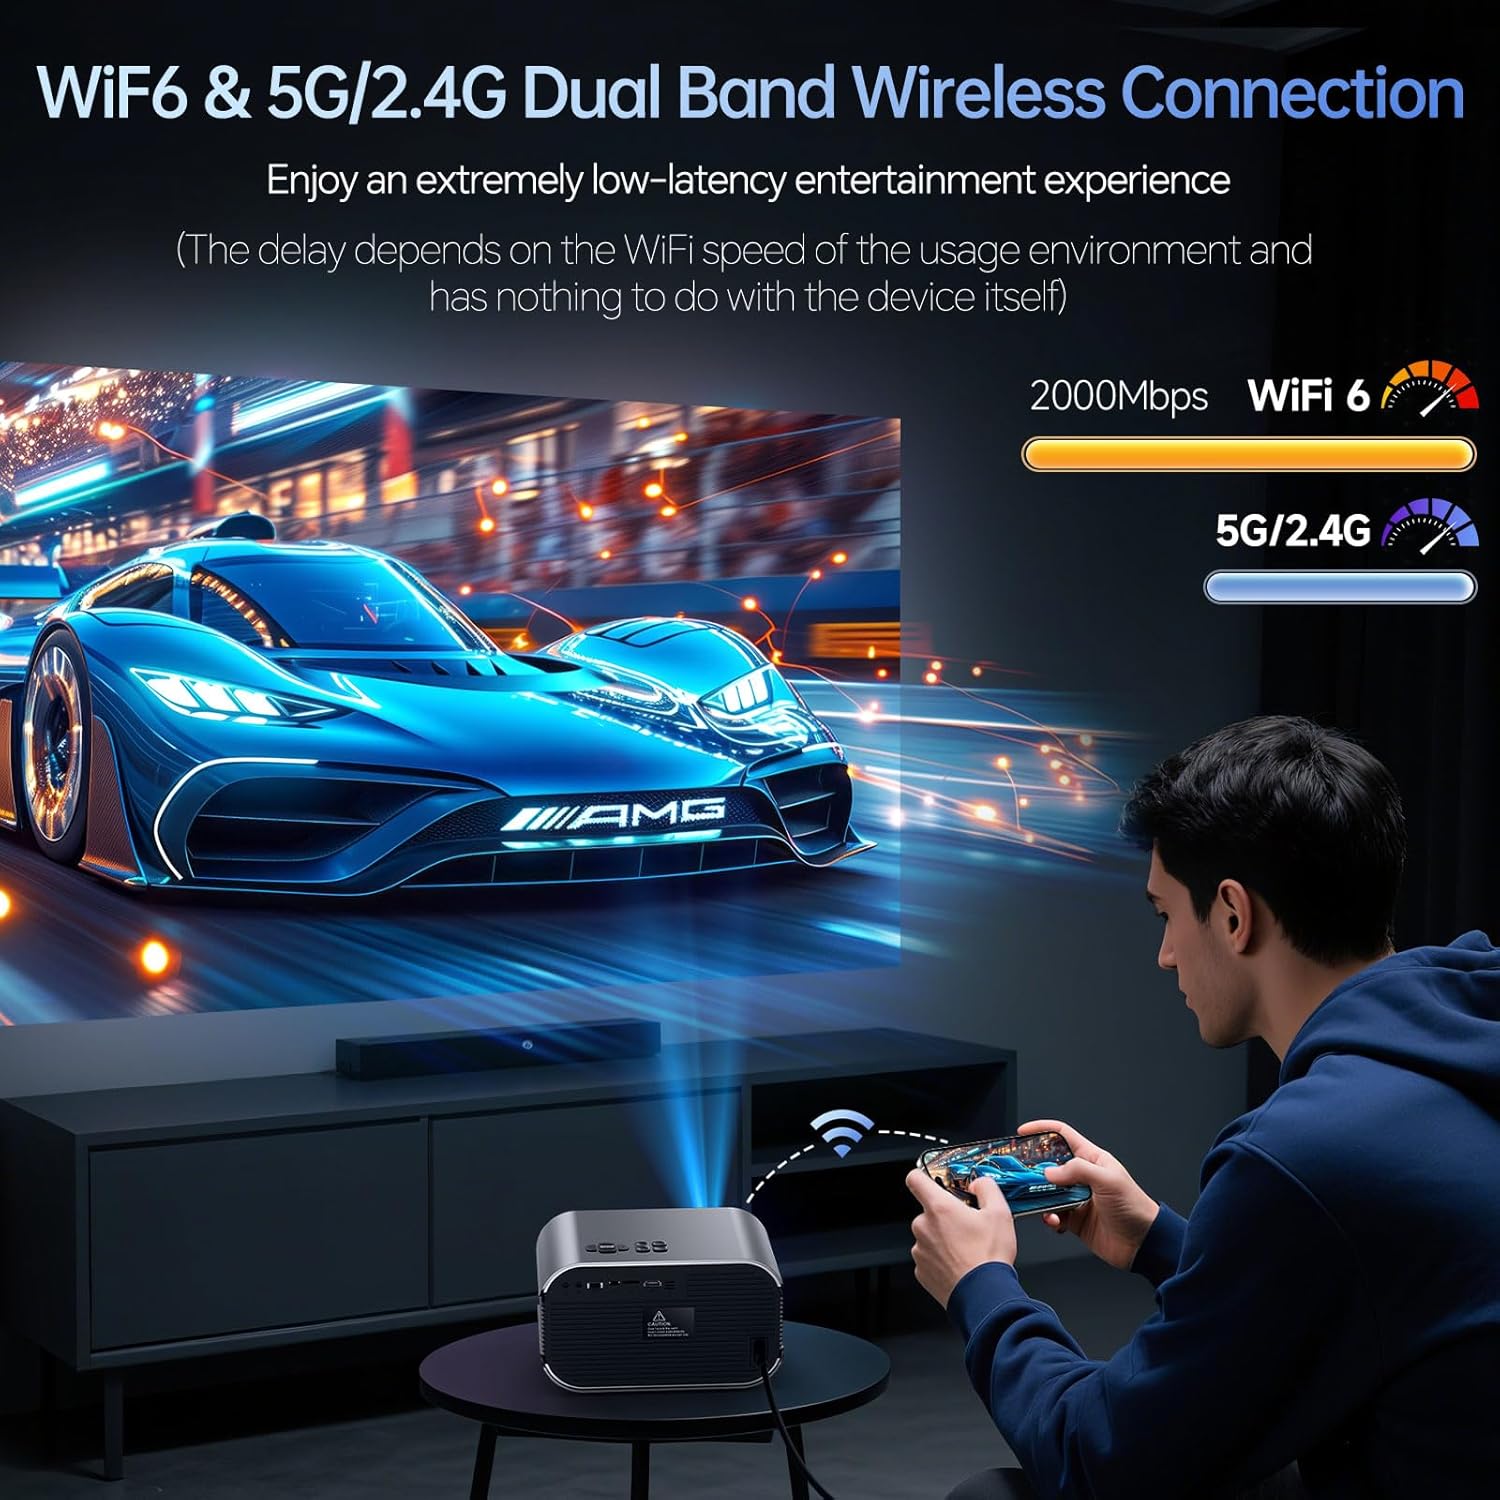
Image 5.1: Wireless screen mirroring via dual-band WiFi.
Video 5.1: Instructions on how to connect the Vamvo projector to WiFi and Bluetooth.
5.3 Bluetooth Connection (Audio Output)
The projector's Bluetooth function supports audio transmission only. You can connect external Bluetooth speakers, headphones, or soundbars to enhance the audio experience.
- Navigate to the "BT Send" option in the projector's main menu.
- Enable Bluetooth on your external audio device and put it in pairing mode.
- Select your device from the list on the projector screen to pair.
Note: The Bluetooth channel cannot be used for both input and output simultaneously. It is not possible to receive and output Bluetooth signals at the same time.
5.4 Media Playback
You can play movies, music, and photos directly from a USB drive or TF card inserted into the projector. Select the corresponding option (Movie, Music, Photo) from the main menu.
Video 5.2: Overview of the Vamvo Projector with WiFi and Bluetooth, 4K Support, Native 1080P features.
6. Maintenance
6.1 Cleaning
- Lens: Use a soft, lint-free cloth specifically designed for optical lenses. Do not use abrasive cleaners.
- Vents: The projector has removable vents for easy dust removal. Regularly clean the vents to ensure optimal airflow and prevent overheating.
- Exterior: Wipe the exterior with a soft, dry cloth.
6.2 Storage
When not in use, store the projector in a cool, dry place, away from direct sunlight and extreme temperatures. Use the original packaging or a protective case to prevent dust accumulation and damage.
7. Troubleshooting
- No Power: Ensure the power adapter is securely connected to both the projector and the power outlet. Try a different outlet.
- No Image: Check the input source selection. Ensure the connected device is powered on and sending a signal. Adjust focus and keystone.
- Blurry Image: Adjust the focus using the remote control. Ensure the projection surface is flat and the projector is within the recommended throw distance.
- No Sound: Check the volume settings on both the projector and the connected device. If using external speakers, ensure they are properly connected or paired via Bluetooth.
- WiFi Connection Issues: Ensure your mobile device is within range and connected to the correct WiFi network. Restart both the projector and your mobile device.
- Remote Control Not Working: Check the batteries in the remote control. Ensure there are no obstructions between the remote and the projector's IR receiver.
8. Specifications
| Feature | Specification |
|---|---|
| Brand | Vamvo |
| Model Number | VF340 |
| Native Resolution | 1920 x 1080 (1080P Full HD) |
| Display Resolution Maximum | 4096 x 2160 Pixels (4K Support) |
| Brightness | 3000 Lumen |
| Light Source Operating Life | 30000 Hours |
| Connectivity Technology | Bluetooth 5, HDMI, USB, Wi-Fi (5G/2.4G Dual Band), USB 3.1 Type C |
| Display Type | TFT LCD |
| Maximum Image Size | 500 Centimeters (approx. 200 inches) |
| Minimum Throw Distance | 0.6 Meters |
| Maximum Throw Distance | 3 Meters |
| Audio | 3D Stereo Hi-Fi Audio Sound Speakers |
| Control Method | Remote Control |
9. Warranty and Customer Support
Vamvo is committed to providing exceptional after-sales service for your projector.
- Warranty: Enjoy a 3-year protection plan.
- Customer Care: Lifetime customer care is provided for any concerns or issues you may encounter.
- Technical Support: We offer 24/7 support during working days.
For any questions or assistance, please refer to the contact information provided on your warranty card or visit the official Vamvo website.


