Introduction
This manual provides comprehensive instructions for the safe installation, operation, and maintenance of your Progress Lighting AirPro Collection 52-inch Five-Blade Ceiling Fan. Please read all instructions carefully before beginning installation and retain this manual for future reference.
Your 52-inch ceiling fan features two lights, five reversible blades, and a white etched glass bowl. It is equipped with a powerful AirPro motor offering 3-speed control and reversible functionality for year-round comfort. Two medium-based LED lamps are included (non-dimmable) for energy efficiency. The dual mount canopy is designed to accommodate both flat and sloped ceilings. This model features a Brushed Nickel finish.
Safety Information
WARNING: To reduce the risk of fire, electric shock, or personal injury, mount fan to outlet box marked "ACCEPTABLE FOR FAN SUPPORT OF 35 LBS. (15.9 KG) OR LESS" and use mounting screws provided with the outlet box. Outlet boxes commonly used for the support of lighting fixtures may not be acceptable for fan support. Consult a qualified electrician if in doubt.
Always disconnect power at the circuit breaker before attempting any installation, maintenance, or repair. Ensure all electrical connections comply with local codes and ordinances.
Proposition 65 Warning: Please check your local laws before purchasing this product.
Choosing the Right Fan
Selecting the appropriate ceiling fan for your space involves considering several factors, including indoor/outdoor use, ceiling height, desired features, and room size. The following video and image provide guidance on making the best choice for your home.
Video: Guide on how to select the perfect Progress Lighting ceiling fan in 5 steps, covering indoor/outdoor use, height, features, size, and style.

Image: Chart recommending fan sizes (in inches) based on room size (in square feet) for optimal air circulation.
Package Contents
Before beginning installation, carefully unpack all components and verify that all parts are present and undamaged. Refer to the included installation sheet for a detailed list of parts.
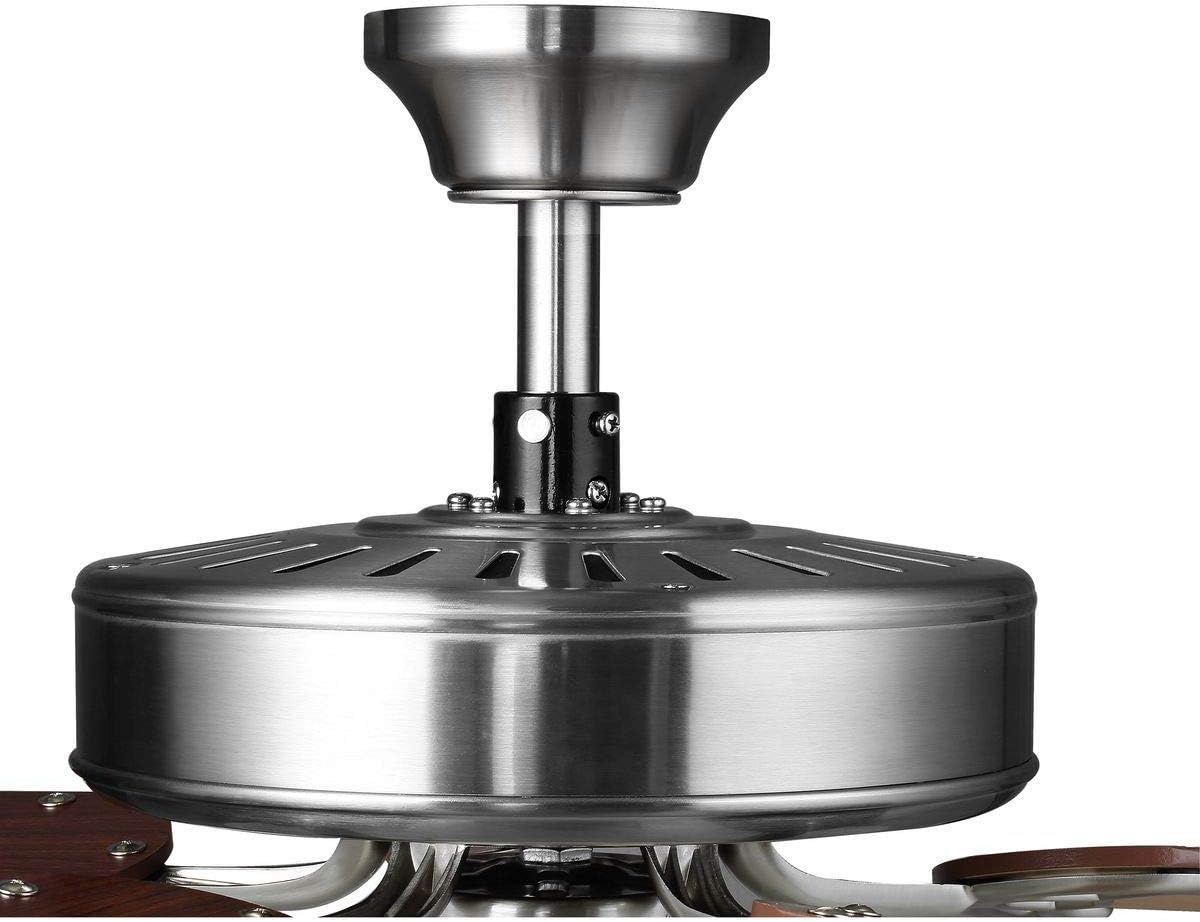
Image: All components of the ceiling fan laid out on a wooden surface, including the motor housing, blades, light kit, downrod, and hardware.
Setup & Installation
Professional installation is recommended for this ceiling fan. Ensure power is disconnected at the circuit breaker before proceeding.
Tools Required
- Phillips Head Screwdriver
- Step Ladder
- Wire Strippers
- Adjustable Wrench (if needed)
Mounting Options
Ensure the intended mounting location is a secure ceiling fan-rated metal box, capable of supporting at least 35 lbs (15.9 kg). For mounting locations between support beams, a product like the Hubbell Raco Kwik-Brace ceiling fan rated support brace (Catalog ID: 926) may be used.
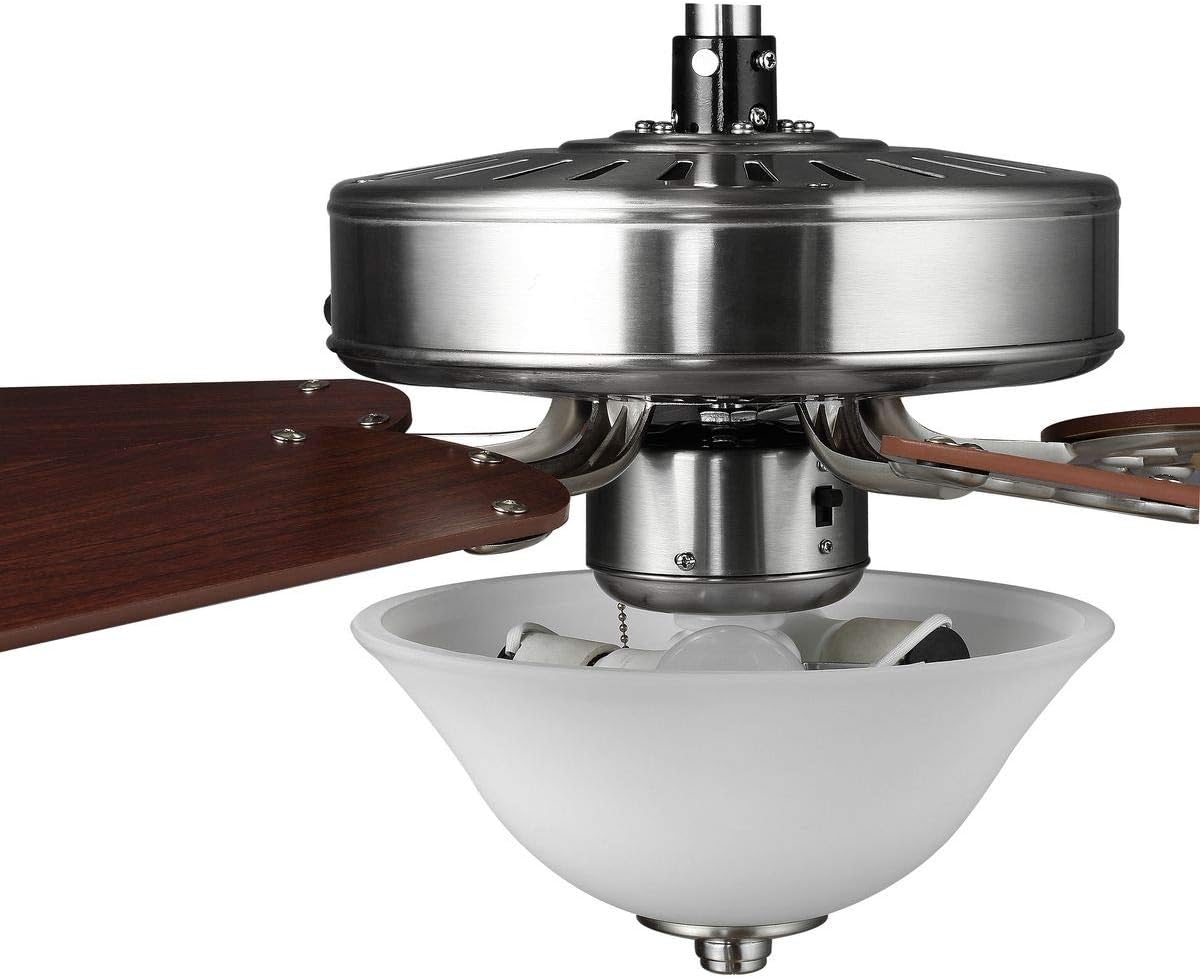
Image: Downrod selection guide illustrating recommended downrod lengths based on ceiling height to maintain at least 7 feet (84 inches) from the floor to the bottom of the fan.
Downrod Assembly
Remove the clevis pin and cotter pin from the downrod. Prepare the canopy cover and coupling cover by sliding them onto the downrod. Align the downrod with the coupling on the fan motor housing, carefully guiding the wires. Reinstall the clevis pin and cotter pin, ensuring wires are not damaged. Tighten the set screws to secure the downrod and prevent wobble.

Image: Step-by-step diagram showing how to assemble the downrod with the hanger pin, locking pin, and downrod itself.
Mounting Bracket Installation
Install the mounting bracket to the ceiling fan-rated outlet box. Pass the wires from the ceiling through the hole in the mounting bracket for easy access. Lift the fan assembly and place the mounting ball from the downrod into the ceiling mounting bracket. Rotate the ball until the slot falls into place, securing the fan.
Wiring the Fan
Wire the fan according to the installation instructions provided with your specific model. Generally, connect black to black, white to white, and bare copper/green wires for grounding. If your fan includes a receiver, wire it in as shown in your manual. Use provided wire nuts to ensure secure connections. Push wires and receiver into place and attach the canopy cover.
Attaching Fan Blades
Attach the blade arms (if applicable) and fan blades to the motor housing using your screwdriver. It is recommended to attach all screws loosely at first, then securely tighten them to prevent fan wobble during operation.
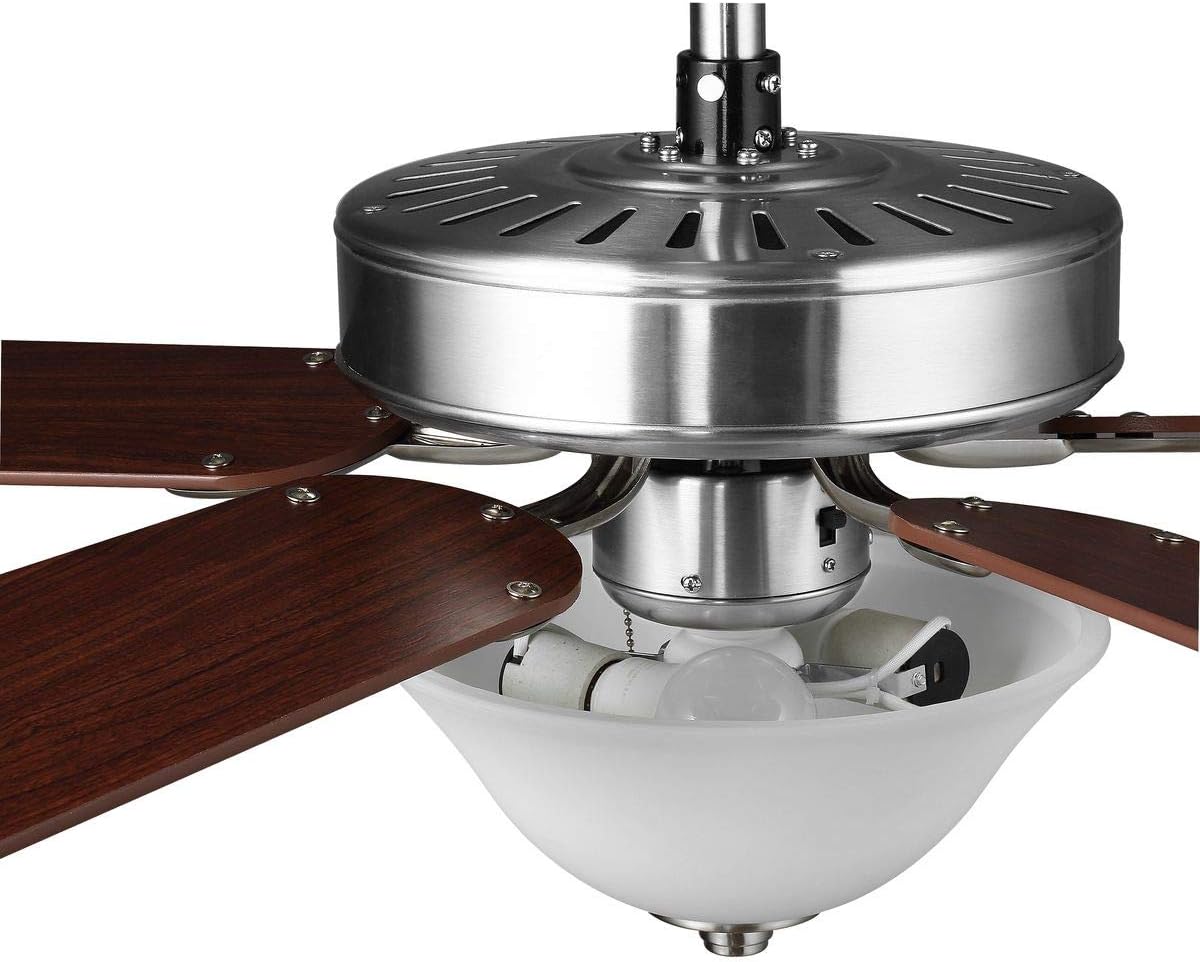
Image: Reversible fan blade finishes, demonstrating a dark Cherry side (Side A) and a lighter Natural Cherry side (Side B).
Installing Light Kit
If your fan has a light kit, you may need to install a mounting plate on the bottom of the motor housing before installing the light kit to the mounting plate. Install the light kit using the provided screws in the motor housing and mounting plate. If your fan has a glass shade to cover the light kit, align it in place over the light kit and twist it to secure it.
Installation Video Guide
Video: Official Progress Lighting fan installation guide, demonstrating the steps for setting up a ceiling fan. This video provides a general overview; always refer to your specific fan's manual for precise instructions.
Operating Instructions
Restore power at the circuit breaker after installation. If your fan has a remote, you may need to go through a remote pairing process quickly after restoring power to the fan.
Speed Control
The fan features a 3-speed control. Adjust the fan speed using the pull chain or the remote control (if included) to achieve your desired airflow.
Reversible Blades for Year-Round Comfort
The fan motor can be reversed to provide year-round comfort. Use the switch on the fan housing to change the direction of the blades.
- Counter-Clockwise / Forward (Warmer Months): This direction pushes air downward, creating a cooling effect.
- Clockwise / Reverse (Cooler Months): This direction pulls air upward, circulating warm air along the walls and into the room, making it feel warmer.

Image: Airflow direction guide showing how counter-clockwise rotation creates a downward draft for cooling, and clockwise rotation creates an upward draft for circulating warm air.
Light Operation
The integrated LED light kit can be operated independently using its dedicated pull chain or remote control (if applicable).
Maintenance
Regular cleaning and occasional checks will ensure the longevity and optimal performance of your ceiling fan.
Cleaning
To clean, wipe the fan with a soft, damp cloth. Do not use abrasive cleaners or solvents that may damage the finish or electrical components.
Balancing Tips
If your fan is wobbling or clicking, try the following:
- Loosen and retighten the downrod set screws and fan blade screws.
- Randomly select two blades from the fan and switch their positions to rebalance the fan.
Troubleshooting
For common issues, refer to the troubleshooting section in your specific fan's instruction manual. Always ensure power is off before attempting any repairs.
Specifications
| Feature | Detail |
|---|---|
| Model Number | P2599-09 |
| Brand | Progress Lighting |
| Dimensions (L x W x H) | 52"L x 52"W x 19.13"H |
| Item Weight | 19 Pounds |
| Color | Nickel (Brushed Nickel finish) |
| Material | Alloy Steel (Body), Glass (Shade) |
| Style | Modern |
| Indoor/Outdoor Usage | Indoor |
| Power Source | AC |
| Control Method | Pull Chain, Remote (optional) |
| Light Source | LED (2 medium-based LED lamps included, non-dimmable) |
| Voltage | 120 Volts |
| Wattage | 64.65 watts |
| Brightness | 1500 lumen |
| Efficiency | 82.5 CFM/W |
| Certification | UL Listed |

Image: Detailed dimensions of the ceiling fan, indicating a 52-inch blade span and a 19-1/8 inch height from ceiling to the bottom of the light kit.
Warranty & Support
Warranty: This product comes with a Limited Lifetime warranty, guaranteeing your complete satisfaction and including professional after-sales customer service support.
For further assistance or support, please visit the Progress Lighting Store or refer to the contact information provided in your product packaging.


