1. Introduction
The PINOLINO Mini Tricycle 'Charlie' is a versatile wooden ride-on toy designed to grow with your child. It can be easily converted into four different configurations: a trike, a chopper, a tricycle, and a balance bike (runner). This multi-functional design helps children develop balance, coordination, and fine motor skills from an early age.
Constructed from solid birch wood with a white and natural varnished finish, the 'Charlie' tricycle is durable and designed for long-term use. Its saddle is adjustable to six different height positions, ensuring a comfortable fit for children as they grow.

Image 1.1: The Mini Tricycle 'Charlie' in its standard trike configuration, showcasing its white and natural wood design.
2. Safety Guidelines
Please read and understand all safety instructions before assembly and use. Failure to follow these instructions may result in injury.
- Age Recommendation: This product is recommended for children aged 18 months and older.
- Adult Supervision: Always ensure that a responsible adult supervises the child during use. Never leave a child unattended with the product.
- Protective Gear: Always ensure the child wears appropriate protective gear, such as a helmet, knee pads, and elbow pads, especially when using the balance bike configuration.
- Safe Environment: Use the product on flat, even surfaces away from traffic, stairs, steep inclines, swimming pools, and other hazards.
- Weight Limit: Do not exceed the recommended weight limit for the product (not specified in provided data, but generally implied for children's toys).
- Inspection: Regularly inspect the product for loose parts, damage, or wear before each use. Do not use if any part is damaged or missing.
- Assembly: Ensure all parts are correctly assembled and tightened according to the instructions before allowing the child to use the product.
3. Package Contents
Before beginning assembly, please ensure all components listed below are present and undamaged. If any parts are missing or damaged, contact customer support immediately.

Image 3.1: All components of the Mini Tricycle 'Charlie' laid out for assembly.
- Main Frame (1x)
- Handlebar Assembly (1x)
- Saddle (1x)
- Wheels (3x for trike/tricycle, 2x for balance bike/chopper)
- Axles and Spacers (various)
- Assembly Hardware (screws, nuts, washers)
- Assembly Tools (e.g., Allen keys, if included)
- Instruction Manual (this document)
4. Assembly and Configuration
The Mini Tricycle 'Charlie' requires assembly and can be configured into four different modes. Follow these instructions carefully.
4.1 Initial Assembly (Trike Configuration)
- Attach the handlebar assembly to the front of the main frame using the provided hardware. Ensure it is securely fastened.
- Mount the saddle to the main frame. The saddle is adjustable in height. For the trike/chopper configuration, the saddle can be set from 23 cm to 27 cm.
- Attach the front wheel to the handlebar assembly.
- Attach the two rear wheels to the main frame to form the trike configuration. Ensure all wheels spin freely and are securely attached.

Image 4.1: The Mini Tricycle 'Charlie' assembled in its trike configuration.
4.2 Converting Configurations
The 'Charlie' tricycle offers four distinct configurations. Conversion typically involves re-positioning the rear wheel assembly and/or the main frame components.
4.2.1 Trike to Chopper Conversion
To convert from a trike to a chopper, adjust the main frame's orientation. This typically involves rotating the rear section of the frame to lower the seating position, giving it a chopper-like appearance. The saddle height for this configuration remains 23 cm to 27 cm.

Image 4.2: The Mini Tricycle 'Charlie' configured as a chopper.
4.2.2 Tricycle to Balance Bike (Runner) Conversion
To convert from a tricycle to a balance bike, the two rear wheels are typically removed and replaced with a single wheel, or the frame is reconfigured to support a single rear wheel. This mode is designed to help children learn balance without pedals. The saddle height for the balance bike/runner configuration can be adjusted from 26 cm to 30 cm.

Image 4.3: The Mini Tricycle 'Charlie' configured as a balance bike.
4.3 Saddle Height Adjustment
The saddle can be adjusted to 6 different height positions to accommodate your child's growth and the specific configuration. Refer to the markings on the saddle post for precise height settings.
- For Trike and Chopper configurations: Saddle height adjustable from 23 cm to 25 cm and 27 cm.
- For Tricycle and Balance Bike configurations: Saddle height adjustable from 26 cm to 28 cm and 30 cm.
To adjust, loosen the saddle fastening mechanism, slide the saddle to the desired height, and securely tighten the mechanism. Ensure the saddle is stable before use.
5. Operation
The Mini Tricycle 'Charlie' is designed for intuitive use, promoting active play and developmental skills.
- Trike/Tricycle Mode: Ideal for younger children learning to push off and steer. The stable three-wheel design provides support and builds confidence. Children propel themselves by pushing off the ground with their feet.
- Chopper Mode: Offers a different riding posture, often preferred for a more relaxed, lower ride while still providing three-wheel stability.
- Balance Bike Mode: This mode is crucial for developing balance and coordination. Children learn to glide by pushing off the ground, lifting their feet, and balancing on two wheels. This prepares them for riding a pedal bicycle without the need for training wheels.
Encourage your child to use the product in a safe, open area. Always ensure they are comfortable and confident with the current configuration before attempting more advanced modes.
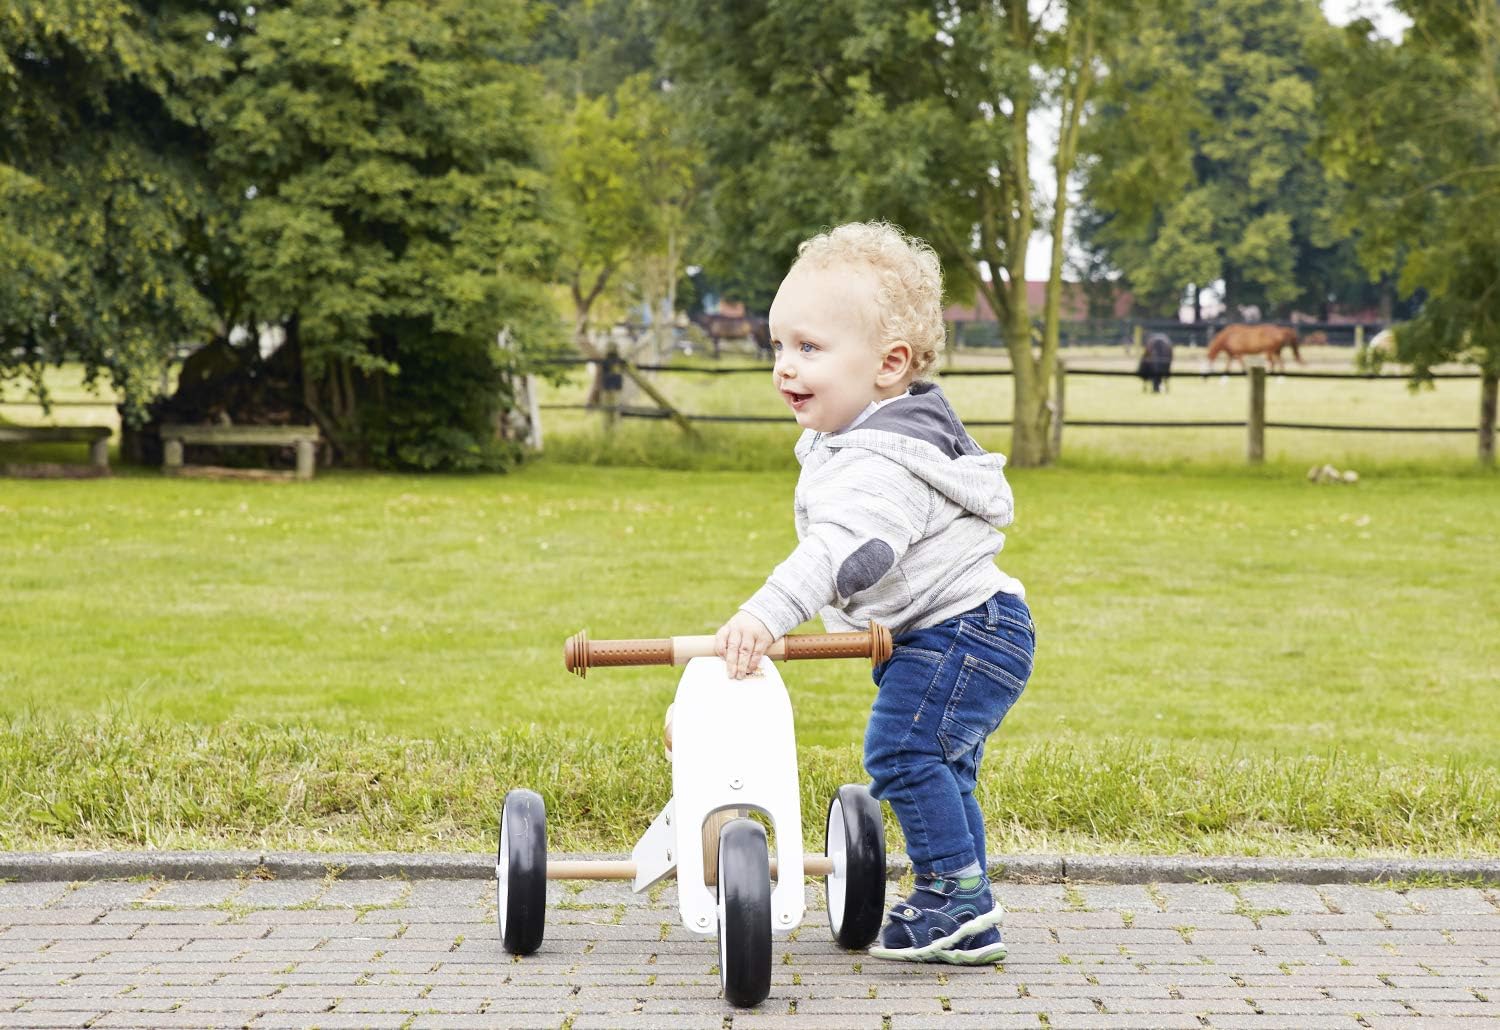
Image 5.1: A child learning to ride the Mini Tricycle 'Charlie' in its trike configuration.
6. Care and Maintenance
Proper care and maintenance will extend the life of your Mini Tricycle 'Charlie'.
- Cleaning: Wipe down the wooden surfaces with a damp cloth. Avoid using harsh chemicals or abrasive cleaners, as they may damage the finish.
- Storage: Store the product indoors in a dry place, away from direct sunlight and extreme temperatures, to prevent warping or damage to the wood.
- Hardware Check: Periodically check all screws, bolts, and fasteners to ensure they are tight. Re-tighten if necessary.
- Wheel Inspection: Check the wheels and axles regularly for any signs of wear or damage. Ensure they rotate smoothly.
- Wood Care: The birch wood is varnished for protection. If the varnish shows signs of wear over time, consider re-varnishing with a child-safe, non-toxic wood finish.
7. Troubleshooting
This section addresses common issues you might encounter with your Mini Tricycle 'Charlie'.
| Problem | Possible Cause | Solution |
|---|---|---|
| Handles are loose or spinning. | Handlebar grips not securely attached or adhesive has failed. | Re-secure the grips. If necessary, apply a small amount of child-safe, non-toxic wood glue or adhesive to the inside of the grips before sliding them onto the handlebar. Allow to dry completely before use. |
| Wheels do not spin freely. | Axle nuts are too tight, or debris is caught in the wheel mechanism. | Loosen axle nuts slightly until wheels spin freely but are still secure. Check for and remove any debris from around the axle and wheel bearings. |
| Saddle slips down after adjustment. | Saddle fastening mechanism is not tightened sufficiently. | Ensure the saddle adjustment mechanism is fully tightened after setting the desired height. |
| Product feels unstable. | Loose assembly hardware or incorrect configuration. | Check all screws and bolts for tightness. Refer to Section 4 for correct assembly and configuration steps for each mode. |
8. Technical Specifications
| Feature | Detail |
|---|---|
| Product Dimensions (L x W x H) | 66 cm x 41 cm x 37 cm (Trike/Tricycle) / 66 cm x 33 cm x 37 cm (Balance Bike) |
| Item Weight | 2.5 Kilograms |
| Recommended Age | 18 months and up |
| Educational Value | Balance development, coordination, fine motor skills |
| Main Material | Birch Wood (100% Birch) |
| Color | White/Natural |
| Tire Type | Plastic tires |
| Saddle Adjustment (Trike/Chopper) | 6 stages: 23 cm, 25 cm, 27 cm |
| Saddle Adjustment (Tricycle/Balance Bike) | 6 stages: 26 cm, 28 cm, 30 cm |
| Assembly Required | Yes |
| Model Number | 239424 |
9. Warranty Information
PINOLINO products are manufactured to high-quality standards. For specific warranty terms and conditions, please refer to the warranty card included with your purchase or visit the official PINOLINO website. Keep your proof of purchase for any warranty claims.
10. Customer Support
If you have any questions, require assistance with assembly, or need to report a missing or damaged part, please contact PINOLINO customer support. Contact details can typically be found on the product packaging or the official PINOLINO website.
For more information and product updates, visit: www.pinolino.de


