
Aexit modle
KG316T Microcomputer Timer Switch User Manual
Model: modle
Brand: Aexit
Product Overview
This KG316T Microcomputer Timer Switch is designed to automatically control various types of electrical equipment by switching them on and off at fixed times. It is suitable for applications such as road lamps, neon lights, billboard lamps, production equipment, broadcast TV, and other circuit fixtures and home appliances that require scheduled operation.
Key features include:
- Product Name: Microcomputer Timer Switch
- Material (External): Plastic
- Main Color: Black
- Working Voltage: AC 220V, 50Hz (Fit Voltage Range: 150V~240V)
- Timing Error: Less than 0.5 seconds per day
- Switch Capacity: Resistibility 10A
- Control Time Range: 1 Minute to 168 Hours
- Operating Environment Temperature: -15°C to 45°C
- Relative Humidity: Less than 95%
- Dimensions: 12.3 x 7.5 x 5.3 cm (4.8'' x 3'' x 2.1'') (L*W*T)
- Weight: 332g
The device supports 10 groups of switch times and offers both manual and automatic operation modes. Please note that this product cannot directly control high current loads. For controlling heating or other high current applications, an SSR AC Contactor should be used in conjunction with this timer switch.
Important Safety Information
Please read and understand all safety warnings before installation and operation.
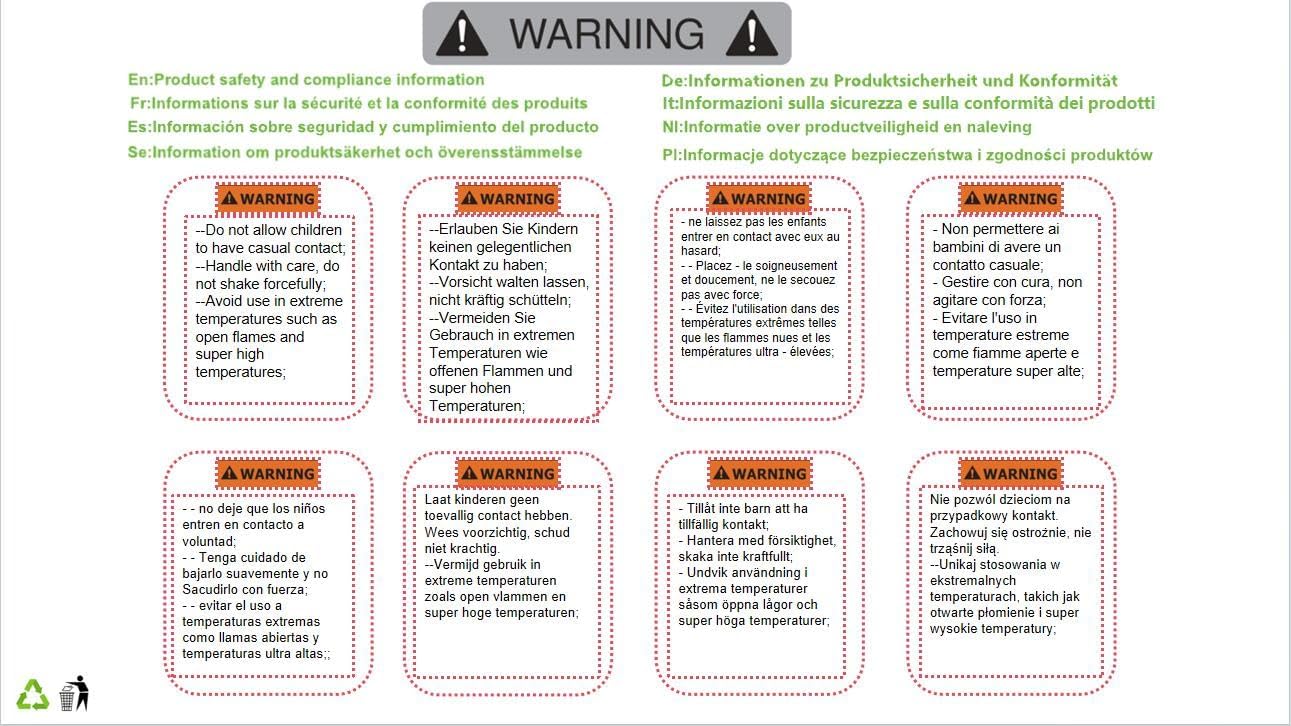
Image: Product safety and compliance information label.
- ⚠ WARNING:
- - Do not allow children to have casual contact with the device.
- - Handle with care; do not shake forcefully.
- - Avoid use in extreme temperatures such as open flames and super high temperatures.
Always ensure proper electrical connections and adhere to local electrical codes. If you are unsure about any aspect of installation, consult a qualified electrician.
Product Components and Layout

Image: Front view of the KG316T Microcomputer Timer Switch, showing the display and control buttons.
The KG316T timer switch features a clear digital display and several control buttons for easy programming and operation. Key components include:
- Digital Display: Shows current time, program status, and settings.
- RESET/RECALL Button: Used to reset settings or recall stored programs.
- HOUR Button: Adjusts the hour setting.
- MINUTE Button: Adjusts the minute setting.
- WEEK Button: Selects the day of the week for programming.
- AUTO/MANUAL Button: Toggles between automatic and manual operation modes.
- TIMER Button: Enters programming mode for setting ON/OFF times.
- CLOCK Button: Used to set the current time.
- Power Indicator: (LED) Indicates power status.
- Work Indicator: (LED) Indicates when the switch is active.
- Terminal Blocks: For connecting input power and output load.
Technical Specifications
| Specification | Value |
|---|---|
| Product Name | Microcomputer Timer Switch |
| Model Number | modle |
| Material (External) | Plastic |
| Main Color | Black |
| Working Voltage | AC 220V, 50Hz |
| Fit Voltage Range | 150V~240V |
| Timing Error | <0.5s/day |
| Switch Capacity | Resistibility 10A |
| Control Time Range | 1 Minute - 168 Hours |
| Environment Temperature | -15°C ~ 45°C |
| Relative Humidity | <95% |
| Product Dimensions (L*W*T) | 12.3 x 7.5 x 5.3 cm (4.8'' x 3'' x 2.1'') |
| Item Weight | 332g (11.7 ounces) |
| Country of Origin | China |
Installation and Setup
Important: Ensure power is disconnected before performing any wiring. Installation should be performed by a qualified professional if you are not familiar with electrical wiring.
- Mounting: Mount the timer switch in a suitable location, ensuring it is protected from moisture and extreme temperatures.
- Wiring:
- Connect the AC 220V, 50Hz power supply to the designated input terminals on the timer switch.
- Connect the load (e.g., lamp, appliance) to the output terminals of the timer switch.
- For High Current Loads: If the load exceeds 10A (resistive), you must use an external AC Contactor (SSR AC Contactor recommended) between the timer switch and the high-current load. The timer switch will then control the contactor, which in turn controls the high-current load.
- Initial Power-Up: Once wiring is complete and secure, restore power. The display should illuminate.
- Reset: If the display is erratic or you wish to clear previous settings, press the RESET/RECALL button.
Operating Instructions
1. Setting the Current Time
- Press the CLOCK button.
- While holding the CLOCK button, press the WEEK button to set the current day of the week.
- While holding the CLOCK button, press the HOUR button to set the current hour.
- While holding the CLOCK button, press the MINUTE button to set the current minute.
- Release the CLOCK button. The current time is now set.
2. Programming ON/OFF Times (Timer Settings)
The timer supports up to 10 ON/OFF programs.
- Press the TIMER button once. The display will show "1 ON" (Program 1 ON time).
- Press WEEK to select the day(s) for this ON time (e.g., everyday, weekdays, weekends, specific days).
- Press HOUR to set the desired hour for Program 1 ON.
- Press MINUTE to set the desired minute for Program 1 ON.
- Press the TIMER button again. The display will show "1 OFF" (Program 1 OFF time).
- Repeat steps 2-4 to set the day(s), hour, and minute for Program 1 OFF.
- Continue pressing the TIMER button to cycle through "2 ON", "2 OFF", up to "10 ON", "10 OFF", setting each program as needed.
- After setting all desired programs, press the CLOCK button to exit programming mode and return to the current time display.
Note: If you do not set an ON/OFF time for a program, it will be ignored. To clear a specific program, navigate to its ON or OFF setting and press the RESET/RECALL button.
3. Manual and Automatic Operation
Press the AUTO/MANUAL button to cycle through the operating modes:
- AUTO ON: The timer will automatically turn ON at programmed ON times and OFF at programmed OFF times.
- AUTO OFF: The timer will automatically turn OFF at programmed OFF times and ON at programmed ON times.
- ON: The output is continuously ON, overriding programmed times.
- OFF: The output is continuously OFF, overriding programmed times.
For normal automatic operation based on your set programs, ensure the mode is set to AUTO ON or AUTO OFF depending on your desired initial state.
Maintenance
- Cleaning: Use a soft, dry cloth to clean the exterior of the timer switch. Do not use abrasive cleaners, solvents, or immerse the device in water.
- Environment: Ensure the timer switch is kept in an environment within its specified temperature and humidity ranges (-15°C to 45°C, <95% RH). Avoid direct sunlight, excessive dust, and corrosive gases.
- Connections: Periodically check the wiring connections to ensure they are secure and free from corrosion. Disconnect power before checking connections.
Troubleshooting
| Problem | Possible Cause | Solution |
|---|---|---|
| Display is blank or not working. | No power supply; Incorrect wiring; Internal fault. | Check power connections and ensure 220V AC is supplied. Verify wiring. If problem persists, the unit may be faulty. |
| Timer does not switch ON/OFF at programmed times. | Incorrect program settings; Timer is in manual ON/OFF mode; Incorrect current time setting. | Verify all ON/OFF program times and days. Ensure the timer is set to AUTO ON or AUTO OFF mode. Check and correct the current time. |
| Load (e.g., lamp) does not turn on/off. | Faulty load; Incorrect load wiring; Load current exceeds 10A without contactor. | Test the load directly to ensure it is working. Check wiring to the load. If load current is high, ensure an appropriate AC Contactor is installed. |
| Timer display is erratic or frozen. | Temporary glitch; Power fluctuation. | Press the RESET/RECALL button. If the issue persists, temporarily disconnect power for a few minutes and then reconnect. |
Related documentsmodle


Ask a question about this manual
Ask about setup, troubleshooting, compatibility, parts, safety, or missing instructions. Manuals+ will review the question and use this page’s manual context to help answer it.