
Metabo HPT NR83A5(S)
Metabo HPT NR83A5(S) Framing Nailer Instruction Manual
Model: NR83A5(S)
1. Introduction
This manual provides essential information for the safe and effective operation, maintenance, and troubleshooting of your Metabo HPT NR83A5(S) Framing Nailer. Please read and understand all instructions before using the tool.
The Metabo HPT NR83A5(S) is a pneumatic framing nailer designed for various construction applications, including floor and wall framing, truss build-up, window build-up, subflooring, roof decking, wall sheathing, and mobile/modular home construction. It features a cylinder valve drive system for rapid response and powerful nail driving.

Image: The Metabo HPT NR83A5(S) framing nailer, a pneumatic tool designed for heavy-duty construction tasks.

Image: Diagram of the Metabo HPT NR83A5(S) framing nailer with key components labeled, including the rubber grip handle, rafter hook, steel magazine, selectable trigger, and open nose.
2. Safety Information
WARNING: Failure to follow these safety instructions may result in serious injury or death.
- Always wear safety glasses that comply with ANSI Z87.1 and hearing protection when operating the tool.
- Ensure the air compressor is set to the recommended operating pressure (70-120 PSI). Do not exceed the maximum pressure.
- Disconnect the air supply before making adjustments, clearing jams, or performing maintenance.
- Never point the tool at yourself or others.
- Keep hands and body parts away from the discharge area of the tool.
- Use only the specified nails for this tool (21° 2" to 3-1/4" plastic collated nails).
- Do not operate the tool if it is damaged or malfunctioning.
- Keep the work area clean and well-lit.
- Do not use the tool in explosive atmospheres, such as in the presence of flammable liquids, gases, or dust.
- Always maintain a firm grip on the tool during operation.

Image: The Metabo HPT NR83A5(S) framing nailer shown alongside a pair of safety glasses, emphasizing the importance of personal protective equipment.
3. Package Contents
Verify that all items are present in the package:
- Metabo HPT NR83A5(S) Framing Nailer
- Safety Glasses
4. Specifications
| Feature | Specification |
|---|---|
| Model Number | NR83A5(S) |
| Item Weight | 8.8 pounds |
| Product Dimensions | 21.2 x 4.25 x 13.2 inches |
| Power Source | Air Powered |
| Nail Type | 21° Plastic Collated Nails |
| Nail Length Range | 2" to 3-1/4" |
| Operating Pressure | 70-120 PSI (Recommended) |
| Trigger Type | Selectable (Contact or Sequential) |
| Manufacturer | Koki Holdings America, Ltd |
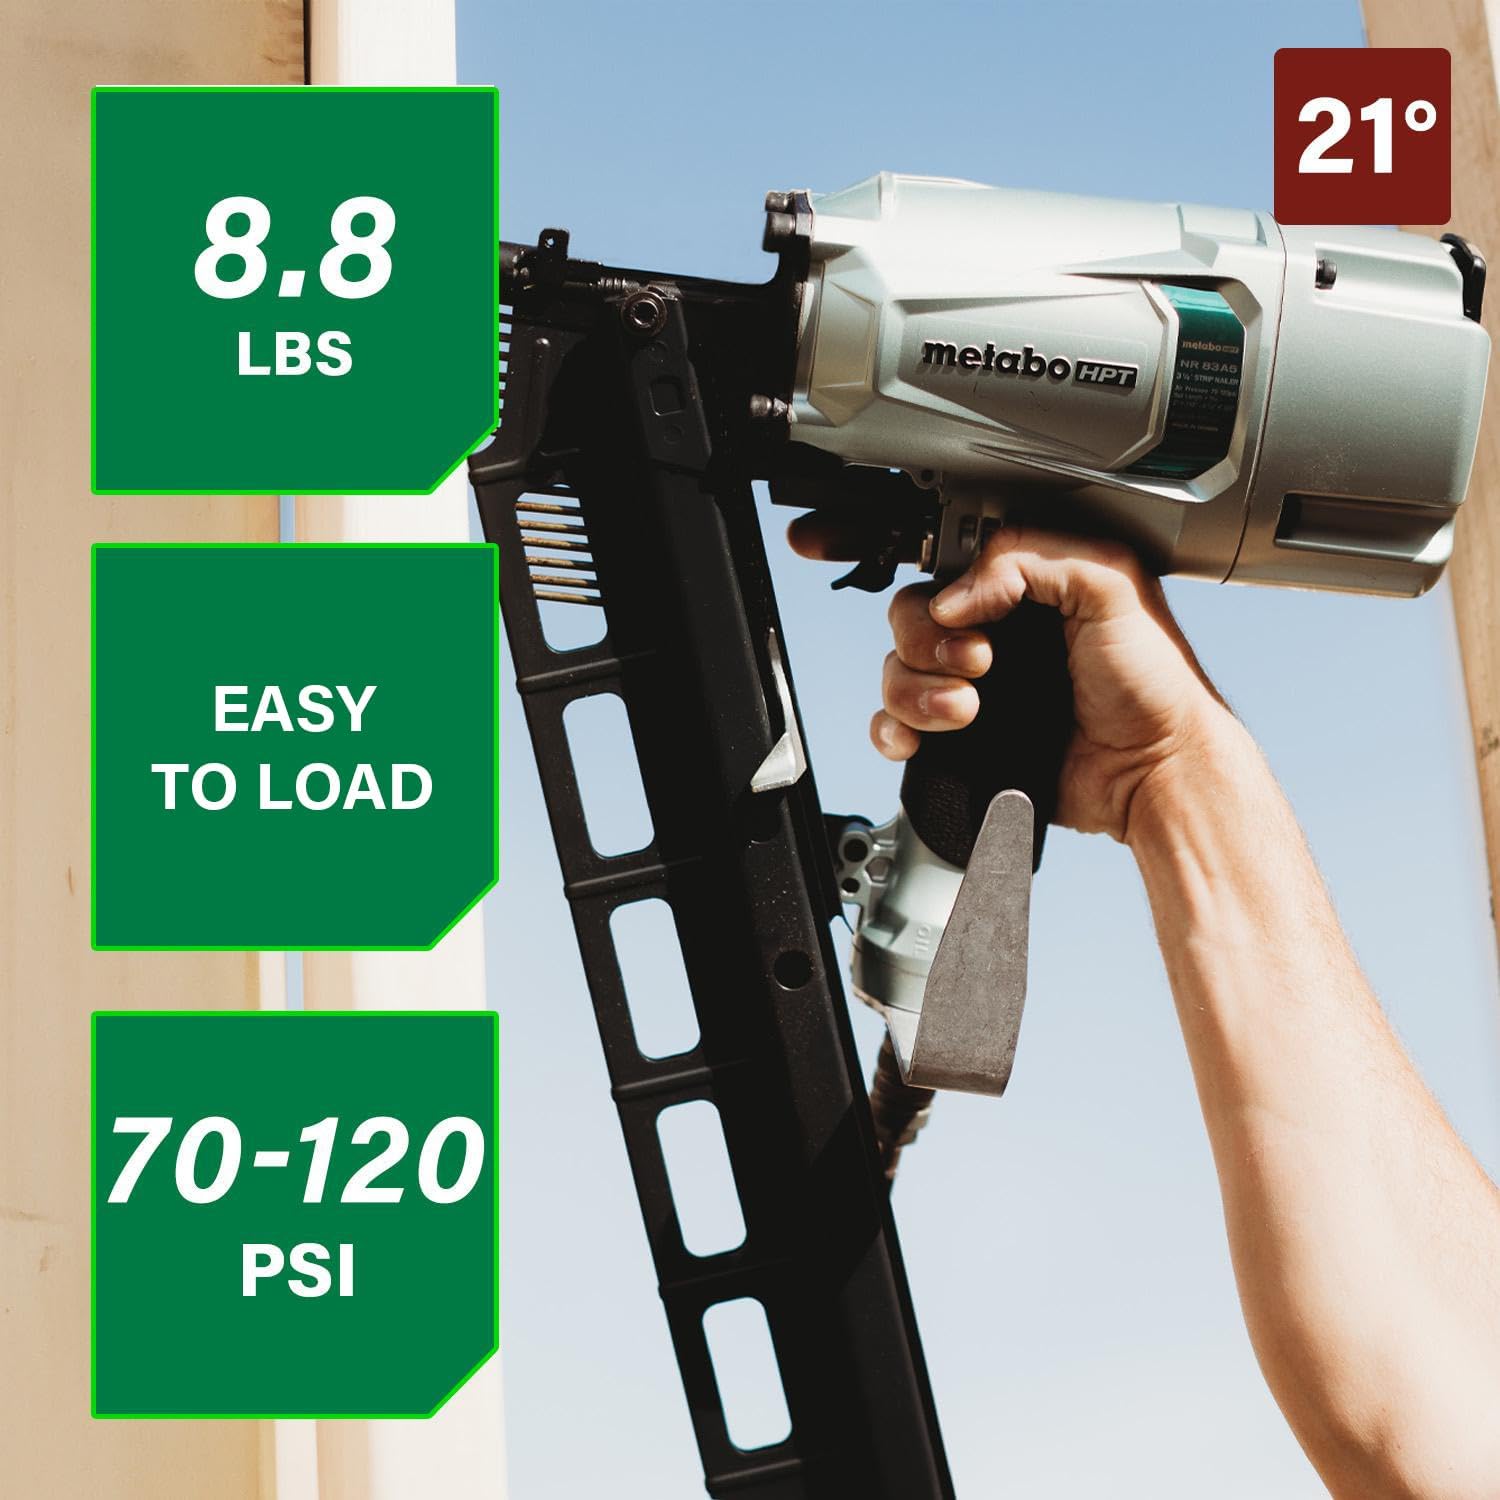
Image: The Metabo HPT NR83A5(S) framing nailer highlighting its weight (8.8 lbs), operating pressure (70-120 PSI), and easy loading feature.
5. Setup
5.1 Connecting to Air Supply
- Ensure the air compressor is turned off and the air hose is depressurized.
- Attach the air hose to the tool's air inlet fitting. Ensure a secure connection.
- Set the air compressor pressure regulator to the recommended operating range of 70-120 PSI. Do not exceed 120 PSI.
- Turn on the air compressor and allow it to build pressure.
5.2 Loading Nails
- Disconnect the air supply before loading nails.
- Pull back the magazine follower until it locks into place.
- Insert a strip of 21° plastic collated nails into the rear-loading magazine. Ensure the nails are oriented correctly with the nail heads facing up.
- Release the magazine follower, allowing it to push the nails forward.
- Reconnect the air supply.

Image: A close-up view of the Metabo HPT NR83A5(S) framing nailer's magazine, illustrating the easy rear-loading mechanism for quick nail replenishment.
6. Operating Instructions
6.1 Selecting Trigger Mode
The NR83A5(S) features a selectable trigger, allowing you to choose between two firing modes:
- Sequential Actuation Mode: The trigger must be pressed and the contact trip depressed against the workpiece in sequence for each nail. This mode offers precise nail placement.
- Contact Actuation Mode: The tool will fire a nail each time the contact trip is depressed against the workpiece while the trigger is held down. This mode allows for rapid firing.
Adjust the trigger mode using the switch located on the trigger assembly according to your application needs.

Image: A user operating the Metabo HPT NR83A5(S) framing nailer, demonstrating the selective actuation feature on the trigger which allows for either sequential or contact nailing.
6.2 Nailing Procedure
- Ensure safety glasses and hearing protection are worn.
- Connect the tool to the air supply and load nails as described in the Setup section.
- Select the desired trigger mode.
- Position the tool firmly against the workpiece at the desired nailing location.
- Depress the contact trip against the material.
- Pull the trigger to drive a nail.
- Release the trigger and lift the tool from the workpiece.
For optimal performance, ensure the tool is held perpendicular to the workpiece. The hardened claw tip is designed to resist wear and grip wood, facilitating driving nails at various angles.

Image: The Metabo HPT NR83A5(S) framing nailer being used in various framing applications, including flooring, roof decking, and window build-up.
6.3 Rafter Hook
The integrated rafter hook can be positioned on either the left or right side of the tool, depending on user preference, for convenient temporary storage when not in use.

Image: A close-up of the Metabo HPT NR83A5(S) framing nailer showing the rafter hook, which can be adjusted to either the left or right side.
7. Maintenance
Regular maintenance ensures the longevity and optimal performance of your framing nailer.
- Daily: Apply a few drops of pneumatic tool oil into the air inlet before each use.
- Weekly/Monthly: Inspect the tool for loose screws, worn parts, or air leaks. Tighten fasteners and replace worn components as needed.
- Keep the tool clean and free of debris.
- Store the tool in a dry, secure location when not in use.
- Important: Always disconnect the air supply before performing any maintenance or cleaning.
8. Troubleshooting
This section addresses common issues you might encounter with your framing nailer.
| Problem | Possible Cause | Solution |
|---|---|---|
| Tool does not fire | No air supply; Low air pressure; No nails in magazine; Trigger/contact trip not fully actuated. | Check air hose connection; Increase air pressure to 70-120 PSI; Load nails; Ensure trigger is pulled and contact trip is depressed against workpiece. |
| Nails jam frequently | Incorrect nail size/type; Damaged nails; Worn driver blade; Low air pressure. | Use correct 21° 2" to 3-1/4" plastic collated nails; Replace damaged nail strips; Inspect and replace driver blade if worn; Increase air pressure. |
| Nails not driven flush | Low air pressure; Incorrect nail length for material; Worn driver blade. | Increase air pressure; Use appropriate nail length; Inspect and replace driver blade if worn. |
| Air leaks | Loose fittings; Damaged O-rings/seals. | Tighten all air fittings; Inspect and replace worn O-rings or seals. |
The open nose design allows for easy extraction should a nail jam. Always disconnect the air supply before attempting to clear a jam.

Image: A close-up view of the Metabo HPT NR83A5(S) framing nailer's open nose design, which facilitates easy extraction of jammed nails.
9. Warranty and Support
The Metabo HPT NR83A5(S) Framing Nailer is covered by Metabo HPT's Professional 5-Year Tool Warranty. For detailed warranty information or technical support, please visit the official Metabo HPT website or contact their customer service.

Image: The Metabo HPT NR83A5(S) framing nailer displayed with text indicating "Durability backed by our warranty" and "5 Years".
Related documentsNR83A5(S)


Ask a question about this manual
Ask about setup, troubleshooting, compatibility, parts, safety, or missing instructions. Manuals+ will review the question and use this page’s manual context to help answer it.