
1. Product Overview
The Aexit TF-SU USB Port U-Disk LED Screen Display Controller Card Module is designed for controlling LED displays, offering multi-zone display capabilities and convenient program management via a USB U-disk. This module facilitates asynchronous operation, allowing for flexible content updates and display configurations.
Key Features:
- Multi-zone display support for dynamic content presentation.
- Program updates, brightness adjustment, and panel configuration via USB U-disk.
- Supports up to 200 programs, with each window accommodating up to 16 information items.
- Compact design with standard mounting options.
- Operates on 5V DC with low power consumption.
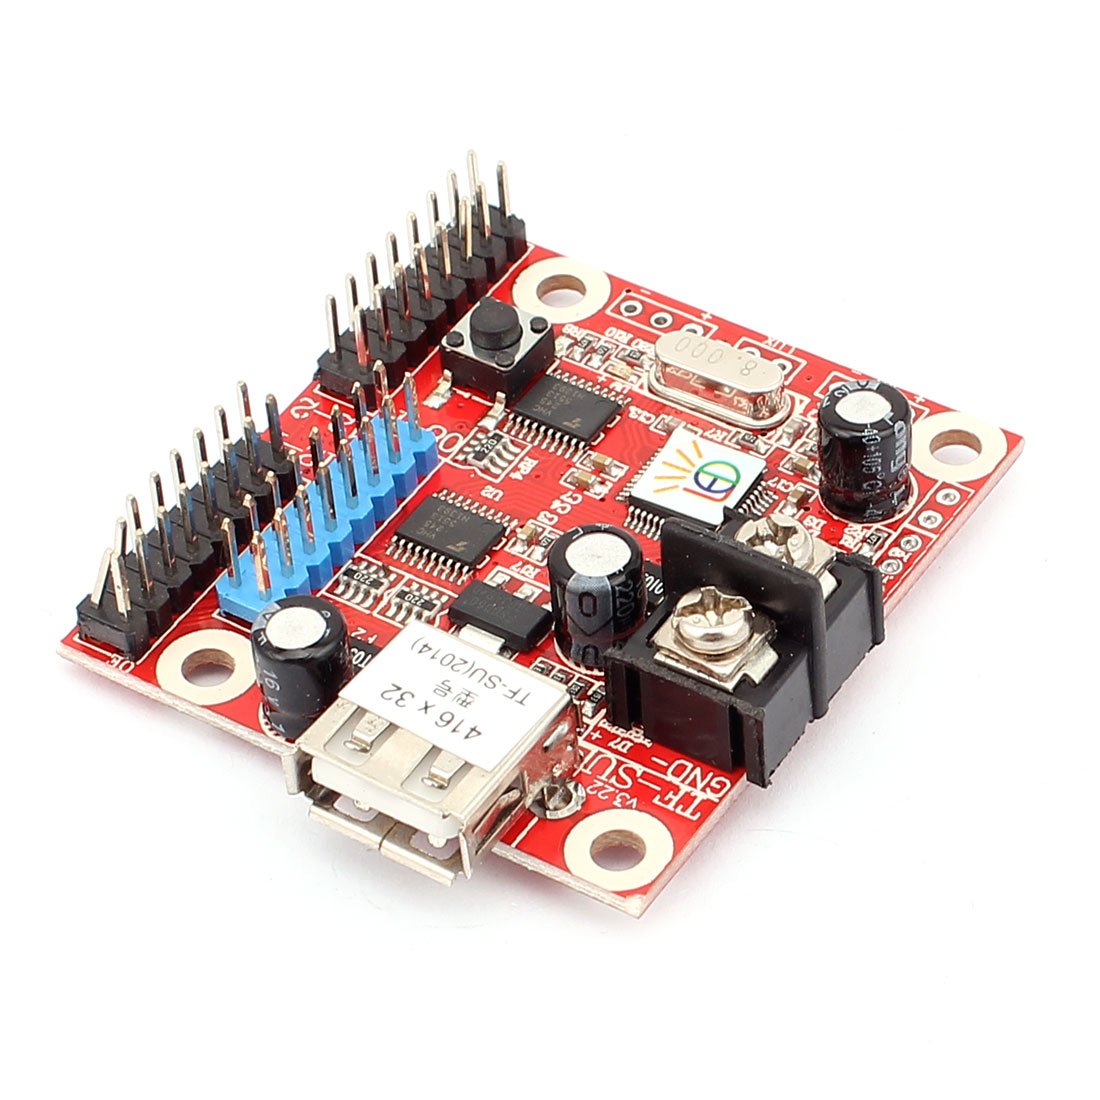
Figure 1.1: Top view of the Aexit TF-SU LED controller module, highlighting the USB port, pin headers, and integrated circuits. This view provides a comprehensive look at the component layout.
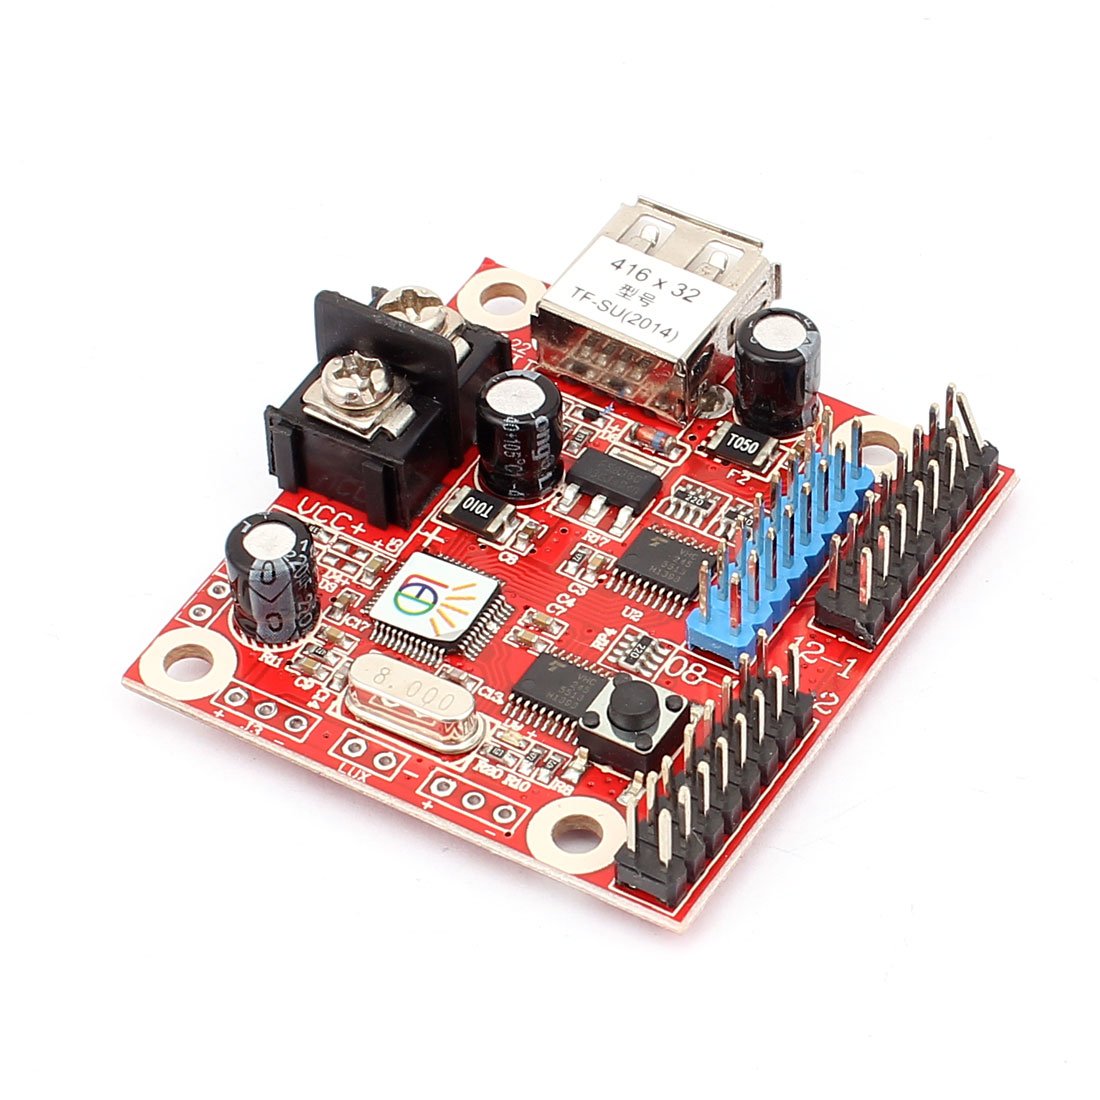
Figure 1.2: Angled perspective of the module, clearly showing the USB port for data transfer and the various pin headers for connections to LED panels and other peripherals.
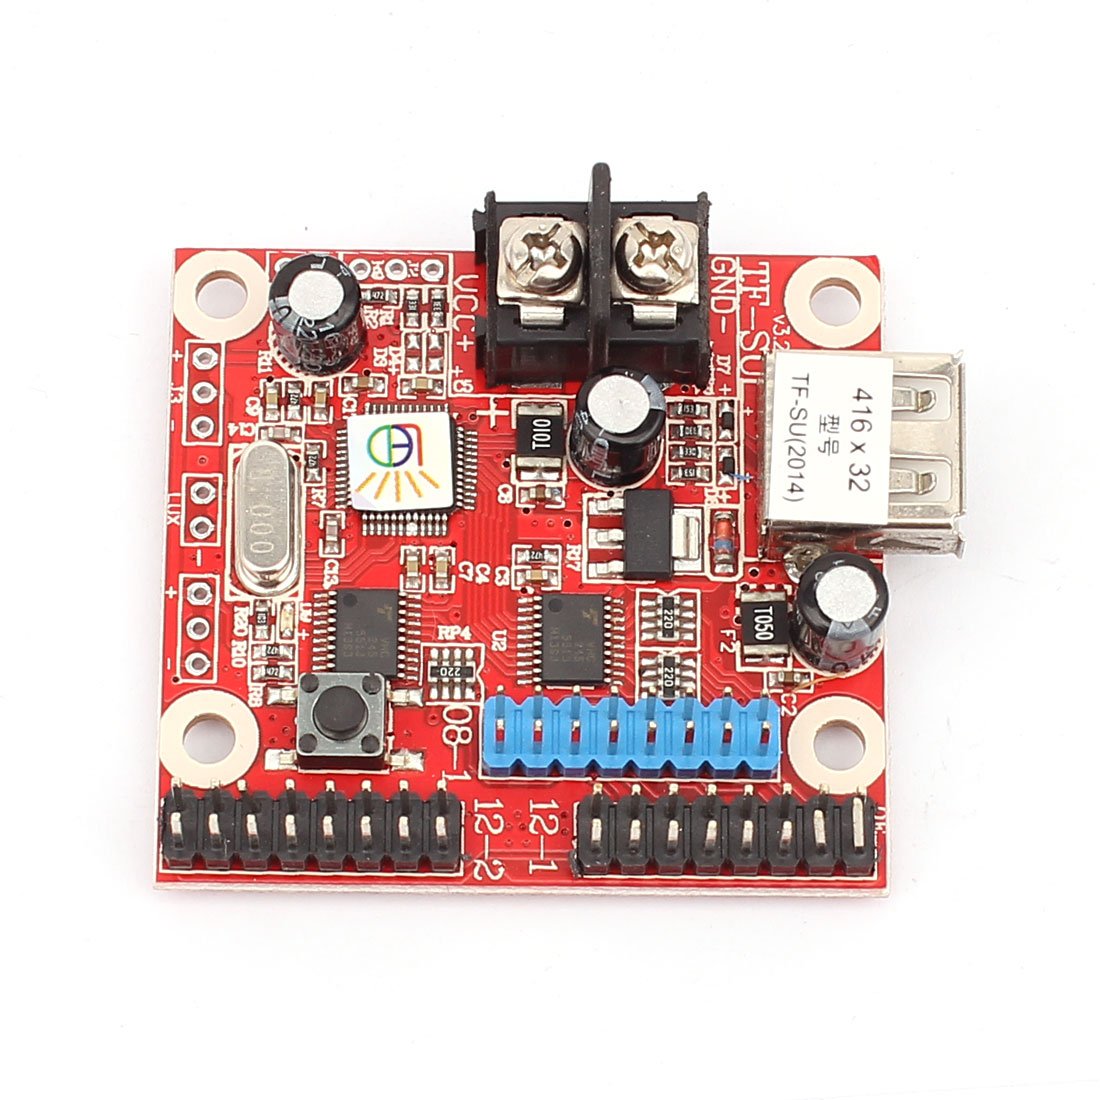
Figure 1.3: Overhead view of the module, providing a clear perspective of the USB port, screw terminals for power input, and the overall compact form factor.
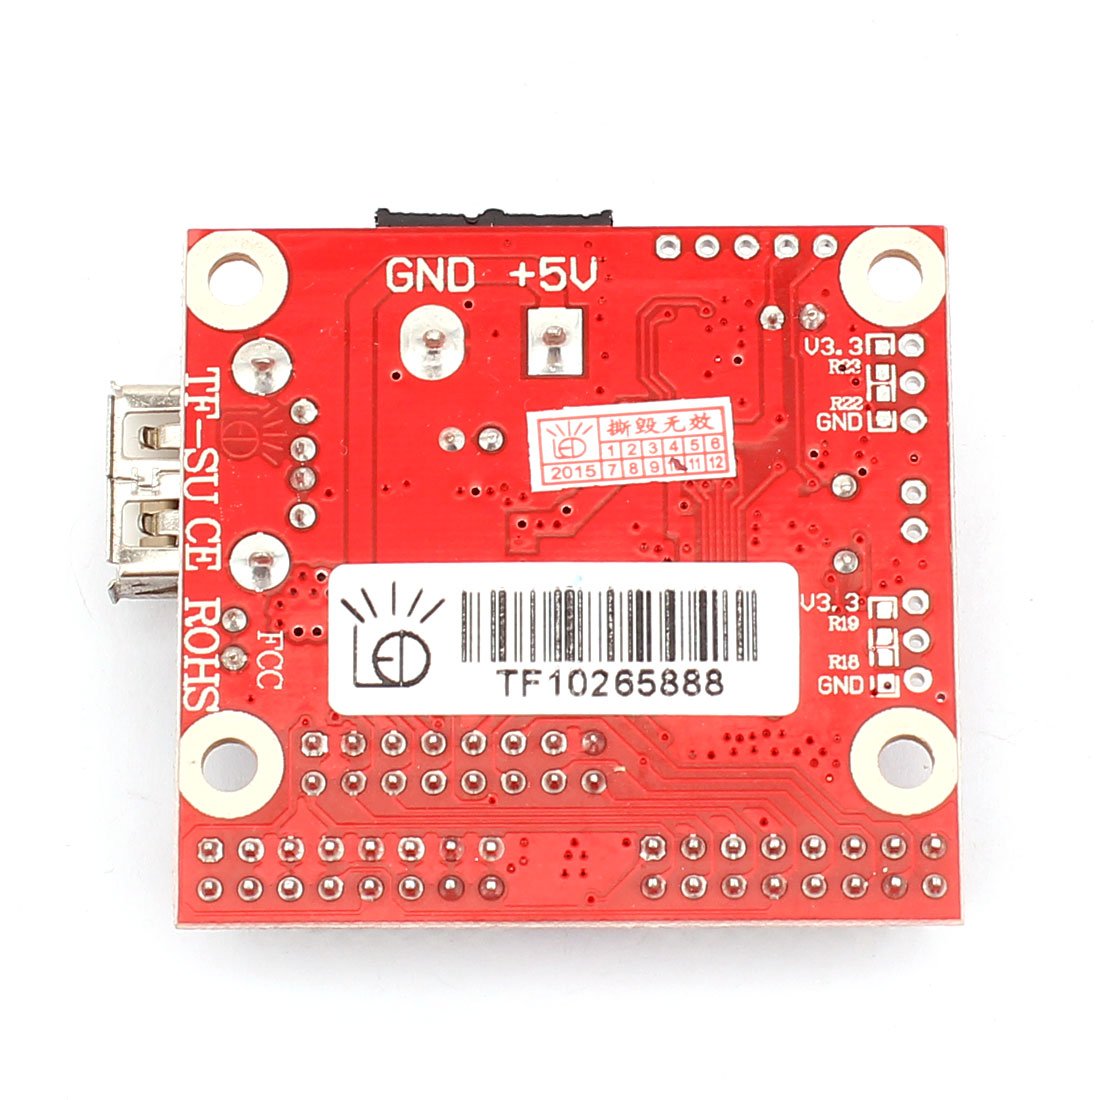
Figure 1.4: Underside view of the module, revealing the solder points, additional circuit traces, and a product identification label with serial number and compliance markings.
2. Setup and Installation
Follow these steps to properly set up and install your Aexit TF-SU LED controller module:
- Power Connection: Connect a stable 5V DC power supply to the module. Ensure correct polarity to prevent damage. The module's power consumption is less than 0.5W.
- LED Display Connection: Connect your LED display panel(s) to the module's output pins. The module provides 3 rows of output, with 16 pins per row, totaling 48 pins. Refer to your LED panel's documentation for correct pin assignments.
- Mounting: The module features mounting holes with a diameter of 3 mm. The distance between mounting holes is 32 mm and 42 mm. Use appropriate screws or standoffs to secure the module in your desired enclosure or setup.
- USB Connection: For program updates and configuration, connect a USB U-disk to the module's USB port.
3. Operating Instructions
The Aexit TF-SU module is designed for straightforward operation, primarily through a USB U-disk for content management.
Program Update via U-Disk:
- Prepare your display program files on a USB U-disk according to the module's software requirements (software not included, typically provided by LED display manufacturers).
- Insert the U-disk into the module's USB port. The module will automatically detect and load the new program.
- The module supports a maximum of 200 programs. Each program window can contain up to 16 items of information.
- Settings saved in the file format on the U-disk will not be affected by the original document's USB format.
Brightness Adjustment and Panel Configuration:
- Brightness levels and panel configurations can also be adjusted and set via the USB U-disk. Specific instructions for these adjustments are typically provided with the LED display control software.
Important Note: This module does not support time display or time-based functions.
4. Maintenance
To ensure the longevity and optimal performance of your Aexit TF-SU module, follow these general maintenance guidelines:
- Keep Clean: Regularly clean the module with a soft, dry cloth. Avoid using liquid cleaners or solvents, which can damage electronic components.
- Protect from Moisture: Ensure the module is kept in a dry environment. Moisture can cause short circuits and corrosion.
- Avoid Physical Shock: Handle the module with care to prevent damage from drops or impacts.
- Proper Ventilation: Ensure adequate airflow around the module, especially if it's enclosed, to prevent overheating.
5. Troubleshooting
If you encounter issues with your Aexit TF-SU module, consider the following:
- No Display/Incorrect Display:
- Verify that the 5V DC power supply is correctly connected and providing stable power.
- Check all connections between the module and the LED display panel for secure and correct pin assignments.
- Ensure the program file on the U-disk is valid and correctly formatted for the module. Try re-uploading the program.
- U-Disk Not Recognized:
- Ensure the U-disk is properly inserted into the USB port.
- Try using a different U-disk to rule out U-disk compatibility issues.
- Verify the U-disk is formatted to a compatible file system (e.g., FAT32).
- Module Does Not Support Time: As stated, this module is not designed for time-based functions. If you require time display, a different controller module will be necessary.
6. Specifications
| Attribute | Specification |
|---|---|
| Model | TF-SU |
| Main Color | Red |
| Material | Plastic, Electrical Components |
| Net Weight | 19 g |
| Module Dimensions (L x W x H) | 50 x 47 x 17 mm |
| Power Rating | 5V DC |
| Power Consumption | < 0.5 W |
| Connection Type | USB Port |
| Output | 3 rows (16 pins per row), total 48 pins |
| Mounting Hole Diameter | 3 mm |
| Mounting Hole Spacing | 32 mm, 42 mm |
| Max Program Storage | 200 programs |
| Max Items per Window | 16 items |
7. Warranty and Support
For information regarding product warranty, returns, or technical support, please refer to the product packaging or the official Aexit manufacturer's website. Specific warranty terms and support contacts may vary by region and purchase date.

