
LiftMaster 850LM
LiftMaster 850LM Security+ 2.0 Universal Receiver Instruction Manual
Model: 850LM
Introduction
This manual provides comprehensive instructions for the installation, operation, and maintenance of your LiftMaster 850LM Security+ 2.0 Universal Receiver. This device is designed to provide secure and convenient access control for gated communities and commercial buildings, utilizing Security+ 2.0 technology for enhanced range and security.
The 850LM receiver allows property managers to manage multiple access points, such as main gates, tenant and visitor doors, commercial doors, and parking entrances, using a single remote control solution.
Key Features
- Security+ 2.0 technology for encrypted signal and extended range.
- Supports management of multiple access points with a single remote control.
- Three channels for expanded remote control capacity: Channel 1 (50 remotes), Channel 2 (20 remotes), Channel 3 (20 remotes).
- Compatible with 811LM, 813LM, and all MAX remote controls.
- Compact design suitable for most gate and commercial door operators.
- Available in a weather-resistant version (Model 860LM).
Package Contents
Verify that all components are present before beginning installation.
- LiftMaster 850LM Universal Receiver
- Antenna
- Mounting Hardware (screws, anchors)
- Instruction Manual
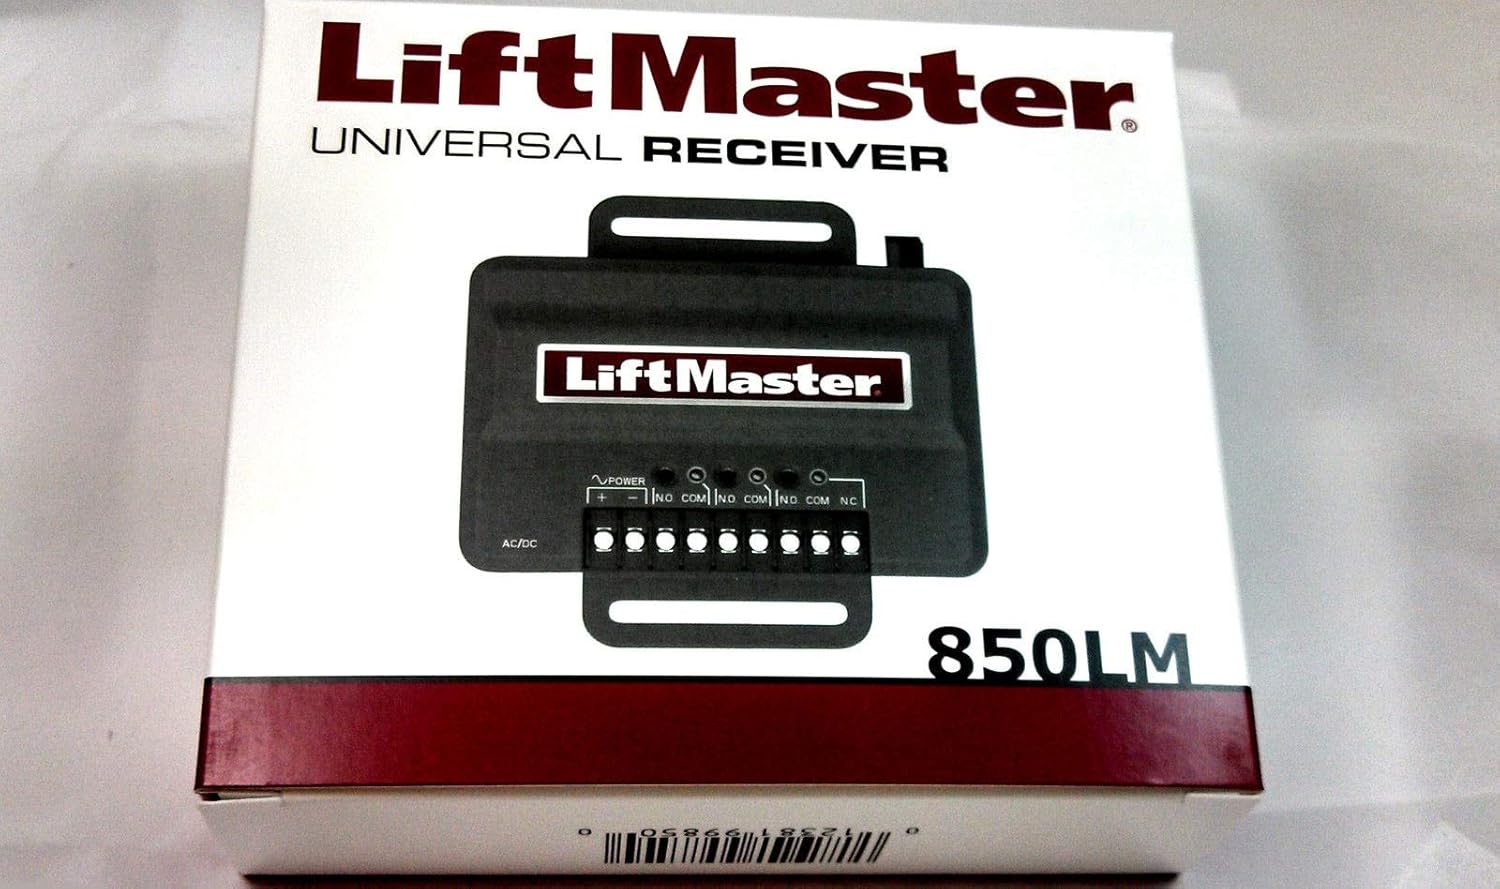
Figure 1: Packaging for the LiftMaster 850LM Universal Receiver. The image shows the product box with the LiftMaster logo and "UNIVERSAL RECEIVER 850LM" text, along with a graphic representation of the receiver unit.
Setup and Installation
Before installation, ensure the power supply to the gate or garage door operator is disconnected. This device requires a 12-24VDC or 12-24VAC power source.
1. Mounting the Receiver
- Choose a suitable location near the gate or garage door operator, ensuring it is protected from direct weather exposure unless using the weather-resistant 860LM model.
- Use the provided mounting hardware to securely attach the receiver to a stable surface.
2. Wiring the Receiver
Refer to the wiring diagram on the receiver unit and your gate/garage door operator's manual for specific connections.

Figure 2: The LiftMaster 850LM Universal Receiver showing its terminal block for wiring connections and the antenna port. Labels for AC/DC power input and three channels (CH.1, CH.2, CH.3) with N.O., COM, N.C. contacts are visible.
- Power Connection: Connect the 12-24VDC or 12-24VAC power supply to the "AC/DC" terminals.
- Relay Outputs: The receiver has three channels. Connect the appropriate relay outputs (N.O. - Normally Open, COM - Common, N.C. - Normally Closed) to your gate or garage door operator's control inputs.
- Channel 1: 1 FORM C relay (N.O., COM, N.C.)
- Channel 2: 1 FORM A relay (N.O., COM)
- Channel 3: 1 FORM A relay (N.O., COM)
- Antenna: Connect the included antenna to the receiver's antenna port. Position the antenna for optimal signal reception.
3. Programming Remote Controls
The 850LM receiver uses Security+ 2.0 rolling code technology. Follow these steps to program compatible remote controls (e.g., 811LM, 813LM, MAX series):
- Press and release the "Learn" button on the desired channel (CH.1, CH.2, or CH.3) on the 850LM receiver. The corresponding LED will illuminate.
- Within 30 seconds, press and hold the button on your remote control that you wish to program.
- The receiver's LED will flash and then turn off, indicating successful programming.
- Release the remote control button.
- Test the remote control by pressing the programmed button. The gate or garage door operator should activate.
- Repeat for additional remote controls, up to the maximum capacity per channel.
Note: To erase all programmed remote controls from a specific channel, press and hold the "Learn" button for that channel until the LED turns off (approximately 6 seconds).
Operation
Once the receiver is installed and remote controls are programmed, operation is straightforward.
- To activate the connected gate or garage door operator, simply press the programmed button on your compatible remote control.
- The receiver will send a secure signal to the operator, initiating its function (e.g., opening, closing, stopping).
- Ensure you have a clear line of sight to the gate/door and that no obstructions are present before activation.
Maintenance
The LiftMaster 850LM Universal Receiver is designed for reliable operation with minimal maintenance. However, periodic checks can help ensure optimal performance.
- Cleaning: Keep the receiver unit clean and free from dust and debris. Use a soft, dry cloth for cleaning. Do not use harsh chemicals or abrasive cleaners.
- Connections: Periodically inspect all wiring connections to ensure they are secure and free from corrosion.
- Antenna: Ensure the antenna is securely attached and positioned for best reception. Avoid bending or damaging the antenna.
- Remote Controls: Replace remote control batteries as needed to maintain strong signal transmission.
Troubleshooting
| Problem | Possible Cause | Solution |
|---|---|---|
| Receiver not responding to remote. |
|
|
| Limited range. |
|
|
| Gate/door operator not activating. |
|
|
If you continue to experience issues, please contact LiftMaster customer support.
Specifications
| Model | 850LM |
| Power Input | 12-24VDC or 12-24VAC |
| Relay Outputs | Channel 1: 1 FORM C; Channel 2: 1 FORM A; Channel 3: 1 FORM A |
| Remote Capacity | Channel 1: 50 remotes; Channel 2: 20 remotes; Channel 3: 20 remotes |
| Technology | Narrow-band Security+ 2.0 Rolling Code and Encrypted DIP |
| Operating Temperature | -35°C to 65°C (-31°F to 149°F) |
| Storage Temperature | -40°C to 85°C (-40°F to 185°F) |
| Dimensions (Package) | 6.54 x 5.28 x 1.61 inches |
| Item Weight | 7 ounces |
Warranty and Support
For warranty information and technical support, please refer to the official LiftMaster website or contact their customer service department. Keep your purchase receipt as proof of purchase.
LiftMaster Customer Support: www.liftmaster.com/support
Related documents850LM


Ask a question about this manual
Ask about setup, troubleshooting, compatibility, parts, safety, or missing instructions. Manuals+ will review the question and use this page’s manual context to help answer it.