
1. Introduction
This manual provides essential information for the safe and efficient operation of your Vinotemp Private Reserve Series VT-24PR125 Dual-Zone Wine Cooler. This unit is designed to store approximately 126 standard 750mL wine bottles in a dual-zone environment, optimized for both red and white wines. It features 14 gliding Ouzo™ Racks with black wooden lips and a panel-ready frame for seamless integration into your cabinetry.
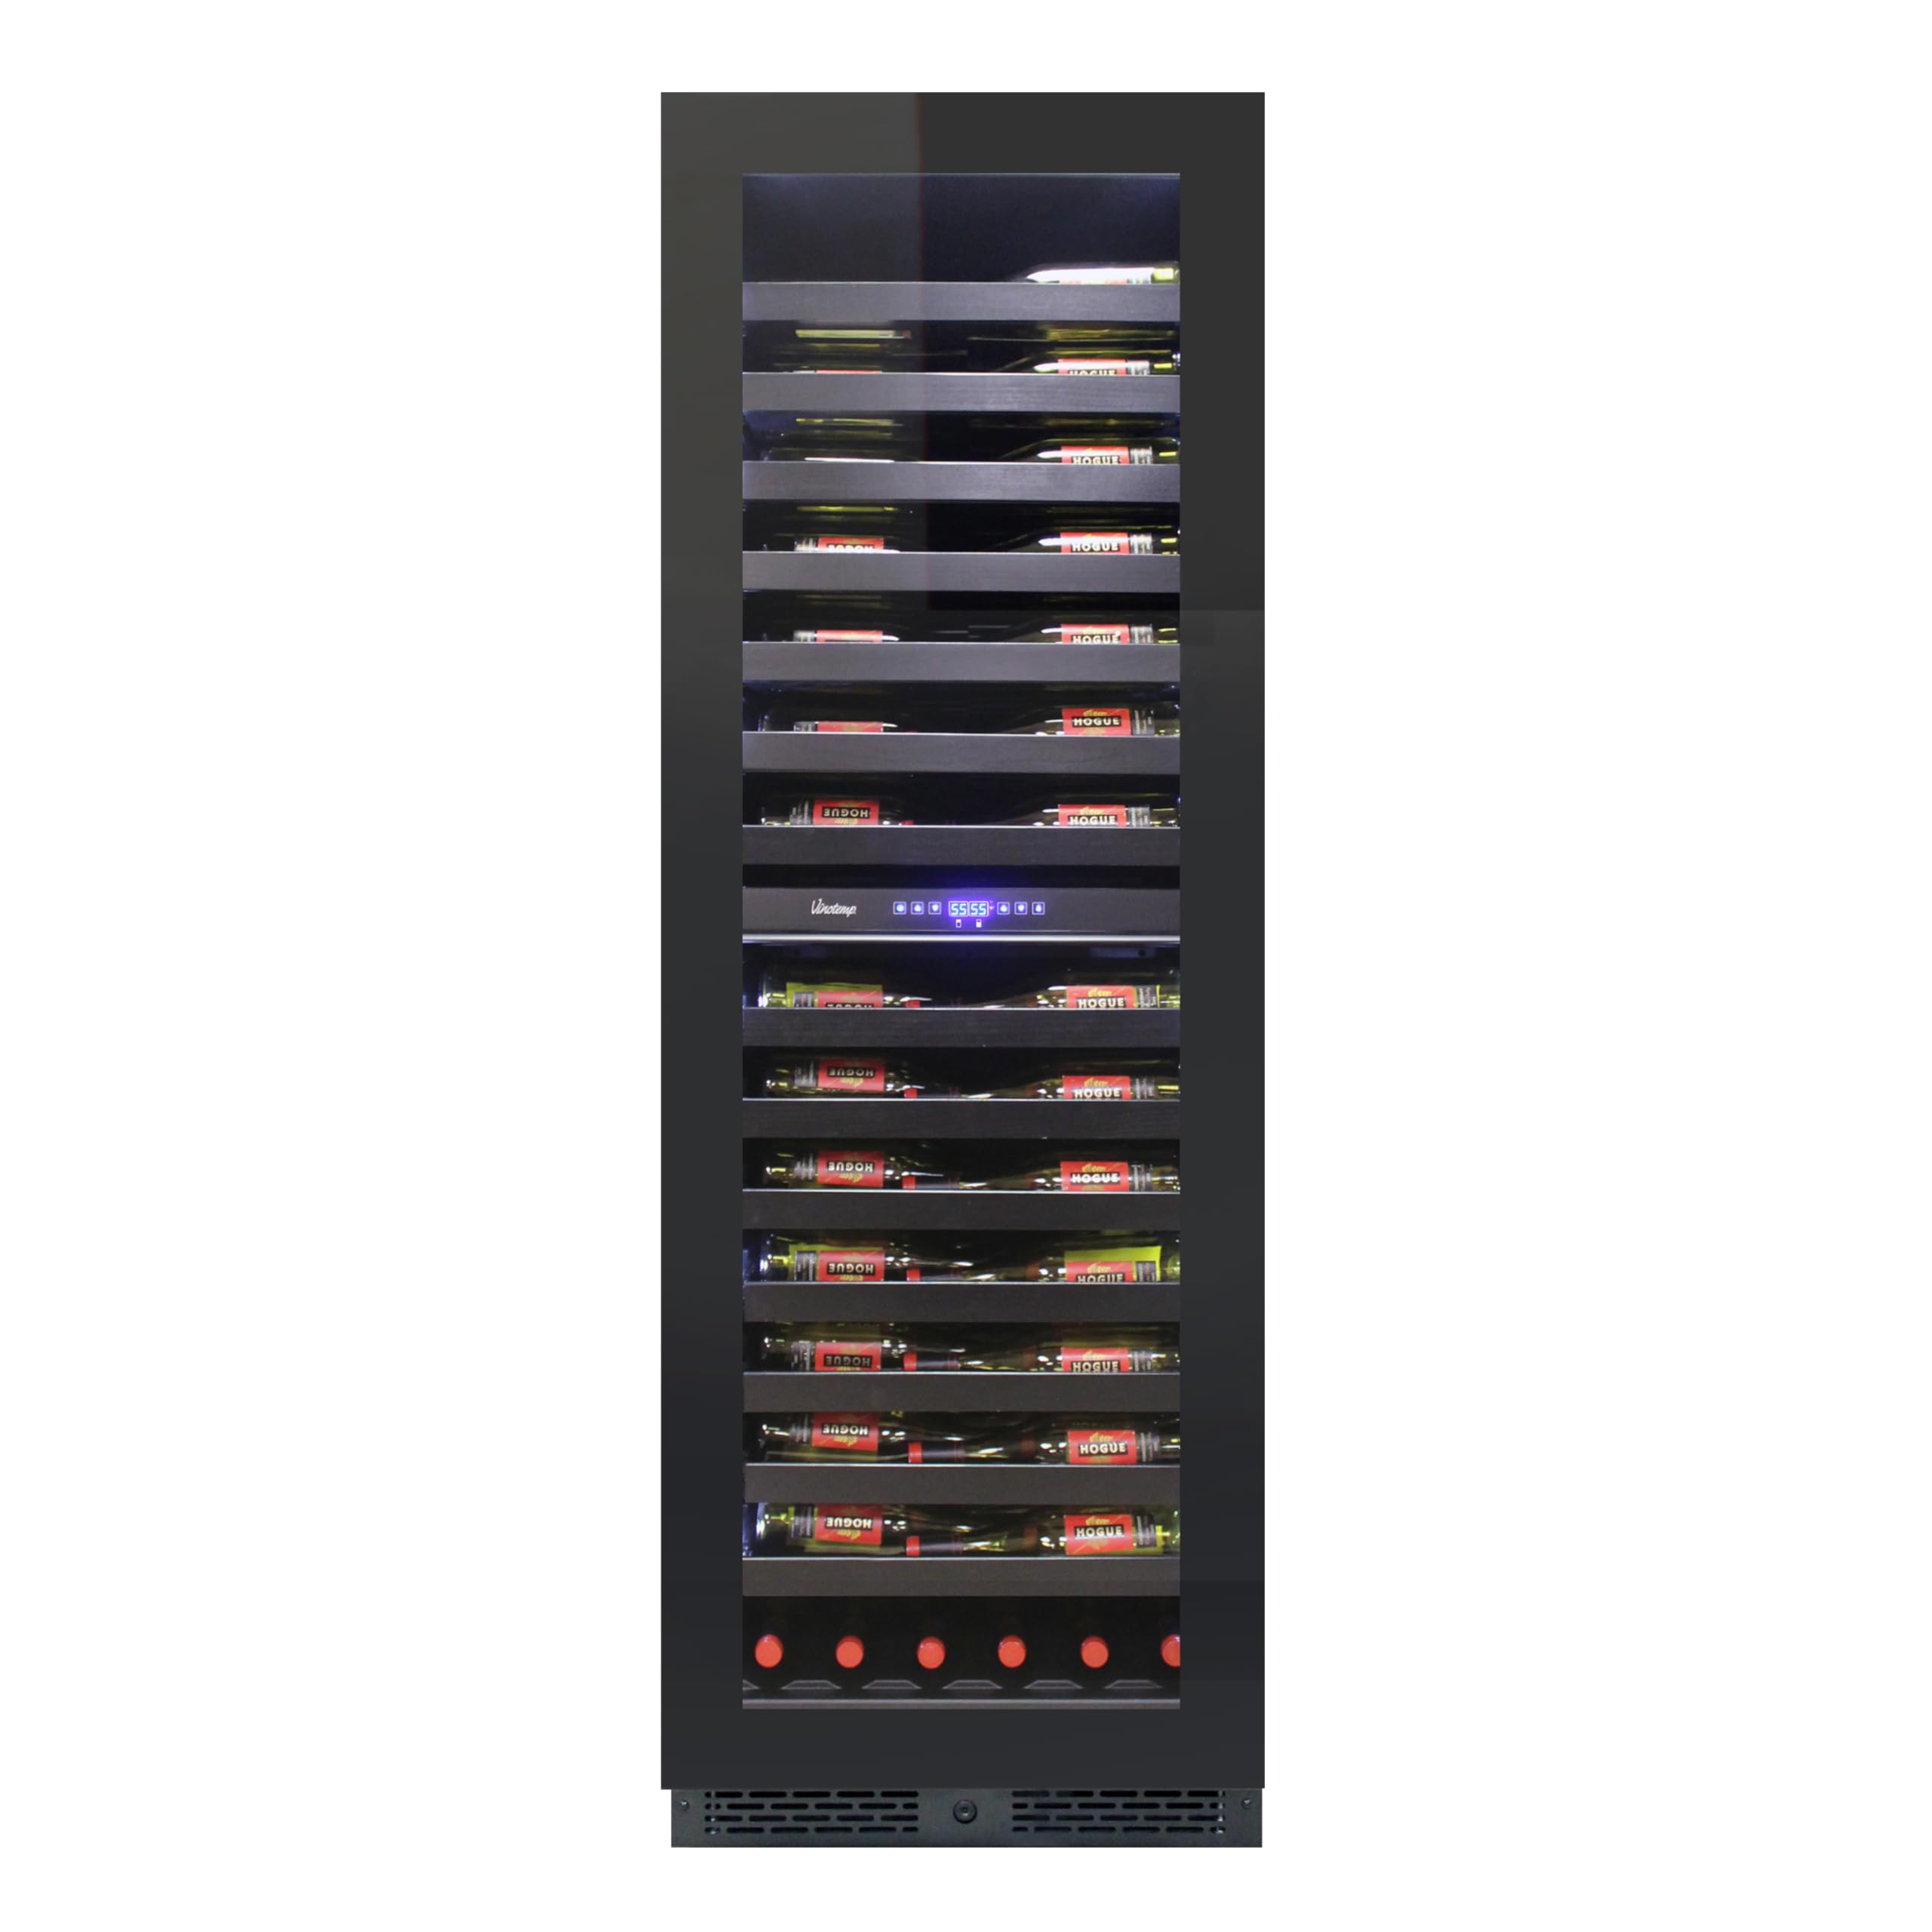
Figure 1: Vinotemp Private Reserve Series VT-24PR125 Wine Cooler. This image provides an overview of the product's exterior design.
Key features include:
- Capacity: Holds approximately 126 standard 750mL wine bottles.
- Two Cooling Zones: Dual-zone environment for optimal red and white wine storage.
- Control Panel: Centralized digital control panel with blue LED readout.
- Racks: 14 gliding Ouzo style wine racks for easy access.
- Installation: Built-in flush inset design with a panel-ready frame.
2. Safety Information
Before operating this appliance, please read all safety instructions carefully to reduce the risk of fire, electric shock, or injury. Keep this manual for future reference.
- Ensure the unit is properly grounded. Do not remove the grounding prong from the power plug.
- Do not operate the appliance with a damaged power cord or plug. If the supply cord is damaged, it must be replaced by the manufacturer, its service agent, or similarly qualified persons to avoid a hazard.
- Keep ventilation openings, in the appliance enclosure or in the built-in structure, clear of obstruction.
- Do not store explosive substances such as aerosol cans with flammable propellants in this appliance.
- Unplug the unit before cleaning or performing any maintenance.
- This appliance is not intended for use by persons (including children) with reduced physical, sensory or mental capabilities, or lack of experience and knowledge, unless they have been given supervision or instruction concerning use of the appliance by a person responsible for their safety.
- Children should be supervised to ensure that they do not play with the appliance.
- Do not use mechanical devices or other means to accelerate the defrosting process, other than those recommended by the manufacturer.
- Do not damage the refrigerant circuit.
- Do not use electrical appliances inside the food storage compartments of the appliance, unless they are of the type recommended by the manufacturer.
3. Setup and Installation
Your Vinotemp wine cooler is designed for built-in, flush inset installation. Proper installation is crucial for optimal performance and longevity.
3.1 Unpacking
- Remove all packaging materials, including foam and adhesive tape.
- Inspect the unit for any shipping damage. Report any damage to your dealer immediately.
- Allow the unit to stand upright for at least 24 hours before plugging it in to allow refrigerating fluids to settle.
3.2 Location and Clearance
Install the wine cooler in a location with adequate ventilation. The unit requires specific dimensions for built-in installation:
- Width: 23.5 inches (59.7 cm)
- Depth: 24.25 inches (61.6 cm)
- Height: 72.13 inches (183.2 cm)
Ensure the floor is strong enough to support the unit when fully loaded (approximately 251 pounds empty weight). Avoid direct sunlight or heat sources, as these can affect cooling efficiency and increase energy consumption.

Figure 2: Product Dimensions. This diagram illustrates the precise height, width, and depth measurements required for proper installation.

Figure 3: Example of Built-in Installation. The wine cooler is seamlessly integrated into kitchen cabinets, demonstrating its panel-ready feature.
3.3 Electrical Connection
The unit operates on 115 volts and 160 watts. Ensure your electrical outlet meets these requirements and is properly grounded. Do not use extension cords or adapter plugs with this appliance, as they can pose a fire hazard and reduce performance.
4. Operating Instructions
This section details how to operate your dual-zone wine cooler, including temperature control and bottle placement.
4.1 Control Panel
The centralized digital control panel allows you to set and monitor temperatures for both zones. The blue LED readout displays the current temperature settings. Familiarize yourself with the buttons for power, light, and temperature adjustment for each zone.

Figure 4: Digital Control Panel. This image shows the illuminated blue LED display and control buttons for adjusting temperature and other settings.
4.2 Setting Temperatures
Your wine cooler features two independent cooling zones. Refer to the control panel diagram in Figure 4 for button identification. Use the up/down arrows to adjust the desired temperature for each zone. The recommended temperature range for red wines is typically 55-65°F (13-18°C), and for white wines, 45-55°F (7-13°C). Allow several hours for the unit to reach the set temperature after initial setup or significant changes.
4.3 Loading Bottles
The unit is equipped with 14 gliding Ouzo style wine racks. These racks are designed for easy access and secure storage of standard 750mL wine bottles. Ensure bottles are placed securely on the racks to prevent rolling or damage. Avoid overloading racks to ensure smooth gliding and proper air circulation.

Figure 5: Gliding Ouzo Style Wine Rack. This image highlights the smooth extension of a wine rack, designed for easy bottle access.

Figure 6: Bottles on Racks. This image shows how wine bottles are stored on the gliding racks within the cooler.
5. Maintenance
Regular maintenance ensures the optimal performance and longevity of your wine cooler.
5.1 Cleaning
- Interior: Unplug the unit. Clean the interior with a mild detergent and warm water solution. Avoid abrasive cleaners, scouring pads, or harsh chemicals that could damage surfaces. Rinse thoroughly and dry with a soft cloth.
- Exterior: Wipe the exterior surfaces with a soft cloth and mild soap. For the glass door, use a non-abrasive glass cleaner.
- Racks: The wooden racks can be removed and wiped clean with a damp cloth. Ensure they are completely dry before reinserting to prevent mold or mildew.
5.2 Defrosting
This unit features a frost-free defrost system, which automatically prevents ice buildup. Manual defrosting is generally not required. If excessive frost accumulates due to unusual conditions, unplug the unit and allow it to defrost naturally, then wipe away any melted water with a clean cloth.
6. Troubleshooting
Review this section for common issues and their potential solutions before contacting customer service. Many minor issues can be resolved quickly without professional assistance.
| Problem | Possible Cause | Solution |
|---|---|---|
| Unit does not operate | No power to the unit; circuit breaker tripped; power switch off. | Check power cord connection to outlet; reset circuit breaker; ensure the unit's power switch is in the "ON" position. |
| Temperature is not cold enough | Door not closed properly or gasket is faulty; excessive door opening; large quantity of warm items recently added; poor ventilation around the unit; unit exposed to direct sunlight or heat source. | Ensure the door is fully closed and sealed; reduce frequency of door openings; allow sufficient time for new items to cool; ensure proper clearance for ventilation; relocate unit if exposed to heat. |
| Excessive noise or vibration | Unit not level; loose parts inside the unit; fan obstruction; bottles touching each other or interior walls. | Adjust leveling feet to ensure the unit is stable; check for and secure any loose components; ensure nothing is blocking the internal fan; rearrange bottles to prevent contact. |
| Door does not close properly | Unit not level; door gasket dirty or damaged; racks are out of position. | Adjust leveling feet; clean or replace door gasket; ensure all racks are fully pushed in and correctly seated. |
7. Specifications
Technical details for the Vinotemp Private Reserve Series VT-24PR125 Wine Cooler:
- Brand Name: Vinotemp
- Model Info: VT-24PR125
- Item Weight: 251 pounds (113.9 kg)
- Product Dimensions (W x D x H): 23.5 x 24.25 x 72.13 inches (59.7 x 61.6 x 183.2 cm)
- Capacity: Approximately 126 standard 750mL bottles (24 cubic feet)
- Installation Type: Built-in
- Form Factor: Wine Cellar
- Special Features: Door lock
- Color: Black
- Voltage: 115 volts
- Wattage: 160 watts
- Defrost: Frost free
- Door Hinges: Right
- Door Material Type: Metal
- Shelf Type: Wood shelves (Ouzo style)
- Material Type: Metal
- Included Components: Wine Cooler, User Manual
- Date First Available: May 5, 2020
8. Warranty and Support
Your Vinotemp Private Reserve Series VT-24PR125 Wine Cooler is covered by the Vinotemp One-Year Limited Warranty. Please refer to the warranty documentation included with your purchase for full terms and conditions regarding coverage, limitations, and service procedures.
For technical assistance, troubleshooting beyond this manual, or warranty claims, please contact Vinotemp customer support. Keep your purchase receipt and model number (VT-24PR125) readily available when contacting support to expedite service.
For more information, you may visit the official Vinotemp website or refer to the contact details provided in your warranty documentation.


