
EXTRALINK EX.7256
Extralink EX.7256 12U Wall-Mounted Rack Instruction Manual
Model: EX.7256
1. Introduction
This manual provides detailed instructions for the installation, operation, and maintenance of your Extralink EX.7256 12U Wall-Mounted Rack. This rack is designed to securely house standard 19-inch network and server equipment in environments where floor space is limited. Please read this manual thoroughly before proceeding with installation to ensure safe and efficient use of the product.
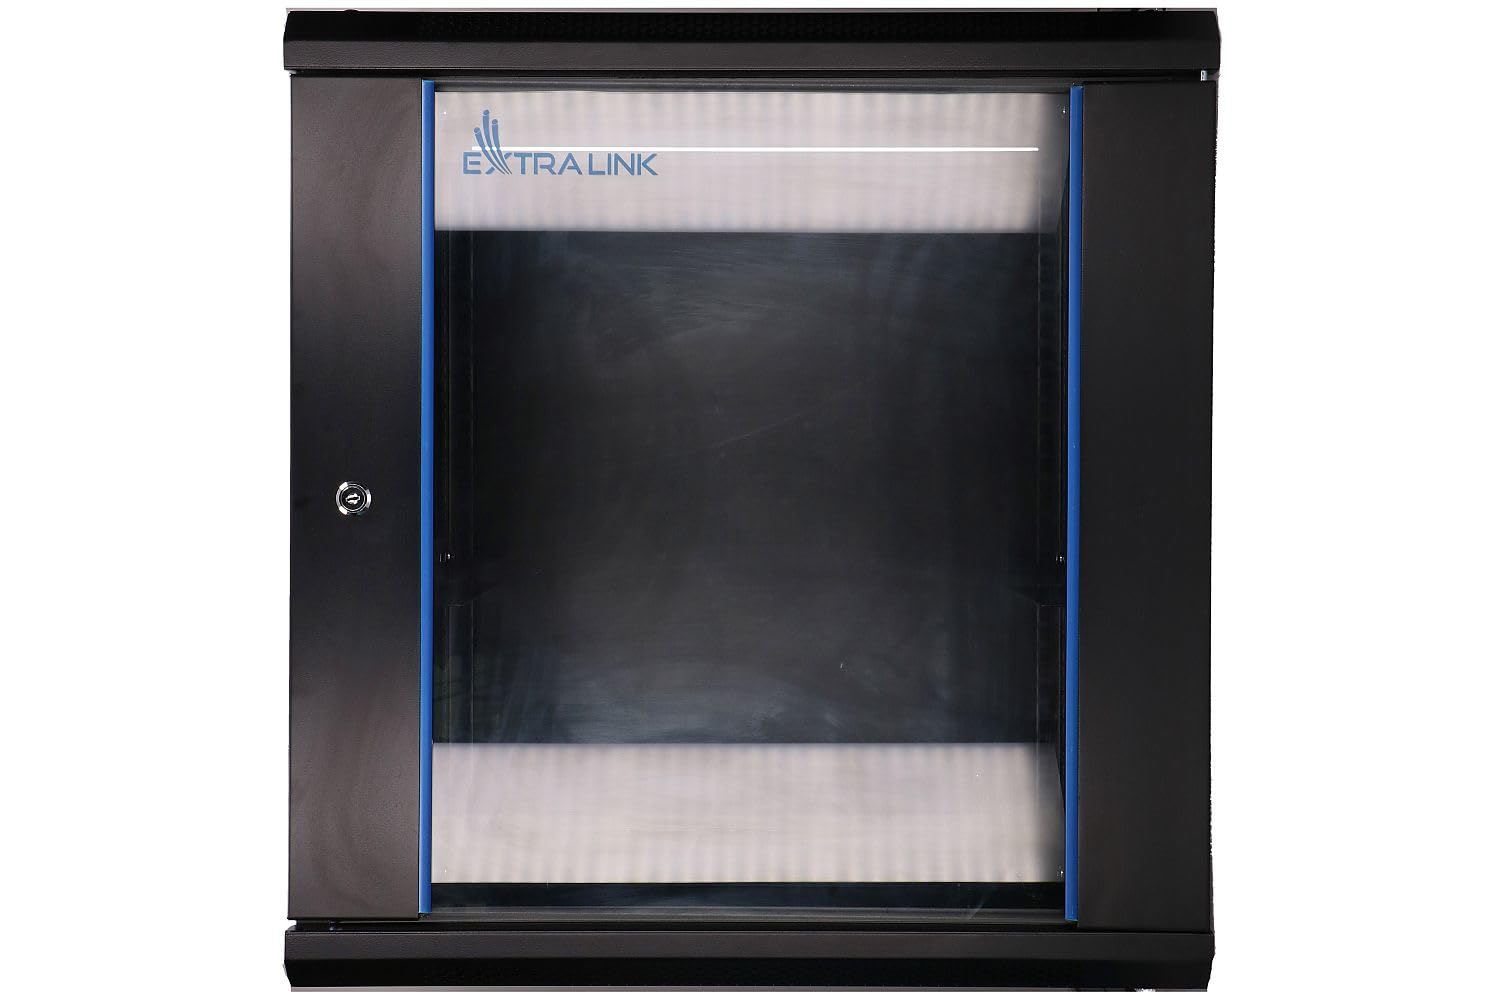
Figure 1: Extralink EX.7256 12U Wall-Mounted Rack, front view.
2. Safety Information
Always observe the following safety precautions to prevent injury and damage to the equipment:
- Professional Installation: It is highly recommended that this rack be installed by qualified personnel.
- Weight Capacity: Do not exceed the maximum weight capacity of the rack. Refer to the Specifications section for details. Overloading can lead to structural failure and injury.
- Secure Mounting: Ensure the rack is securely mounted to a structurally sound wall using appropriate hardware for the wall type. Failure to do so can result in the rack falling.
- Ventilation: Ensure adequate airflow around and within the rack to prevent equipment overheating. Do not block ventilation openings.
- Cable Management: Route cables carefully to avoid pinching, tripping hazards, and interference with equipment operation.
- Electrical Safety: When installing electrical equipment, ensure all power connections are properly grounded and comply with local electrical codes.
- Moving Parts: Be cautious of moving parts, such as fan units, if installed.
3. Package Contents
Verify that all components are present and undamaged before beginning installation. If any items are missing or damaged, contact your vendor immediately.
- Extralink EX.7256 12U Wall-Mounted Rack (1 unit)
- Mounting Hardware (screws, wall anchors - specific type may vary based on wall material)
- Keys for front door lock
- Cage Nuts and Screws for equipment mounting
- Optional accessories (may be sold separately): Shelves, Fan Units, Cable Management Panels.

Keys for front door

Cage Nuts and Screws
4. Setup and Installation
The Extralink EX.7256 rack comes pre-assembled. Installation primarily involves mounting the rack to a wall and then installing your equipment.
4.1. Wall Mounting the Rack
- Choose Location: Select a suitable wall location that is structurally sound and can support the combined weight of the rack and all intended equipment. Ensure adequate space for ventilation and access.
- Mark Mounting Points: Hold the rack against the wall at the desired height and use a pencil to mark the positions for the mounting holes. Ensure the rack is level before marking.
- Drill Pilot Holes: Drill pilot holes at the marked locations using a drill bit appropriate for your wall type and mounting hardware.
- Install Anchors (if needed): Insert wall anchors into the pilot holes if required for your wall type (e.g., drywall).
- Mount the Rack: Carefully lift the rack and align its mounting holes with the drilled holes/anchors. Secure the rack to the wall using the provided mounting screws. Tighten all screws firmly but do not overtighten.

Figure 2: Rear view showing mounting points.
4.2. Installing Equipment
- Open Door: Use the provided keys to unlock and open the front door of the rack.
- Install Cage Nuts: Insert cage nuts into the square holes on the rack rails at the desired height for your equipment.
- Mount Equipment: Carefully slide your 19-inch rack-mountable equipment into the rack, aligning its mounting ears with the cage nuts. Secure the equipment using the provided screws.
- Cable Management: Route all network and power cables neatly using the cable pass-throughs and optional cable management accessories. Ensure cables do not obstruct airflow or door closure.
- Close and Lock: Once all equipment is installed and cables are managed, close the front door and lock it to secure your equipment.

Figure 3: Interior view with mounting rails.
5. Operation
The Extralink EX.7256 is a passive enclosure designed to protect and organize your equipment. Proper operation involves ensuring optimal conditions for the housed devices.
- Ventilation: Ensure that the rack's ventilation openings are clear and not obstructed. If active cooling (fan units) is installed, verify they are functioning correctly.
- Temperature Monitoring: Regularly monitor the temperature inside the rack, especially if housing heat-generating equipment.
- Security: Keep the rack door locked to prevent unauthorized access to your valuable equipment.
- Cable Integrity: Periodically check that all cables are securely connected and free from damage or excessive strain.
6. Maintenance
Regular maintenance helps ensure the longevity and optimal performance of your rack and the equipment within it.
- Cleaning: Periodically clean the exterior of the rack with a soft, damp cloth. Avoid abrasive cleaners. For the interior, use compressed air to remove dust from equipment and ventilation areas.
- Inspection: Annually inspect all mounting hardware for tightness and signs of wear or corrosion. Check the door hinges and lock mechanism for smooth operation.
- Ventilation Check: Ensure all ventilation grilles are free from dust buildup. If fan units are installed, clean their blades and grilles.
- Cable Management: Re-evaluate cable routing periodically to ensure it remains tidy and does not impede airflow or access.
7. Troubleshooting
This section addresses common issues you might encounter with your rack.
| Problem | Possible Cause | Solution |
|---|---|---|
| Rack feels unstable after mounting. | Improper wall anchors, loose mounting screws, or unsuitable wall material. | Verify wall integrity. Re-tighten all mounting screws. If necessary, use stronger anchors or consult a professional for re-installation. |
| Equipment inside is overheating. | Blocked ventilation, insufficient airflow, or overloaded rack. | Ensure all ventilation openings are clear. Improve cable management. Consider installing optional fan units for active cooling. Reduce equipment density if possible. |
| Door does not close or lock properly. | Obstruction by cables or equipment, misaligned hinges, or damaged lock mechanism. | Check for obstructions. Inspect hinges for damage or misalignment. If the lock is damaged, contact support for replacement parts. |
8. Specifications
| Feature | Detail |
|---|---|
| Model Number | EX.7256 |
| Brand | EXTRALINK |
| Rack Units (U) | 12U |
| Rack Type | Wall-Mounted |
| Standard Width | 19 inches |
| Color | Black |
| Item Weight | 27 Kilograms |
| Assembly Required | No (comes pre-assembled) |
| Number of Items | 1 |
9. Warranty and Support
For warranty information and technical support, please refer to the documentation provided with your purchase or visit the official Extralink website. Keep your purchase receipt as proof of purchase for any warranty claims.
If you encounter issues not covered in this manual, please contact Extralink customer service or your authorized reseller for assistance.
Related documentsEX.7256


Ask a question about this manual
Ask about setup, troubleshooting, compatibility, parts, safety, or missing instructions. Manuals+ will review the question and use this page’s manual context to help answer it.