
1. Introduction
This manual provides essential information for the proper setup, operation, and maintenance of your FastSnail Charging Dock. This device is designed to efficiently charge up to four Nintendo Switch or Nintendo Switch OLED Model Joy-Con controllers simultaneously.
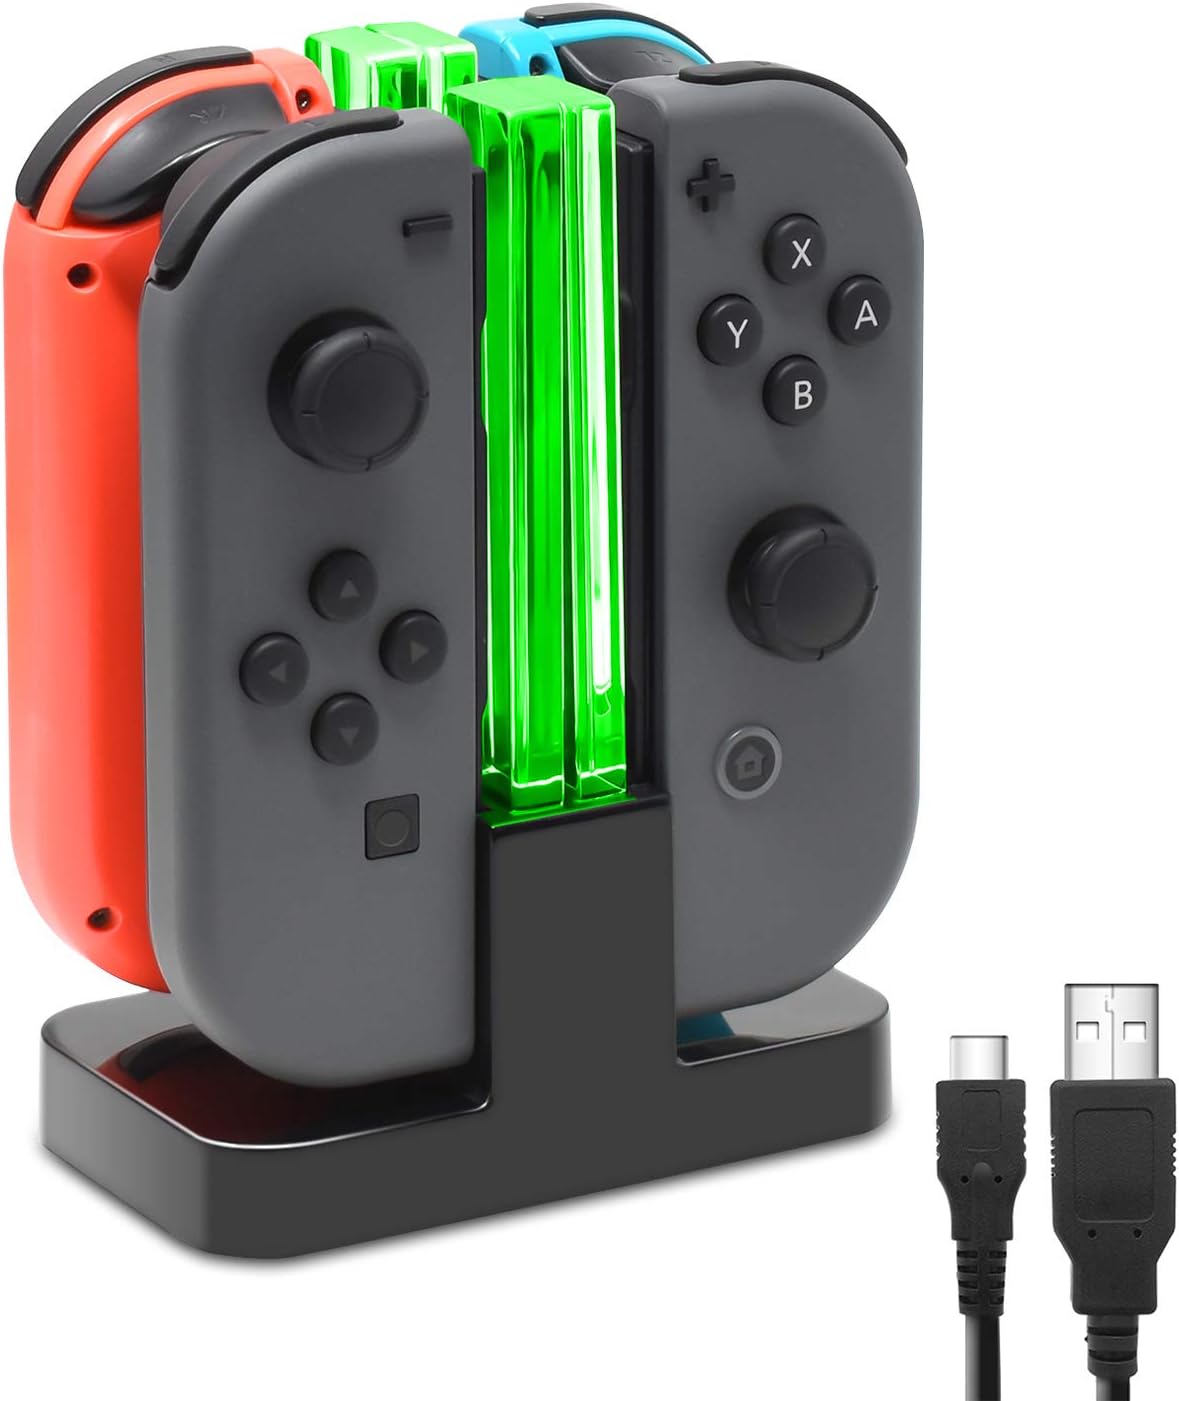
Figure 1: FastSnail Charging Dock with Joy-Cons and USB cable.
2. What's in the Box
- 1 x FastSnail Joy-Con Charge Dock
- 1 x 3FT Charging Cable (USB Type-C)
3. Features
- 4-Controller Charging: Charges up to four Joy-Con controllers simultaneously.
- LED Indicators: Individual lampposts indicate the charging status for each Joy-Con (Red for charging, Green for fully charged/empty slot).
- Fast Charging: Designed for efficient power delivery.
- Compact Design: Lightweight and portable, serving as both a charging station and a storage stand.
- Safety Protections: Includes over-charging, over-temperature, short-circuit, and over-voltage protection.
- Multiple Power Supply Options: Can be powered via AC adapter, USB hub, or directly from the Nintendo Switch console.
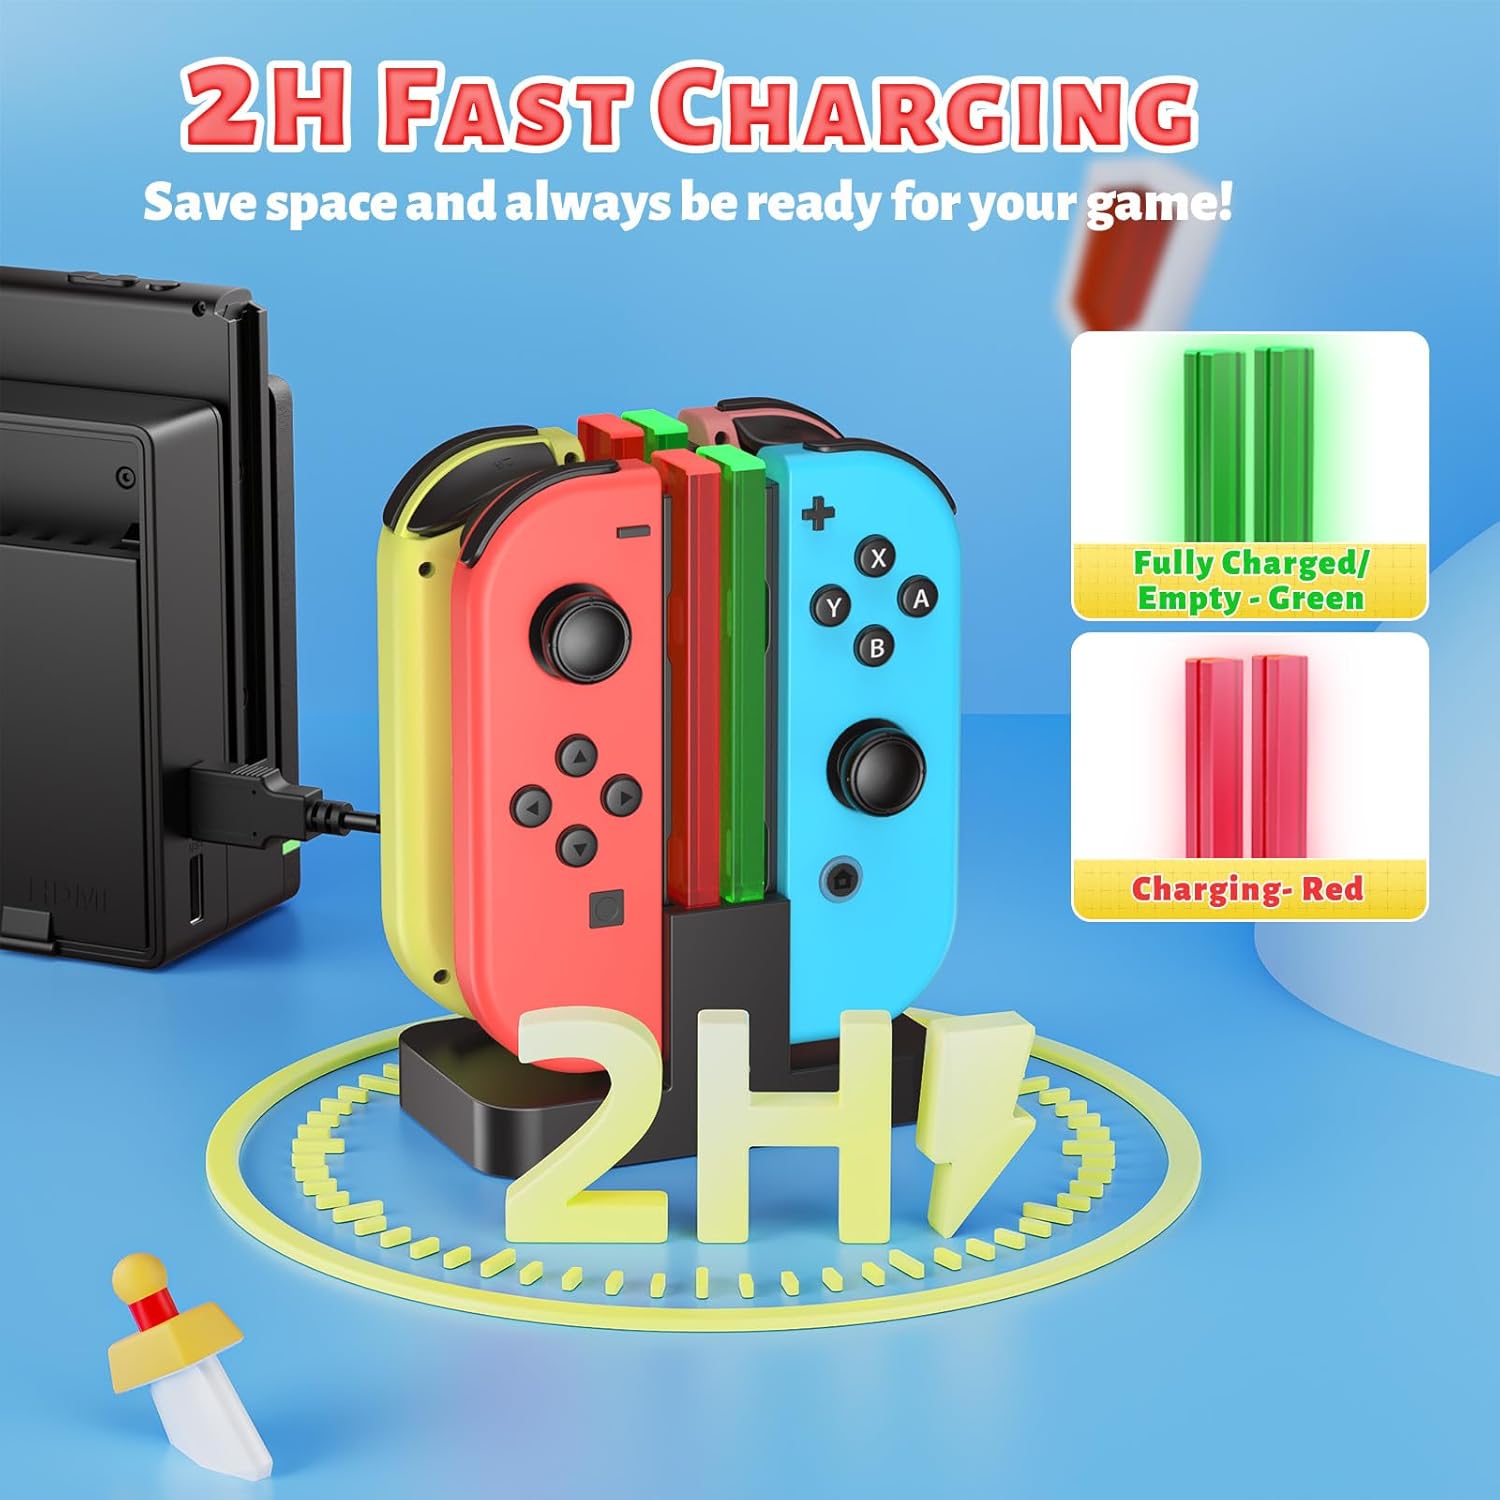
Figure 2: LED indicators for charging status (Red: Charging, Green: Fully Charged/Empty).

Figure 3: Built-in safety protections of the charging dock.
4. Setup Instructions
- Connect Power: Connect the provided USB Type-C charging cable to the port on the back of the FastSnail Charging Dock.
- Power Source: Plug the other end of the USB cable into a suitable power source. This can be a USB port on your Nintendo Switch dock, a USB hub, or an AC adapter (not included).
- Verify Power: Once connected, the LED lampposts on the dock will illuminate green, indicating that the dock is powered on and ready to charge.

Figure 4: Connecting the charging dock to a power source.
5. Operating Instructions
- Insert Joy-Cons: Gently slide your Nintendo Switch Joy-Con controllers into the available slots on the charging dock. Ensure they are fully seated to establish a proper connection.
- Monitor Charging Status: The individual LED lampposts will change color to indicate the charging status:
- Red: The Joy-Con is currently charging.
- Green: The Joy-Con is fully charged, or the slot is empty.
- Remove Joy-Cons: Once the LED indicator turns green, your Joy-Con controllers are fully charged and ready for use. Simply slide them out of the dock.

Figure 5: Inserting Joy-Cons into the charging dock.
6. Maintenance
- Keep the charging dock clean and free from dust. Use a soft, dry cloth for cleaning.
- Avoid exposing the device to water or excessive moisture.
- Do not attempt to disassemble or repair the unit yourself. Contact customer support if issues arise.
7. Troubleshooting
- Controllers not charging:
- Ensure the charging cable is securely connected to both the dock and the power source.
- Verify the power source is active.
- Make sure the Joy-Cons are fully inserted into the charging slots.
- Try using a different USB port or power adapter.
- LED indicators not working:
- Check the power connection as described above.
- If the issue persists, contact customer support.
8. Specifications
| Feature | Detail |
|---|---|
| Model Number | TNS-875 |
| Compatible Devices | Nintendo Switch, Nintendo Switch OLED Joy-Con Controllers |
| Connector Type | USB Type C |
| Input Voltage | 5 Volts |
| Amperage | 2000 Milliamps |
| Total USB Ports | 1 |
| Item Weight | 5.3 ounces |
| Package Dimensions | 5.87 x 3.58 x 2.05 inches |
9. Warranty and Support
FastSnail products are designed for reliability and performance. For any questions, technical support, or warranty inquiries, please refer to the contact information provided with your product packaging or visit the official FastSnail website. Please retain your proof of purchase for warranty claims.