
1. Introduction
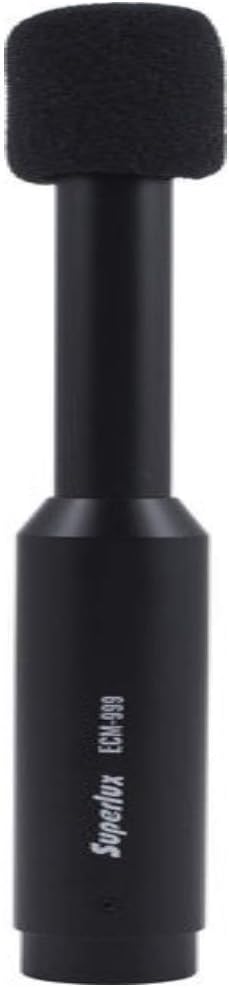
The Superlux ECM999 is an omnidirectional condenser microphone designed for free-field measurement. It features a highly reliable circuit, a 1/4-inch pre-polarized condenser capsule, high stability, low distortion, and minimal noise. Its flat frequency response makes it suitable for sonic analysis systems and specialized recording applications.
This manual provides essential information for the proper setup, operation, and maintenance of your ECM999 microphone.
2. Package Contents
Verify that all items are present in the package:
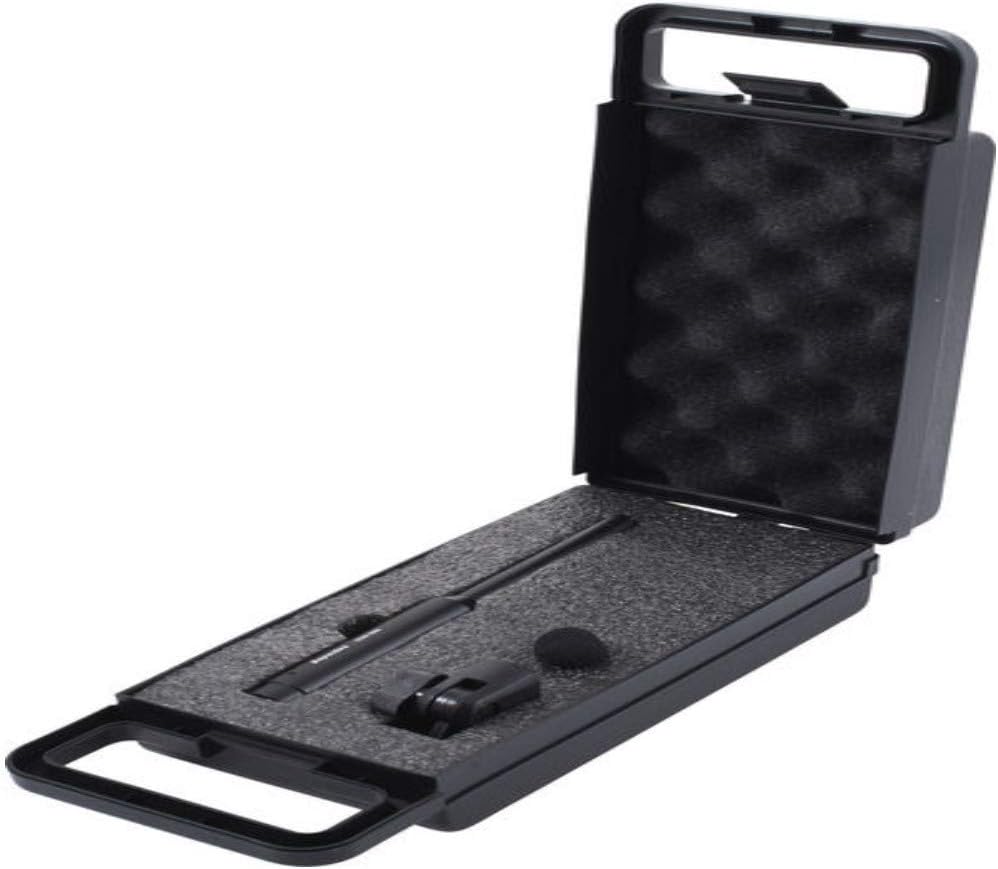
- Superlux ECM999 Measurement Microphone
- Carrying Case
- Microphone Clip
- Windscreen

3. Features
- Measurement Microphone: Designed for room calibration and acoustic testing, suitable for home theater system setup, studio acoustic measurements, and speaker testing.
- Omnidirectional Condenser: Captures sound uniformly from all directions.
- Flat Frequency Response: 20 Hz to 20 kHz ±2 dB, ensuring accurate sound reproduction for room correction and sound analysis.
- High Sound Pressure Level (SPL) Handling: Capable of handling up to 132 dB SPL, suitable for both quiet and high-volume environments.
- Phantom Power: Operates with 12V–52V phantom power, compatible with various audio interfaces and measurement systems.
- Durable Construction: Constructed from metal and plastic for reliability.
4. Setup
- Unpacking: Carefully remove the ECM999 microphone and its accessories from the carrying case.
- Mounting: Attach the microphone to a stand using the provided microphone clip. Ensure the microphone is securely fastened.
- Windscreen Installation: For outdoor use or to reduce plosives and wind noise, place the foam windscreen over the microphone capsule.
- Connection: Connect the microphone to an audio interface, mixer, or measurement system using a standard XLR cable (not included). The ECM999 requires 12V-52V phantom power.
- Power Activation: Activate phantom power on your connected device. The microphone does not have an on/off switch and will operate once phantom power is supplied.



5. Operating Instructions
The Superlux ECM999 is primarily designed for acoustic measurement and analysis.
- Positioning: For room calibration, position the microphone at the primary listening position, typically pointing towards the ceiling for optimal omnidirectional capture. For speaker testing, position it at a consistent distance and angle from the speaker as required by your testing methodology.
- Software Configuration: Use appropriate Room Acoustic Analysis (RTA) software or calibration software (e.g., for AV receivers) to interpret the microphone's input.
- Level Setting: Adjust the input gain on your audio interface or mixer to achieve an optimal signal level without clipping. The microphone's high SPL handling allows for a wide range of sound sources.
- Environmental Considerations: Minimize ambient noise during measurements for accurate results.
- Recording (Optional): For specialized recording applications, position the microphone to capture the desired sound field. Its omnidirectional pattern is suitable for capturing room ambiance or group vocals.
6. Specifications
| Specification | Value |
|---|---|
| Model Name | ECM999 |
| Polar Pattern | Omnidirectional |
| Frequency Response | 20 Hz - 20 kHz (±2 dB) |
| Audio Sensitivity | 37 Decibels |
| Signal-to-Noise Ratio | 77 dB |
| Maximum SPL | 132 dB |
| Power Source | Corded Electric (12V-52V Phantom Power) |
| Connector Type | XLR |
| Material | Metal, Plastic |
| Item Weight | 0.5 Kilograms (1.1 pounds) |
| Product Dimensions (L x W x H) | 11.02 x 3.15 x 5.12 inches |
7. Maintenance
- Cleaning: Use a soft, dry cloth to clean the microphone body. Do not use liquid cleaners or solvents, as they may damage the finish or internal components.
- Storage: When not in use, store the microphone in its provided carrying case to protect it from dust, moisture, and physical damage.
- Handling: Avoid dropping the microphone or subjecting it to strong impacts, as this can affect its calibration and performance.
- Environmental Conditions: Operate and store the microphone in a stable temperature and humidity environment to ensure longevity and consistent performance.
8. Troubleshooting
- No Sound Output:
- Ensure the XLR cable is securely connected at both ends.
- Verify that phantom power (12V-52V) is activated on your audio interface or mixer.
- Check the input gain settings on your connected device.
- Test with a different XLR cable if possible.
- Distorted Sound:
- Reduce the input gain on your audio interface or mixer to prevent clipping.
- Ensure the sound source is not excessively loud for the microphone's SPL handling (though it handles up to 132 dB SPL).
- Excessive Noise/Hum:
- Ensure all connections are secure.
- Check for ground loops in your audio system.
- Move the microphone away from sources of electromagnetic interference (e.g., power cables, fluorescent lights).
- Inaccurate Measurements:
- Ensure the microphone is correctly positioned according to your measurement software's recommendations.
- Verify that phantom power is stable.
- Minimize ambient noise during the measurement process.
9. Safety Information
- Do not expose the microphone to extreme temperatures, high humidity, or direct sunlight.
- Avoid disassembling the microphone. This will void the warranty and may cause damage.
- Keep the microphone away from water and other liquids.
- Use only with compatible phantom power sources (12V-52V).
10. Warranty and Support
For warranty information, technical support, or service inquiries, please refer to the official Superlux website or contact Superlux customer support directly. Keep your purchase receipt as proof of purchase.


