
PowerLocus P2
PowerLocus Bluetooth Over-Ear Headphones User Manual
Model: P2
1. Introduction
Thank you for choosing PowerLocus Bluetooth Over-Ear Headphones. This manual provides detailed instructions for setting up, operating, maintaining, and troubleshooting your new headphones. Please read this manual carefully before use to ensure optimal performance and longevity of your device.

Image: PowerLocus P2 Bluetooth Over-Ear Headphones in black and yellow, shown with their protective carrying case.
2. Package Contents
Ensure all items are present in your package:
- 1x PowerLocus P2 Wireless Headphones
- 1x 3.5mm Audio Cable
- 1x USB-C Charging Cable
- 1x Protective Case

Image: A visual representation of the PowerLocus P2 package contents, including the headphones, audio cable, charging cable, and hard shell carry case.
3. Setup Guide
3.1 Charging the Headphones
Before first use, fully charge your PowerLocus P2 headphones. A full charge takes approximately 15 hours.
- Connect the small end of the USB-C charging cable to the charging port on the headphones.
- Connect the large end of the USB-C charging cable to a USB power source (e.g., computer USB port, wall adapter).
- The LED indicator will show charging status (refer to LED indicator section for details). Once fully charged, the indicator will change or turn off.
3.2 Bluetooth Pairing
The PowerLocus P2 headphones are designed for quick and easy Bluetooth connection.
- Ensure the headphones are turned off.
- Slide the On/Off button to the 'On' position. The headphones will enter pairing mode, indicated by a flashing LED light (e.g., blue/red alternating).
- On your device (smartphone, tablet, PC), enable Bluetooth and search for available devices.
- Select "PowerLocus P2" from the list of found devices.
- Once connected, the LED indicator will typically show a solid blue light or flash slowly.
Video: A short demonstration on how to connect the PowerLocus P2 headphones via Bluetooth to a device.
3.3 Wired Connection
For non-Bluetooth devices or when the battery is depleted, you can use the included 3.5mm audio cable.
- Connect one end of the 3.5mm audio cable to the audio input jack on the headphones.
- Connect the other end of the 3.5mm audio cable to the audio output jack of your device.
- The headphones will automatically switch to wired mode.
4. Operating Instructions
4.1 Controls Overview
The headphones feature intuitive controls located on the earcup.
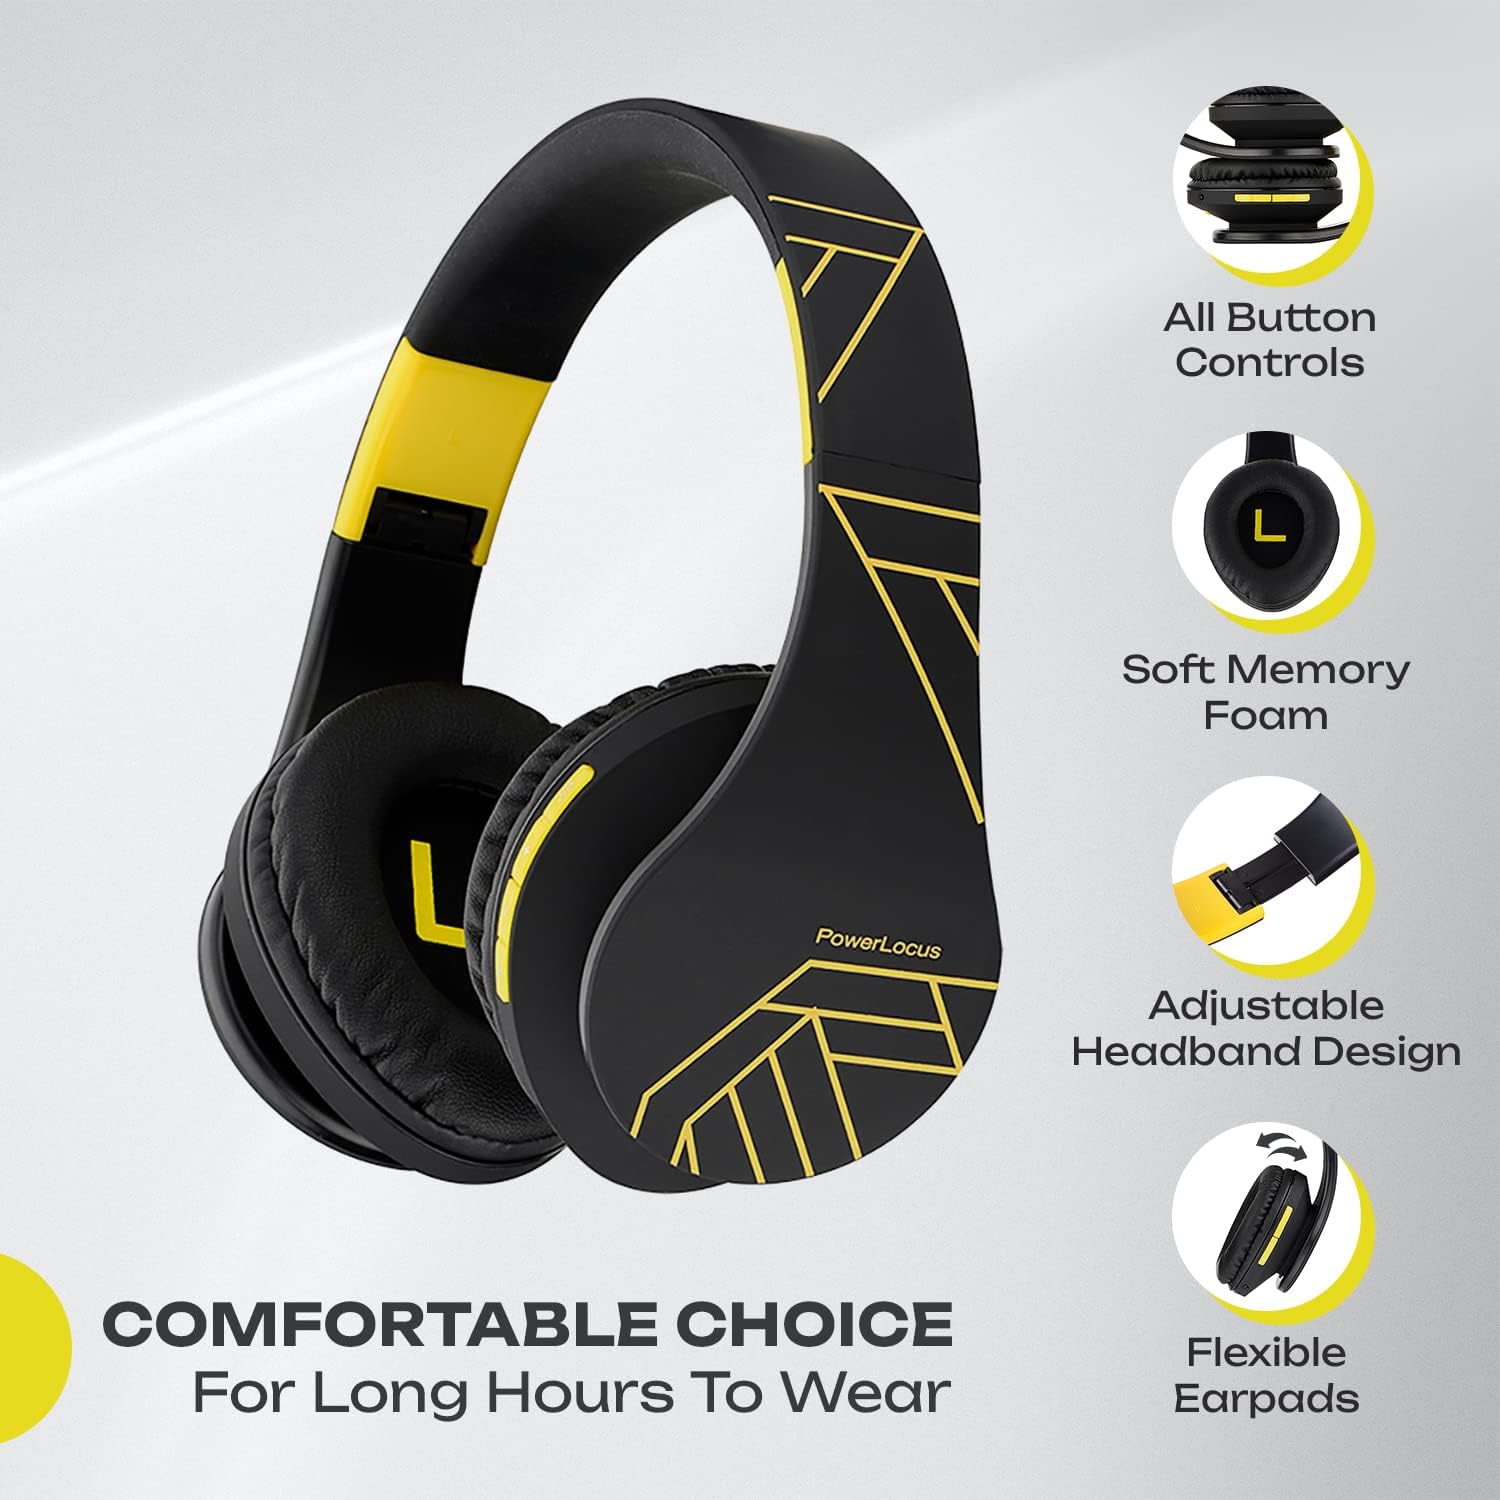
Image: An illustration highlighting the various button controls on the PowerLocus P2 headphones, including power, volume, and multi-function buttons.
- Power On/Off: Slide switch.
- Volume Up/Next Track: Short press for volume up, long press for next track.
- Volume Down/Previous Track: Short press for volume down, long press for previous track.
- Multi-function Button (MFB): Play/Pause, Answer/End Call, Reject Call, Redial.
4.2 Bluetooth Mode Operation
- Playing Music: Use the MFB to play or pause audio. Use volume buttons for track navigation and volume adjustment.
- Making/Receiving Calls: The built-in microphone allows for hands-free communication. Press MFB to answer/end calls, long press to reject.
4.3 Micro SD/TF Card Mode
Insert a Micro SD/TF card (up to 32GB) into the designated slot to play music directly from the card.

Image: This visual emphasizes the headphones' universal compatibility with devices like laptops, phones, and tablets, and highlights the Micro SD card mode for direct music playback.
4.4 FM Radio Mode
The headphones support FM radio functionality.
- Switch to FM mode (refer to specific button function if available, usually a mode button or long press of MFB).
- Press the MFB to auto-scan and save available FM stations.
- Use the volume buttons to navigate between saved stations.
Video: A brief video showcasing the PowerLocus P2 headphones in active use, highlighting their design and portability.
5. Maintenance and Care
5.1 Cleaning
Regular cleaning helps maintain the headphones' appearance and hygiene.
- Use a soft, dry cloth to wipe the exterior of the headphones.
- For earcups, gently wipe with a slightly damp cloth and allow to air dry completely before use.
- Do not use harsh chemicals or abrasive cleaners.
5.2 Storage
Proper storage extends the life of your headphones.
- Fold the headphones to their compact size.
- Always store them in the provided protective case when not in use or when traveling.
- Store in a cool, dry place away from direct sunlight and extreme temperatures.
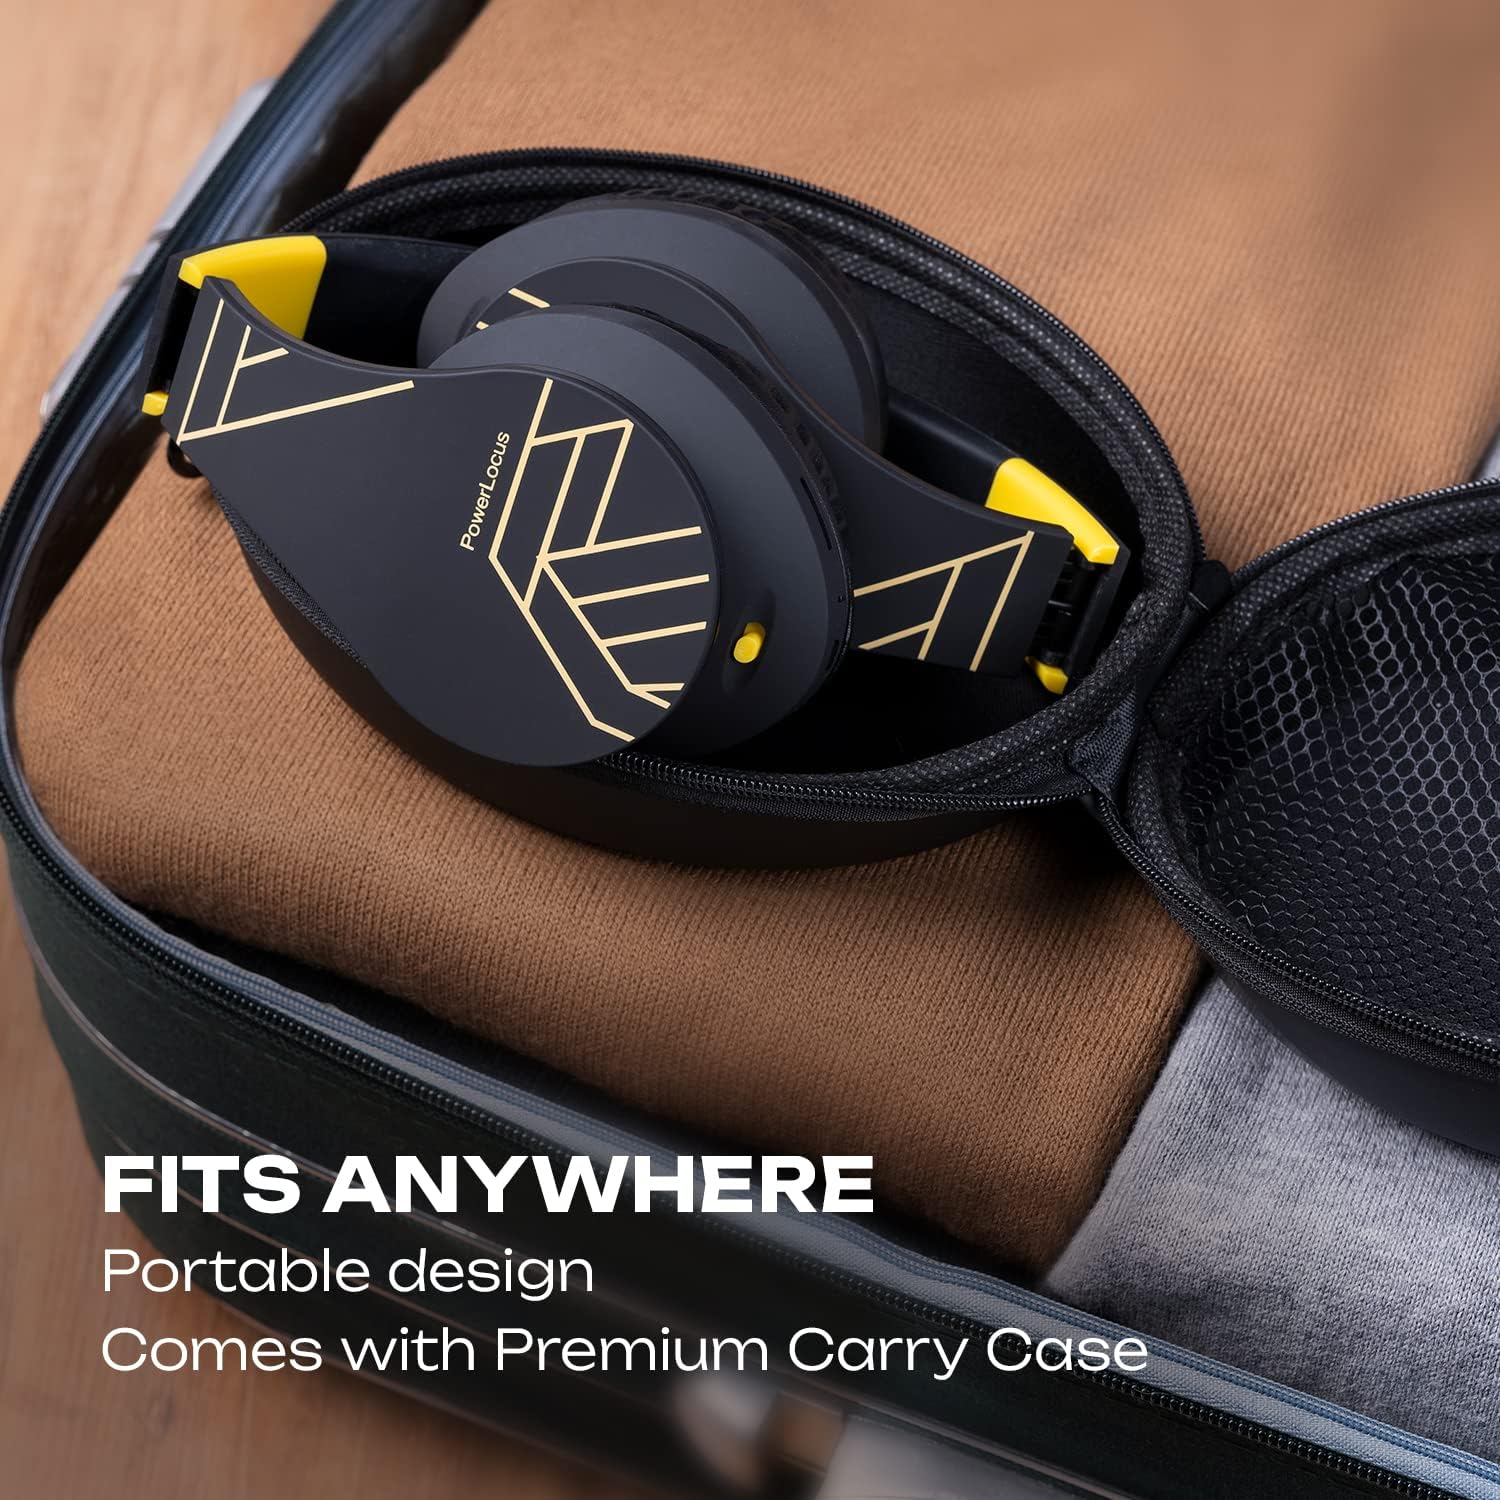
Image: The PowerLocus P2 headphones are shown folded and neatly placed inside their premium carry case, demonstrating their portable design and ease of storage.
5.3 Battery Care
- Avoid fully discharging the battery frequently.
- Charge the headphones regularly, even if not used for extended periods, to maintain battery health.
6. Troubleshooting
If you encounter issues with your PowerLocus P2 headphones, refer to the following common solutions:
| Problem | Possible Cause | Solution |
|---|---|---|
| Headphones do not power on. | Low battery. | Charge the headphones fully. |
| Cannot pair via Bluetooth. | Headphones not in pairing mode; device Bluetooth off; interference. | Ensure headphones are in pairing mode (flashing LED). Turn off and on device's Bluetooth. Move closer to device. |
| No sound in Bluetooth mode. | Volume too low; not connected; incorrect audio output. | Increase headphone and device volume. Re-pair headphones. Check device's audio output settings. |
| Sound distortion. | Too far from device; interference. | Move closer to the connected device. Avoid obstacles between headphones and device. |
| Microphone not working. | Incorrect input device selected on computer/phone. | Check audio input settings on your device and select PowerLocus P2. |
7. Specifications
Key technical specifications for the PowerLocus P2 Headphones:
- Model Name: P2
- Connectivity Technology: Wireless (Bluetooth 5.3), Wired (3.5mm Jack)
- Bluetooth Range: Up to 36 Feet
- Audio Driver Size: 40 Millimeters
- Frequency Response: 20Hz – 20,000Hz
- Impedance: 32 Ohm
- Battery Life: Up to 15 Hours (Playtime)
- Charging Time: Approximately 15 Hours
- Weight: 150 Grams (5.3 ounces)
- Dimensions: 4.1 x 5.9 x 7.9 inches
- Special Features: Foldable, Built-in Microphone, Micro SD/TF Card Support, FM Radio, Sound Isolation
- Compatible Devices: Cellphones, Televisions, Tablets, Gaming Consoles, Laptops

Image: An infographic detailing the PowerLocus P2's core features, including Bluetooth 5.0, 15 hours of battery life, Micro SD card support, FM radio, 40mm drivers, HD microphone, and extra bass capabilities.
8. Warranty and Support
PowerLocus provides a 24-month warranty for your headphones, ensuring peace of mind regarding product quality and performance. We are committed to 100% customer satisfaction.
For any questions, technical support, or warranty claims, please contact our 24/7 Customer Support through the official PowerLocus website or your point of purchase. Please have your model number (P2) and purchase details ready when contacting support.
For more information, visit www.powerlocus.com
Related documentsP2


Ask a question about this manual
Ask about setup, troubleshooting, compatibility, parts, safety, or missing instructions. Manuals+ will review the question and use this page’s manual context to help answer it.