
1. Introduction
Thank you for choosing the Klarstein Silent Cool Mini Bar. This instruction manual provides important information regarding the safe installation, operation, and maintenance of your appliance. Please read this manual thoroughly before use and keep it for future reference.
1.1 Safety Instructions
- Ensure the appliance is placed on a stable, level surface to prevent tipping.
- Allow adequate ventilation around the unit. Maintain a minimum clearance of 10 cm (4 inches) from walls and other objects.
- Do not block ventilation openings.
- Do not place the appliance near heat sources such as radiators, direct sunlight, or other heat-producing appliances.
- Connect the appliance only to a properly grounded power outlet.
- Do not use electrical appliances inside the food storage compartments unless they are of the type recommended by the manufacturer.
- Unplug the appliance before cleaning or performing any maintenance.
- Keep children away from packaging materials to prevent suffocation.
- This appliance is designed for household use only.
2. Product Overview and Features
The Klarstein Silent Cool Mini Bar is a compact and energy-efficient thermoelectric refrigerator designed for quiet operation. It is ideal for small spaces such as hotel rooms, offices, bedrooms, or hobby rooms, providing convenient storage for drinks and snacks.

Front view of the Klarstein Silent Cool Mini Bar.
Key Features:
- Compact Design: Space-saving dimensions suitable for various environments.
- Silent Operation: Thermoelectric cooling system ensures minimal noise (24 dB(A)).
- Energy Efficient: Rated with energy efficiency class A+.
- Spacious Interior: 30-liter capacity with a removable shelf and two door compartments.
- Adjustable Temperature: Continuously variable cooling temperature from 4.5°C to 15°C.
- Interior Lighting: Automatic interior lighting for visibility.
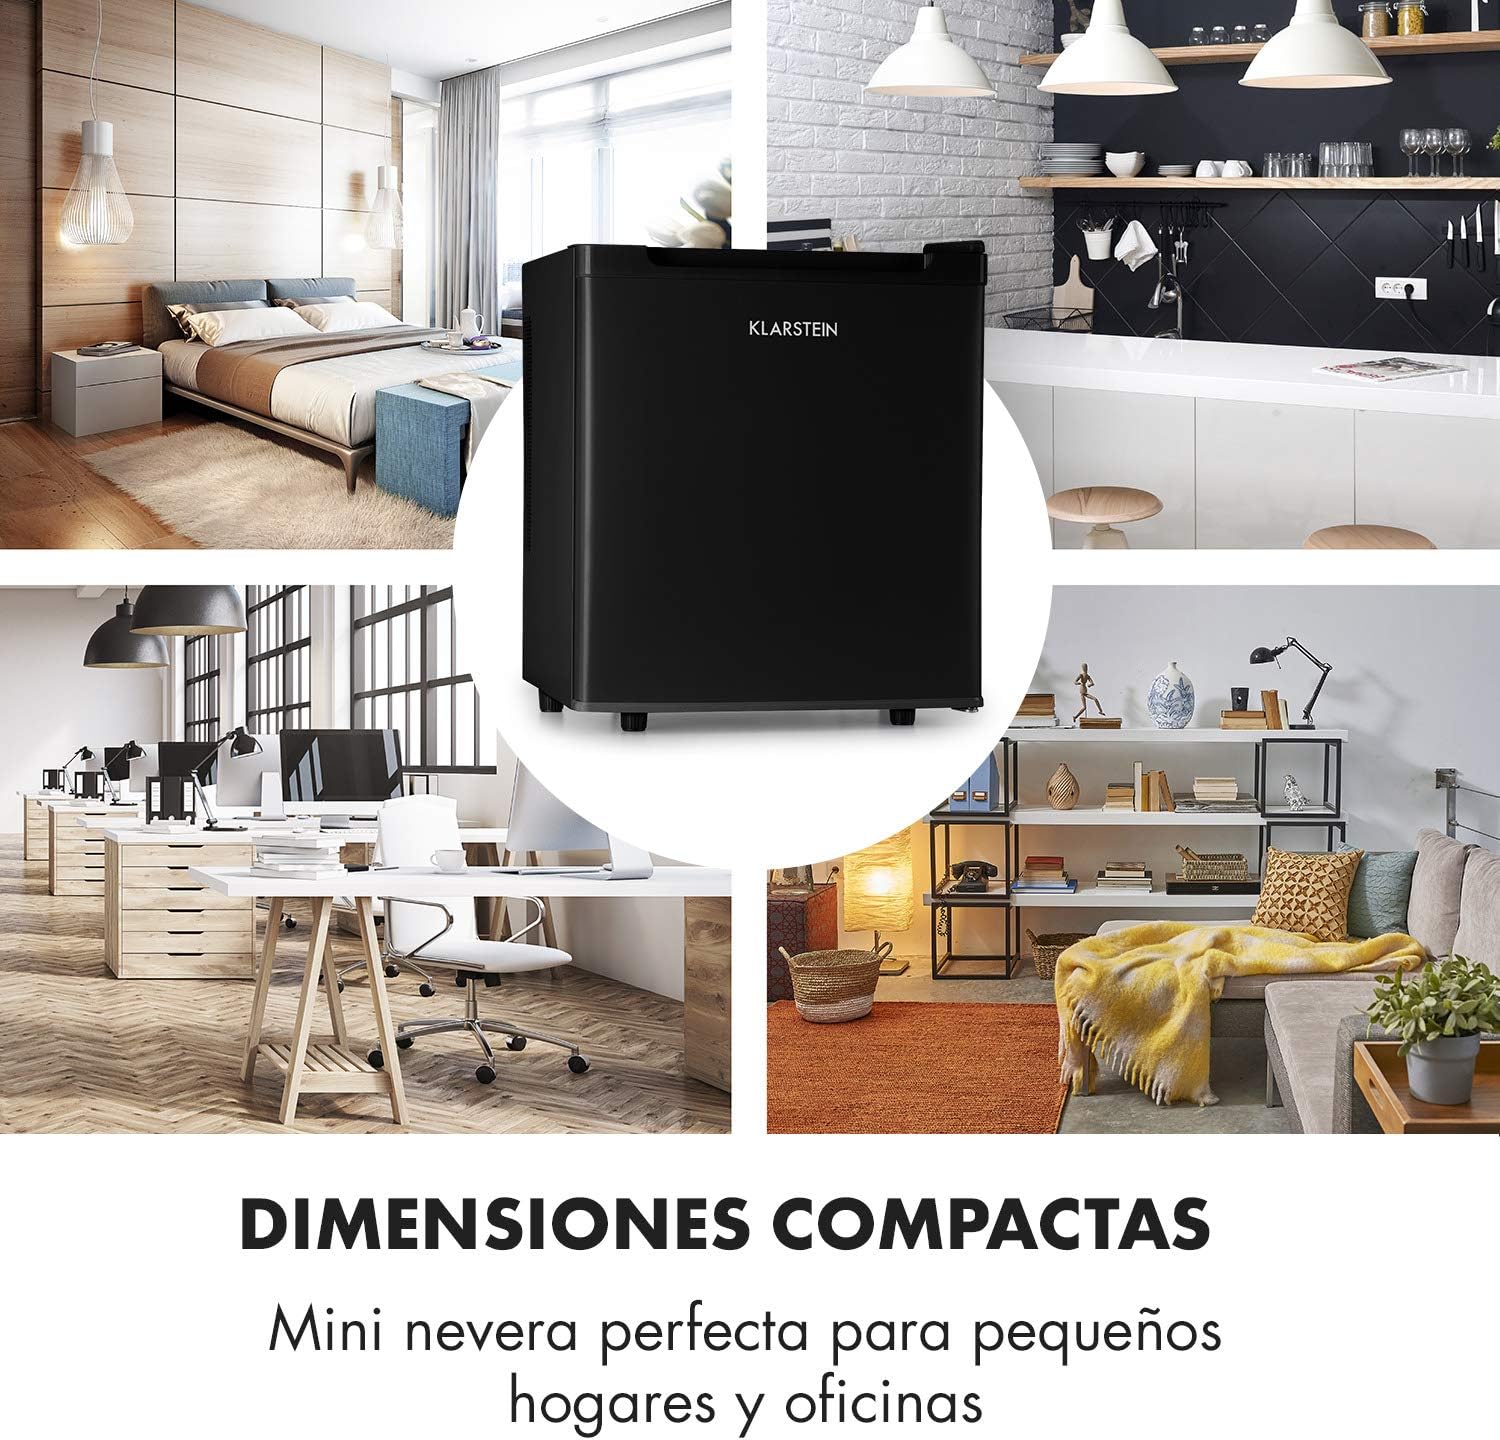
The compact design of the mini bar allows it to fit seamlessly into various small spaces like bedrooms, offices, and kitchens.
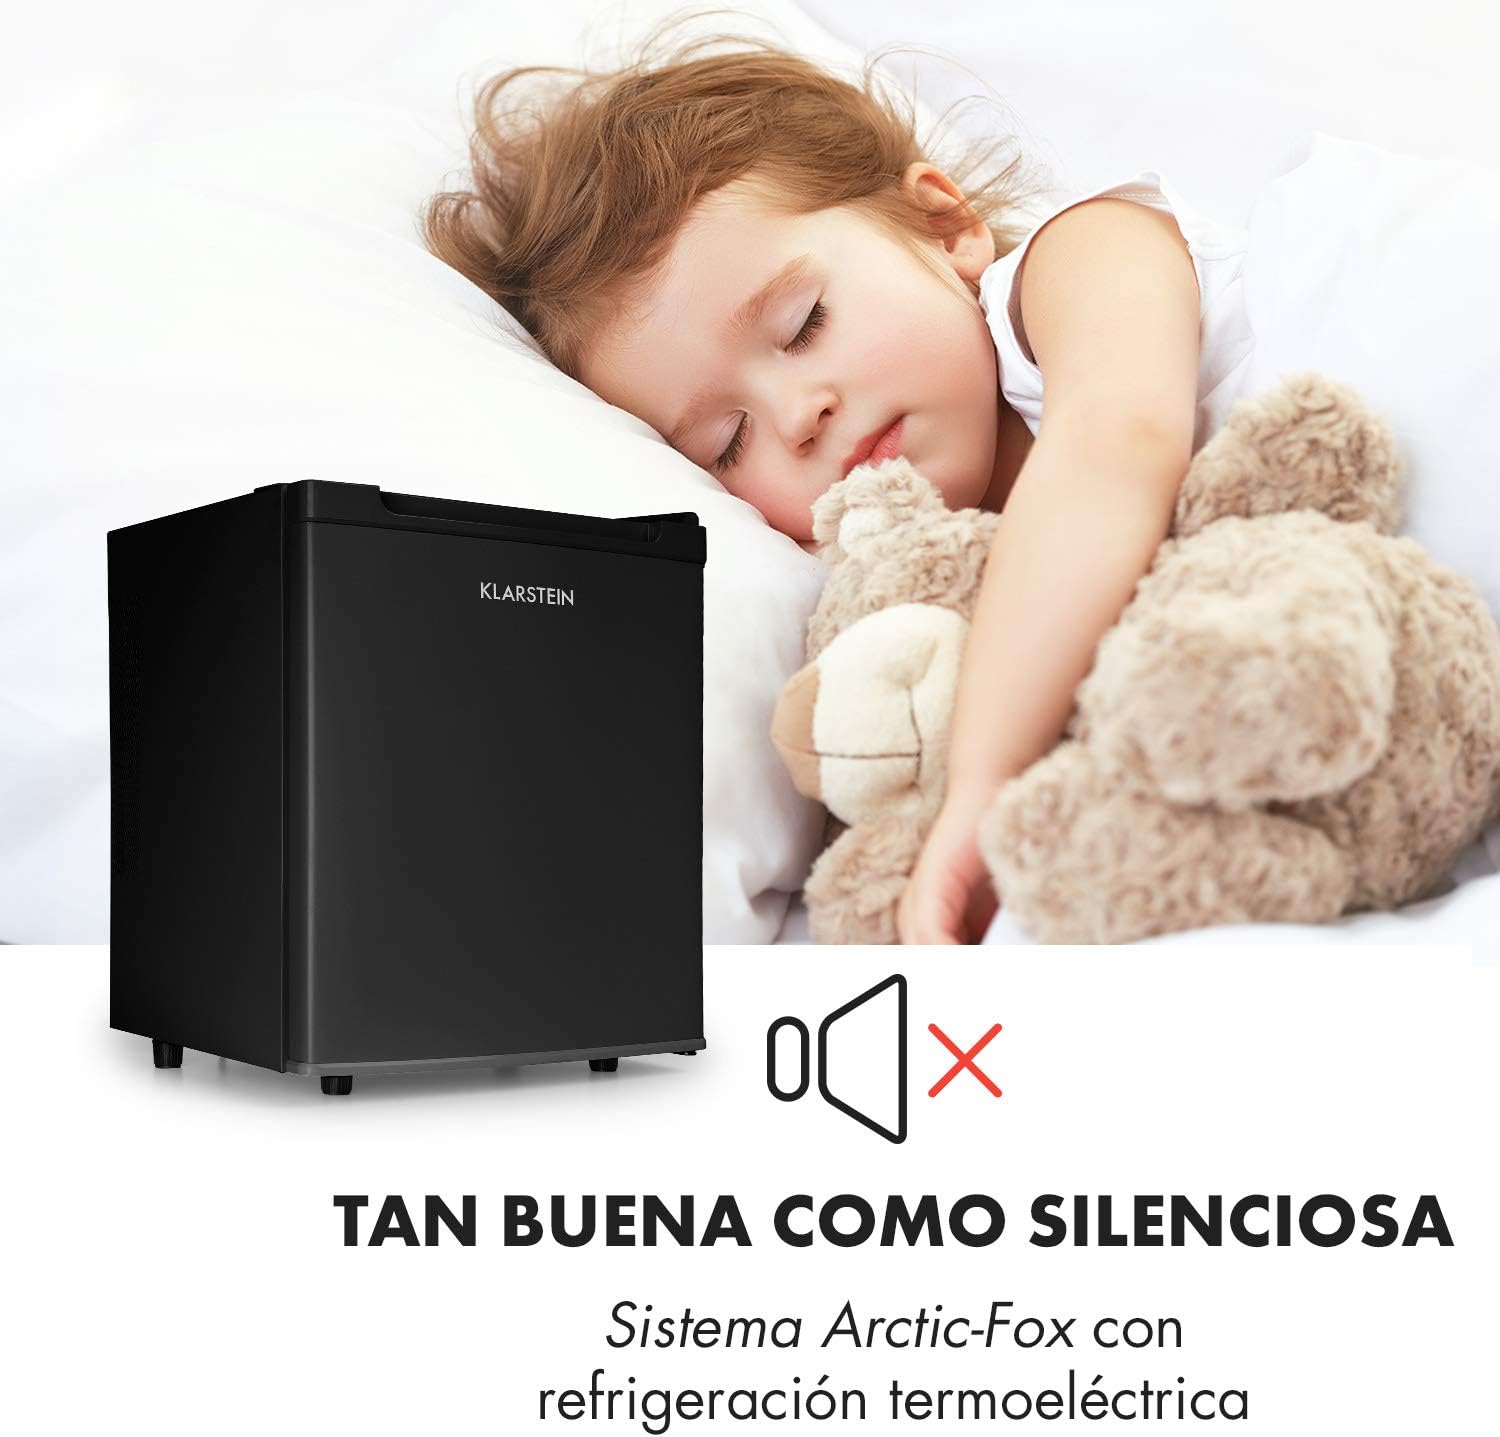
The advanced thermoelectric cooling system ensures extremely quiet operation, making it suitable for bedrooms.

Designed for economical and environmentally friendly operation with high energy efficiency.

The 30-liter interior provides ample space for various drinks and snacks.
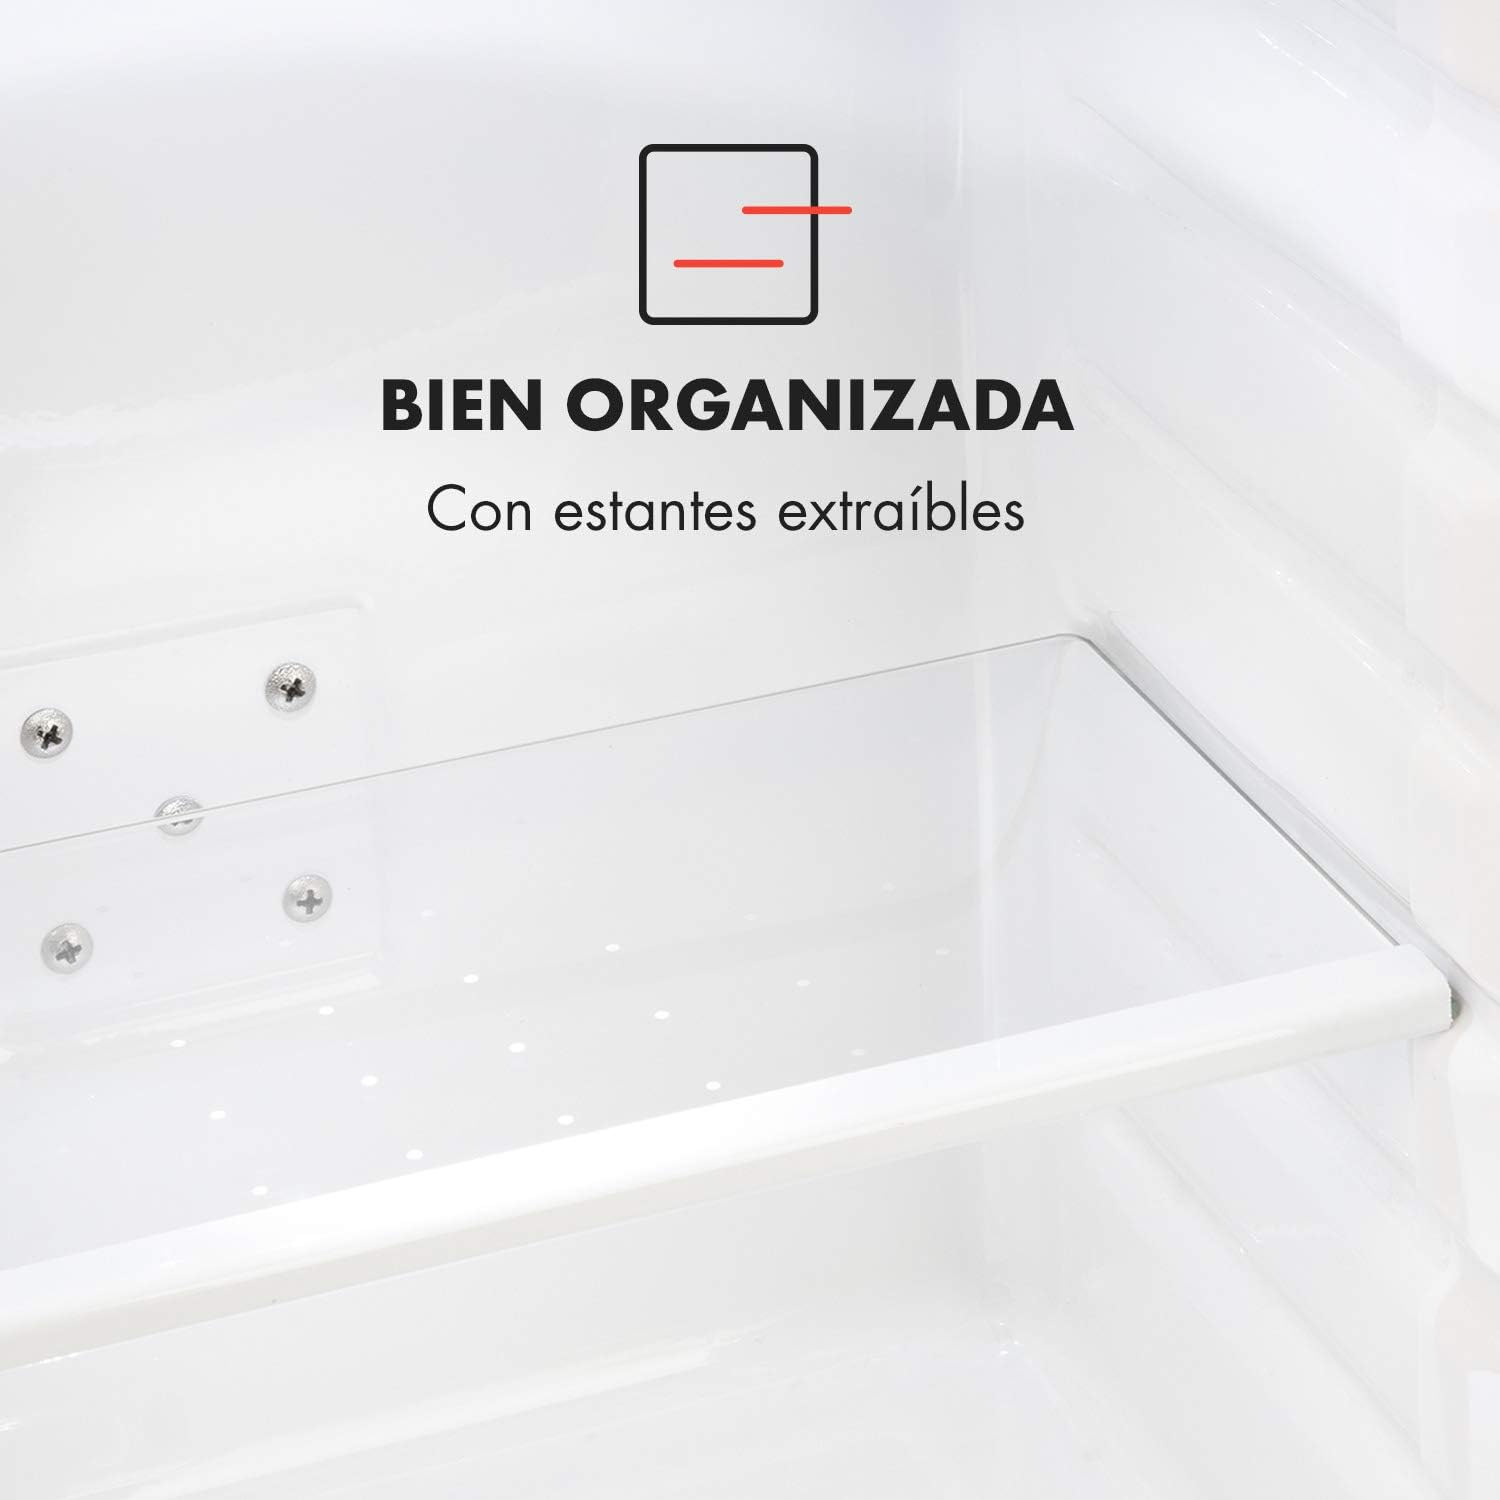
The interior is well-organized with a removable shelf for flexible storage.
3. Setup
3.1 Unpacking
Carefully remove the mini bar from its packaging. Inspect the appliance for any damage that may have occurred during transit. If damage is found, do not operate the unit and contact your retailer.
3.2 Placement
- Place the mini bar on a firm, level surface to ensure stability and proper operation.
- Ensure there is sufficient air circulation around the unit. Leave at least 10 cm (4 inches) of space on the sides and back, and 20 cm (8 inches) above the unit for proper heat dissipation.
- Avoid placing the mini bar in direct sunlight or near heat sources (e.g., ovens, radiators) as this can affect cooling performance and energy consumption.
- The appliance is designed for freestanding installation and is not suitable for built-in use.
3.3 Initial Cleaning
Before first use, clean the interior and exterior of the mini bar with a soft cloth and a mild detergent. Rinse with clean water and dry thoroughly. Do not use abrasive cleaners or solvents.
3.4 Power Connection
Plug the power cord into a grounded electrical outlet (220-240 V~ | 50-60 Hz). Allow the mini bar to stand for at least 2-3 hours before loading it with items to allow the cooling system to stabilize.
4. Operating Instructions
4.1 Temperature Control
The mini bar features a continuously adjustable temperature control dial located inside the unit. Rotate the dial to select your desired cooling temperature. The cooling range is approximately 4.5°C to 15°C (40°F to 59°F).
- Turning the dial towards the maximum setting will result in colder temperatures.
- Turning the dial towards the minimum setting will result in warmer temperatures.
- It may take several hours for the mini bar to reach the set temperature, especially after initial setup or if the door has been opened frequently.
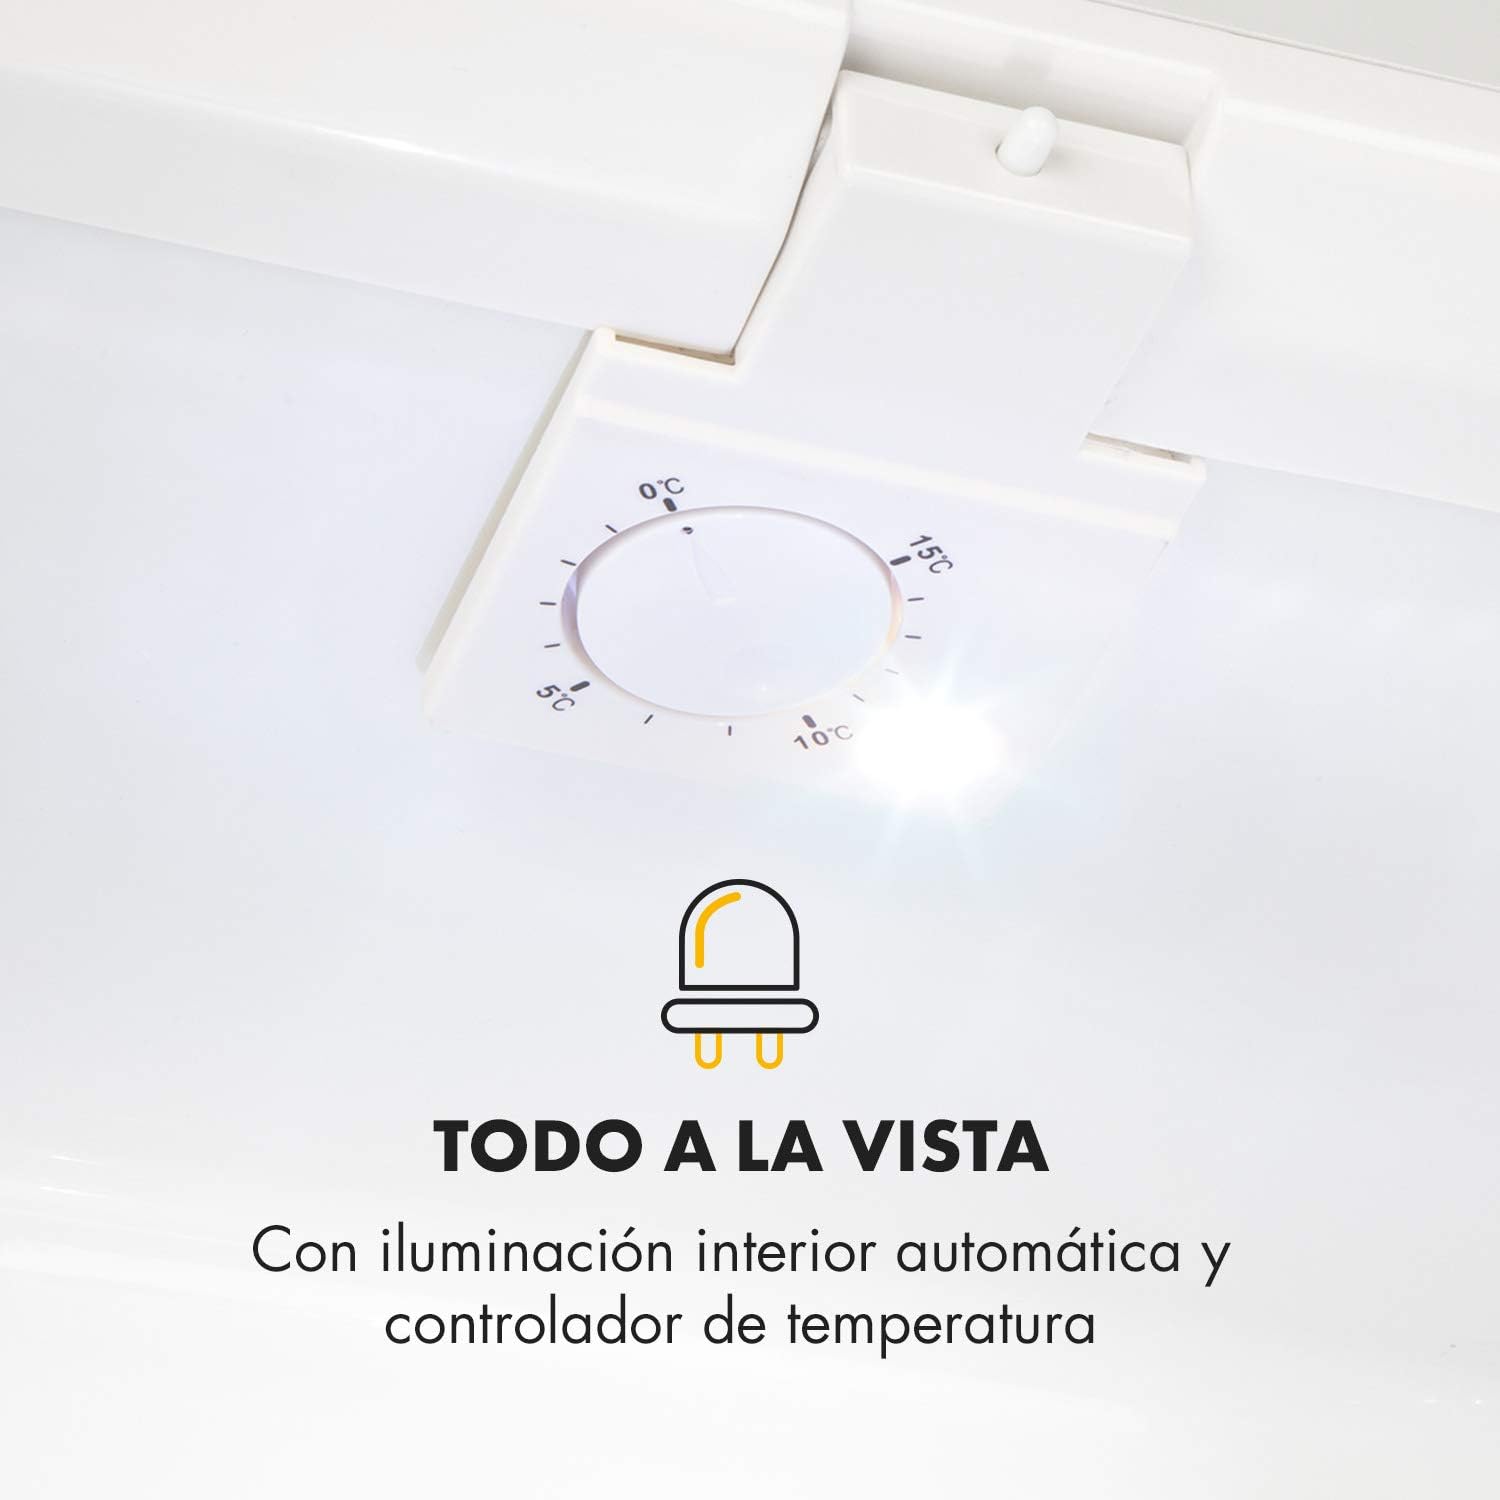
The temperature control dial allows for precise adjustment of the cooling level.
4.2 Loading the Mini Bar
- Arrange items inside the mini bar to allow for proper air circulation. Do not overfill.
- Utilize the removable shelf and door compartments for organized storage.
- Avoid placing hot items directly into the mini bar; allow them to cool to room temperature first.
4.3 Interior Lighting
The mini bar is equipped with an automatic interior light that illuminates when the door is opened, providing clear visibility of the contents.
5. Maintenance
5.1 Cleaning
Regular cleaning helps maintain the efficiency and appearance of your mini bar.
- Always unplug the appliance from the power outlet before cleaning.
- Interior: Clean the interior with a soft cloth dampened with a solution of mild detergent and warm water. Wipe dry with a clean cloth. The removable shelf can be washed separately.
- Exterior: Wipe the exterior surfaces with a soft, damp cloth. For stubborn stains, use a mild detergent.
- Do not use abrasive cleaners, scouring pads, or solvents as they can damage surfaces.
- Ensure no water enters the electrical components.
5.2 Defrosting
The Klarstein Silent Cool Mini Bar features a frost-free/automatic defrost system, minimizing the need for manual defrosting. However, if a thin layer of ice forms, it will typically melt automatically. For thicker ice buildup, unplug the unit and allow the ice to melt naturally. Collect any melted water and wipe the interior dry before reconnecting power.
6. Troubleshooting
If you experience issues with your mini bar, consult the following table for common problems and solutions.
| Problem | Possible Cause | Solution |
|---|---|---|
| Mini bar does not cool. | No power supply. Temperature control set too high. Poor ventilation. | Check if the power cord is securely plugged in and the outlet is functional. Adjust the temperature control to a colder setting. Ensure adequate clearance around the unit for ventilation. |
| Insufficient cooling. | Door not closed properly. Frequent door opening. Too many items loaded. High ambient temperature. | Ensure the door is fully closed. Minimize door openings. Do not overfill the mini bar; allow space for air circulation. Relocate the mini bar to a cooler area if possible. |
| Interior light not working. | Light bulb faulty (if replaceable) or electrical issue. | Contact customer support if the light does not function. |
| Unusual odors inside. | Food items causing odor. Needs cleaning. | Remove any spoiled food. Clean the interior thoroughly as per maintenance instructions. |
If the problem persists after performing these checks, please contact Klarstein customer support.
7. Specifications
Below are the technical specifications for the Klarstein Silent Cool Mini Bar (Model HEA6-SilentCool-BL).
| Feature | Specification |
|---|---|
| Model Name | HEA6-SilentCool-BL |
| Brand | KLARSTEIN |
| Product Dimensions (D x W x H) | 15.35" x 16.54" x 18.7" (39.0 cm x 42.0 cm x 47.5 cm) |
| Capacity | 30 Liters |
| Color | Black |
| Installation Type | Freestanding |
| Cooling Method | Thermoelectric |
| Adjustable Temperature Range | 4.5°C - 15°C |
| Noise Level | 24 dB(A) |
| Defrost System | Frost free/Automatic |
| Number of Shelves | 1 (removable) |
| Power Supply | 220-240 V~ | 50-60 Hz |
| Annual Energy Consumption | 125 Kilowatt Hours Per Year |
| Item Weight | 11.9 Kilograms |

Detailed dimensions of the mini bar for planning placement.
8. Warranty and Support
Klarstein products are manufactured with high-quality materials and undergo strict quality control. This appliance is covered by a manufacturer's warranty. Please refer to your purchase documentation or contact your retailer for specific warranty terms and conditions.
Customer Support
For technical assistance, spare parts, or any questions regarding your Klarstein Silent Cool Mini Bar, please contact your local dealer or Klarstein customer service. Contact information can typically be found on the Klarstein official website or your purchase receipt.
