
Product Overview
This manual provides instructions for the installation and maintenance of the OTUAYAUTO Rear Windshield Wiper Arm Blade Set, designed as an OEM style replacement for BMW X3 F25 models from 2011 to 2017.

Image: The complete OTUAYAUTO Rear Windshield Wiper Arm and Blade Set, including the arm, blade, and product packaging.
Key Features
- Vehicle Fitment: Specifically designed for BMW X3 F25 2011-2017 models.
- OEM Style Replacement: Engineered to meet or exceed OEM specifications (OEM: 61627213242, 61627213241, 61627161030).
- Durable Materials: Constructed with natural rubber and 100% PBT with 30% Pb, ensuring longevity. Silicone rubber blades offer extended lifespan compared to traditional blades.
- All-Weather Performance: Provides optimum visibility and long-lasting performance in various weather conditions. Enamel paint prevents flaking, peeling, and fading.

Image: Diagram illustrating the dimensions of the wiper arm (12 inches / 305mm) and wiper blade (13 inches / 330mm).

Image: Close-up view highlighting the strength plastic wiper interface for easy installation and flexible rotation, and the rear windshield interface designed to prevent rust and ensure high material strength.

Image: Illustration of the wiper blade's internal components, showing the iron skeleton for durability and adaptability to harsh environments, and the special natural rubber strip for high-definition, quiet wiping.
Package Contents
Verify that all components are present before beginning installation:
- 1 x Box (Packaging)
- 1 x Wiper Blade
- 1 x Wiper Arm
- 1 x Instructions (This manual)
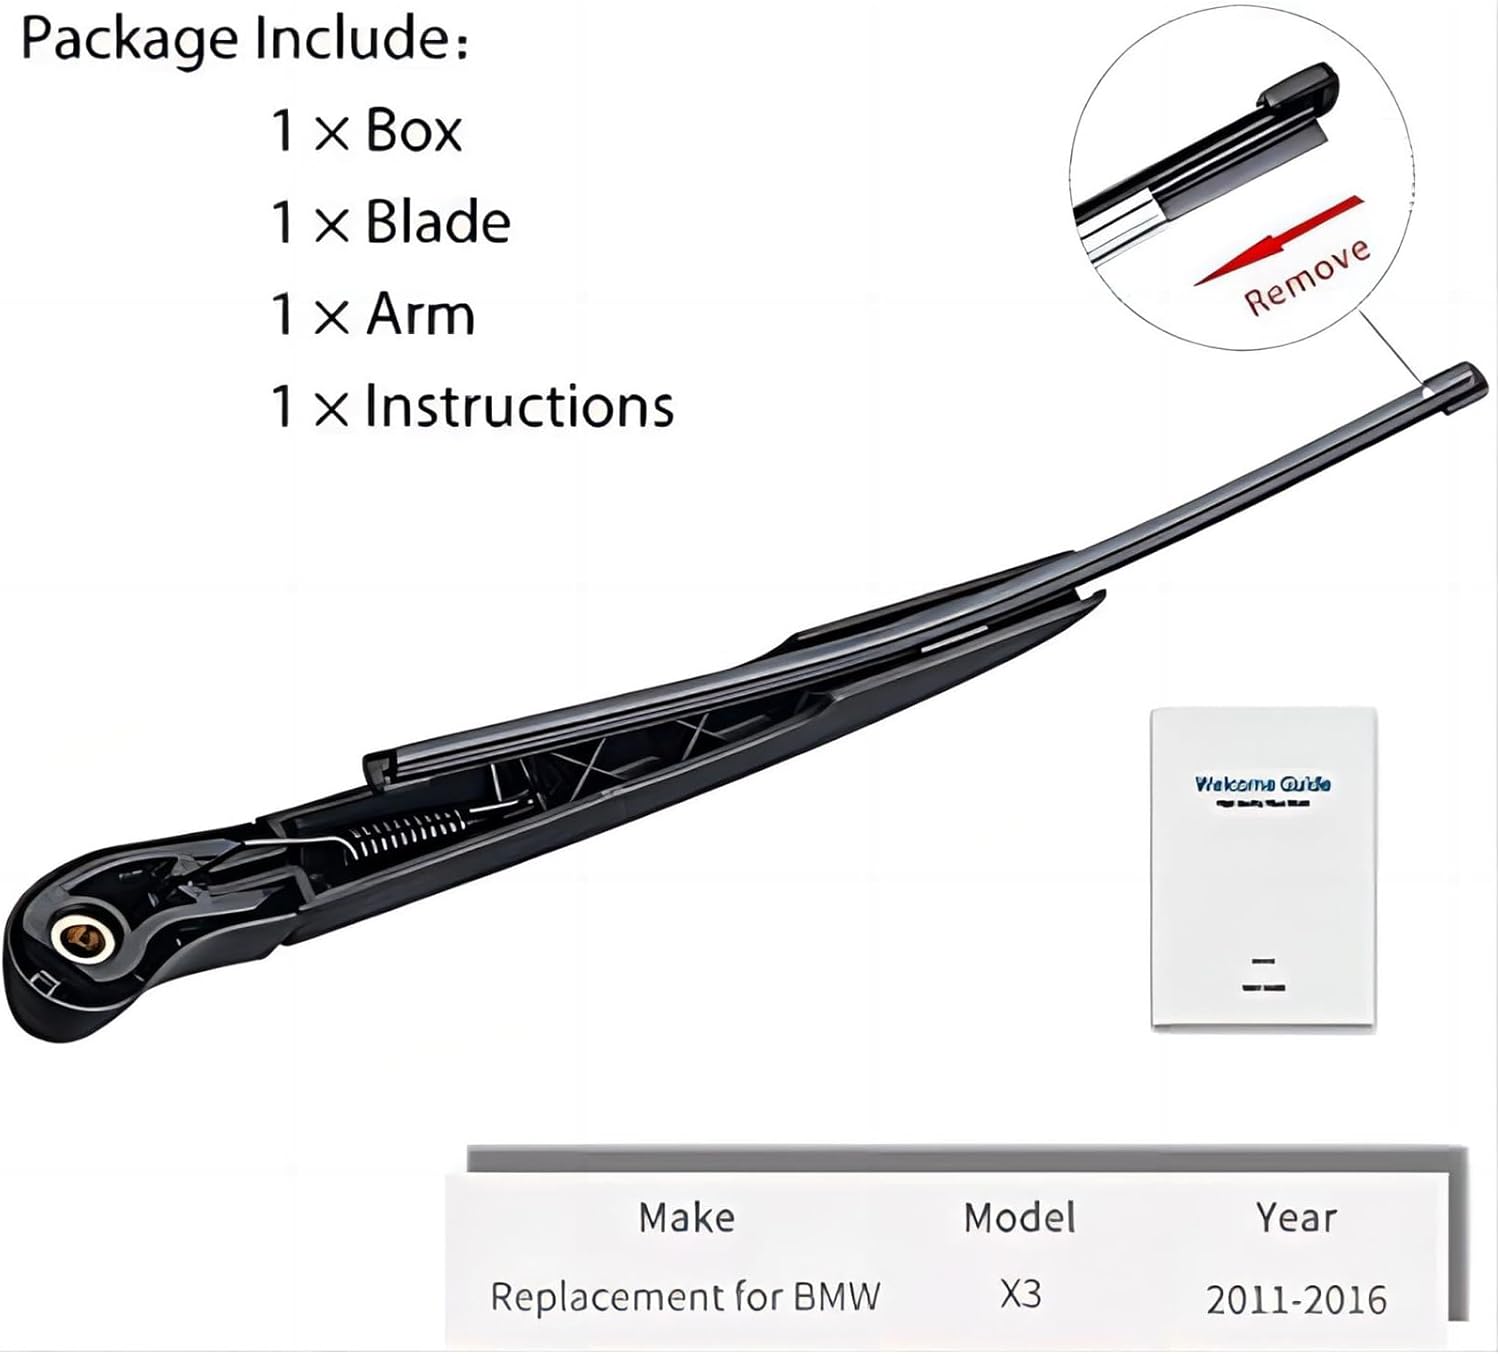
Image: Visual representation of the package contents, including the wiper arm, blade, and a small instruction booklet. A note indicates the product is a replacement for BMW X3 models from 2011-2016.
Installation Guide
Step 1: Remove the Old Wiper Arm and Blade
- Locate the axis and nuts of the existing rear wiper arm.
- Carefully remove the nut securing the old wiper arm. Ensure the old nut is completely removed before proceeding.
- Remove the old wiper arm from the vehicle.

Image: A four-panel guide showing the process of removing the old wiper arm. Panel 01 shows the axis and nuts. Panel 02 shows how to get the wiper arm off. Panel 03 shows opening the cap and installing the wiper arm. Panel 04 shows putting the nut on and fixing it.
Step 2: Install the New Wiper Arm
- Align the new wiper arm with the mounting post on the rear windshield.
- Press the wiper arm firmly onto the post until it is securely seated.
- Screw on the nut to secure the wiper arm. Use an appropriate wrench to tighten the nut, ensuring it is snug but not overtightened.
Video: An official installation guide from OTUAYAUTO demonstrating how to install the wiper arm. This video shows the process of securing the new wiper arm to the vehicle's rear windshield.
Step 3: Install the Wiper Blade
- Remove the refill protective cover from the new wiper blade.
- Slide the wiper blade onto the wiper arm until it clicks into place.
- Ensure the clasp on the wiper blade is securely fastened to the arm.

Image: A four-panel guide showing the process of installing the new wiper blade. Panel 01 shows removing the refill protective cover. Panel 02 shows installing the wiper blade on the arm. Panel 03 shows clasping the wiper blade. Panel 04 shows the finished installation.
Step 4: Install the Wiper Cover (if applicable)
- If your vehicle uses a wiper cover, carefully place it over the base of the installed wiper arm.
- Press down firmly until the cover snaps into place, ensuring it is flush with the vehicle's surface.
Operating Instructions
Once installed, the rear windshield wiper operates via your vehicle's standard wiper controls. Refer to your vehicle's owner's manual for specific instructions on activating and controlling the rear wiper.
- Activation: Typically, the rear wiper is activated by a lever or switch on the steering column or dashboard.
- Intermittent/Continuous Modes: Most vehicles offer intermittent and continuous wiping modes. Select the appropriate mode based on precipitation intensity.
- Washer Fluid: Use the washer fluid function to clean the rear windshield before or during wiping for optimal visibility.
Maintenance
Regular maintenance ensures the longevity and optimal performance of your wiper arm and blade set.
- Regular Cleaning: Clean the wiper blade and windshield regularly with a soft cloth and glass cleaner to remove dirt, grime, and road film.
- Inspect Blades: Periodically inspect the rubber blade for cracks, tears, or hardening. Replace the blade if any damage is observed or if streaking occurs.
- Winter Care: In freezing conditions, lift the wiper arm off the windshield to prevent the blade from freezing to the glass. Do not operate wipers on a frozen windshield.
- Fluid Levels: Ensure your vehicle's washer fluid reservoir is always adequately filled.
Troubleshooting
| Problem | Possible Cause | Solution |
|---|---|---|
| Streaking or Smearing | Dirty blade, worn blade, or contaminated windshield. | Clean the blade and windshield. If problem persists, replace the wiper blade. |
| Chattering or Skipping | Blade angle incorrect, worn blade, or dry windshield. | Ensure proper installation. Use washer fluid. Replace blade if worn. |
| Wiper not moving | Motor issue, fuse blown, or arm not properly attached. | Check vehicle's fuse box. Ensure arm is securely installed. Consult a professional if motor issue is suspected. |
Specifications
- Brand: OTUAYAUTO
- Model Number: RBW13-2A
- Vehicle Service Type: SUV
- Item Length: 13 Inches (Blade)
- Mounting Type: Pinch Tab
- OEM Part Numbers: 61627213242, 61627213241, 61627161030
- Material: Natural Rubber and 100% PBT with 30% Pb
- Item Weight: 8 ounces
- First Available Date: November 4, 2018
Warranty and Support
OTUAYAUTO is committed to providing high-quality products and customer satisfaction. If there are any quality problems with the product, OTUAYAUTO is willing to provide you with a solution.
For support or inquiries, please contact OTUAYAUTO directly through their official channels or the platform where the product was purchased.
Legal Disclaimer: The Brand name & Model # (if listed) are for cross reference only. All Brands, Trademarks & Model Numbers remain the property of their respective owners.