
1. Introduction
The AGM Wireless Meat Thermometer Model SOC024-X01 is designed to help you monitor the internal temperature of your food and oven/grill/smoker from a distance. This device features dual probes, a clear digital display, and a wireless receiver to ensure your cooking is precise and convenient. It is suitable for various cooking methods including BBQ, grilling, smoking, and oven use.
1.1 Included Components
- 1 x Transmitter Unit
- 1 x Receiver Unit
- 2 x Stainless Steel Probes
- 1 x Probe Clip
- 1 x User Manual (this document)
Note: Batteries are not included.

Image 1.1: The AGM Wireless Meat Thermometer in use, displaying both the transmitter and receiver units monitoring food on a grill.
2. Setup
2.1 Battery Installation
Both the Transmitter and Receiver units require 2 AAA batteries each. Ensure correct polarity when inserting the batteries.
- Locate the battery compartment on the back of both the Transmitter and Receiver units.
- Open the battery compartment cover.
- Insert 2 AAA batteries into each unit, matching the (+) and (-) indicators.
- Close the battery compartment cover securely.
2.2 Probe Connection
The stainless steel probes are designed to be inserted into the food. Connect them to the transmitter unit.
- Insert the probe connectors into the designated ports on the side of the Transmitter unit. The unit supports two probes.
- Ensure the connectors are fully seated.
2.3 Powering On and Initial Pairing
The Transmitter and Receiver units are designed to pair automatically upon power-up.
- Press the power button on both the Transmitter and Receiver units to turn them on.
- The units should automatically connect. The receiver display will show temperature readings from the probes.
- The main unit and transmitter have magnets and feet on the back for convenient placement. The main unit also has a hanging buckle.

Image 2.1: Labeled diagram of the Receiver (Host) and Transmitter (Launcher) units, highlighting key controls for setup and operation.
3. Operating Instructions
3.1 Temperature Monitoring
Insert the stainless steel probe(s) into the thickest part of the meat, avoiding bone or gristle. The temperature will be displayed on both the transmitter and receiver units.
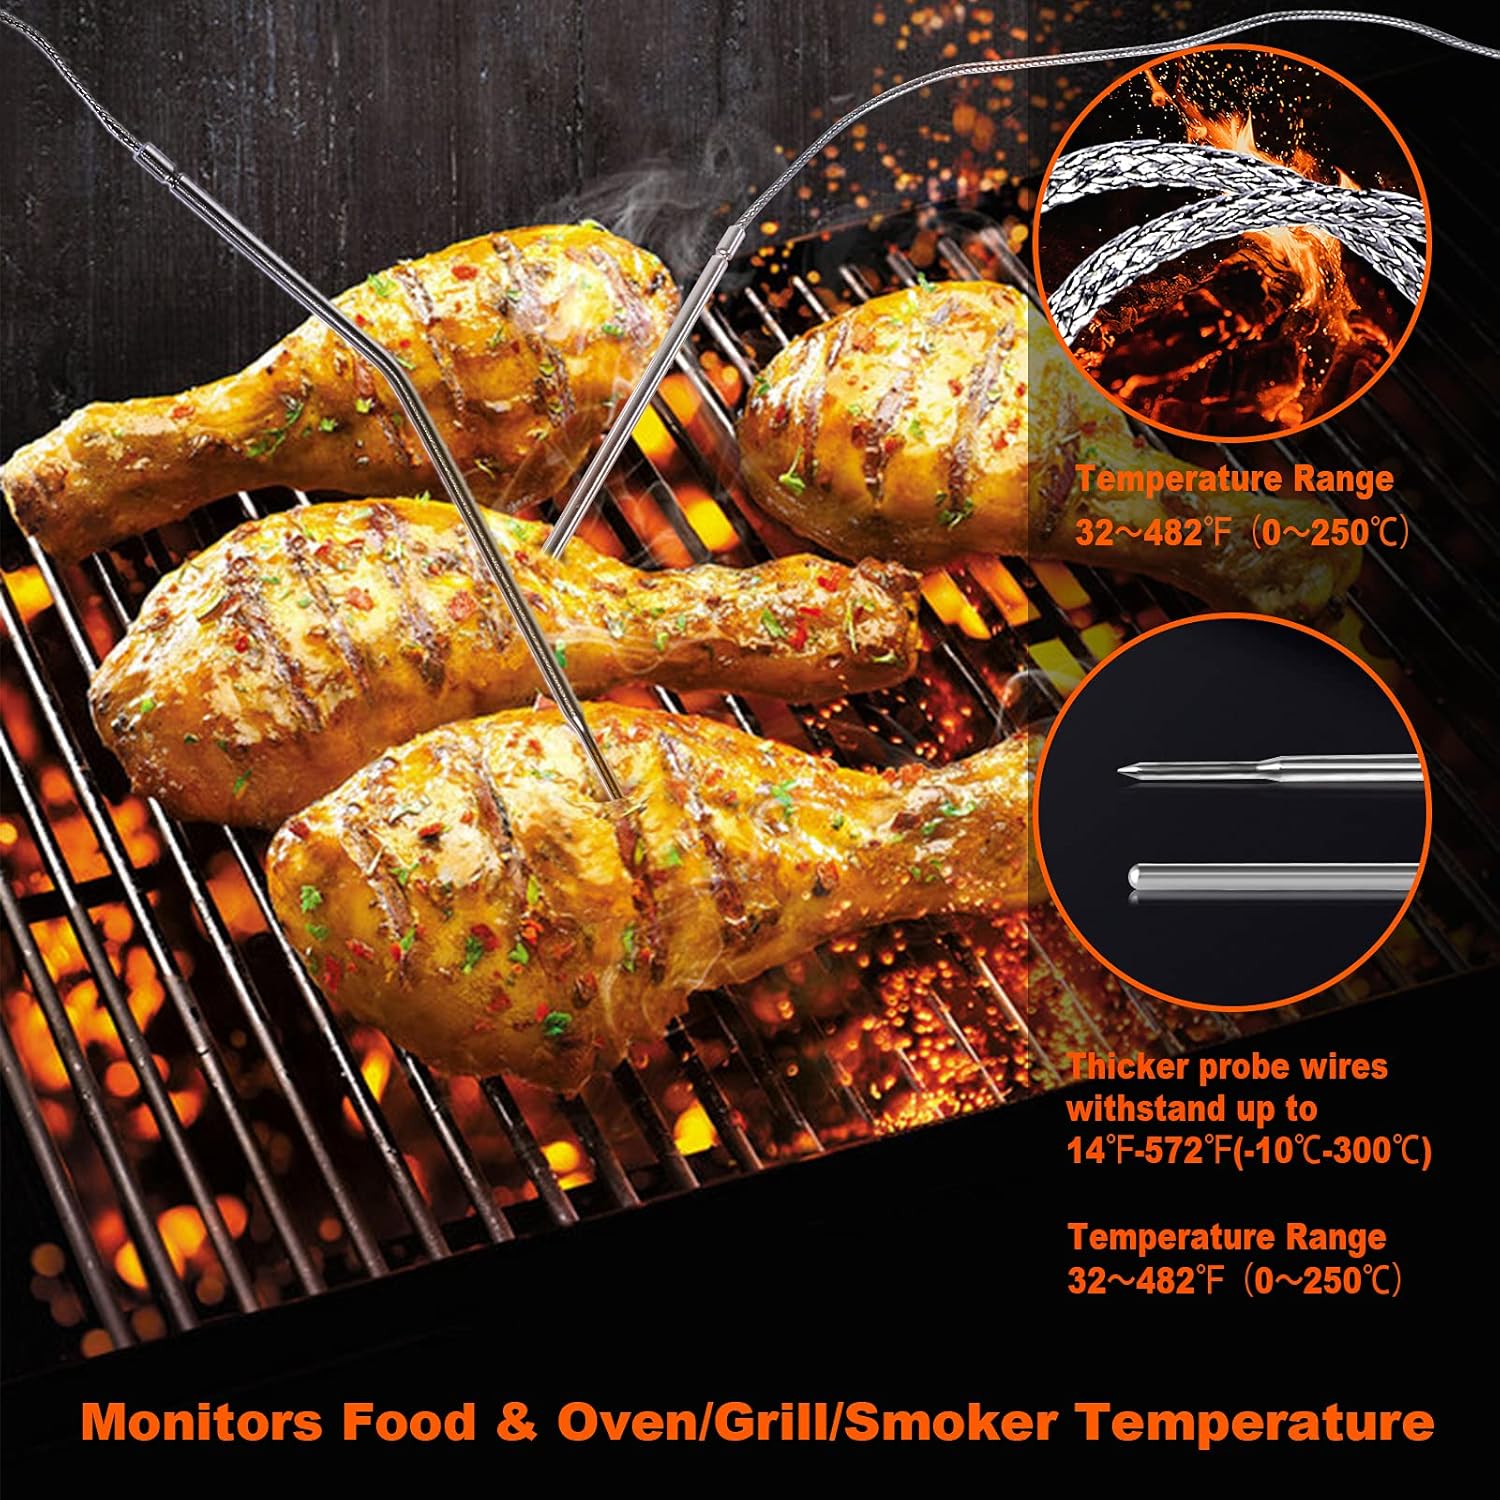
Image 3.1: Probes inserted into food on a grill, illustrating the temperature monitoring process. The probes are designed for a temperature range of 32°F to 482°F (0°C to 250°C).
3.2 Food Type and Doneness Selection
The receiver unit allows you to select from 8 preset food types and 5 levels of doneness (flavor choices).
- On the receiver unit, press the 'MODE' button to cycle through different settings.
- Use the 'M' (Meat) button to select the desired food type (e.g., Beef, Lamb, Pork, Chicken).
- Use the 'T' (Taste) button to select the desired doneness level (e.g., Rare, Medium Rare, Medium, Well Done).
- The display will show the target temperature based on your selections.

Image 3.2: The receiver's display interface, illustrating the selection options for various food types and desired doneness levels.
3.3 Timer Function
The thermometer includes a kitchen timer with both increment (count up) and decrement (count down) settings, up to 9 hours, 59 minutes, and 59 seconds.
- Press the 'S/S' button to switch between timing and temperature measurement modes.
- In timer mode, use the up/down arrows to set the desired time for countdown or to start counting up.
- Press 'S/S' again to start/stop the timer.
3.4 Temperature Alarm
When the food reaches the preset target temperature, the receiver unit will beep and flash.
- The backlight will change from blue to orange and flash to visually alert you.
- This allows you to monitor your cooking without constantly being near the grill or oven.

Image 3.3: The alarm feature in action, showing the receiver unit alerting the user when the target temperature is reached, alongside the timer function.
3.5 Fahrenheit/Celsius Switch
You can switch between Fahrenheit (°F) and Celsius (°C) temperature units.
- On the receiver unit, locate the 'C/F' button.
- Press this button to toggle between the two temperature scales.
3.6 Using Dual Probes
The device supports two probes, allowing you to monitor two different food items or different parts of a large cut of meat simultaneously.
- Each probe will display its temperature reading on the receiver unit.
- You can set individual target temperatures and food types for each probe.

Image 3.4: Simultaneous monitoring of two different food items using both probes, demonstrating fast and accurate readings.
3.7 Wireless Range
The wireless transmission range is approximately 98 feet (30 meters) indoors and up to 300 feet (91 meters) in open outdoor areas. This allows for flexibility while cooking.
4. Maintenance
4.1 Cleaning Instructions
To ensure the longevity and accuracy of your thermometer, follow these cleaning guidelines:
- Probes: The stainless steel probes are oven safe and can be wiped clean. After each use, clean the probes with warm soapy water. Rinse thoroughly and dry completely before storage. Do not immerse the probe connectors (the part that plugs into the transmitter) in water.
- Transmitter and Receiver Units: Wipe the units clean with a damp cloth. Do not immerse the transmitter or receiver units in water.
- Do not use abrasive cleaners or scouring pads, as these can damage the surfaces.
4.2 Probe Care
While the probe tips are waterproof, the DC plug connector is not. Avoid getting the connector wet to prevent damage.

Image 4.1: Illustration of probe waterproof capabilities, emphasizing that the DC connector should not be exposed to water.
5. Troubleshooting
If you encounter issues with your AGM Wireless Meat Thermometer, please refer to the following common problems and solutions:
| Problem | Possible Cause | Solution |
|---|---|---|
| No display or unit does not power on. | Dead or incorrectly installed batteries. | Replace batteries with fresh AAA batteries, ensuring correct polarity. |
| No temperature reading from probe. | Probe not properly connected or damaged. | Ensure probe is fully inserted into the transmitter port. Try a different probe if available. Inspect probe for visible damage. |
| Inaccurate temperature readings. | Probe not inserted correctly into food; probe damage; temperature calibration issue. | Ensure probe tip is in the thickest part of the meat, away from bone. Test probe in boiling water (212°F/100°C) or ice water (32°F/0°C) for accuracy. If consistently off, probe may need replacement. |
| Loss of wireless signal between transmitter and receiver. | Distance too great; obstructions; interference. | Reduce distance between units. Move units away from large metal objects or other electronic devices that may cause interference. |
| Alarm not sounding. | Alarm volume too low; alarm disabled; target temperature not reached. | Check receiver settings to ensure alarm is enabled and volume is audible. Verify that the current temperature has reached or exceeded the set target temperature. |
6. Specifications
| Feature | Detail |
|---|---|
| Model Name | Wireless Meat Thermometer |
| Model Number | SOC024-X01 |
| Brand | AGM |
| Temperature Range | 32°F to 482°F (0°C to 250°C) |
| Probe Withstand Range | 14°F to 572°F (-10°C to 300°C) |
| Accuracy | ±1.8°F (±1°C) |
| Response Time | 0.5 seconds (Fast Reading System) |
| Wireless Range | Up to 300 feet (91 meters) outdoors, 98 feet (30 meters) indoors (RF 433.92MHz) |
| Probes | 2 x Food Grade 304 Stainless Steel Probes |
| Timer Range | 9H59M59S (Count Up/Down) |
| Power Source | Receiver: 2 x AAA batteries; Transmitter: 2 x AAA batteries |
| Display Type | Digital LCD with Backlight |
| Material | ABS (unit housing), 304 Stainless Steel (probes) |
| Certifications | CE, ROHS, FCC, FDA, LFGB |
7. Warranty Information
This product comes with a 1-year limited warranty from the date of purchase. The warranty covers manufacturing defects and malfunctions under normal use. It does not cover damage caused by misuse, accidents, unauthorized modifications, or improper maintenance.
Please retain your proof of purchase for warranty claims.
8. Customer Support
For technical assistance, troubleshooting, or warranty inquiries, please contact AGM customer support through the retailer's platform or the official AGM website.
When contacting support, please provide your product model number (SOC024-X01) and a detailed description of the issue.