
Picun X1
Picun X1 Bluetooth Headphones User Manual
Model: X1
1. Introduction
This manual provides comprehensive instructions for the Picun X1 Bluetooth Headphones. Please read this manual thoroughly before using the product to ensure proper operation and to maximize your listening experience.
Package Contents
- 1 x Picun X1 Bluetooth Sport Headphones
- 1 x Set of Earbuds Covers
- 1 x Set of Winged Earbuds Covers
- 1 x Charging Cable
- 1 x User Manual (this document)

Image 1.1: Picun X1 Bluetooth Headphones and included accessories.
2. Product Overview
The Picun X1 headphones feature Bluetooth V4.1 connectivity, a 10-hour battery life, IPX5 water resistance, and a built-in HD microphone for clear communication. The magnetic design allows for convenient storage.

Image 2.1: Key features of the Picun X1 Bluetooth Headphones, highlighting Bluetooth V4.1, advanced chip, 10 hours playback, stable signal, Hi-Fi audio, and 13mm drivers.
3. Setup
3.1 Charging the Headphones
Before first use, fully charge the headphones. A full charge takes approximately 1.5 to 2 hours.
- Connect the provided charging cable to the micro-USB port on the in-line control unit of the headphones.
- Connect the other end of the charging cable to a USB power source (e.g., computer USB port, USB wall adapter).
- The LED indicator will show charging status (refer to product for specific LED behavior, typically red for charging, blue/off for fully charged).
- Once fully charged, disconnect the charging cable.
Note: Ensure the headphones are turned off before charging.
3.2 Bluetooth Pairing
Follow these steps to pair your Picun X1 headphones with a Bluetooth-enabled device.
- Power On: Press and hold the multi-function button (usually the center button on the in-line control) until the LED indicator flashes red and blue, indicating pairing mode.
- Activate Bluetooth: On your device (smartphone, tablet, etc.), enable Bluetooth.
- Search for Devices: In your device's Bluetooth settings, search for available devices.
- Select "Picun X1": From the list of found devices, select "Picun X1".
- Confirm Pairing: Once paired, the LED indicator on the headphones will typically flash blue slowly or turn off, and you will hear an audio confirmation.
The headphones will automatically attempt to reconnect to the last paired device when powered on.

Image 3.1: Demonstrating the compatibility of Picun X1 headphones with Bluetooth-enabled devices.
4. Operating Instructions
4.1 In-Line Control Functions
The in-line control unit provides easy access to various functions:
- Multi-function Button (Center):
- Press once: Play/Pause music, Answer/End calls.
- Press and hold: Power On/Off, Reject incoming call.
- Volume Up Button (+):
- Press once: Increase volume.
- Press and hold: Next song.
- Volume Down Button (-):
- Press once: Decrease volume.
- Press and hold: Previous song.

Image 4.1: Detailed view of the in-line control unit and its functions.
4.2 Wearing the Headphones
The Picun X1 headphones are designed for comfort and a secure fit, especially during physical activity.
- Select the appropriate earbud covers and winged earbud covers for your ear size to ensure a snug and comfortable fit.
- Insert the earbuds gently into your ears. The ergonomic design helps them stay in place.
- For added security during workouts, use the included clip to attach the cord to your clothing.

Image 4.2: The lightweight and ergonomic design of the Picun X1 earbuds for comfortable wear.
4.3 Magnetic Design
When not in use, the earbuds feature a magnetic design allowing them to clip together. This prevents them from falling off your neck and simplifies storage.
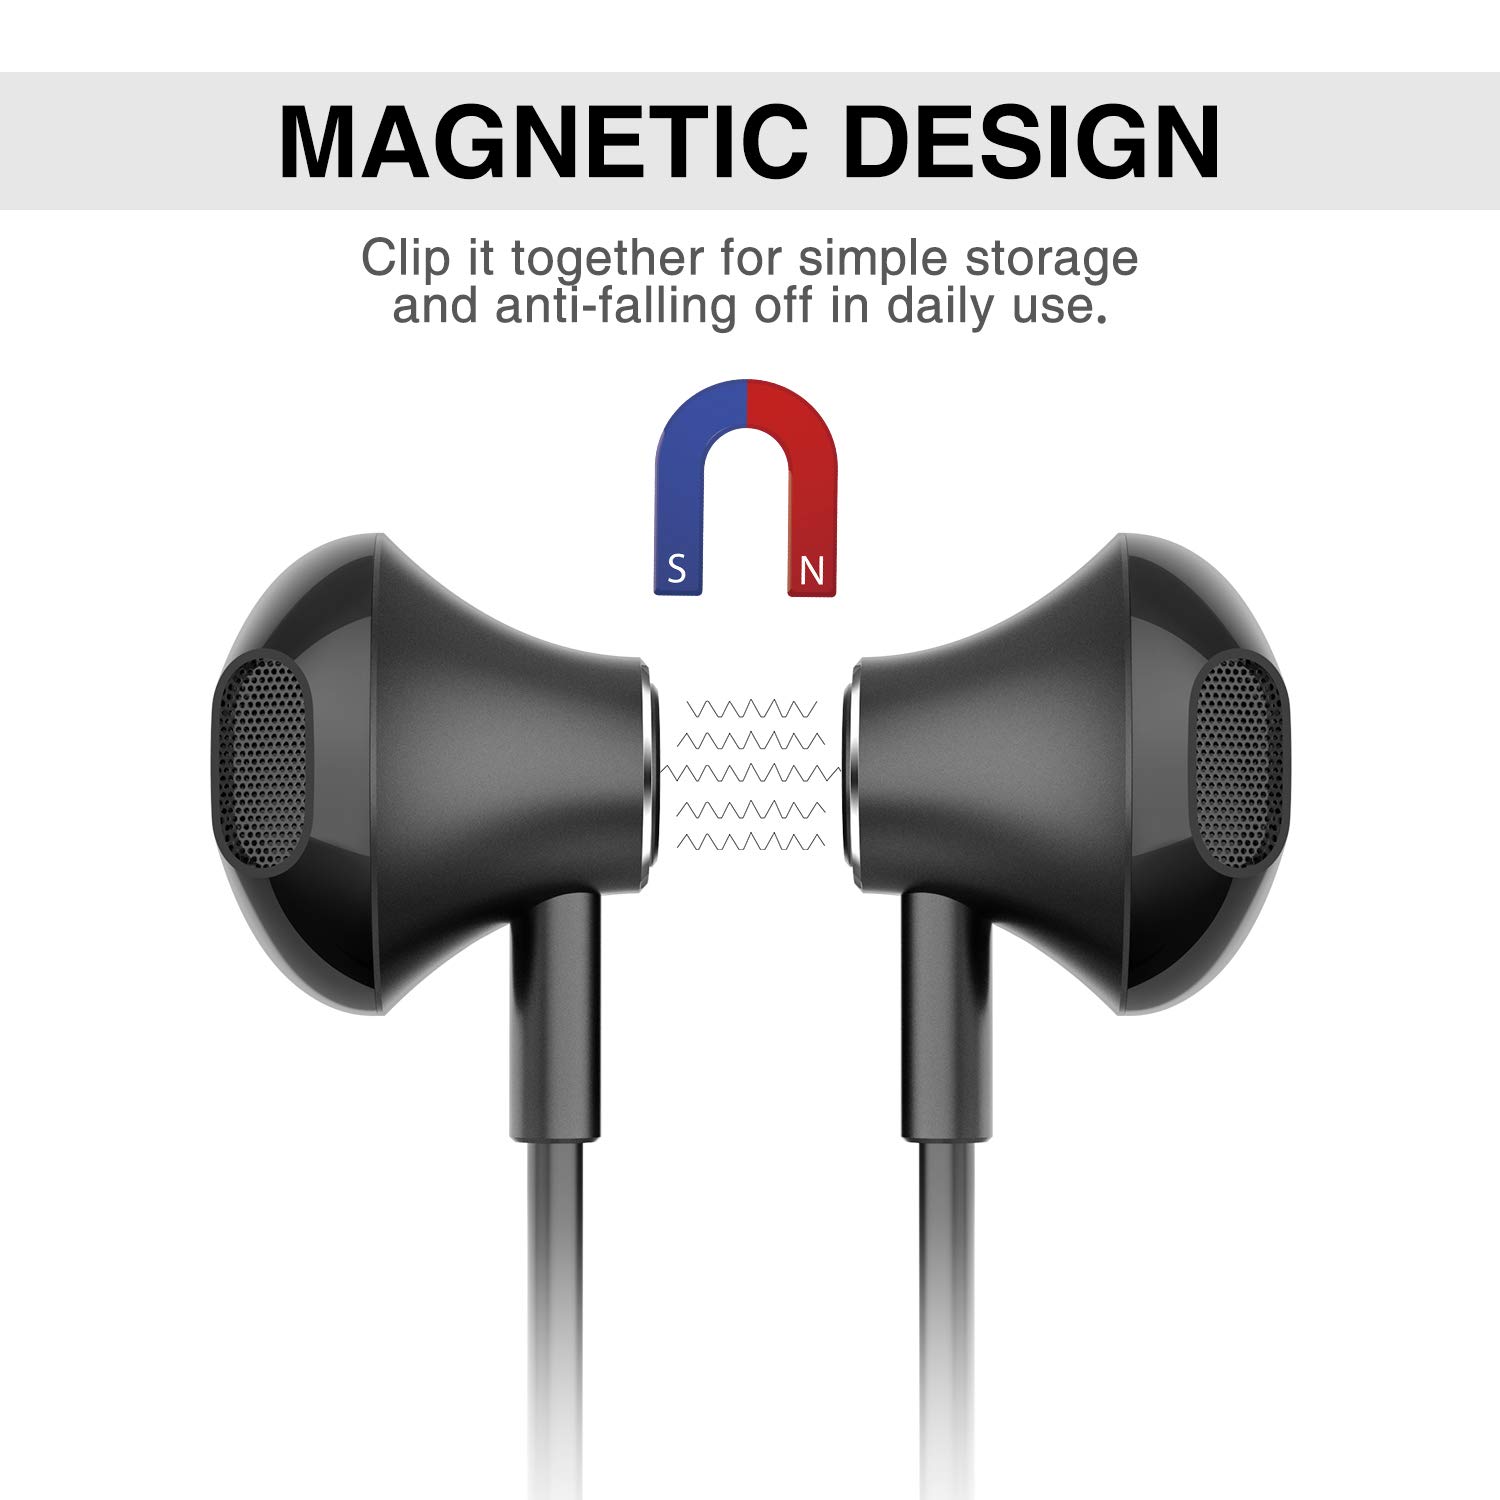
Image 4.3: The magnetic design of the earbuds for convenient storage.
5. Maintenance
5.1 Water Resistance (IPX5)
The Picun X1 headphones are IPX5 water-resistant, meaning they are protected against low-pressure water jets from any direction. This makes them suitable for use during workouts, light rain, and against sweat and splashes.
- Do NOT immerse the headphones in water.
- Do NOT use them while swimming or showering.
- After exposure to sweat or light moisture, wipe the headphones dry with a soft, clean cloth.

Image 5.1: The IPX5 waterproof feature protecting the headphones from sweat and drizzle.
5.2 Cleaning and Storage
- Clean the earbuds and control unit regularly with a soft, dry cloth.
- Avoid using harsh chemicals or abrasive materials for cleaning.
- Store the headphones in a cool, dry place away from direct sunlight and extreme temperatures.
- When storing, use the magnetic feature to keep the earbuds together and prevent tangling.
6. Troubleshooting
If you encounter issues with your Picun X1 headphones, refer to the following common problems and solutions:
| Problem | Possible Solution |
|---|---|
| Headphones do not power on. | Ensure the headphones are fully charged. Connect to a power source and check the charging indicator. |
| Cannot pair with device. |
|
| No sound or low volume. |
|
| Poor call quality (buzzing sound, recipient cannot hear). |
|
| Battery drains quickly. |
|
7. Specifications
| Feature | Detail |
|---|---|
| Bluetooth Version | V4.1 |
| Drive Unit | 13MM |
| Wireless Range | Up to 33 feet (10 meters) |
| Playback Time | Around 10 hours |
| Charging Time | 1.5-2 hours |
| Charging Voltage | 5V |
| Resistance | 32Ω±15% |
| Sensitivity | 103±3dB |
| Mic Sensitivity | -42±3dB |
| Frequency Range | 20-20000HZ |
| Mic Frequency Range | 100-10KHZ |
| Weight | 19g (0.04 lbs) |
| Water Resistance | IPX5 |
| Model Number | X1-black |
| Product Dimensions | 67.31 x 0.25 x 1.4 cm |
8. Warranty and Support
Picun offers the following support for the X1 Bluetooth Headphones:
- 30-Day Hassle-Free Return Policy: For returns within 30 days of purchase.
- 300-Day Warranty: Covers manufacturing defects for 300 days from the date of purchase.
- 24-Hour Customer-Friendly Support Service: For assistance with product inquiries or issues.
For warranty claims or technical support, please contact Picun customer service through the retailer where the product was purchased or refer to the official Picun website for contact information.
Related documentsX1


Ask a question about this manual
Ask about setup, troubleshooting, compatibility, parts, safety, or missing instructions. Manuals+ will review the question and use this page’s manual context to help answer it.