1. Introduction
This manual provides essential instructions for the safe and effective use of your Stanley FatMax FMHT81394-9 Hammer Stapler. Please read this manual thoroughly before operating the tool and retain it for future reference. This hammer stapler is designed for regular and durable use in various applications such as roofing, insulation installation, and flooring.
2. Safety Information
Always observe basic safety precautions when using any hand tool to reduce the risk of injury.
- Wear Eye Protection: Always wear safety glasses or goggles to protect your eyes from flying debris.
- Wear Hand Protection: Use appropriate gloves to protect your hands.
- Inspect Tool Before Use: Before each use, check the stapler for any damage or loose parts. Do not use if damaged.
- Keep Work Area Clear: Ensure your work area is free from obstructions and other personnel.
- Proper Grip: Maintain a firm grip on the tool during operation.
- Use Correct Staples: Only use staples of the specified type and size (Stanley Type G, 6, 8, 10 mm).
- Do Not Point at Others: Never point the stapler at yourself or others.
- Store Safely: Store the tool in a dry, secure place out of reach of children.
3. Product Overview
The Stanley FatMax FMHT81394-9 Hammer Stapler is designed for efficiency and durability. Key features include:
- Lightweight Construction: Made from durable nylon composite material, weighing approximately 0.82 kg (2.05 pounds).
- Extended Staple Compartment: Features an extra-long, 3-clip compartment for reduced reloading frequency.
- Ergonomic Design: Ergonomically shaped and rubberized handle for high precision and control.
- AntiJam Technology: Designed for non-kickback and residue-free operation.
- Versatile Staple Compatibility: Compatible with STANLEY Type G staples (6mm, 8mm, 10mm).

Figure 1: Stanley FatMax FMHT81394-9 Hammer Stapler, main view.
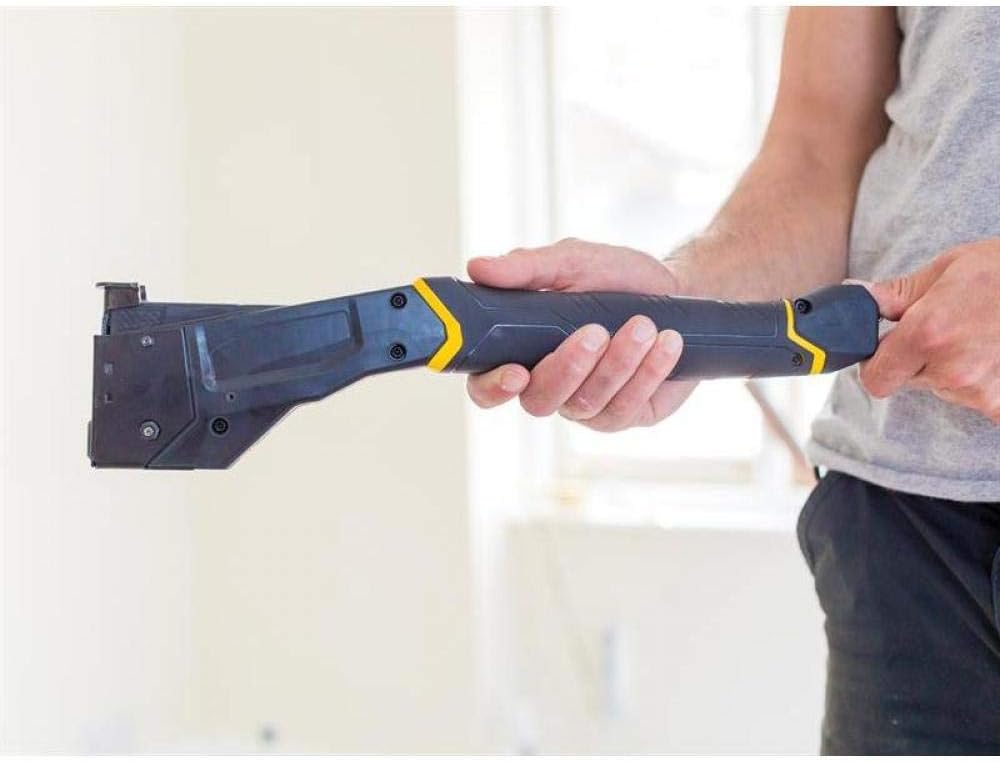
Figure 2: Demonstrating the ergonomic grip of the hammer stapler when held in hand.
4. Setup
4.1 Loading Staples
- Ensure the stapler is empty and clear of any old staples or debris.
- Locate the staple compartment at the rear of the stapler.
- Pull the pusher rod out until it locks in the open position.
- Insert up to three full sticks of STANLEY Type G staples (6mm, 8mm, or 10mm) into the compartment, ensuring they are oriented correctly with the points facing downwards.
- Gently push the pusher rod back into the compartment until it clicks into place, securing the staples.
The extra-long 3-clip compartment allows for extended use before needing to reload.

Figure 3: The hammer stapler with its extended staple compartment, ready for loading.
5. Operating Instructions
5.1 General Operation
- Ensure staples are loaded correctly (refer to Section 4.1).
- Position the stapler's nose firmly against the material to be stapled.
- With a controlled motion, swing the stapler down, allowing the hammer action to drive the staple into the material. The tool's design minimizes kickback.
- Repeat the motion as needed for continuous stapling.
- The AntiJam technology helps prevent staple jams during operation.

Figure 4: Demonstrating the hammer stapler being used to secure material to a wooden surface.

Figure 5: A user demonstrating the application of the hammer stapler for floor-related tasks.
6. Maintenance
Regular maintenance ensures the longevity and optimal performance of your hammer stapler.
- Cleaning: After each use, wipe down the tool with a clean, dry cloth to remove dust and debris. Do not use harsh chemicals or solvents.
- Inspection: Periodically inspect the stapler for any signs of wear, damage, or loose fasteners. Pay close attention to the staple channel and driving mechanism.
- Lubrication: No specific lubrication is typically required for this type of tool, but consult the manufacturer if you notice any stiffness in moving parts.
- Storage: Store the stapler in a dry environment to prevent rust or material degradation.
7. Troubleshooting
This section addresses common issues you might encounter with your hammer stapler.
| Problem | Possible Cause | Solution |
|---|---|---|
| Staples not feeding or jamming | Incorrect staple type/size, debris in channel, pusher rod not fully engaged. | Ensure correct STANLEY Type G staples are used. Clear any debris from the staple channel. Verify the pusher rod is fully engaged. The AntiJam technology should minimize this issue. |
| Staples not driving fully | Insufficient force applied, incorrect staple length for material, worn driving mechanism. | Apply more consistent and firm force during operation. Ensure staple length is appropriate for the material thickness. If the issue persists, contact customer support. |
| Tool feels loose or wobbly | Loose fasteners, internal component issue. | Check all visible screws and tighten if necessary. If the issue persists or is internal, discontinue use and contact customer support. |
8. Specifications
| Feature | Detail |
|---|---|
| Model Number | FMHT81394-9 |
| Brand | STANLEY |
| Item Weight | Approximately 0.82 kg (2.05 pounds) |
| Product Dimensions | 15.75 x 4.92 x 1.18 inches |
| Material | Durable Nylon Composite |
| Compatible Staples | STANLEY Type G (6mm, 8mm, 10mm) |
| Staple Capacity | 3-clip compartment (multiple sticks) |
| Special Features | AntiJam Technology, Non-Kickback Design, Ergonomic Handle |
9. Warranty and Support
For warranty information, product support, or to inquire about replacement parts, please contact STANLEY customer service directly. Refer to the official STANLEY website or your purchase documentation for specific warranty terms and contact details.
You can also visit the official STANLEY Store on Amazon for additional product information and support resources.


