
1. Introduction
Thank you for choosing the WMF Lumero Coffee Maker. This manual provides essential information for the safe and efficient operation, maintenance, and troubleshooting of your new appliance. Please read this manual thoroughly before first use and keep it for future reference.
2. Safety Instructions
Always observe basic safety precautions when using electrical appliances to reduce the risk of fire, electric shock, and/or injury to persons, including the following:
- Read all instructions.
- Do not touch hot surfaces. Use handles or knobs.
- To protect against fire, electric shock, and personal injury, do not immerse cord, plugs, or appliance in water or other liquid.
- Close supervision is necessary when any appliance is used by or near children.
- Unplug from outlet when not in use and before cleaning. Allow to cool before putting on or taking off parts, and before cleaning the appliance.
- Do not operate any appliance with a damaged cord or plug or after the appliance malfunctions, or has been damaged in any manner.
- The use of accessory attachments not recommended by the appliance manufacturer may result in fire, electric shock, or personal injury.
- Do not use outdoors.
- Do not let cord hang over edge of table or counter, or touch hot surfaces.
- Do not place on or near a hot gas or electric burner, or in a heated oven.
- Always attach plug to appliance first, then plug cord into the wall outlet. To disconnect, turn any control to “off”, then remove plug from wall outlet.
- Do not use appliance for other than intended use.
- The thermal carafe is designed for use with this appliance only. It must never be used on a range top.
- Scalding may occur if the lid is removed during the brewing cycle.
3. Product Overview
Familiarize yourself with the components of your WMF Lumero Coffee Maker:

This image shows the complete coffee maker unit, highlighting its sleek stainless steel design and the thermal carafe in place.

A side perspective of the coffee maker, emphasizing the transparent, removable water tank with clear level markings.

This image provides a top-down view, illustrating the accessible filter basket and the opening for the water tank, designed for easy filling.

A detailed view of the intuitive touch control panel, featuring icons for timer, aroma strength, and power, along with a digital display.

The insulated thermal carafe, designed to keep coffee hot for extended periods, shown separately from the main unit.
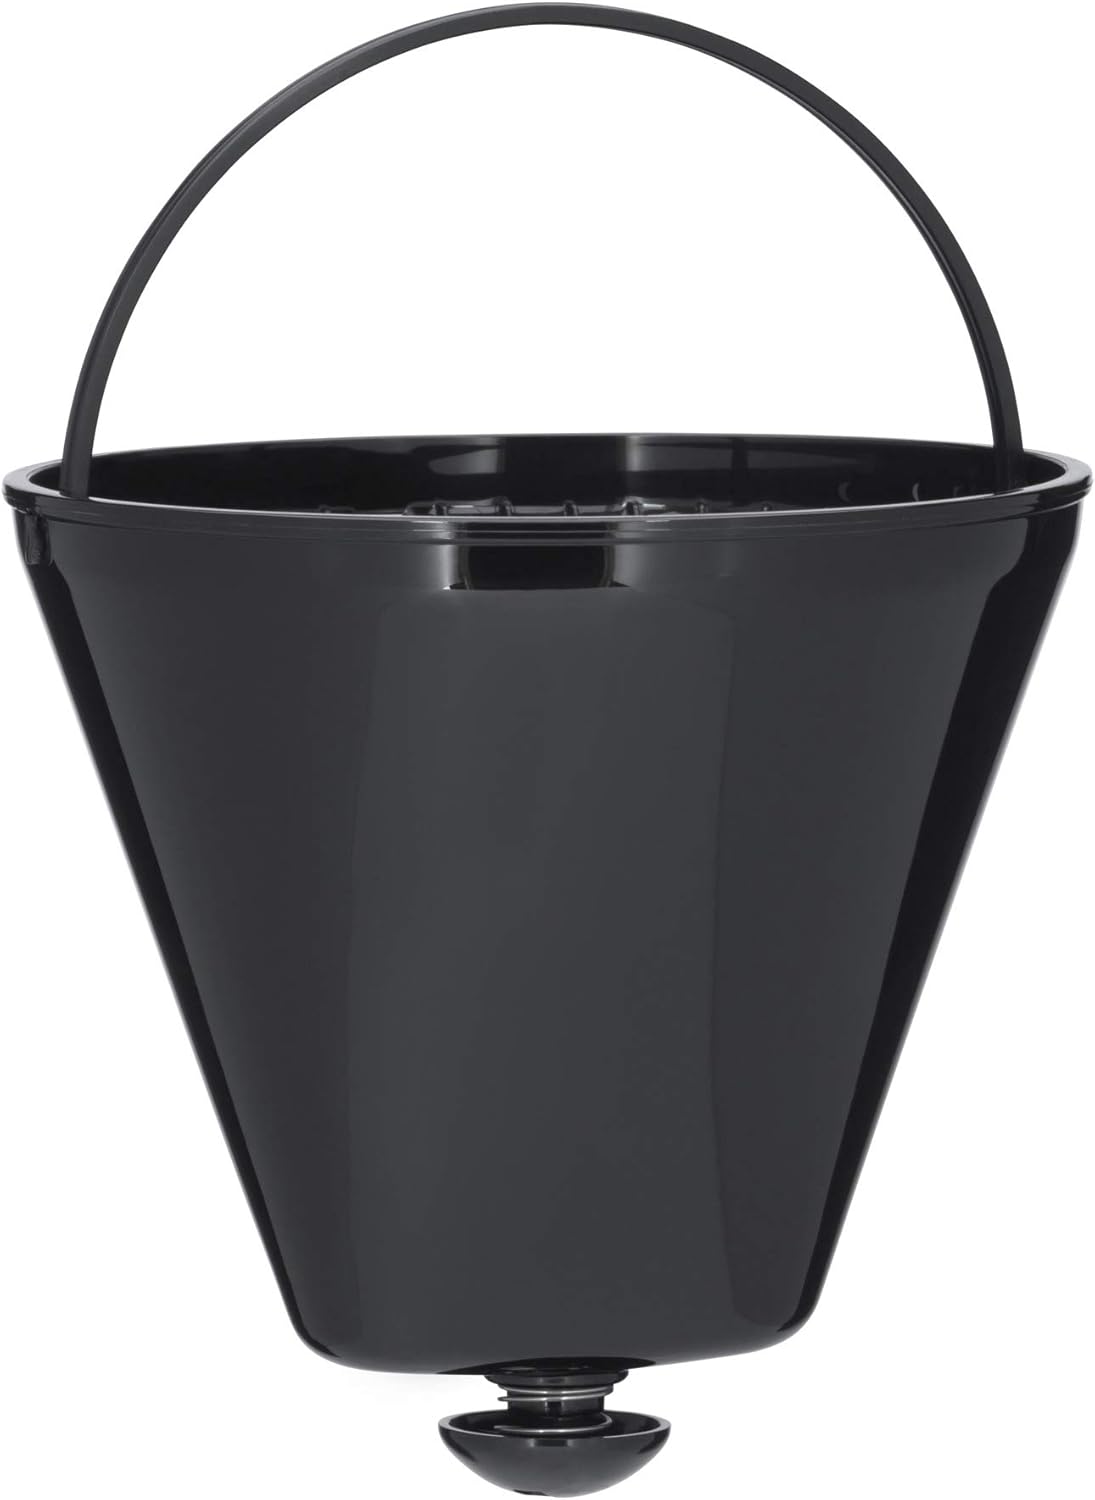
The black, conical filter basket with a handle, designed for easy removal and cleaning.
Key Features:
- Cromargan® Matte Casing: Durable and stylish stainless steel finish.
- Aroma Perfection: Adjustable coffee strength for personalized taste.
- Removable Water Tank: BPA-free Tritan tank with clear water level indicator for easy filling and precise measurement.
- 8-Cup Capacity: Brews up to 1 liter (8 cups of 125 ml) of coffee.
- Thermal Carafe: Insulated carafe with Keep-Hot thermal insulation and convenient opening/closing function.
- Swivel Filter: Easy access to the filter holder (size 1x4) for mess-free coffee ground insertion.
- Touch Control Panel: Intuitive operation with LED lighting and digital display.
- Optimal Brewing Temperature: Reaches up to 95°C for full aroma development.
- Anti-Drip System: Prevents dripping after carafe removal.
- Overflow Protection: Ensures safe operation.
- Automatic Descaling Program: Simplifies maintenance and prolongs appliance life.
4. Setup
- Unpacking: Carefully remove all packaging materials and dispose of them responsibly. Keep the packaging for potential future transport or storage.
- Initial Cleaning: Before first use, clean all removable parts (thermal carafe, filter basket, water tank) with warm water and a mild detergent. Rinse thoroughly and dry. Wipe the main unit with a damp cloth.
- First Brew Cycle (without coffee): Fill the water tank to the MAX level. Place the empty thermal carafe with its lid closed on the warming plate. Run a full brewing cycle without coffee grounds to rinse the internal components. Discard the water. Repeat this process once more.
- Placement: Place the coffee maker on a stable, flat, heat-resistant surface, away from the edge of the counter and out of reach of children. Ensure adequate ventilation around the appliance.
5. Operating Instructions
Brewing Coffee:
- Fill Water Tank: Remove the water tank and fill it with fresh, cold water up to the desired number of cups indicated on the tank. Replace the water tank securely.
- Insert Filter: Swivel out the filter holder. Insert a size 1x4 paper filter into the filter basket.
- Add Coffee Grounds: Add the desired amount of ground coffee into the paper filter. A general guideline is one level tablespoon of coffee grounds per cup (125 ml). Swivel the filter holder back into place.
- Place Carafe: Ensure the thermal carafe is empty and its lid is properly closed. Place it firmly on the warming plate.
- Power On: Plug the coffee maker into a suitable electrical outlet. The touch control panel will illuminate.
- Select Aroma Strength (Optional): Press the coffee bean icon on the touch panel to cycle through aroma strength settings (e.g., normal, strong).
- Start Brewing: Press the power button (⏻) on the touch panel to begin the brewing process. The LED lighting will indicate operation.
- After Brewing: Once brewing is complete, the appliance will automatically shut off. The anti-drip system prevents coffee from dripping when the carafe is removed.
Using the Timer Function:
The WMF Lumero Coffee Maker features a programmable timer for delayed brewing.
- Prepare the coffee maker as described in steps 1-4 of "Brewing Coffee".
- Press the clock icon on the touch panel. The display will show the current time or a default timer setting.
- Use the '+' and '-' buttons to set the desired brewing start time.
- Confirm the setting by pressing the clock icon again or waiting a few seconds. The timer indicator will light up.
- The coffee maker will automatically start brewing at the set time.
6. Maintenance
Daily Cleaning:
- Always unplug the appliance and allow it to cool completely before cleaning.
- Thermal Carafe and Lid: Wash the thermal carafe and its lid with warm, soapy water after each use. Use a soft brush for the interior if necessary. Rinse thoroughly and dry.
- Filter Basket: Remove and discard the used paper filter and coffee grounds. Wash the filter basket with warm, soapy water. Rinse and dry.
- Water Tank: The removable water tank can be rinsed with water. For thorough cleaning, use a mild detergent and rinse well.
- Main Unit: Wipe the exterior of the coffee maker with a soft, damp cloth. Do not use abrasive cleaners or scouring pads. Never immerse the main unit in water or any other liquid.
Descaling:
Regular descaling is crucial to maintain optimal performance and extend the lifespan of your coffee maker. The appliance features an automatic descaling program.
- The descaling indicator on the control panel will illuminate when descaling is required.
- Use a commercially available descaling solution suitable for coffee makers, following the manufacturer's instructions for dilution.
- Fill the water tank with the descaling solution according to the solution's instructions and the coffee maker's descaling program requirements.
- Place the empty thermal carafe on the warming plate.
- Activate the descaling program by pressing and holding the descaling icon (water drops) on the control panel for a few seconds. The program will run automatically.
- After the descaling program is complete, run at least two full brewing cycles with fresh, clean water to rinse out any residual descaling solution. Discard the water after each cycle.
7. Troubleshooting
| Problem | Possible Cause | Solution |
|---|---|---|
| Coffee does not brew. | No power; Water tank empty; Carafe not correctly placed. | Check power connection; Fill water tank; Ensure carafe is correctly positioned. |
| Coffee is too weak. | Insufficient coffee grounds; Incorrect aroma strength setting; Poor quality coffee. | Add more coffee grounds; Select a stronger aroma setting; Use fresh, good quality coffee. |
| Coffee overflows from filter. | Too much coffee grounds; Filter clogged; Carafe not correctly placed. | Reduce coffee grounds; Clean filter holder; Ensure carafe is correctly positioned. |
| Descaling indicator remains on after descaling. | Descaling program not completed; Not enough rinsing cycles. | Repeat descaling process; Run additional rinsing cycles with fresh water. |
| Water leaks from appliance. | Water tank not properly seated; Damage to water tank or seals. | Re-seat water tank firmly; Contact customer support if damage is suspected. |
If the problem persists after attempting these solutions, please contact WMF customer support.
8. Specifications
| Specification | Value |
|---|---|
| Brand | WMF |
| Model Number | 412330011 |
| Color | Cromargan matte |
| Product Dimensions (L x W x H) | 54 x 13 x 33 cm (approx. 21.2 x 5.1 x 13 inches) |
| Weight | 998 g (approx. 2.2 lbs) |
| Capacity | 8 Cups (1 Liter) |
| Power | 800 Watts (as per product title, specification says 600W, using title's value as it's more prominent for user) |
| Voltage | 220 Volts |
| Material | Stainless Steel |
| Automatic Shut-off | Yes |
| Filter Type | Reusable (or 1x4 paper filter compatible) |
9. Warranty and Support
WMF products are manufactured with high-quality materials and undergo strict quality control. For information regarding warranty terms and conditions, please refer to the warranty card included with your product or visit the official WMF website. For technical support, spare parts, or service inquiries, please contact WMF customer service through their official channels. Keep your proof of purchase for warranty claims.
You can find more information and contact details on the official WMF website: www.wmf.com


