
1. Introduction
Thank you for choosing the WMF Bueno Pro Coffee Maker Thermo. This manual provides essential information for the safe and efficient operation, maintenance, and troubleshooting of your new coffee maker. Please read these instructions carefully before first use and keep them for future reference.
Important Safety Instructions
- Read all instructions before using the appliance.
- Do not touch hot surfaces. Use handles or knobs.
- To protect against fire, electric shock, and injury to persons, do not immerse cord, plugs, or appliance in water or other liquid.
- Close supervision is necessary when any appliance is used by or near children.
- Unplug from outlet when not in use and before cleaning. Allow to cool before putting on or taking off parts, and before cleaning the appliance.
- Do not operate any appliance with a damaged cord or plug or after the appliance malfunctions, or has been damaged in any manner.
- The use of accessory attachments not recommended by the appliance manufacturer may result in fire, electric shock, or injury to persons.
- Do not use outdoors.
- Do not let cord hang over edge of table or counter, or touch hot surfaces.
- Do not place on or near a hot gas or electric burner, or in a heated oven.
- Always attach plug to appliance first, then plug cord into the wall outlet. To disconnect, turn any control to "off", then remove plug from wall outlet.
- Do not use appliance for other than intended use.
2. Product Overview
The WMF Bueno Pro Coffee Maker Thermo is designed for ease of use and durability, featuring high-quality Cromargan: stainless steel 18/10.

Figure 2.1: Overall view of the WMF Bueno Pro Coffee Maker Thermo, showcasing its sleek black and stainless steel design.

Figure 2.2: Front view highlighting the external water level indicator on the side, allowing for easy monitoring of water quantity.
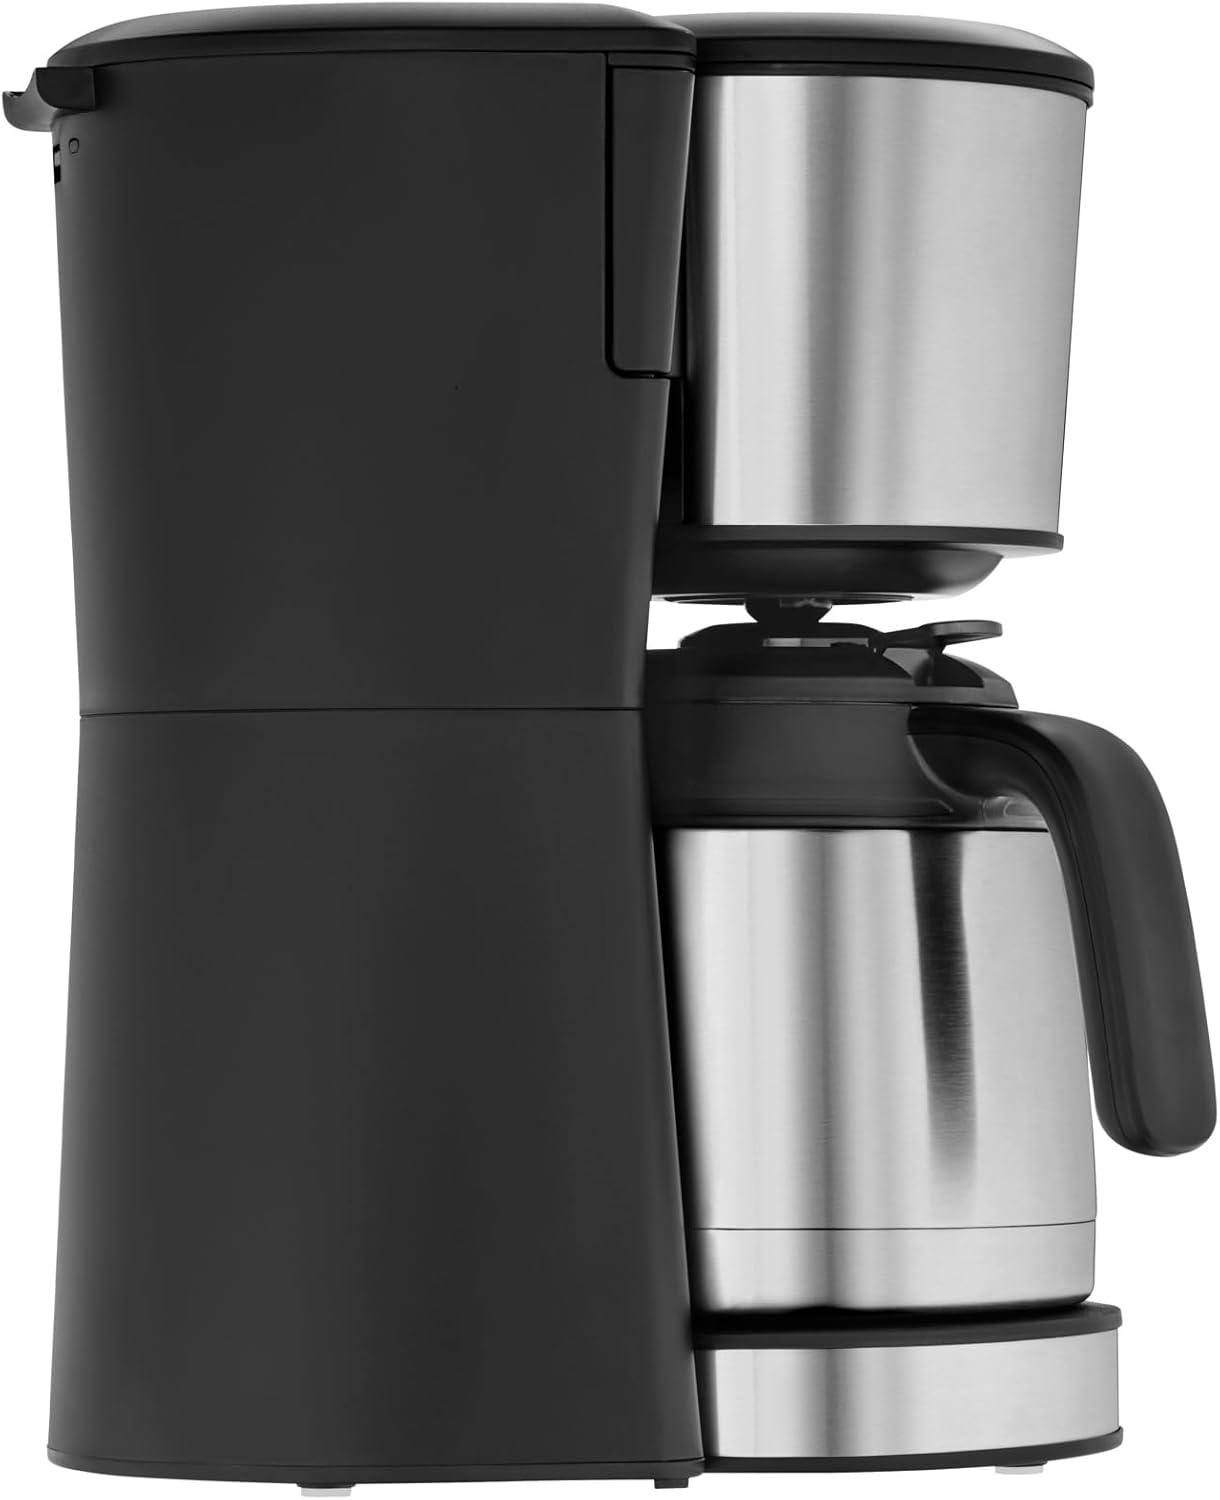
Figure 2.3: Top view showing the swing filter compartment, which opens for easy access to insert or remove the filter.

Figure 2.4: Close-up of the high-quality thermal jug, designed to keep coffee warm for extended periods.

Figure 2.5: Detail of the illuminated on/off button, indicating the appliance's operational status.
Components:
- Main Unit with Water Tank
- External Water Level Indicator
- Swing Filter Holder with Removable Filter Insert (Size 1x4)
- Thermal Jug with Lid (1.25 L capacity for 10 cups)
- On/Off Button with Control Lamp
- Drip Stop Mechanism
3. Setup
Unpacking and Initial Cleaning:
- Carefully remove all packaging materials from the coffee maker.
- Wash the thermal jug and its lid, and the removable filter insert with warm, soapy water. Rinse thoroughly and dry.
- Wipe the exterior of the coffee maker with a damp cloth. Do not immerse the main unit in water.
First Use (Cleaning Cycle):
Before brewing coffee for the first time, it is recommended to run two full cycles with only water to clean the internal components.
- Fill the water tank with fresh, cold water up to the "10 cup" mark using the external water level indicator.
- Place the empty thermal jug with its lid on the warming plate.
- Ensure the swing filter holder is closed and no coffee filter or grounds are present.
- Plug the power cord into a suitable 220V electrical outlet.
- Press the On/Off button. The control lamp will illuminate, and the brewing process will begin.
- Allow the cycle to complete. Once finished, discard the hot water from the jug.
- Repeat this process one more time.
- Your coffee maker is now ready for brewing.
4. Operating Instructions
Brewing Coffee:
- Ensure the coffee maker is unplugged and cool.
- Fill the thermal jug with the desired amount of fresh, cold water (up to 1.25 L or 10 cups). Pour this water into the coffee maker's water tank. The external water level indicator will show the current fill level.
- Open the swing filter holder. Insert a size 1x4 paper coffee filter into the removable filter insert.
- Add the desired amount of ground coffee into the paper filter. A general guideline is one tablespoon of ground coffee per cup (150ml), but adjust to your taste.
- Close the swing filter holder securely.
- Place the thermal jug with its lid firmly on the warming plate. Ensure the lid is correctly positioned to allow coffee to flow into the jug.
- Plug the power cord into a suitable 220V electrical outlet.
- Press the On/Off button. The control lamp will illuminate, indicating that the brewing process has started.
- Once the brewing cycle is complete, the coffee maker will automatically turn off, and the control lamp will extinguish. The drip stop feature prevents dripping when the jug is removed.
- Carefully remove the thermal jug and serve your freshly brewed coffee. The thermal jug will keep the coffee warm for an extended period.
Note: For optimal temperature retention, pre-warm the thermal jug with hot water before brewing.
5. Maintenance and Cleaning
Regular cleaning ensures optimal performance and extends the lifespan of your WMF Bueno Pro Coffee Maker Thermo. Always unplug the appliance and allow it to cool completely before cleaning.
Daily Cleaning:
- Thermal Jug and Lid: Wash the thermal jug and its lid with warm, soapy water after each use. Use a soft brush for the interior if needed. Rinse thoroughly and dry.
- Filter Insert: Remove the used paper filter and coffee grounds. Wash the removable filter insert with warm, soapy water. Rinse and dry.
- Exterior: Wipe the exterior surfaces of the coffee maker with a soft, damp cloth. Do not use abrasive cleaners or scouring pads.
Descaling (Periodic Cleaning):
Mineral deposits from water can build up over time, affecting performance and taste. Descale your coffee maker regularly, depending on water hardness and frequency of use (e.g., every 2-4 months).
- Prepare a descaling solution according to the descaler manufacturer's instructions (e.g., white vinegar diluted with water, or a commercial descaling agent).
- Pour the descaling solution into the water tank.
- Place the empty thermal jug with its lid on the warming plate.
- Start a brewing cycle without coffee grounds. Allow about half of the solution to brew through, then turn off the coffee maker and let it sit for 15-20 minutes to allow the solution to work.
- Turn the coffee maker back on and allow the remaining solution to brew through.
- Discard the descaling solution from the jug.
- Rinse the coffee maker by running two full cycles with fresh, clean water only to remove any residual descaler.
Caution: Never immerse the main unit of the coffee maker in water or any other liquid.
6. Troubleshooting
If you encounter issues with your WMF Bueno Pro Coffee Maker Thermo, please consult the table below before contacting customer support.
| Problem | Possible Cause | Solution |
|---|---|---|
| Coffee maker does not turn on. |
|
|
| Coffee is not brewing. |
|
|
| Coffee tastes weak or too strong. |
|
|
| Water leaks from the coffee maker. |
|
|
7. Specifications
| Feature | Detail |
|---|---|
| Brand | WMF |
| Model Name | Bueno Pro |
| Item Model Number | 0412290011 |
| Power | 900 W |
| Voltage | 220 Volts |
| Jug Capacity | 1.25 Liters (approx. 10 cups) |
| Material | Cromargan: Stainless Steel 18/10, Plastic |
| Color | Black |
| Product Dimensions (D x W x H) | 7.09"D x 0.39"W x 13.78"H (approx. 18 x 1 x 35 cm) |
| Item Weight | 6.03 pounds |
| Filter Size | 1x4 |
| Special Features | Thermal Jug, External Water Level Indicator, Drip Stop, Keep Warm Function |
8. Warranty and Support
WMF products are manufactured with high-quality materials and undergo strict quality control. For detailed information regarding the warranty period and terms for your WMF Bueno Pro Coffee Maker Thermo, please refer to the warranty card included with your product or visit the official WMF website.
If you require technical assistance, spare parts, or have questions not covered in this manual, please contact WMF customer support.
- WMF Official Website: www.wmf.com (Check for regional support contact information)
- Customer Service: Refer to your product packaging or the WMF website for local contact numbers and email addresses.
Please have your model number (0412290011) and purchase date ready when contacting support.

