
1. Introduction
Thank you for choosing the BLACK+DECKER BW13 Pressure Washer. This manual provides essential information for the safe and efficient operation, maintenance, and troubleshooting of your new pressure washer. Please read all instructions carefully before use and retain this manual for future reference.
Safety Information
Always wear appropriate personal protective equipment, including eye protection, when operating the pressure washer. Ensure all connections are secure before starting the unit. Do not direct the water jet at people, animals, or electrical equipment. Keep children and pets away from the operating area. Disconnect the power supply before performing any maintenance or cleaning tasks.
2. Product Overview and Included Components
The BLACK+DECKER BW13 Pressure Washer is designed for effective cleaning of various surfaces around your home and car. It features a compact design with large wheels and a wide handle for easy mobility and storage.
Main Unit and Accessories

Figure 2.1: Front view of the pressure washer, showing the main unit with the BLACK+DECKER logo and control panel.

Figure 2.2: Rear view of the pressure washer, illustrating the integrated storage for the high-pressure hose, gun, and detergent dispenser.
Included Components:
- Pressure washer main unit
- High-pressure hose (6 Metres)
- Lance
- Gun with safety catch
- Adjustable Nozzle
- Rotating Nozzle
- Nozzle cleaning tool
- Water Filter
- Detergent Dispenser
3. Setup
Follow these steps to prepare your pressure washer for use:
- Assemble the Gun and Lance: Connect the lance to the spray gun. Ensure it clicks securely into place.
- Connect the High-Pressure Hose: Attach one end of the high-pressure hose to the pressure washer's outlet and the other end to the spray gun. Tighten connections firmly.
- Connect Water Supply: Attach a garden hose (not included) to the water inlet connector on the pressure washer. Ensure the water filter is in place. Connect the other end of the garden hose to a water tap.
- Purge Air from the System: Before connecting power, turn on the water tap completely. Squeeze the trigger on the spray gun to allow water to flow through the system until all air is expelled and a steady stream of water emerges. This prevents damage to the pump.
- Connect Power: Plug the power cord into a suitable grounded electrical outlet.

Figure 3.1: Detail of the water inlet connection point on the pressure washer.

Figure 3.2: The water filter must be properly installed at the water inlet to protect the pump.
Visual Setup Guide
Video 3.1: A short demonstration of the BLACK+DECKER pressure washer setup and various cleaning applications.
4. Operation
Starting the Pressure Washer
- Ensure the water supply is fully open and all air has been purged from the system.
- Turn the ON/OFF switch to the 'ON' position. The motor will start.
- Squeeze the trigger on the spray gun to begin spraying. Release the trigger to stop the water flow. The motor will automatically shut off when the trigger is released and restart when squeezed again.
Using Nozzles
Your pressure washer comes with an adjustable nozzle and a rotating nozzle for different cleaning tasks.
- Adjustable Nozzle: Provides a variable spray pattern from a concentrated jet to a wide fan. Rotate the nozzle head to select the desired spray. Use a narrow jet for stubborn dirt and a wider fan for general cleaning or rinsing.
- Rotating Nozzle: Delivers a powerful, pulsating jet for heavy-duty cleaning tasks, such as removing tough grime from concrete or masonry.
Using the Detergent Dispenser
For enhanced cleaning, you can use the included detergent dispenser:
- Fill the detergent dispenser with an appropriate pressure washer detergent (ensure it is compatible with pressure washers).
- Attach the detergent dispenser to the spray gun.
- Apply detergent to the surface. Allow the detergent to soak for a few minutes (refer to detergent instructions), but do not let it dry.
- Remove the detergent dispenser and rinse the surface thoroughly with clean water using the appropriate nozzle.
Cleaning Applications
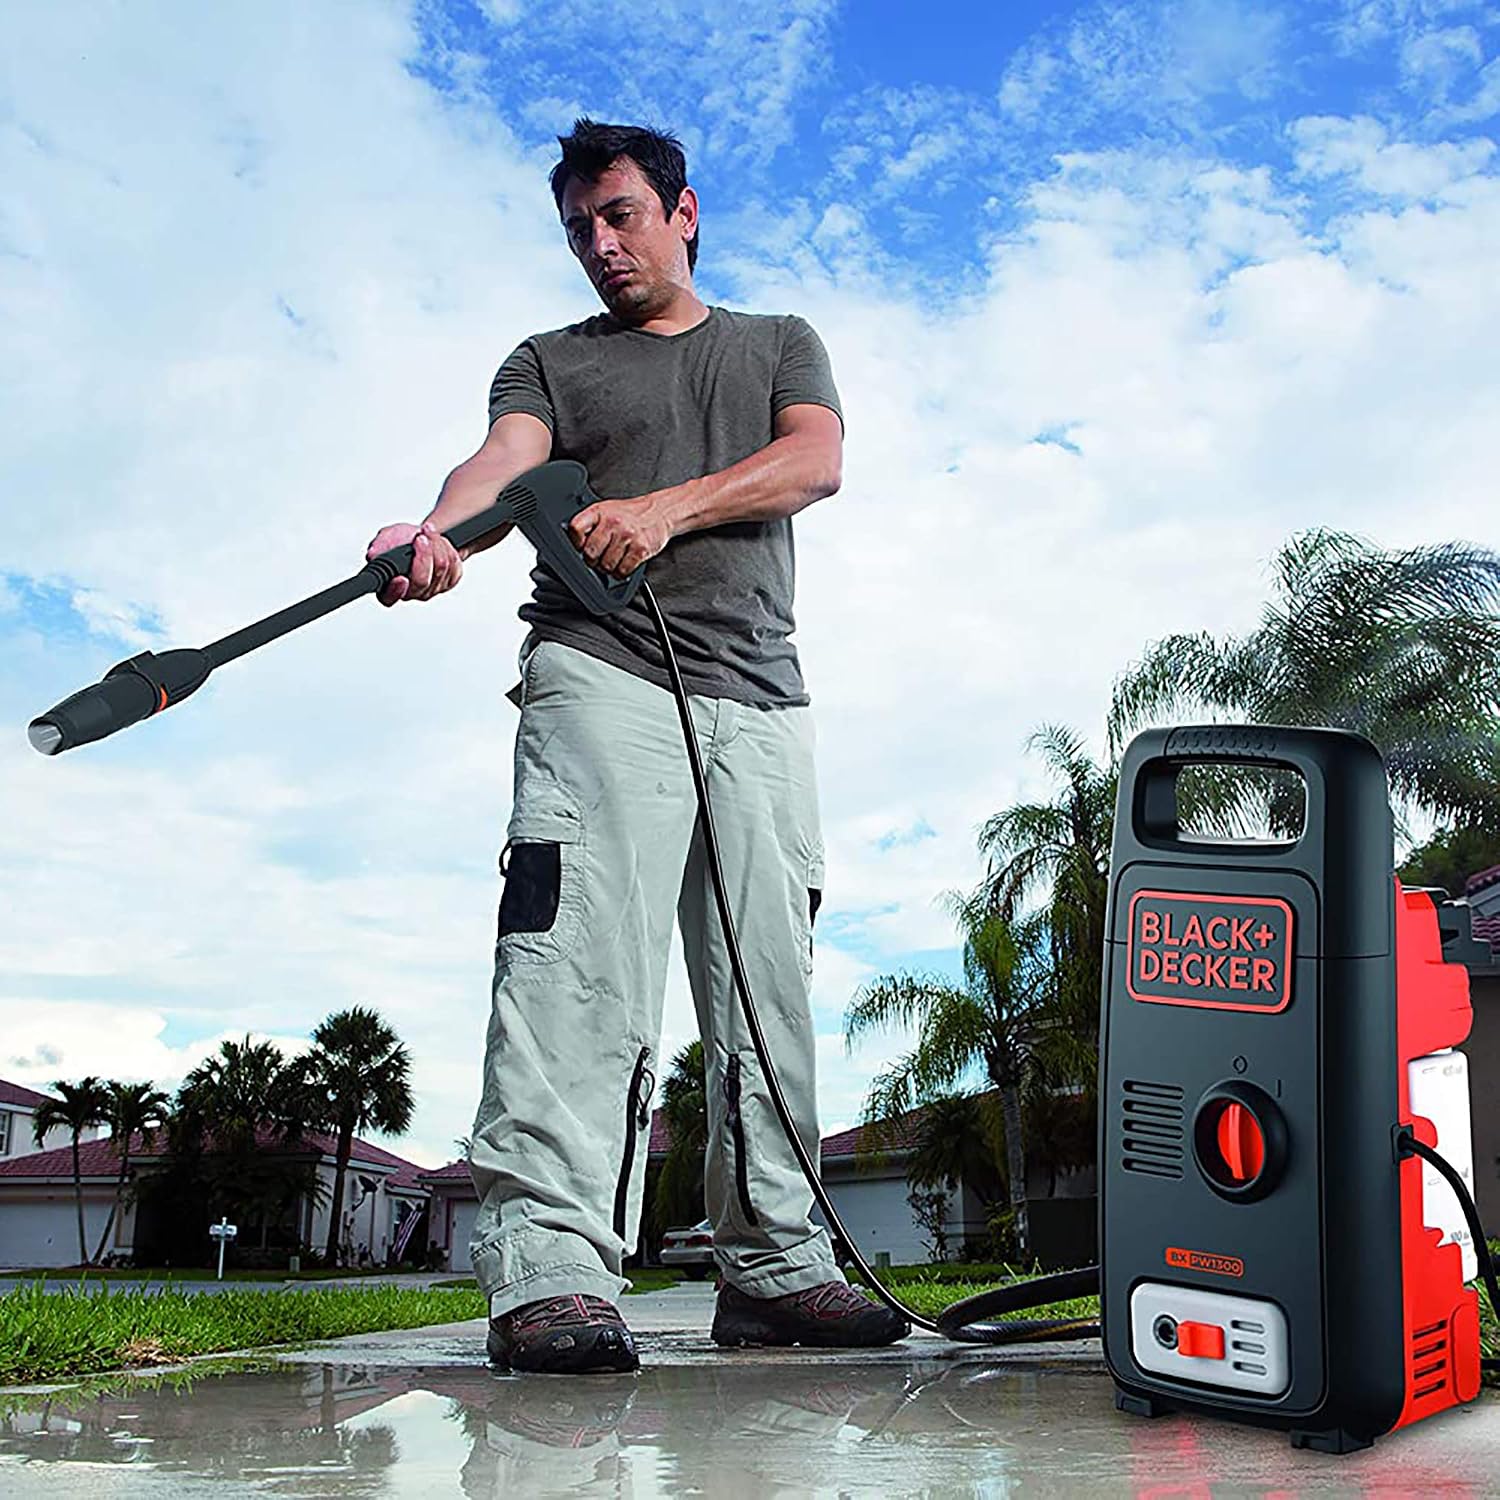
Figure 4.1: Cleaning a patio surface with the pressure washer, demonstrating its effectiveness on outdoor flooring.

Figure 4.2: The pressure washer being used to clean a dirty wall, showing the removal of grime and dirt.
5. Maintenance
Regular maintenance ensures optimal performance and extends the life of your pressure washer.
After Each Use:
- Flush the System: If detergent was used, run clean water through the system for a few minutes to remove any detergent residue.
- Disconnect Water and Power: Turn off the pressure washer, then turn off the water supply. Squeeze the trigger to release any remaining pressure in the system. Unplug the power cord.
- Clean Nozzles: Use the provided nozzle cleaning tool to clear any blockages from the nozzle openings.
- Clean Water Filter: Remove and rinse the water filter to prevent debris from entering the pump.
Storage:
Store the pressure washer in a dry, frost-free area. Drain all water from the pump and hoses to prevent freezing and damage. Utilize the integrated storage features for the hose, gun, and accessories for compact storage.
6. Troubleshooting
If you encounter issues, refer to the following common problems and solutions:
| Problem | Possible Cause | Solution |
|---|---|---|
| Motor does not start | No power supply ON/OFF switch in 'OFF' position | Check power connection and outlet Turn switch to 'ON' |
| Low pressure | Insufficient water supply Clogged nozzle Air in the pump | Ensure water tap is fully open, check hose for kinks Clean nozzle with cleaning tool Purge air from the system (see Setup) |
| Water leaks | Loose connections Damaged O-rings | Tighten all hose and gun connections Inspect and replace damaged O-rings |
| Detergent not dispensing | Detergent dispenser clogged Incorrect nozzle used | Clean detergent dispenser Ensure appropriate nozzle is attached for detergent application |
If the problem persists after attempting these solutions, please contact customer support.
7. Specifications
| Feature | Detail |
|---|---|
| Brand | BLACK+DECKER |
| Model Number | BXPW1300E-B5 (BW13) |
| Power Source | Corded Electric |
| Power (Wattage) | 1300 Watt |
| Maximum Pressure | 100 Bars (1450 PSI) |
| Maximum Flow Rate | 390 Liters Per Hour (6.5 L/min) |
| Hose Length | 6 Metres |
| Color | Red & Black (Multicolor) |
| Included Components | Pressure washer, Hose, Lance, Gun with safety catch, Adjustable Nozzle, Rotating Nozzle, Nozzle cleaning tool, Water Filter and Detergent Dispenser |
8. Warranty & Support
Warranty Information
This BLACK+DECKER BW13 Pressure Washer comes with a 1-year warranty provided by the manufacturer from the date of purchase. Please retain your proof of purchase for warranty claims. The warranty covers manufacturing defects under normal use conditions.
Customer Support
For technical assistance, service, or warranty inquiries, please contact:
- Manufacturer: Black and Decker
- Importer Contact: Stanley Black & Decker India Private Ltd #28, Akemps, 3rd Main, 1st Cross, Ashwini Layout Koramangala Bangalore - 560047
- Packer Contact: Stanley Black & Decker India Pvt Limited, GAT NO. 135. 137 & 157. PO Mahalunge Talukha - Khed Pune 410501. India.
- Contact Number: 1860-425-1111


