1. Important Safety Instructions
Please read all instructions before using this appliance. Failure to follow these instructions may result in electric shock, fire, or serious injury. Keep this manual for future reference.
- Do not use outdoors or on wet surfaces.
- Do not allow to be used as a toy. Close attention is necessary when used by or near children.
- Use only as described in this manual. Use only manufacturer’s recommended attachments.
- Do not use with damaged cord or plug. If appliance is not working as it should, has been dropped, damaged, left outdoors, or dropped into water, return it to a service center.
- Do not pull or carry by cord, use cord as a handle, close a door on cord, or pull cord around sharp edges or corners. Do not run appliance over cord. Keep cord away from heated surfaces.
- Do not unplug by pulling on cord. To unplug, grasp the plug, not the cord.
- Do not handle plug or appliance with wet hands.
- Do not put any object into openings. Do not use with any opening blocked; keep free of dust, lint, hair, and anything that may reduce airflow.
- Keep hair, loose clothing, fingers, and all parts of body away from openings and moving parts.
- Do not pick up anything that is burning or smoking, such as cigarettes, matches, or hot ashes.
- Do not use to pick up flammable or combustible liquids, such as gasoline, or use in areas where they may be present.
- Do not use without dust cup and/or filters in place.
- Turn off all controls before unplugging.
- Use extra care when cleaning on stairs.
- This product contains chemicals known to the State of California to cause cancer and birth defects or other reproductive harm.
2. Product Components

Figure 2.1: All components included with the Eureka NEC122 PowerPlush Cordless Stick Vacuum Cleaner.
The Eureka NEC122 PowerPlush Cordless Stick Vacuum Cleaner comes with the following components:
- Main Handheld Unit (with dust cup and motor)
- Extension Wand
- Motorized PowerPlush Floor Nozzle
- Detachable 21.6V Lithium-Ion Battery
- Charging Adapter
- Crevice Tool
- Dusting Brush
- Wall Mount with accessory storage
3. Setup
3.1 Assembly
Assemble the vacuum cleaner by connecting the extension wand to the main handheld unit, then attach the motorized PowerPlush floor nozzle to the other end of the extension wand. Ensure all connections click securely into place.

Figure 3.1: The Eureka NEC122 PowerPlush Cordless Stick Vacuum Cleaner fully assembled.
3.2 Charging the Battery
Before first use, fully charge the 21.6V Lithium-Ion battery. The battery is detachable for convenient charging and storage.

Figure 3.2: The detachable 21.6V battery can be easily removed for charging or replacement.
Connect the charging adapter to the battery and plug it into a power outlet. The battery indicator lights will show the charging status. A full charge typically takes several hours. Do not operate the vacuum while it is charging.
4. Operating Instructions
4.1 Powering On/Off
To turn the vacuum on, press the power button located on the handle. Press it again to turn the vacuum off. The vacuum features a trigger that stays on until pressed again, eliminating the need to hold it down continuously.
4.2 Using the Vacuum
The Eureka NEC122 PowerPlush is designed for efficient cleaning on hard floors. The soft plush brush roll effectively picks up both fine dust and larger particles.

Figure 4.1: The motorized PowerPlush brushroll is specifically designed for optimal performance on hard floors.
Its lightweight design (approximately 5.3 lbs) and swivel steering make it easy to maneuver around furniture and clean hard-to-reach areas, including under furniture and high surfaces.
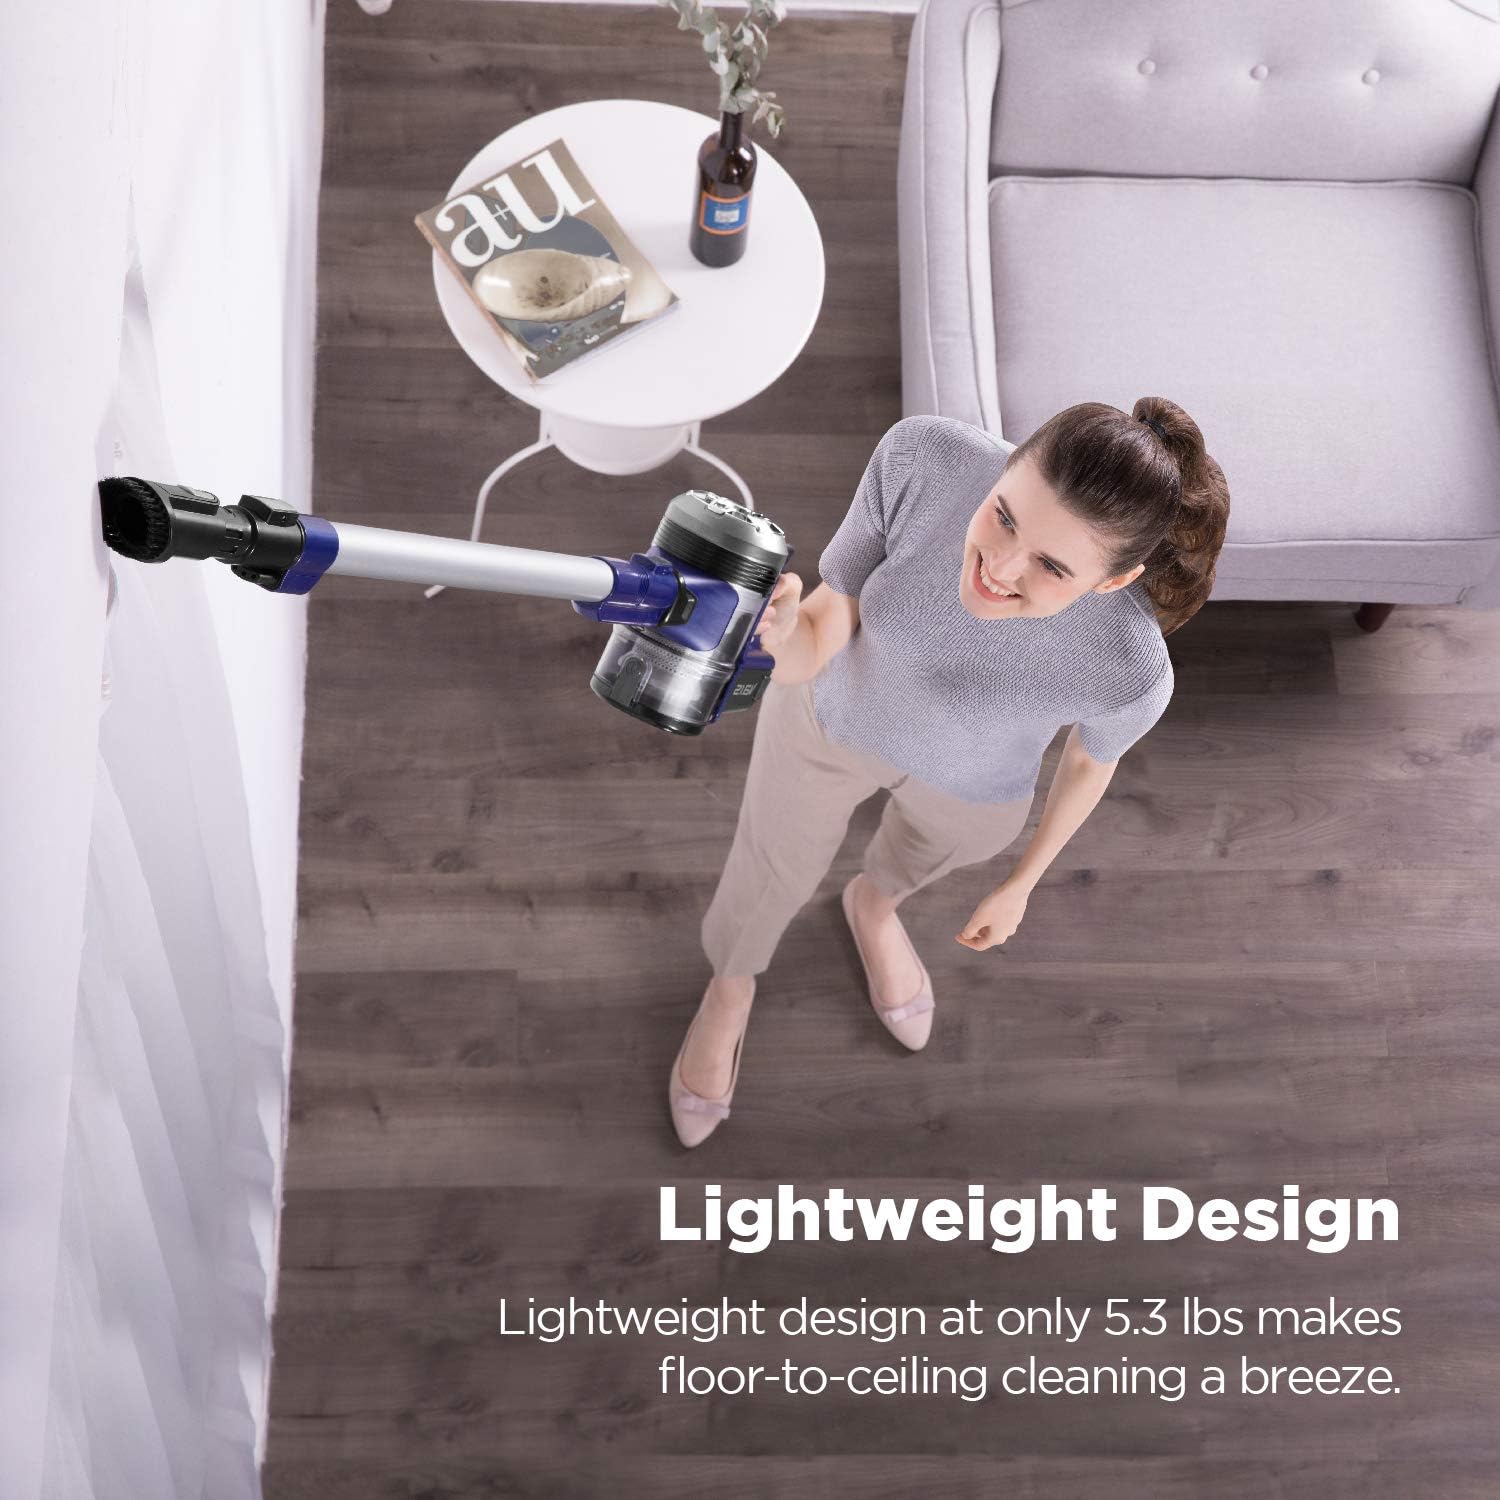
Figure 4.2: The lightweight design allows for easy floor-to-ceiling cleaning.
4.3 Battery Indicator Lights
The battery indicator lights on the main unit provide real-time information about the battery's charge level, allowing you to plan your cleaning tasks efficiently.
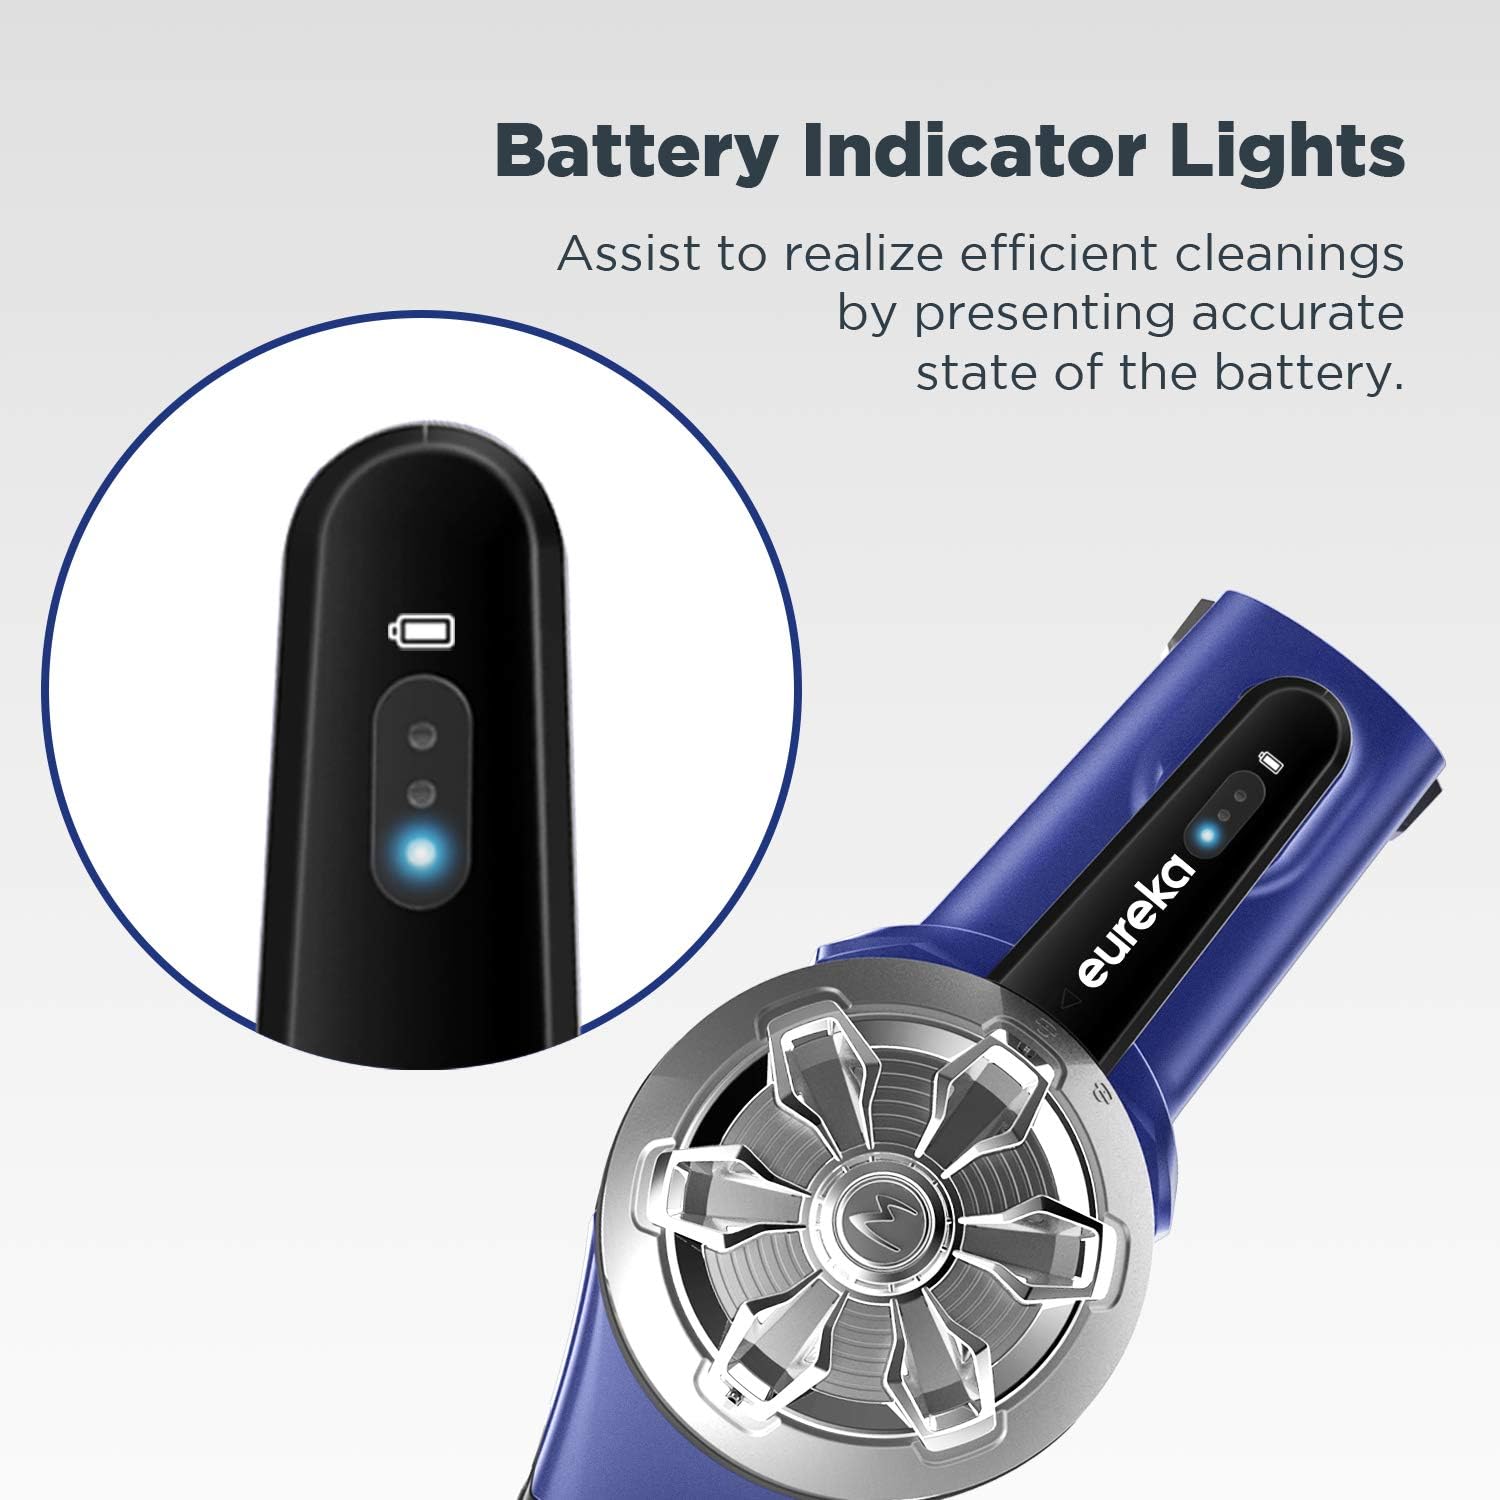
Figure 4.3: Battery indicator lights display the current charge status.
4.4 Using Accessories
The included crevice tool and dusting brush can be attached directly to the handheld unit or the extension wand for versatile cleaning of upholstery, tight spaces, and delicate surfaces.
4.5 Storage
The vacuum comes with a wall mount that includes storage for the two cleaning tools. This allows for convenient and organized storage of your vacuum and its accessories.
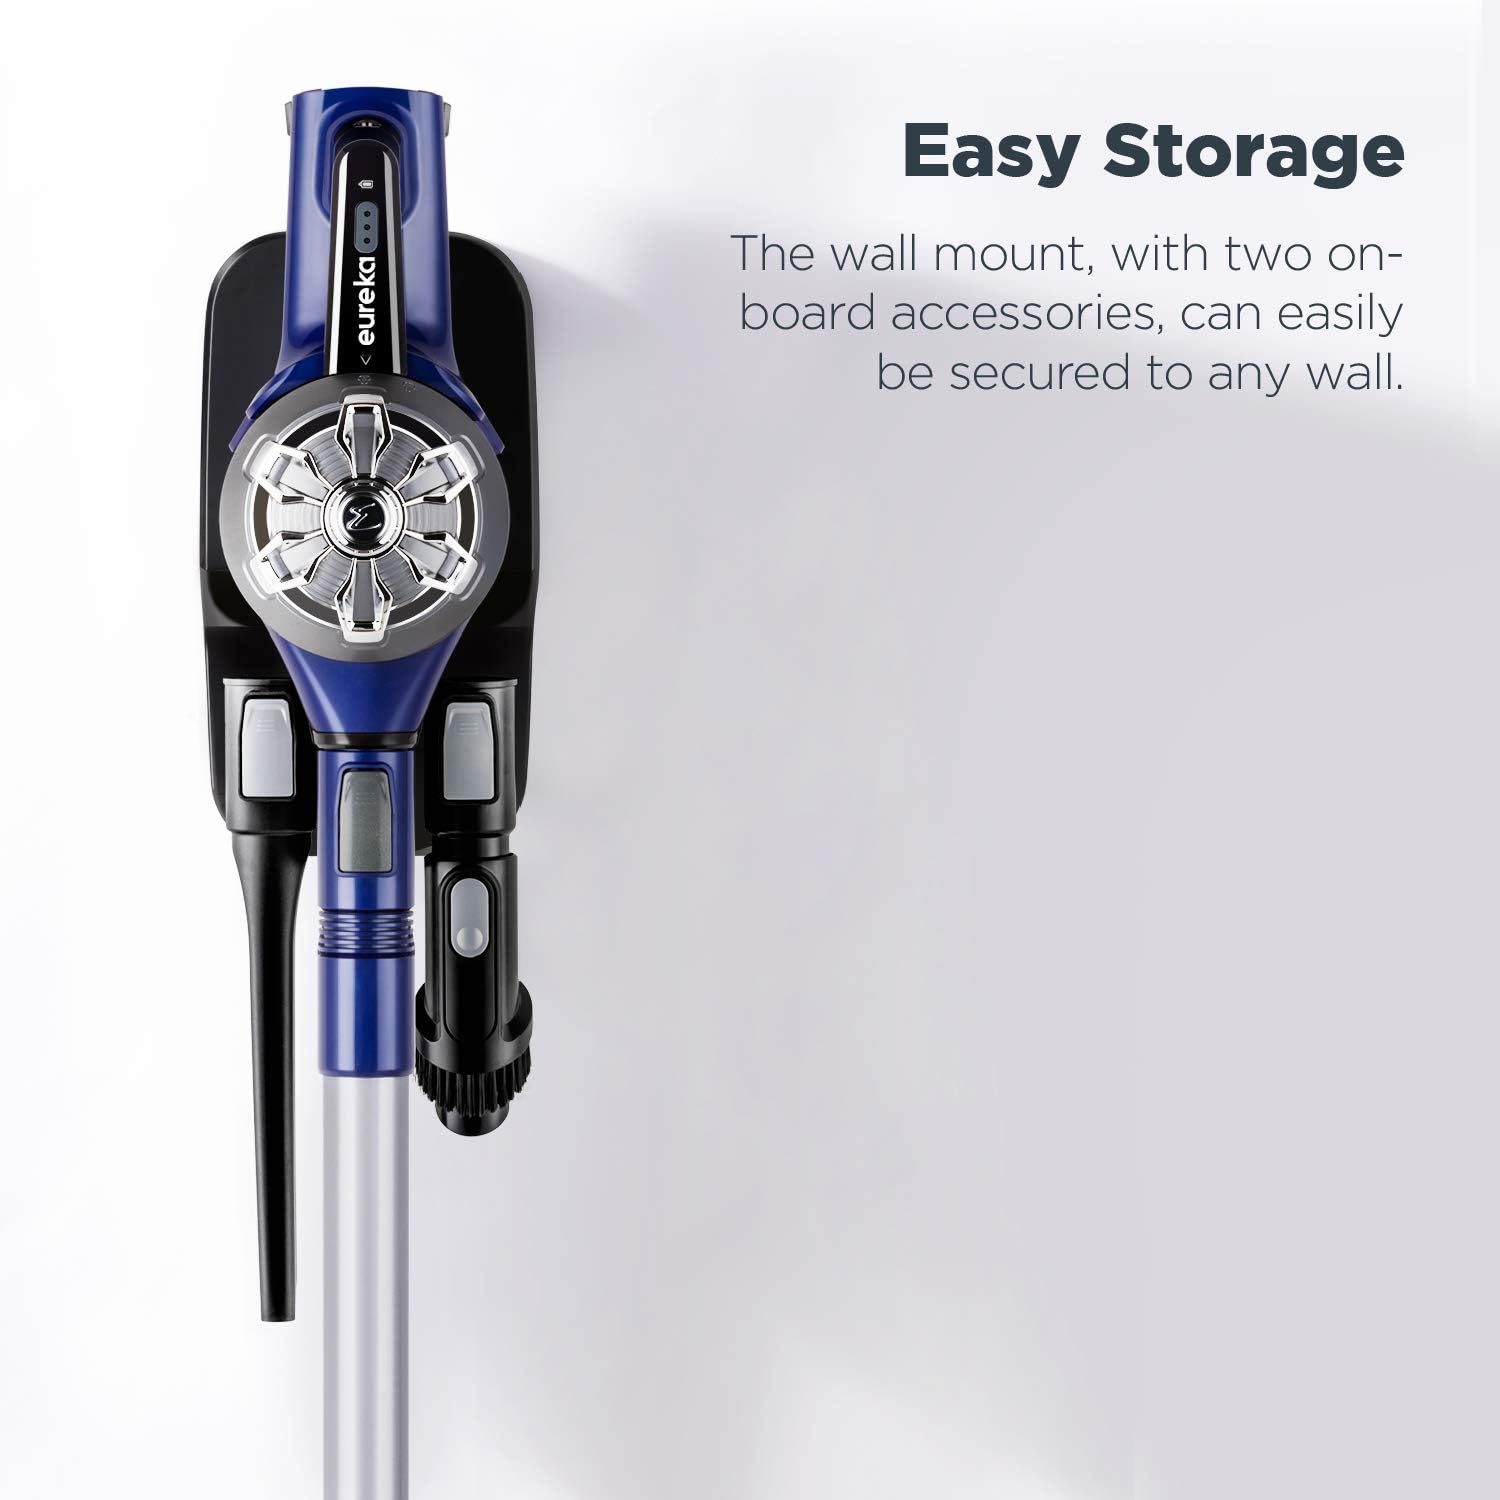
Figure 4.4: The wall mount provides easy storage for the vacuum and its accessories.
5. Maintenance
5.1 Emptying the Dust Cup
Empty the dust cup regularly to maintain optimal suction. Simply press the release button to expel dirt directly into a trash bin, or twist off the dust cup and empty it by hand.

Figure 5.1: The dust cup can be emptied with a press of a button or by twisting it off.
5.2 Cleaning the Filter
The vacuum features a washable anti-allergen filter. For best performance, clean the filter frequently. Remove the filter from the dust cup, rinse it under running water until clean, and allow it to air dry completely for at least 24 hours before reinserting. Do not use the vacuum with a wet filter.

Figure 5.2: The washable anti-allergen filter helps capture microscopic dust.
5.3 Cleaning the Brush Roll
Periodically check the PowerPlush brush roll for tangled hair or debris. Remove any obstructions to ensure efficient cleaning and prevent damage to the motor.
6. Troubleshooting
| Problem | Possible Cause | Solution |
|---|---|---|
| Vacuum does not turn on | Battery not charged or not properly inserted. | Ensure battery is fully charged and securely inserted. |
| Reduced suction power | Dust cup is full; filter is clogged; brush roll is obstructed. | Empty dust cup; clean or replace filter; remove obstructions from brush roll. |
| Brush roll not spinning | Obstruction in brush roll; floor nozzle not properly attached. | Clear any debris from brush roll; ensure floor nozzle is securely connected. |
| Short battery life | Battery not fully charged; battery degradation over time. | Ensure battery is fully charged before use. Consider purchasing a replacement battery if performance significantly degrades. |
7. Specifications
| Feature | Detail |
|---|---|
| Brand | Eureka |
| Model Name | NEC122 |
| Power | 21.6V (110 watts) |
| Battery Type | Lithium-Ion |
| Battery Life | Approximately 25 minutes |
| Filter Type | Washable Cloth Filter |
| Weight | 5.3 pounds |
| Dimensions (L x W x H) | 8.5 x 9.5 x 43.5 inches |
| Recommended Use | Hard Floor |
| Special Features | 2-Way easy empty, Bagless, Cordless, Lightweight, Self-Propelled, Washable Filter, Clear brushroll window, Hard floor expertise, Powerful suction, Swivel steering |
8. Warranty and Support
The Eureka NEC122 PowerPlush Cordless Stick Vacuum Cleaner comes with a 2-year limited warranty on the vacuum unit and a 12-month limited warranty on the battery.
For warranty claims, technical support, or to purchase replacement parts, please visit the official Eureka store or contact Eureka customer service.
Eureka Store: https://www.amazon.com/stores/Eureka/page/2C146D16-2E09-4B35-81CF-B1382470E3EF


