
1. Product Overview
The Hunter Harmony Ceiling Fan Model 50626 is a modern ceiling fan designed for indoor use, featuring a light kit and remote control. Its design incorporates a continuous curve from the ceiling to the glass, providing a contemporary aesthetic. This fan is suitable for small to standard-sized rooms, offering efficient air movement and adequate illumination.
Key features include a WhisperWind motor for quiet operation, three reversible blades, and a reversible motor function for year-round use.
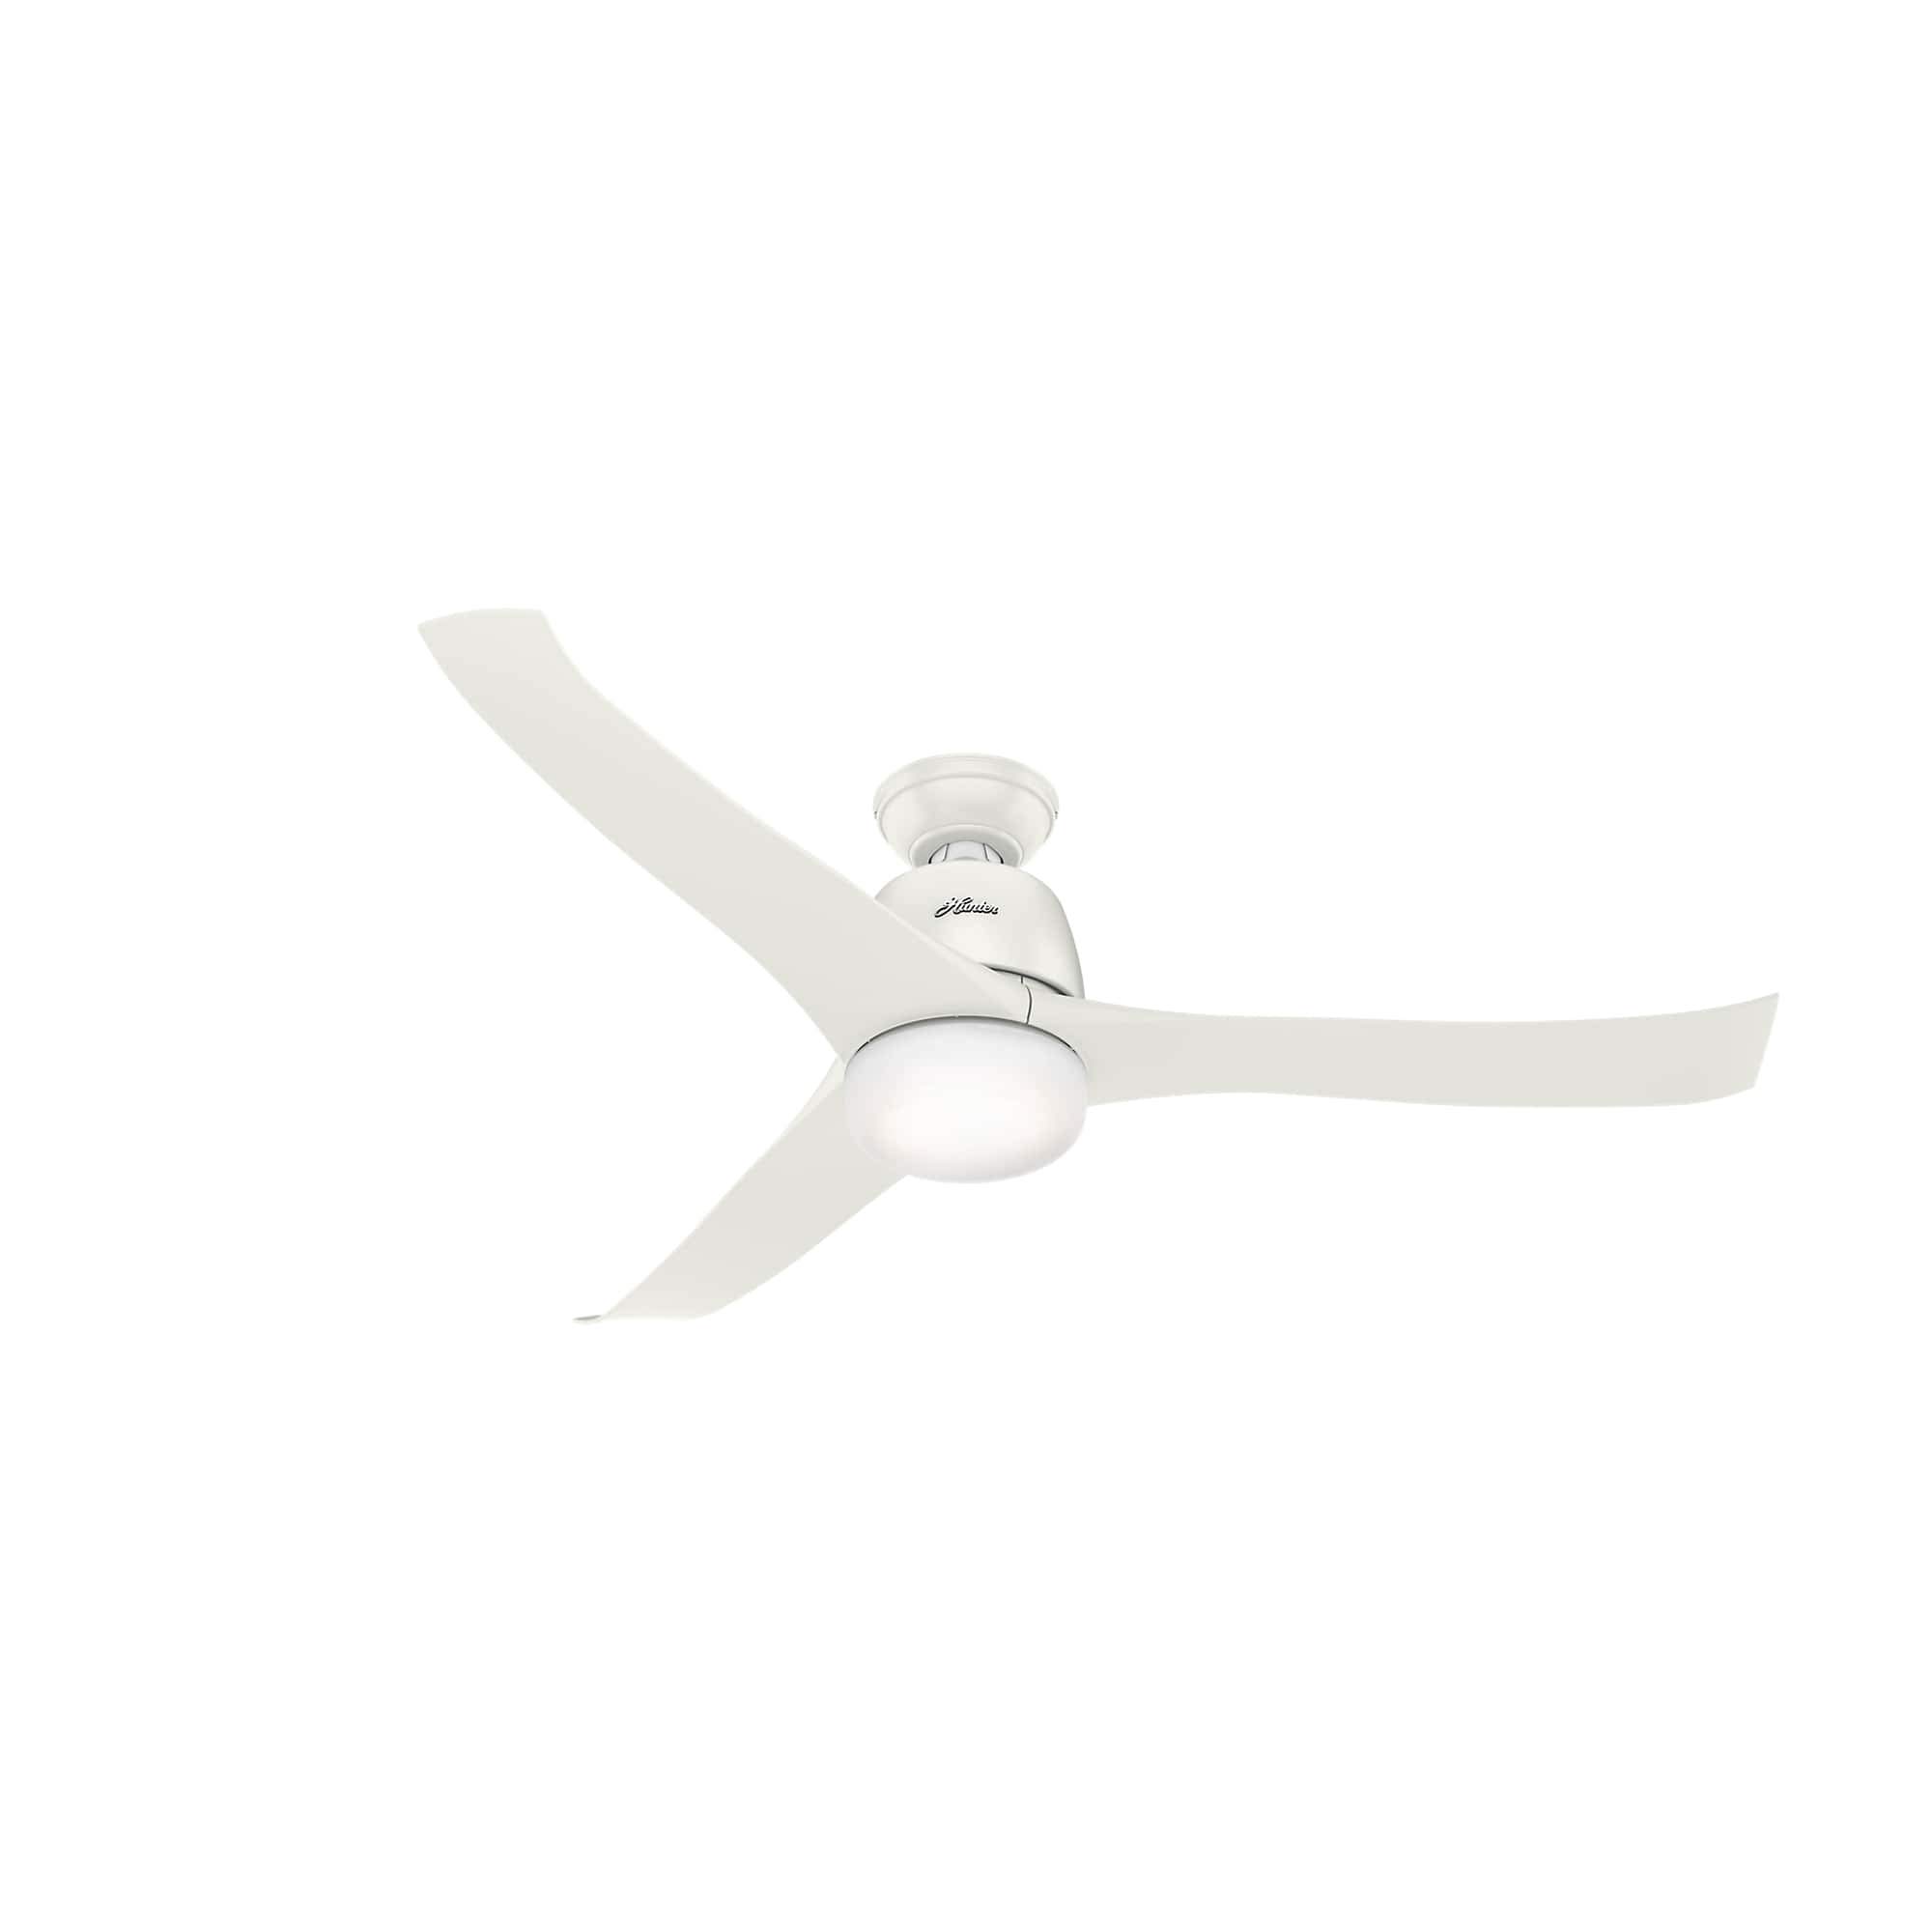
Image 1.1: The Hunter Harmony Ceiling Fan in white, featuring its integrated light kit and three blades.

Image 1.2: The Hunter Harmony Ceiling Fan installed in a modern kitchen setting, demonstrating its aesthetic integration.
2. Safety Information
Please read all instructions carefully before installation and use to prevent injury or damage. Retain this manual for future reference.
- Electrical Safety: Always disconnect power at the circuit breaker before installing, cleaning, or servicing the fan. All electrical wiring must be performed by a qualified electrician and comply with local codes and regulations.
- Mounting: Ensure the mounting structure can support the weight of the fan (approximately 8.9 kg) and any additional stress from fan operation. The fan must be mounted with the blades at least 2.1 meters (7 feet) from the floor.
- Blade Clearance: Do not insert objects into the path of the fan blades while the fan is operating.
- Light Kit: Use only the specified bulb type and wattage for the integrated light kit.
- Remote Control: Keep the remote control out of reach of children.
3. Setup and Installation
The Hunter Harmony Ceiling Fan is designed for easy installation with a three-position mounting system, allowing for standard, low, or angled mounting depending on your room's requirements. A 3-inch downrod is included.
3.1 Unpacking and Inspection
Carefully remove all components from the packaging. Verify that all parts listed in the 'Components Included' section are present and undamaged. If any parts are missing or damaged, do not proceed with installation and contact customer support.
3.2 Mounting Options
The installer's three-position mounting system allows for versatile installation:
- Standard Mount: For ceilings with sufficient height.
- Low Profile Mount: For rooms with lower ceilings.
- Angled Mount: For sloped or vaulted ceilings (adapter may be required, sold separately).
Ensure the chosen mounting method provides adequate clearance for the fan blades.

Image 3.1: Close-up view of the fan's motor housing and the attachment point for the blades, illustrating the sleek design.
3.3 Electrical Connection
- Turn off power at the circuit breaker.
- Install the mounting bracket to the ceiling junction box, ensuring it is securely fastened and can support the fan's weight.
- Connect the fan's electrical wires to the household wiring according to the wiring diagram provided in the full installation guide (not included here, refer to product packaging).
- Secure all wire connections with wire nuts.
3.4 Assembling the Fan
- Attach the downrod to the motor housing.
- Carefully lift the fan assembly and hang it from the mounting bracket.
- Attach the fan blades to the motor housing using the provided screws.
- Install the light kit and glass shade.
For detailed step-by-step instructions and diagrams, please consult the complete installation manual included with your product.
4. Operating Instructions
The Hunter Harmony Ceiling Fan is operated using the included remote control, offering convenient control over fan speed, light, and direction.
4.1 Remote Control Functions

Image 4.1: The remote control for the Hunter Harmony Ceiling Fan, showing buttons for light, fan speed, and direction.
- Light Button: Press to turn the light on/off. Hold to dim or brighten the light.
- Fan Speed Buttons: Use the up and down arrows to cycle through the 3 available fan speeds (low, medium, high).
- Fan Direction Button (Asterisk symbol): Press to reverse the direction of the fan blades.
4.2 Reversible Motor for Year-Round Comfort
The fan features a reversible motor, allowing you to change the direction of the blades for optimal comfort in different seasons:
- Summer Mode (Downward Airflow): Blades rotate counter-clockwise, creating a downward breeze that cools the room.
- Winter Mode (Upward Airflow): Blades rotate clockwise, drawing warm air trapped near the ceiling downwards and distributing it throughout the room. This helps to save on heating costs.
To change the direction, ensure the fan is off, then press the fan direction button on the remote control. Allow the blades to come to a complete stop before reversing direction.
5. Maintenance
Regular maintenance ensures the longevity and optimal performance of your Hunter Harmony Ceiling Fan.
- Cleaning: To clean the fan, wipe with a soft, damp cloth. Do not use abrasive cleaners or solvents, as these can damage the finish. Ensure power is disconnected before cleaning.
- Blade Cleaning: Dust the fan blades regularly to prevent dust buildup, which can affect fan balance and performance.
- Light Kit: Replace bulbs as needed. Ensure the replacement bulb matches the specifications of the original.
- Tighten Fasteners: Periodically check and tighten all screws and fasteners on the fan and mounting hardware.
6. Troubleshooting
If you experience issues with your Hunter Harmony Ceiling Fan, refer to the following common troubleshooting steps:
| Problem | Possible Cause | Solution |
|---|---|---|
| Fan does not start | No power to the fan | Check circuit breaker and wall switch. Ensure all electrical connections are secure. |
| Fan is noisy | Loose screws, unbalanced blades, or motor issue | Tighten all screws on the fan housing and blade attachments. Check for warped or unbalanced blades. Ensure the fan is securely mounted. |
| Light does not work | Bulb faulty, loose connection, or remote issue | Replace the light bulb. Check wiring connections in the light kit. Ensure remote control batteries are functional. |
| Remote control not working | Dead batteries or signal interference | Replace remote control batteries. Ensure there are no obstructions between the remote and the fan receiver. |
If these steps do not resolve the issue, please contact Hunter customer support.
7. Specifications
| Feature | Specification |
|---|---|
| Brand | Hunter |
| Model Name | Harmony |
| Model Number | 50626 |
| Color | Fresh White |
| Fan Design | Ceiling Fan |
| Power Source | Corded Electric |
| Product Dimensions (D x W x H) | 20.6 x 27.7 x 34.5 cm |
| Room Type | Living Room |
| Special Feature | Light Dimmer |
| Mounting Type | Ceiling Mount |
| Control Type | Remote Control |
| Number of Speeds | 3 |
| Noise Level | 36 Decibels |
| Power | 50 Watts |
| Number of Blades | 3 |
| Airflow Capacity | 4844 Cubic Feet Per Minute |
| Speed | 208 RPM |
| Voltage | 240 Volts (AC) |
| Switch Type | Push Button |
| Usage | Indoor |
| Installation Type | Ceiling Light |
| Material | Alloy Steel |
| Certifications | CE, RoHS |
| Item Weight | 8.9 Kilograms |
| Downrod Length | 3 Inches |
| Size | 137 cm |
| Components Included | Body, Remote Control, Blades |
| UPC | 049694506269 |
| GTIN | 049694506269 |
8. Warranty Information
Hunter provides the following warranty for the Harmony Ceiling Fan Model 50626:
- Motor: Limited lifetime warranty. If any part of the ceiling fan motor fails due to a defect in material or workmanship, as determined exclusively by Hunter, Hunter will provide a replacement fan free of charge. This limited warranty applies only to the motor itself and does not cover electronic components such as remote control transmitters, remote control receivers, or capacitors used in conjunction with the motor.
- Other Components: Limited one-year warranty. Unless otherwise stated in this warranty, if any part of the Hunter ceiling fan fails at any time within one year from the date of purchase due to a defect in material or workmanship, as determined exclusively by Hunter, Hunter will provide a replacement part free of charge.
Please retain your proof of purchase for warranty claims.
9. Customer Support
For further assistance, technical support, or warranty claims, please contact Hunter customer service. Refer to the contact information provided with your product packaging or visit the official Hunter website.
Online Resources: Visit the Hunter Brand Store on Amazon


