
Introduction
Thank you for purchasing the iTOMA White Noise Machine and Alarm Clock Model 301. This device combines a sound machine with 20 soothing sounds and a digital alarm clock with vibration and buzzer options, designed to enhance your sleep and waking experience. Please read this manual thoroughly before use to ensure proper operation and to maximize the product's features.

Figure 1: iTOMA White Noise Machine and Alarm Clock Model 301. This image shows the front view of the device with its digital display showing "12:38" and control buttons on top.
Package Contents
Verify that all items are present in the package:
- 1 x iTOMA White Noise Machine and Alarm Clock
- 1 x User Manual
- 1 x Type-C Charging Cable
- 1 x USB to USB C Adapter

Figure 2: Package Contents. This image displays the white noise machine, user manual, Type-C charging cable, and a USB to USB-C adapter, laid out on a surface.
Setup
Powering the Device
The iTOMA White Noise Machine and Alarm Clock is powered via a USB Type-C connection. An AC adapter is not included, but you can use any standard USB power adapter (e.g., from a smartphone) or a USB port on a computer or power bank.
- Connect the provided Type-C charging cable to the Type-C port on the back of the device.
- Connect the other end of the cable to a USB power source (e.g., wall adapter, computer USB port).
- The device will power on, and the display will illuminate.
Battery Installation (for backup)
The device requires 1 CR2032 battery (not included) for time and alarm settings backup during power outages. This battery does not power the main functions of the device.
- Locate the battery compartment on the bottom of the device.
- Open the compartment cover.
- Insert one CR2032 battery, ensuring the correct polarity (+/-).
- Close the battery compartment cover securely.
Operating Instructions
Setting the Time
- Press and hold the TIME SET button located on the top of the device. The hour display will begin to flash.
- Use the UP (▲) or DOWN (▼) buttons to adjust the hour.
- Press the TIME SET button again. The minute display will flash.
- Use the UP (▲) or DOWN (▼) buttons to adjust the minutes.
- Press TIME SET once more to confirm and exit time setting mode.
Sound Machine Operation
The device offers 20 natural soothing sounds to aid relaxation and sleep.

Figure 3: Soothing Sounds Selection. This image highlights the "WHITE NOISE", "FANS SOUNDS", and "NATURE SOUNDS" buttons on the device, indicating the variety of available sounds.
- White Noise Sounds (5 types): Press the WHITE NOISE button to cycle through 5 different white noise options.
- Fan Sounds (5 types): Press the FANS SOUNDS button to cycle through 5 different fan sound options.
- Nature Sounds (10 types): Press the NATURE SOUNDS button to cycle through 10 different nature sounds (e.g., bird, clock, forest, ocean, rain, thunder).
- Volume Control: Use the UP (▲) or DOWN (▼) buttons to adjust the sound volume (16 levels).
- Sound Timer: Press the TIMER button to set an automatic shut-off timer for the sounds. Options include 30, 60, 90, or 120 minutes, or continuous play. The device will remember your last sound and volume settings.

Figure 4: Timer Options. This image illustrates the available timer settings: Continuous, 30 minutes, 60 minutes, 90 minutes, and 120 minutes, shown above the device on a bedside table.
Alarm Clock Function
The device features a digital alarm clock with multiple wake-up options.

Figure 5: Digital Alarm Clock Features. This image highlights the wake-up options (buzzer or vibration), 16-level volume control, and snooze function, with the device shown on a wooden surface.
- Setting the Alarm:
- Press and hold the ALARM SET button. The alarm hour will flash.
- Use the UP (▲) or DOWN (▼) buttons to set the desired alarm hour.
- Press ALARM SET again. The alarm minute will flash.
- Use the UP (▲) or DOWN (▼) buttons to set the desired alarm minutes.
- Press ALARM SET a third time to select the alarm mode:
- Daily: Alarm sounds every day.
- Weekdays: Alarm sounds Monday to Friday.
- Weekends: Alarm sounds Saturday and Sunday.
- Press ALARM SET a fourth time to select the wake-up method:
- Buzzer: Standard audible alarm.
- Vibration: Silent vibration alarm (requires device to be placed on a surface where vibration can be felt, e.g., under a pillow).
- Press ALARM SET one last time to confirm and exit alarm setting mode.
- Activating/Deactivating Alarm: Briefly press the ALARM SET button to toggle the alarm on or off. An alarm icon will appear on the display when active.
- Snooze Function: When the alarm sounds, press the SNOOZE/DIMMER button to activate snooze. The alarm will pause for 9 minutes and then sound again. This can be repeated up to 6 times.
- Stopping the Alarm: To stop the alarm completely, press any button other than SNOOZE/DIMMER. The alarm will reset for the next scheduled time.
Display Dimmer Control
The display brightness can be adjusted to suit your preference, especially for nighttime use.
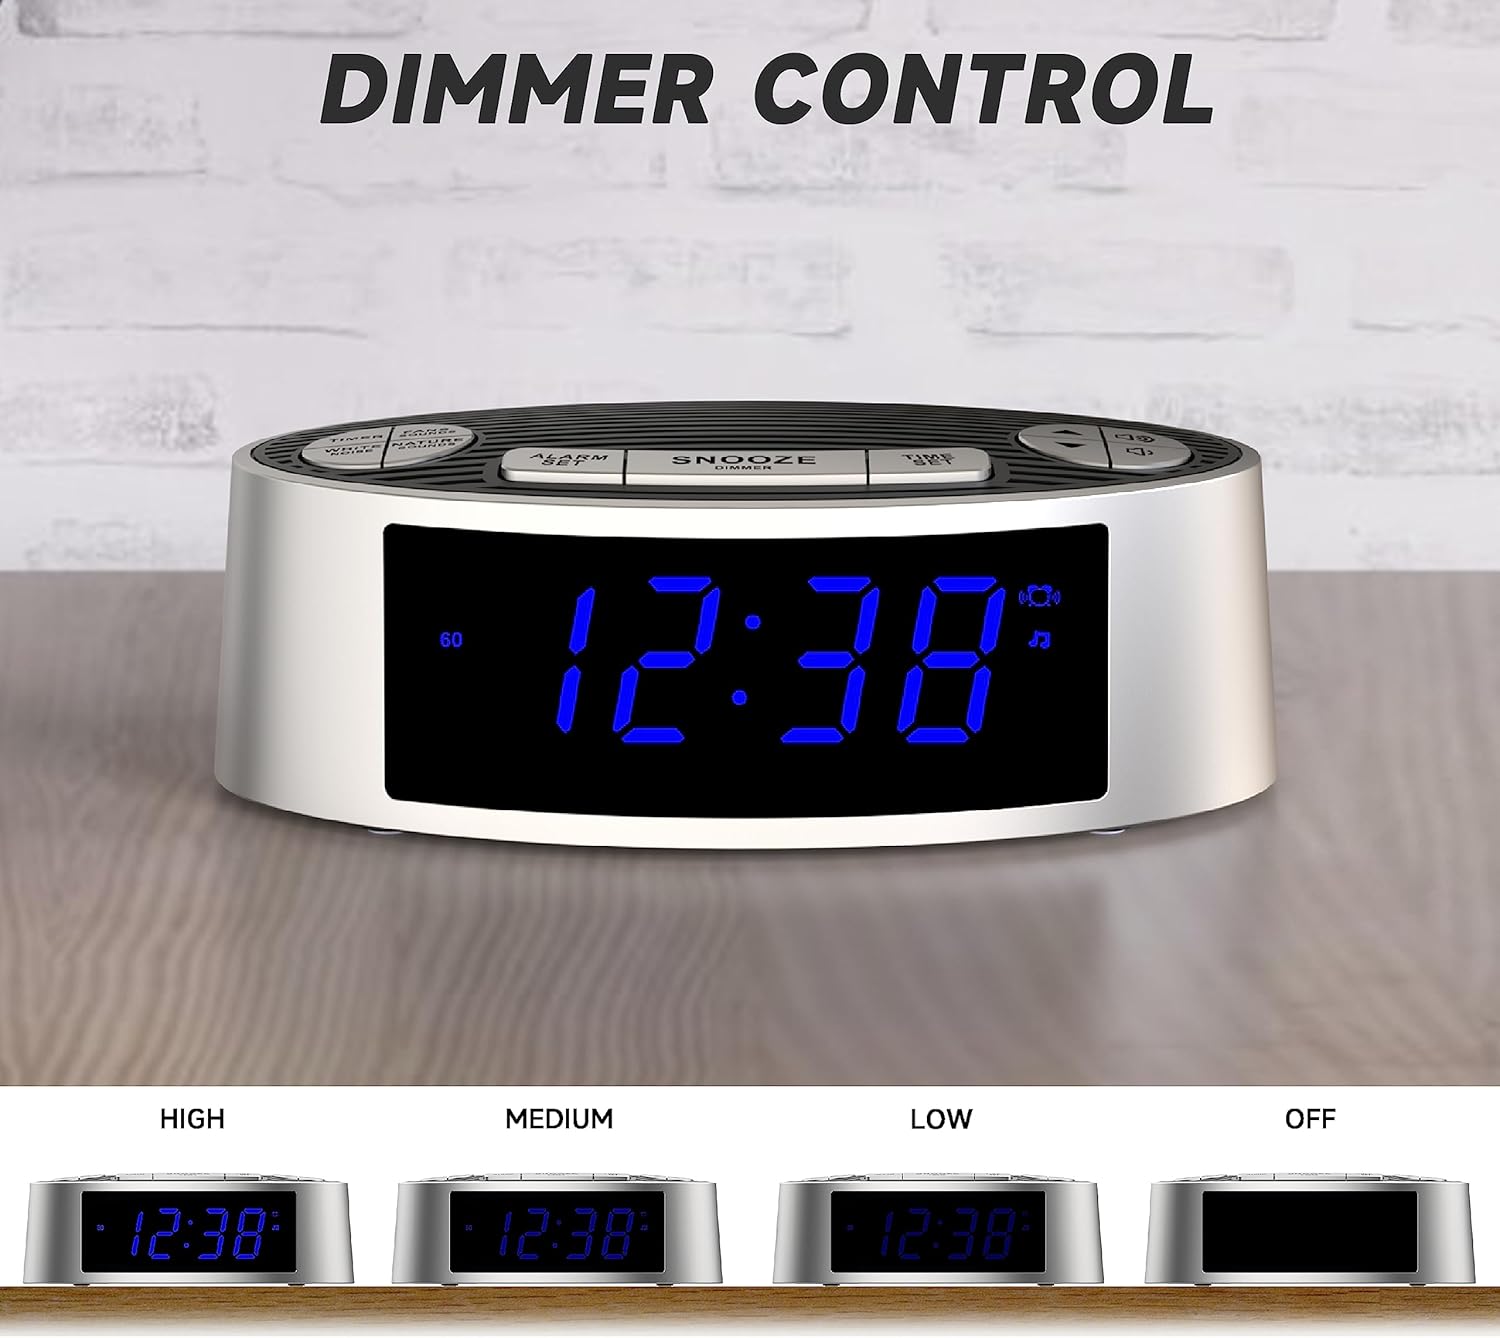
Figure 6: Dimmer Control. This image shows the device's display at four different brightness levels: High, Medium, Low, and Off, demonstrating the adjustable dimmer function.
- Briefly press the SNOOZE/DIMMER button (when the alarm is not sounding) to cycle through the 4 brightness levels: High, Medium, Low, and Off.
Maintenance
Cleaning
- Unplug the device from the power source before cleaning.
- Use a soft, dry cloth to wipe the exterior of the device.
- Do not use liquid cleaners, abrasive cleaners, or sprays, as these may damage the finish or internal components.
Battery Replacement
If the time and alarm settings are lost after a power outage, the CR2032 backup battery may need to be replaced. Follow the battery installation steps in the "Setup" section.
Troubleshooting
| Problem | Possible Cause | Solution |
|---|---|---|
| Device does not power on. | No power connection or faulty cable/adapter. | Ensure the USB-C cable is securely connected to both the device and a working USB power source. Try a different USB cable or power adapter. |
| Alarm does not sound/vibrate. | Alarm not activated, incorrect time, or volume too low. | Verify the alarm is set and activated (alarm icon visible). Check alarm time. Increase alarm volume. Ensure vibration mode is selected if desired. |
| Time/settings reset after power loss. | CR2032 backup battery is dead or missing. | Replace the CR2032 backup battery. |
| Display is too bright/dim. | Dimmer setting needs adjustment. | Press the SNOOZE/DIMMER button to cycle through brightness levels. |
Specifications
| Feature | Detail |
|---|---|
| Model Number | 301 (CKS703) |
| Brand | iTOMA |
| Dimensions (L x W x H) | 15 x 9 x 5.2 cm (5.9 x 3.5 x 2.0 inches) |
| Weight | 240 grams (0.53 lbs) |
| Power Source | USB Type-C (AC adapter not included) |
| Backup Battery | 1 x CR2032 (not included) |
| Sound Types | 20 (5 White Noise, 5 Fan, 10 Nature) |
| Volume Levels | 16 |
| Sound Timers | Continuous, 30, 60, 90, 120 minutes |
| Alarm Wake-up Options | Buzzer, Vibration |
| Snooze Duration | 9 minutes (up to 6 times) |
| Display Dimmer | 4 levels (High, Medium, Low, Off) |
| Material | Acrylonitrile Butadiene Styrene (ABS) |
Warranty and Support
For warranty information or technical support, please refer to the contact details provided on the product packaging or the official iTOMA website. Keep your purchase receipt as proof of purchase.
For further assistance, you may visit: www.itoma.com