Introduction
This manual provides essential instructions for the assembly, operation, and maintenance of your vidaXL Greenhouse. Designed for plant growth and protection, this greenhouse features a sturdy steel frame, a tear-resistant UV-proof cover, and integrated shelving. Please read these instructions carefully before assembly and use to ensure safe and efficient operation.
Safety Information
- Adult Assembly Required: This product contains small parts and requires adult assembly. Keep children away during assembly.
- Location: Choose a level, stable surface for installation. Avoid areas prone to strong winds or excessive water accumulation. Secure the greenhouse to the ground using appropriate anchors (not included) to prevent tipping in windy conditions.
- Ventilation: Ensure adequate ventilation, especially on hot days, to prevent overheating of plants.
- Weight Capacity: Do not overload the shelves. Distribute weight evenly.
- Sharp Edges: Exercise caution during assembly as some frame components may have sharp edges. Wear gloves if necessary.
- Fire Hazard: Keep flammable materials away from the greenhouse.
- Weather Conditions: While the cover is UV-proof and frost-resistant, extreme weather conditions (heavy snow, severe storms) may require additional reinforcement or temporary disassembly.
Package Contents
Before beginning assembly, verify that all components listed below are present and undamaged. If any parts are missing or damaged, contact vidaXL customer support.
- Powder-coated tubular steel frame components
- Polyvinyl Chloride (PVC) cover
- Wire shelving units (2 on each side, total 4)
- Connectors/Joints for frame assembly

Image: Overview of the assembled vidaXL Greenhouse, showing the green PVC cover and internal shelving.
Setup Instructions
Follow these steps for proper assembly of your greenhouse. It is recommended to have two people for assembly.
- Prepare the Area: Choose a flat, clear, and stable location for your greenhouse. Ensure there is enough space around the greenhouse for assembly and access.
- Assemble the Base Frame: Connect the shortest steel tubes using the appropriate plastic connectors to form the rectangular base of the greenhouse. Ensure all connections are secure.
- Build Vertical Supports: Attach the vertical steel tubes to the base frame connectors. Gradually build up the side and back walls, connecting horizontal tubes as you go.
- Install Shelving: Once the main vertical supports are in place, slide the wire shelving units onto the designated horizontal bars on each side. Ensure they are level and stable.

Image: Close-up view of the internal wire shelving units within the greenhouse structure.
- Assemble the Roof Frame: Connect the angled steel tubes to form the pitched roof structure. Attach these to the top of the vertical supports.
- Drape the Cover: Carefully drape the PVC cover over the assembled steel frame. Ensure the cover is centered and aligned correctly.

Image: Front view of the greenhouse with the transparent green PVC cover fully installed and the zippered door closed.
- Secure the Cover: Pull the cover down firmly and secure it to the frame using any integrated ties or fasteners. Ensure the zippered door is functional.

Image: Close-up of the heavy-duty zipper on the greenhouse door, used for opening and closing.
- Anchor the Greenhouse: For added stability, especially in windy areas, anchor the greenhouse to the ground using ground stakes or weights (not included).
Operating Instructions
- Access: Use the zippered roll-up door for easy access to your plants.

Image: Front view of the greenhouse with the zippered door rolled up and secured, providing access to the interior.
- Ventilation: On warm days, roll up the door and secure it with the ties to allow for air circulation and prevent excessive heat buildup. This helps regulate temperature and humidity.
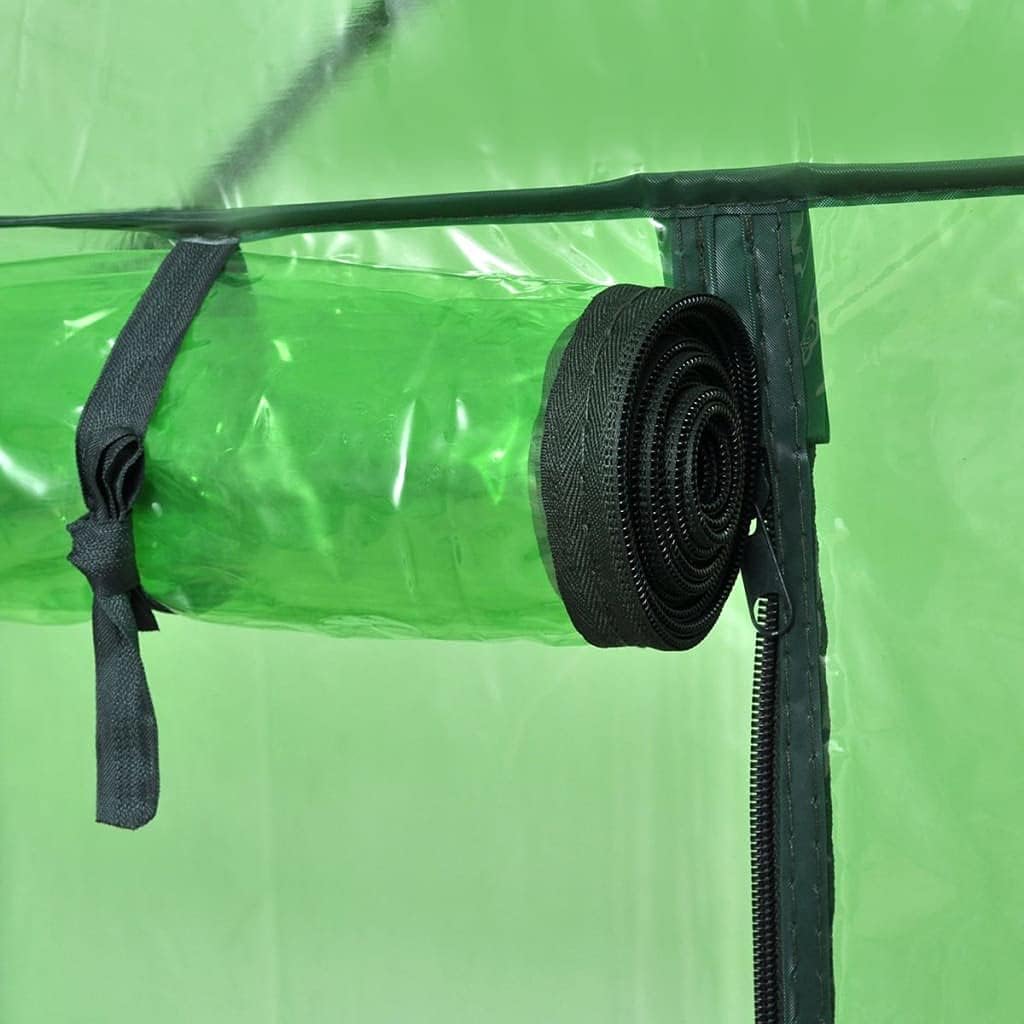
Image: Close-up of the greenhouse door rolled up and secured with fabric ties, demonstrating the ventilation feature.
- Plant Placement: Utilize the four shelves for organizing plants, seedlings, and gardening tools. Place taller plants on the ground level or lower shelves.
- Watering: Water plants as needed. The transparent cover allows sunlight to reach plants while protecting them from harsh weather.
Maintenance
- Cleaning the Cover: Periodically clean the PVC cover with mild soap and water to remove dirt and debris, ensuring maximum light penetration. Avoid abrasive cleaners.
- Frame Inspection: Regularly check the steel frame for any signs of rust or damage. Tighten any loose connections.
- Cover Integrity: Inspect the cover for tears or punctures. Small tears can often be repaired with specialized greenhouse repair tape.
- Winter Care: In areas with heavy snowfall, it is advisable to remove snow accumulation from the roof to prevent structural damage. Consider disassembling and storing the greenhouse indoors during harsh winter months for extended product life.
Troubleshooting
- Greenhouse Instability: Ensure the frame is fully assembled and all connections are tight. Anchor the greenhouse securely to the ground using stakes or weights.
- Excessive Heat Inside: Open the zippered door to allow for better ventilation. Consider adding a small fan for air circulation in very hot climates.
- Water Accumulation on Cover: Ensure the cover is taut and properly draped over the frame to allow water to run off. Clear any debris that might be pooling water.
- Difficulty Zipping Door: Check for any obstructions in the zipper path. Apply a silicone-based lubricant if the zipper is stiff.
Specifications
| Feature | Detail |
|---|---|
| Model Number | B07FFPTBBS |
| Dimensions (L x W x H) | 47" x 36" x 77" (3' 11" x 2' 7" x 6' 3") |
| Frame Material | Powder-coated tubular steel (Alloy Steel) |
| Cover Material | Polyvinyl Chloride (PVC), UV-proof, frost-resistant, tear-resistant |
| Color | Transparent green |
| Shelves | 4 (2 on each side) |
| Door Type | Zippered roll-up door |

Image: Diagram illustrating the dimensions of the vidaXL Greenhouse: 77 inches height, 36 inches width, and 47 inches length.
Warranty and Support
For warranty information or technical support, please refer to the retailer's return policy or contact vidaXL customer service directly. Keep your purchase receipt for warranty claims.
Return Policy: This product is subject to a 30-day return policy as per the retailer's terms.
Contact: Visit the official vidaXL website or the retailer's support page for contact details.


