
SITERWELL GS526A
SITERLINK Smoke Detector User Manual
Model: GS526A
Product Overview
The SITERLINK GS526A Smoke Detector is a photoelectric smoke alarm designed for reliable fire detection in residential environments. Featuring a 10-year built-in lithium battery, this device offers long-term, maintenance-free operation. Its photoelectric sensor is highly sensitive to slow smoldering fires, providing early warning with an 85dB alarm signal. The unit includes a test/silence button for easy functionality checks and temporary silencing.
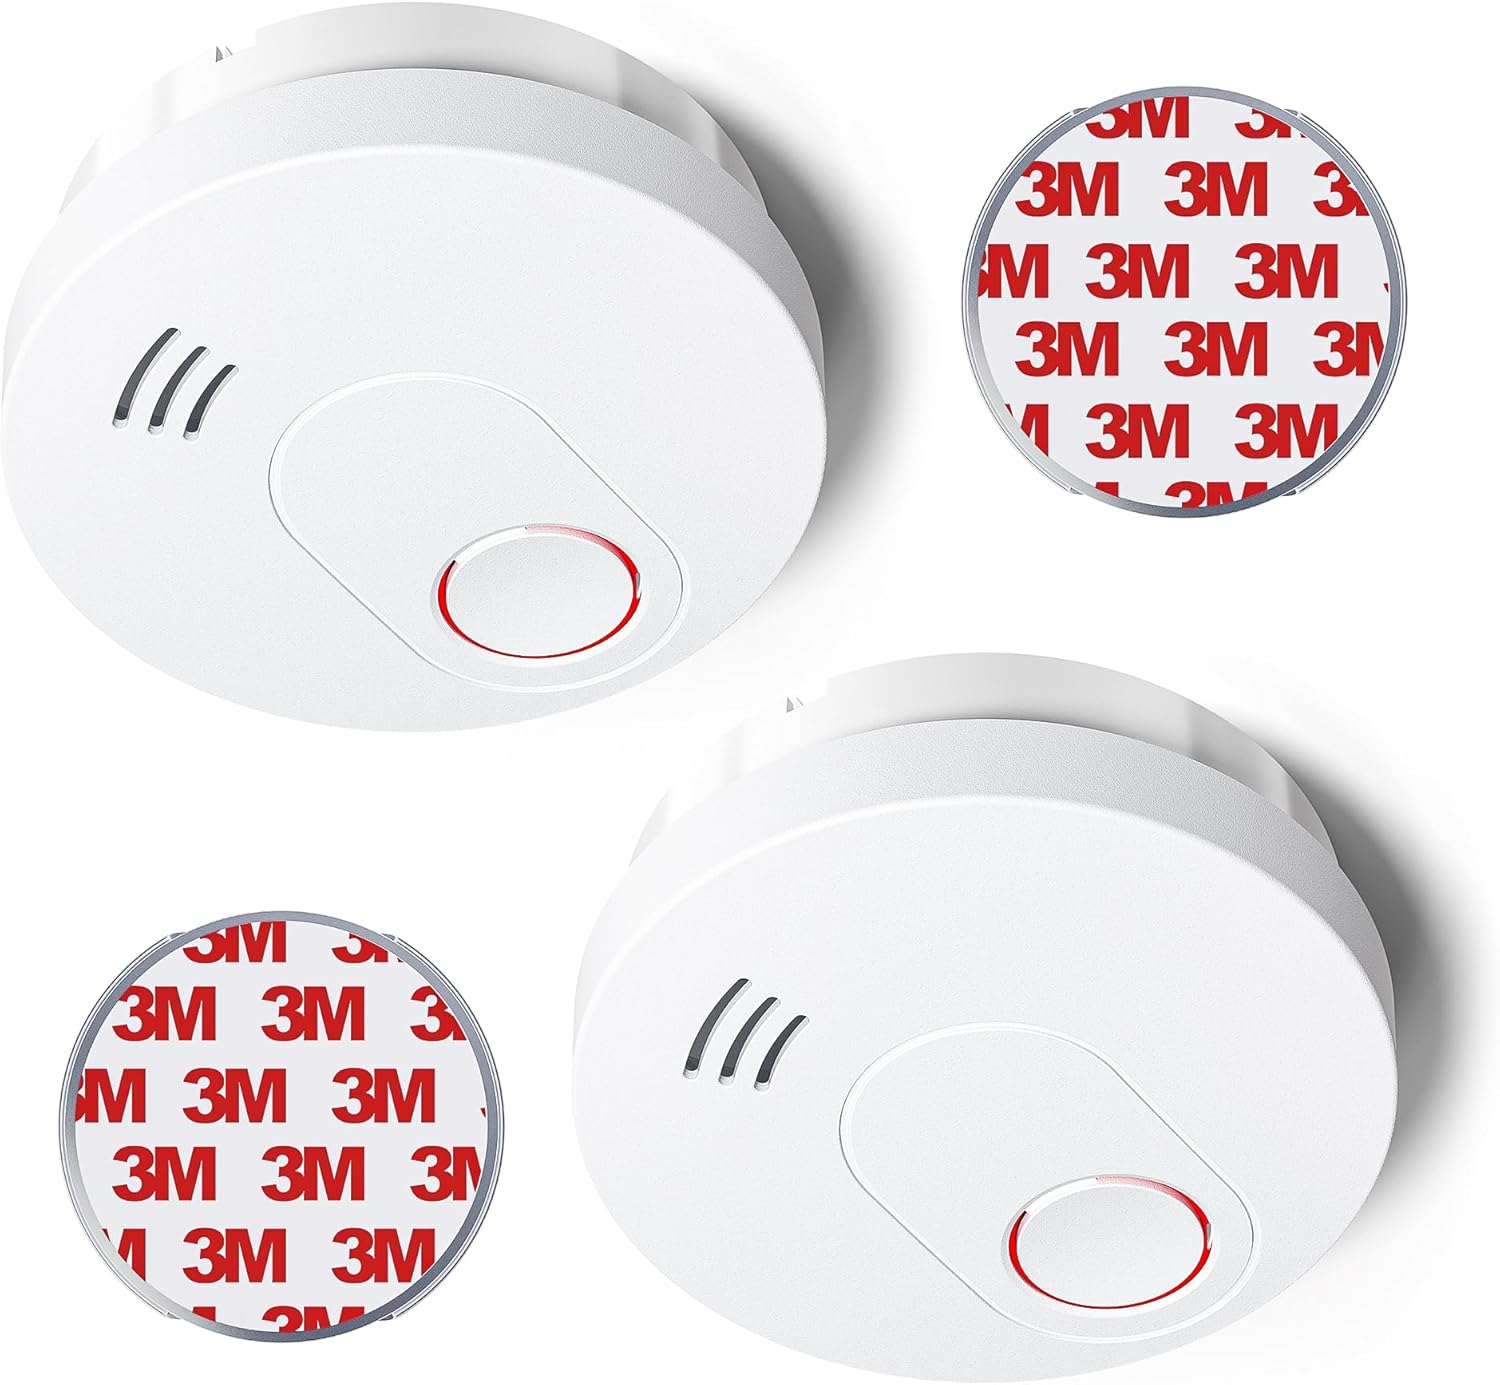
Image: Two SITERLINK GS526A smoke detectors, showing their compact design and the included 3M adhesive mounting pads for easy installation.

Image: A family with a dog in a living room, with a SITERLINK smoke detector visible on the ceiling, emphasizing the product's role in protecting the entire household.
Setup and Installation
The SITERLINK GS526A smoke detector offers two convenient installation methods: traditional screw mounting or adhesive magnetic plate mounting.
Choosing a Location:
- Install smoke detectors on every level of your home, including basements.
- Place detectors inside and outside sleeping areas.
- Avoid placing detectors near windows, doors, or air vents where drafts might interfere with smoke detection.
- Keep detectors at least 10 feet (3 meters) away from cooking appliances to prevent nuisance alarms.
- The device supports a wider monitoring area of approximately 30 square meters, suitable for offices, bedrooms, and living rooms.

Image: A visual representation of the smoke detector's effective monitoring area (30m²) when installed in a typical room, such as a bedroom.
Installation Methods:
The package includes mounting brackets, screws, anchor plugs, and 3M magnet plate bases.
- Screw and Bracket Mounting:
- Attach the mounting bracket to the ceiling or wall using the provided screws and anchor plugs.
- Twist the smoke detector onto the mounted bracket until it clicks securely into place. This method provides a stable and lasting installation.
- 3M Magnet Plate Mounting:
- Peel the protective film from the 3M adhesive magnet plate.
- Press the magnet plate firmly onto a clean, dry, flat surface on the ceiling or wall.
- Attach the smoke detector to the magnet plate. This method allows for quicker and easier installation.

Image: A comparative diagram showing the two installation options: traditional screw mounting for stability and the 3M magnetic plate for quick and easy setup.
Activation:
Before final installation, activate the smoke detector:
- Press and hold the test button for 3 seconds until the LED light illuminates.
- Release the button within 2 seconds. You will hear a "beep" sound, indicating successful activation.
Operation
Photoelectric Sensor Technology:
The SITERLINK GS526A utilizes a photoelectric sensor, which is highly effective at detecting visible particles of combustion, typically produced by slow smoldering fires. This technology provides a rapid warning, allowing more time for evacuation.
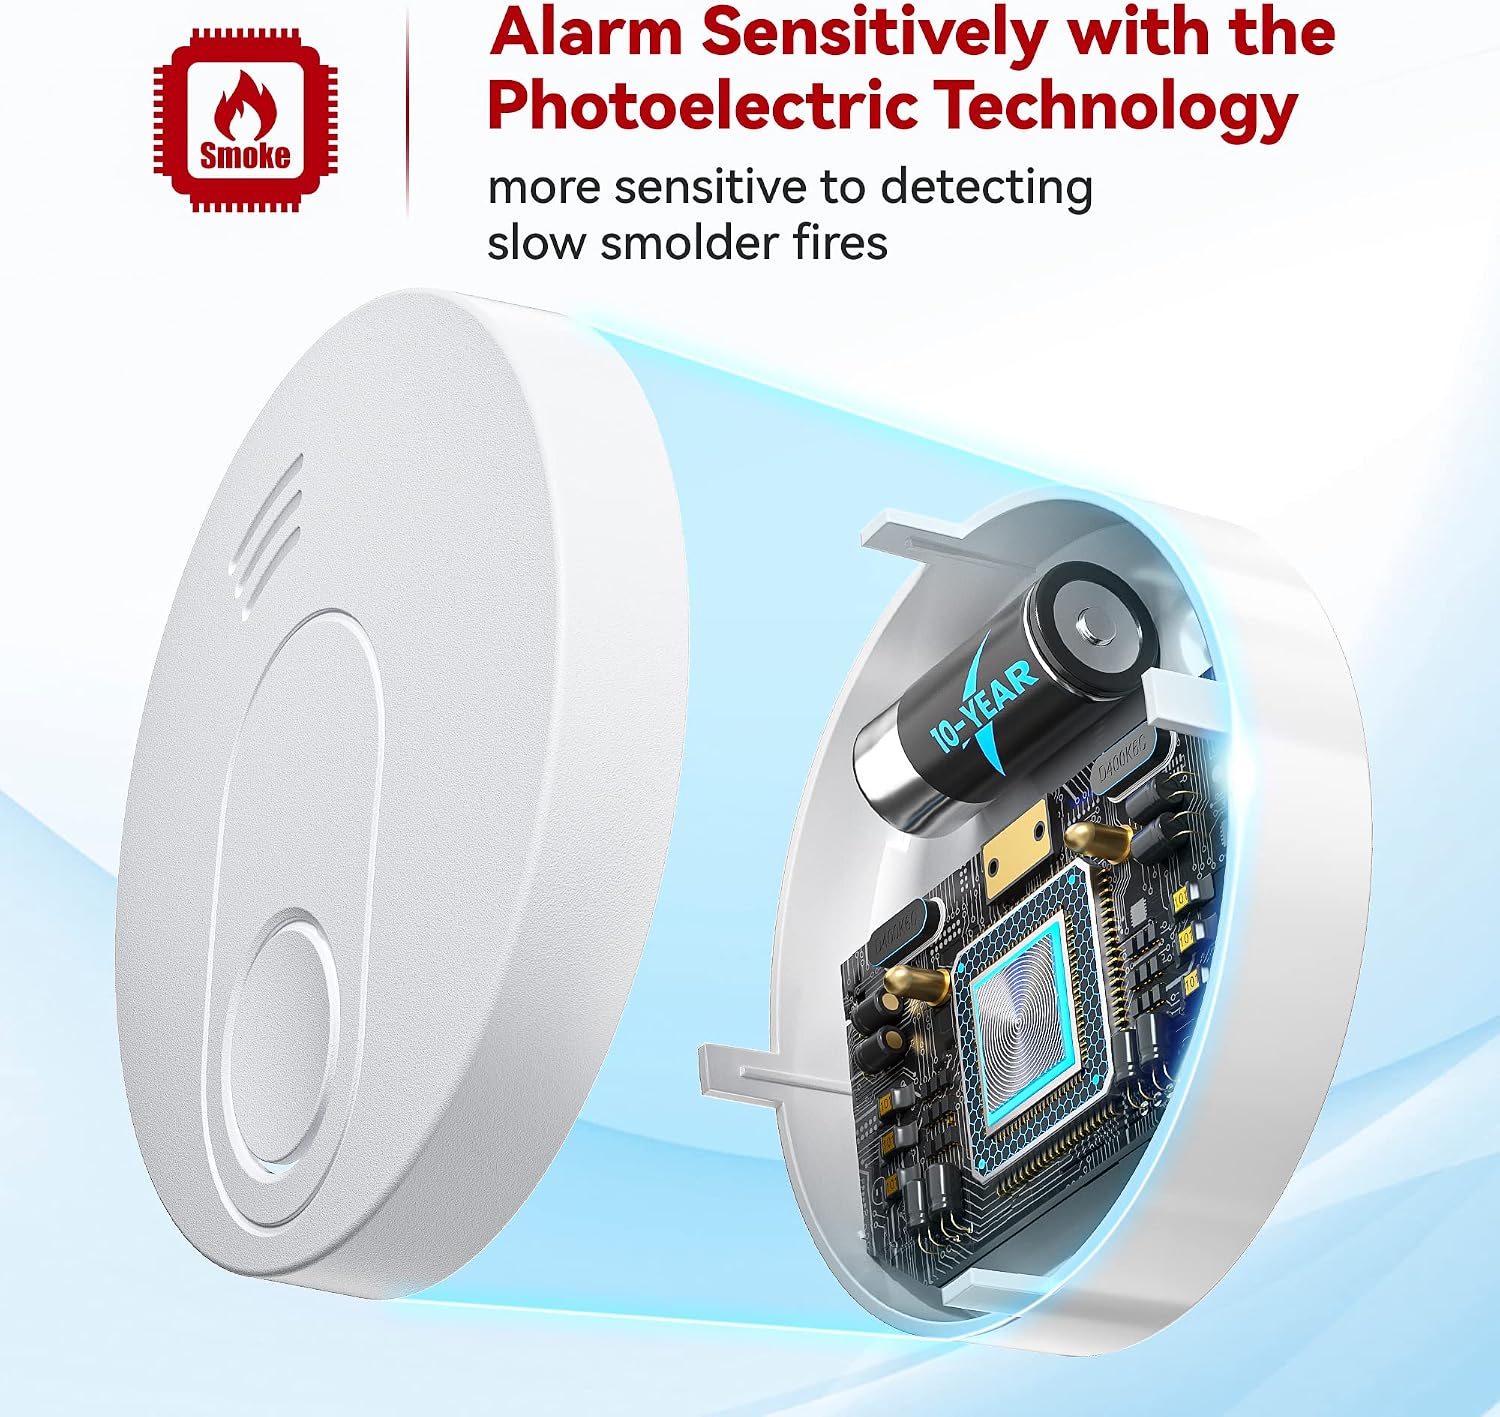
Image: An internal view of the smoke detector, illustrating the photoelectric sensor and its role in detecting smoke particles.
Alarm Signal:
Upon detecting smoke, the alarm will emit a loud signal exceeding 85dB, designed to alert occupants effectively, even from a deep sleep.

Image: A close-up of the smoke detector's test/silence button being pressed, indicating its primary user interaction point.
Test/Silence Button:
- Testing: Press and hold the test button to verify the alarm's functionality. A weekly test is recommended to ensure proper operation.
- Silencing: If the alarm sounds due to non-emergency conditions (e.g., cooking fumes), press the test button to silence the alarm for 10 hours.
10-Year Battery Life:
The smoke detector is powered by a built-in 3V lithium battery designed to last for 10 years, eliminating the need for battery replacement throughout its lifespan. The device will automatically detect and notify you if the battery is low or an error occurs.

Image: An illustration of the smoke detector's internal battery with a 'Low Battery' warning, demonstrating the device's self-monitoring capability.
Maintenance
The SITERLINK GS526A smoke detector is designed for minimal maintenance due to its 10-year sealed battery. However, regular checks are important to ensure optimal performance.
- Weekly Testing: Press the test button weekly to confirm the alarm sounds. This verifies the sensor, battery, and alarm circuit are functioning correctly.
- Cleaning: If the alarm frequently triggers without apparent smoke, it may be due to dust or insects accumulating inside the unit. Gently clean the exterior of the smoke detector with a soft, damp cloth. Do not use cleaning sprays or solvents.
- Battery Status: The device will automatically indicate a low battery or error. If a low battery signal persists, the unit may need replacement as the battery is not user-replaceable.
Troubleshooting
| Problem | Possible Cause | Solution |
|---|---|---|
| Alarm sounds without visible smoke/fire. |
|
|
| Alarm chirps periodically. | Low battery warning. | The built-in battery is nearing the end of its 10-year life. The unit needs to be replaced. |
| Alarm does not sound during test. |
|
|
Specifications
| Feature | Detail |
|---|---|
| Brand | SITERWELL |
| Model Number | GS526A |
| Sensor Type | Photoelectric |
| Power Source | Built-in 3V Lithium Battery (10-Year Life) |
| Alarm Loudness | >85dB |
| Material | ABS Plastic (Fire-retardant) |
| Color | White |
| Operating Humidity | 95 percent |
| Item Weight | 9.9 ounces |
| Package Dimensions | 4.65 x 4.61 x 3.5 inches |
| Certifications | UL Listed (implied by "UL Listed Fire Alarms" in title and "UL217" image) |

Image: The SITERLINK smoke detector, highlighting its UL217 certification, ensuring compliance with safety standards.
Warranty and Support
SITERLINK smoke alarms are manufactured with high-quality, fire-retardant ABS plastic and undergo strict testing before market release. While specific warranty details are not provided, the manufacturer states:
"any issue, please contact us, we will help you find a solution."
For further assistance or inquiries, please refer to the official user guide or contact SITERWELL customer support.
Official User Guide (PDF): Download User Guide
Related documentsGS526A

Ask a question about this manual
Ask about setup, troubleshooting, compatibility, parts, safety, or missing instructions. Manuals+ will review the question and use this page’s manual context to help answer it.