
Introduction
This manual provides detailed instructions for the safe and efficient operation, installation, and maintenance of your GE PDT145SSLSS Dishwasher. Please read all instructions carefully before using the appliance to ensure optimal performance and longevity.
The GE PDT145SSLSS Dishwasher is designed for convenience and effective cleaning. Key features include:
- 3-Piece Silverware Basket: Ensures table-ready silverware with a versatile basket that can be divided and separated for convenient placement.
- Steam PreWash: Loosens tough soils before any cycle, virtually eliminating the need for soaking or pre-rinsing dishes.
- Auto Sense Cycle: Automatically adjusts to soil level to maximize energy savings and ensure clean dishes.
- Clean Design Inner Door: Features a clean, attractive appearance with no visible hardware, making it easy to maintain.
- 1 Hour Wash: Provides a quality clean when time is limited.
Product Overview
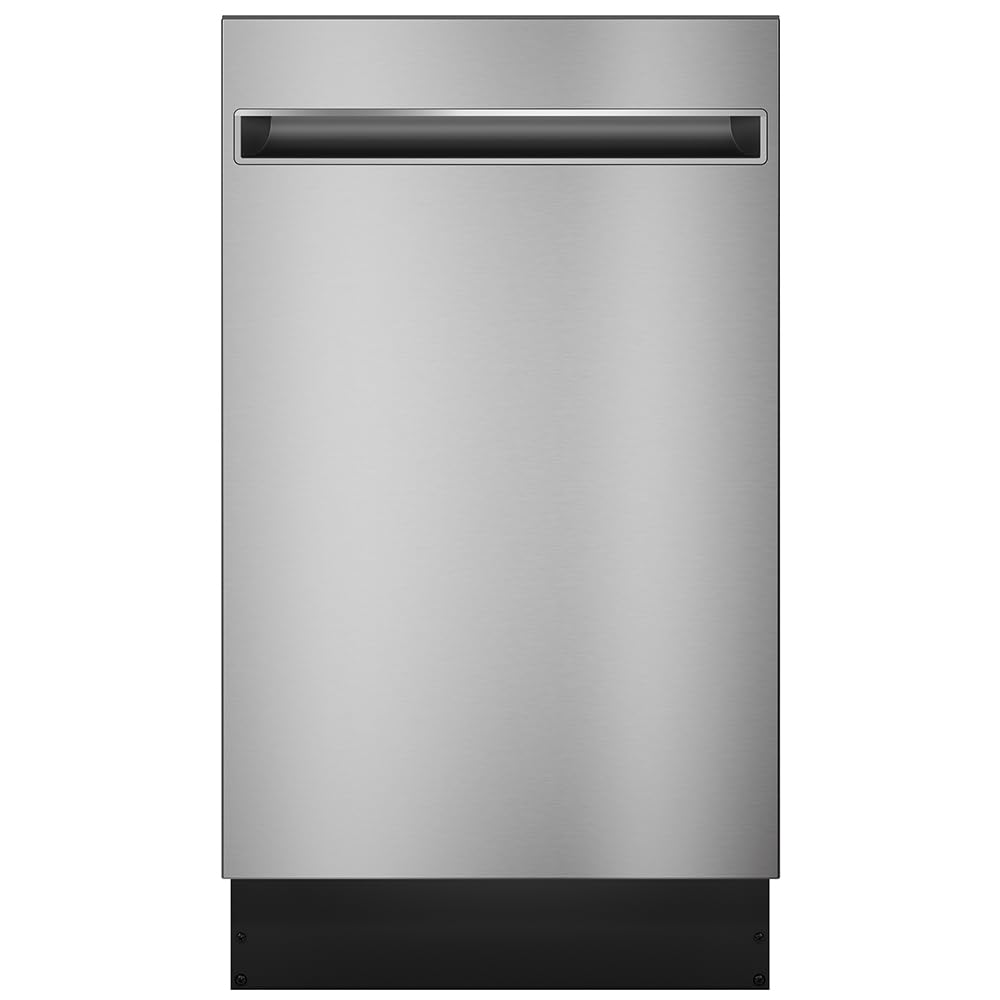
Figure 1: Front view of the GE PDT145SSLSS Dishwasher, showcasing its sleek Solid Black finish.

Figure 2: Close-up of the dishwasher's control panel, located on the top edge of the door for a seamless exterior.

Figure 3: Interior view of the dishwasher with racks empty, highlighting the spacious design.

Figure 4: The dishwasher seamlessly integrated into a kitchen setting, demonstrating its compact size.

Figure 5: A view of the dishwasher's interior, fully loaded with various dishes, showcasing its capacity.
Setup and Installation
The GE PDT145SSLSS is designed for under-counter installation. Professional installation is recommended to ensure proper function and safety.
Pre-Installation Checklist:
- Ensure the installation area meets the product dimensions: 34.5"D x 26.25"W x 19.75"H.
- Verify electrical supply is 120 Volts.
- Confirm water supply and drain connections are accessible.
- Unpack the dishwasher and inspect for any shipping damage.
Installation Steps (Summary):
- Prepare the cabinet opening according to the specified dimensions.
- Connect the water inlet hose to the hot water supply.
- Connect the drain hose to the sink drain or garbage disposal.
- Connect the electrical supply according to local codes.
- Slide the dishwasher into the cabinet opening and secure it.
- Level the appliance using the adjustable feet.
Operating Instructions
Loading the Dishwasher:
- Scrape off large food particles from dishes.
- Place larger items and pots/pans in the lower rack.
- Load glasses, cups, and smaller bowls in the upper rack.
- Utilize the 3-piece silverware basket for forks, spoons, and knives, ensuring they do not nest together.
- Ensure no items block the spray arms.
Adding Detergent and Rinse Aid:
- Open the detergent dispenser on the inner door.
- Add liquid or powder dishwasher detergent to the main wash compartment. If using a detergent pod, place it directly in the main wash compartment or in the bottom of the dishwasher tub, not in the dispenser.
- Fill the rinse aid dispenser with liquid rinse aid up to the 'MAX' line.
- Close both dispensers securely.
Selecting a Wash Cycle:
The control panel is located on the top edge of the door. Open the door to access the controls.
- Press the Cycle Select button to choose from available cycles:
- Heavy: For heavily soiled dishes and cookware.
- AutoSense: Automatically detects soil level and adjusts wash time and water usage.
- Light: For lightly soiled dishes.
- 1 Hr Wash: For quick cleaning of lightly soiled dishes.
- Select desired options using the Wash Temp button (Boost, Sanitize) or Delay Start (1-12 hours).
- Close the dishwasher door firmly until it latches.
- Press the Start button to begin the cycle.
Maintenance
Cleaning the Interior:
- Regularly wipe down the interior with a damp cloth to remove any food residue.
- Clean the filter assembly at the bottom of the dishwasher periodically to prevent clogs and ensure efficient cleaning. Refer to the full owner's manual for detailed filter cleaning instructions.
Exterior Care:
- Clean the exterior with a soft, damp cloth and mild soap. Avoid abrasive cleaners.
- For stainless steel surfaces, use a stainless steel cleaner and polish.
Troubleshooting
If you encounter issues with your dishwasher, refer to the following common troubleshooting tips. For more complex problems, consult the full owner's manual or contact customer support.
Common Issues:
- Dishes not clean: Ensure proper loading, check detergent levels, clean the filter, and verify spray arm rotation.
- Dishes not drying: Use rinse aid, select a heated dry option if available, and allow the door to open slightly after the cycle for air drying.
- Dishwasher not starting: Check if the door is fully latched, power is supplied, and the delay start option is not active.
- Unusual noises: Inspect for foreign objects in the pump area or spray arms.
Specifications
| Feature | Specification |
|---|---|
| Model Name | PDT145SSLSS |
| Brand | GE |
| Form Factor | Freestanding |
| Installation Type | Under Counter |
| Product Dimensions | 34.5"D x 26.25"W x 19.75"H |
| Item Weight | 71 Pounds |
| Voltage | 120 Volts |
| Annual Energy Consumption | 240 Kilowatt Hours |
| Noise Level | 42 Decibels |
| Cycle Options | Auto Sense, Heavy Wash, Light Wash |
| Option Cycles | 5 |
| Number of Settings | 7 |
| Special Feature | Adjustable Rack |
| Material | Stainless Steel |
| Color | Solid Black |
| Certification | ADA Compliant, ENERGY STAR Qualified, NSF Certified |
| Included Components | Dishwasher |
Warranty and Support
For warranty information, please refer to the documentation included with your purchase or visit the official GE Appliances website. For technical support, service requests, or to order replacement parts, please contact GE Appliances customer service.


