
1. Introduction
This manual provides comprehensive instructions for the installation, operation, and maintenance of your Lorex 4K Analog Security Camera. This camera is designed for both outdoor and indoor surveillance, offering advanced features to enhance your security system.

Figure 1: Front view of the Lorex 4K Analog Security Camera, showing the lens and integrated LED light.
Key Features:
- Smart Active Deterrence: Features a motion-activated LED warning light and remote-activated siren options to deter intruders.
- HD 4K Camera System: Delivers 4K video resolution with realistic color representation and superior digital zoom capabilities for clear imaging in various lighting conditions.
- Color Night Vision: Provides enhanced nighttime clarity and better video evidence with Color Night Vision (requires ambient lighting) and a wide 111° field of view. Long-range IR night vision offers clear black and white images in darker environments.
- Outdoor Security System: Constructed with durable aluminum alloy housing, the camera is weatherproof rated (IP65) to withstand temperatures from -40°F to 131°F.
- Compatibility: Designed for use with Lorex D841, D841B, D861, LHV5100, and LHV5100W series recorders.

Figure 2: Visual comparison demonstrating the sharper video and superior digital zoom capabilities of 4K Ultra HD.

Figure 3: Comparison showing enhanced nighttime clarity with Color Night Vision versus traditional infrared night vision.

Figure 4: Illustration of Active Deterrence, including motion-activated LED warning lights and remote siren activation via a mobile app.
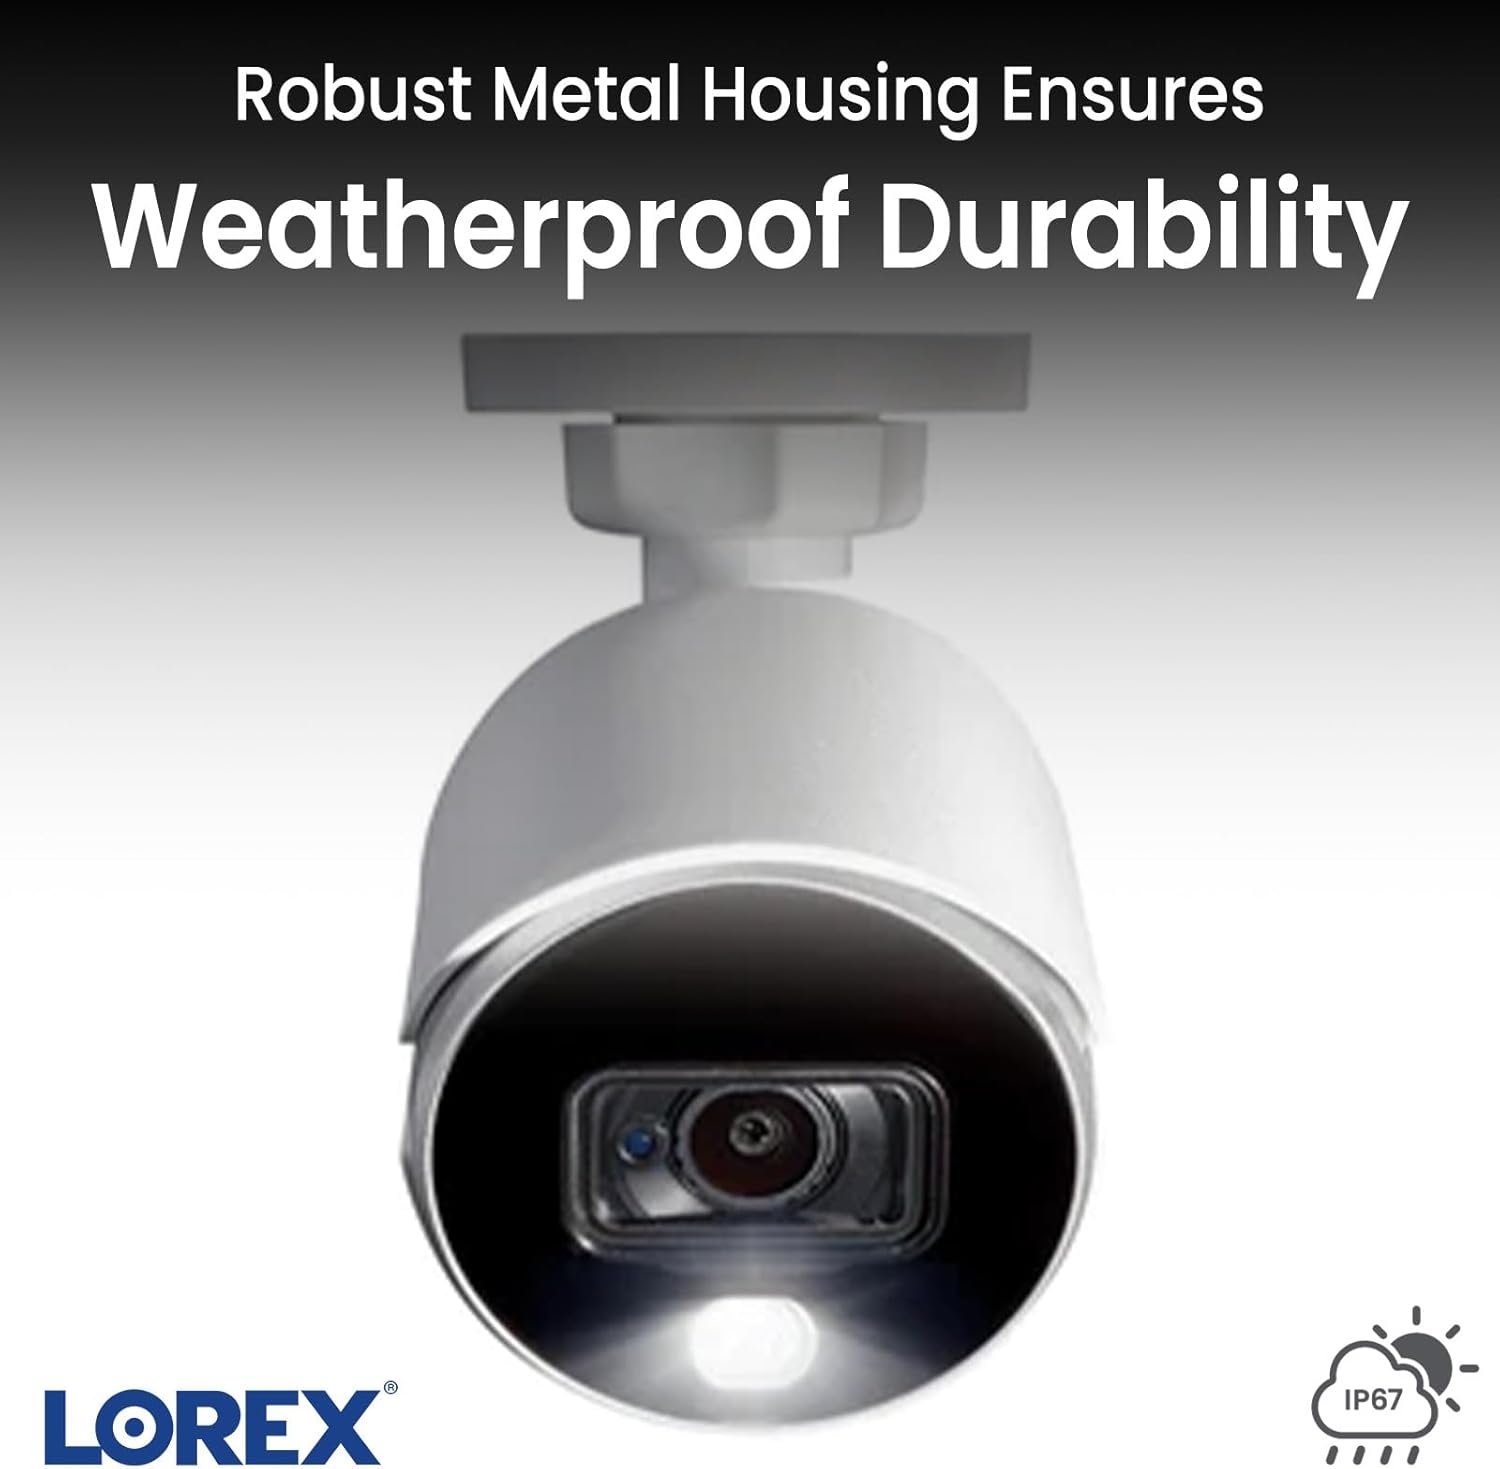
Figure 5: Close-up of the camera's robust metal housing, highlighting its weatherproof durability (IP65 rating).
2. Setup
Follow these steps to set up your Lorex 4K Analog Security Camera system:
- Unpack Components: Verify all included components are present: camera, mounting kit, power adapter, extension cable, and quick start guide.
- Mounting the Camera: Choose a suitable location for your camera, ensuring it has a clear field of view. Use the provided mounting kit to securely attach the camera to a wall or ceiling. The camera is designed for both indoor and outdoor use.
- Connecting to DVR/NVR: Connect the camera to your compatible Lorex DVR/NVR (D841 / D841B / D861 / LHV5100 / LHV5100W series) using the provided extension cable. Ensure a secure connection.
- Power Connection: Connect the camera's power adapter to a regular power outlet.
- DVR/NVR Setup: Connect your DVR/NVR to a display (e.g., TV) using an HDMI cable. Power on the DVR/NVR.
- App Installation: Download and install the Lorex mobile application on your smartphone or tablet. This app allows for remote viewing and control of your camera system.
- System Configuration: Follow the on-screen prompts on your DVR/NVR and within the Lorex app to complete the initial system configuration, including setting up network access and user accounts.

Figure 6: The Lorex DVR/NVR hub, illustrating its connections to the camera and display via HDMI and power.
3. Operating the Camera System
Your Lorex security camera system offers various ways to monitor and manage your surveillance footage.
3.1. Live View and Playback
- On-Screen Display: View live feeds from all connected cameras directly on your connected TV or monitor. Use the provided mouse to navigate the main menu, switch between individual camera views, and access playback options.
- Mobile App: Access live views of individual cameras from anywhere using the Lorex mobile app. The app allows you to select specific cameras to view, providing real-time monitoring.
3.2. Two-Way Talk
Some Lorex camera models support two-way audio communication. If your camera has this feature, you can speak through the camera and hear audio from the camera's location directly through the mobile app. This is useful for communicating with visitors or deterring unwanted individuals.
3.3. Motion Detection and Alerts
The system is equipped with advanced motion detection capabilities. You can configure detection zones and sensitivity settings to receive alerts when motion, people, or vehicles are detected. These alerts can be sent directly to your mobile device, allowing for immediate awareness of events.
3.4. Recording and Storage
The DVR/NVR includes a 1 terabyte hard drive for extensive video storage. The system is designed to continuously loop record, automatically overwriting the oldest footage once the storage is full. You can also search for specific events or playback recorded footage through the DVR/NVR interface or the mobile app.
4. Maintenance
Regular maintenance ensures optimal performance and longevity of your Lorex security camera system.
- Cleaning the Camera Lens: Periodically clean the camera lens with a soft, lint-free cloth to remove dust, dirt, or smudges that may affect image clarity. Avoid abrasive cleaners.
- Checking Connections: Ensure all cables (power, video, network) are securely connected to prevent signal loss or power interruptions.
- Firmware Updates: Check the Lorex website or your mobile app for available firmware updates for your DVR/NVR and cameras. Keeping firmware updated can improve performance and add new features.
- Environmental Considerations: While the camera is weatherproof (IP65), ensure its mounting location minimizes direct exposure to extreme weather conditions where possible, such as prolonged standing water or direct impact from debris.
- Hard Drive Health: Monitor the health of your DVR/NVR's hard drive through the system settings to ensure continuous recording.
5. Troubleshooting
If you encounter issues with your Lorex security camera system, refer to the following common troubleshooting steps:
5.1. No Image/Signal on Display
- Check Power: Ensure the camera and DVR/NVR are properly powered on and connected to a working power outlet.
- Verify Connections: Confirm that all video cables (BNC/HDMI) are securely connected between the camera, DVR/NVR, and display.
- Input Selection: Ensure your TV/monitor is set to the correct input source (e.g., HDMI 1, HDMI 2).
- Test Camera: If possible, test the camera with a different video input or a known working channel on your DVR/NVR.
5.2. Recording Issues
- Hard Drive Status: Check the DVR/NVR settings to ensure the hard drive is detected and functioning correctly. Reformat the hard drive if necessary (this will erase all existing recordings).
- Recording Schedule: Verify that the recording schedule is properly configured for continuous or motion-activated recording.
- Motion Detection Settings: If using motion-activated recording, ensure motion detection is enabled and sensitivity levels are appropriate for the environment.
5.3. Remote Viewing Issues (Mobile App)
- Network Connection: Ensure your DVR/NVR is connected to the internet via an Ethernet cable and has a stable network connection.
- App Login: Confirm you are logged into the Lorex app with the correct credentials.
- Router Settings: Check your router's firewall settings to ensure they are not blocking the Lorex system's access to the internet. Port forwarding may be required in some cases.
- App Updates: Ensure your Lorex mobile app is updated to the latest version.
6. Specifications
| Feature | Specification |
|---|---|
| Model Number | C882DA |
| Video Capture Resolution | 4K (8 MP Effective Still Resolution) |
| Connectivity Technology | Wired |
| Power Source | Corded Electric (8 watts) |
| Mounting Type | Ceiling/Wall Mount |
| Indoor/Outdoor Usage | Indoor/Outdoor |
| International Protection Rating | IP65 (Weatherproof) |
| Night Vision Range | 150 Feet |
| Low Light Technology | Color Night Vision |
| Alert Type | Motion Only |
| Material | Polycarbonate (PC) |
| Item Dimensions (L x W x H) | 5.9 x 2.8 x 3.2 inches |
| Item Weight | 2.31 pounds |
| Included Components | Camera, mounting kit, power adapter, extension cable, quick start guide |
| Compatible DVR/NVR Series | D841 / D841B / D861 / LHV5100 / LHV5100W |
7. Warranty & Support
Lorex products typically come with a limited warranty. For specific warranty details, duration, and terms, please refer to the warranty card included with your product or visit the official Lorex website. Keep your proof of purchase for warranty claims.
For technical support, product registration, or to access additional resources such as FAQs and software downloads, please visit the Lorex support page on their official website. You may also find contact information for customer service there.
Important: Always ensure you are using official Lorex support channels for assistance.


