
1. Introduction
Thank you for choosing the Zerodis 6 LED Solar Powered Road Step Lamp. This manual provides essential information for the proper installation, operation, and maintenance of your solar light. Please read these instructions carefully before use to ensure optimal performance and longevity of the product.
2. Product Overview
The Zerodis Solar Powered Road Step Lamp is designed for outdoor use, providing illumination for driveways, pathways, and steps. It features a durable casting aluminum construction, solar charging capabilities, and automatic light activation.
Key Features:
- Energy Efficient: Equipped with 6 bright LEDs, recharged by solar panels during daylight hours.
- Automatic Operation: Automatically turns on at night and off during the day.
- Durable & Waterproof: Constructed from casting aluminum with an IP68 waterproof rating, suitable for various weather conditions.
- Easy Installation: Designed for simple do-it-yourself installation without the need for complex wiring or an electrician.
- High Visibility: Provides a viewing distance of over 1000 meters, enhancing safety and guidance.
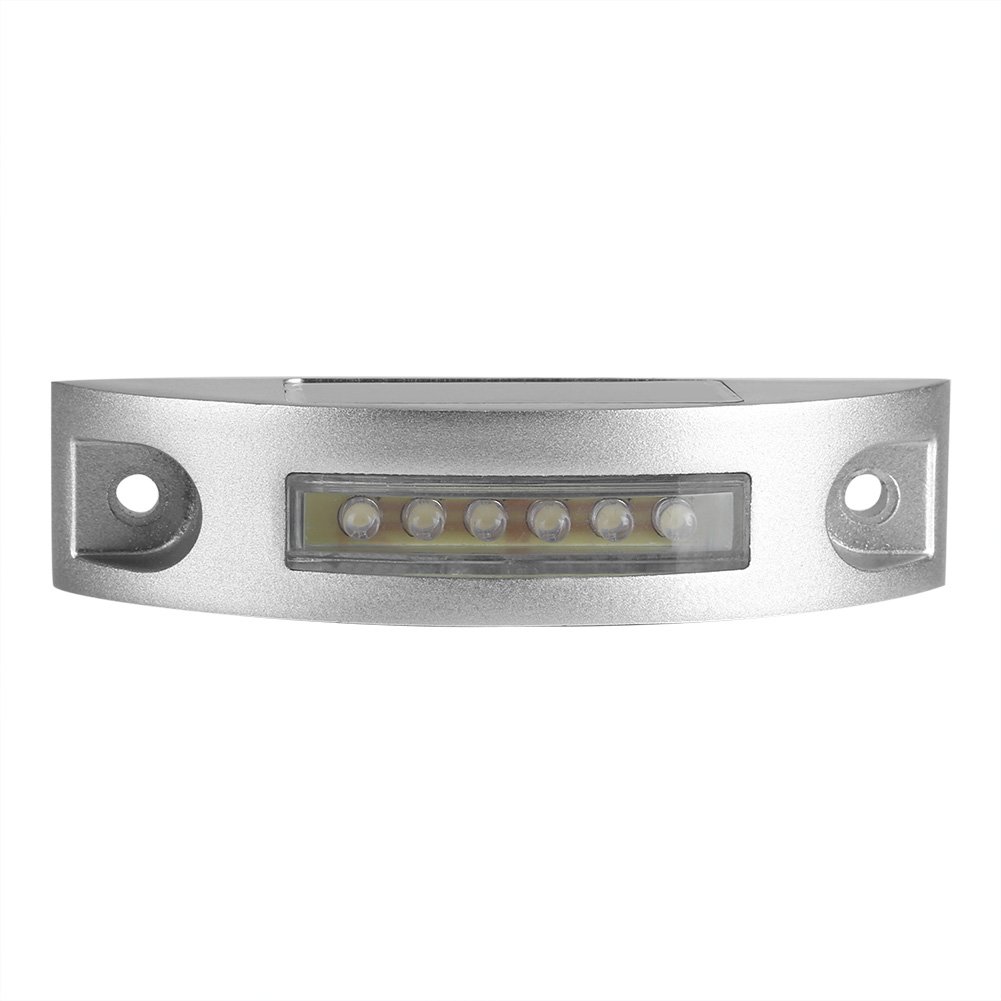
Image 1: Front view of the Zerodis 6 LED Solar Powered Road Step Lamp, showcasing its compact design and LED array.
3. Safety Information
- Do not attempt to disassemble or modify the product. This may void the warranty and pose a safety risk.
- Ensure the solar panel is clean and free from obstructions to allow for efficient charging.
- Install the lamp in a location where it will not be a tripping hazard.
- Keep out of reach of children.
- Dispose of the product and its battery responsibly according to local regulations.
4. Setup and Installation
The Zerodis solar lamp is designed for straightforward installation. No complex wiring is required.
Installation Steps:
- Choose Location: Select an outdoor location that receives direct sunlight for at least 6-8 hours daily. This is crucial for optimal battery charging. Avoid areas under trees, eaves, or shadows.
- Prepare Surface: Ensure the mounting surface (e.g., driveway, pathway, step) is clean and level.
- Mark Drilling Points: Use the lamp as a template to mark the positions for drilling holes.
- Drill Holes: Drill appropriate holes for the mounting hardware (screws and swelling glue plugs, not included).
- Mount the Lamp: Securely fasten the lamp to the surface using the appropriate screws.

Image 2: Side view of the lamp, illustrating the mounting points for secure installation.

Image 3: Bottom view of the lamp, showing the base and additional mounting points.
5. Operating Instructions
The solar lamp operates automatically once installed and initially charged.
- Initial Charge: Before first use, allow the lamp to charge in direct sunlight for at least 24-48 hours with the power switch (if present, typically on the underside) in the 'ON' position. This ensures the internal battery is fully charged.
- Automatic Operation: The built-in light sensor will detect ambient light levels. The lamp will automatically turn on at dusk and turn off at dawn.
- Controller Type: While the lamp operates automatically, some models may include a push button for manual override or to ensure the unit is activated for automatic function. Refer to the specific unit for any visible buttons.

Image 4: The Zerodis solar lamp illuminated with its red LED lights, demonstrating its nighttime visibility.
6. Maintenance
Regular maintenance ensures optimal performance of your solar lamp.
- Clean Solar Panel: Periodically wipe the solar panel with a soft, damp cloth to remove dust, dirt, leaves, or snow. A clean panel ensures maximum sunlight absorption for efficient charging.
- Check for Obstructions: Ensure no new obstructions (e.g., growing foliage) are blocking sunlight from reaching the solar panel.
- Battery: The NI-MH battery is designed for long-term use. If the lamp's performance significantly degrades after several years, the battery may need replacement by a qualified technician, though it is generally not user-serviceable.

Image 5: Top view of the lamp, highlighting the integrated solar panel that requires regular cleaning for efficient charging.
7. Troubleshooting
If your solar lamp is not functioning as expected, try the following troubleshooting steps:
- Lamp does not turn on at night:
- Ensure the lamp is in an 'ON' position (if it has a switch).
- Verify the solar panel is receiving direct sunlight for sufficient charging during the day. Relocate if necessary.
- Check if the solar panel is dirty or obstructed. Clean it as described in the Maintenance section.
- Ensure there are no strong light sources (e.g., streetlights, other outdoor lights) near the lamp that might trigger its light sensor to keep it off.
- Lamp stays on for a short duration:
- The battery may not be fully charged. Ensure the solar panel receives maximum direct sunlight for a full day.
- Battery performance can decrease over time or in cold weather.
- Lamp appears dim:
- The battery may be low. Allow for a full day of charging.
- Ensure the LED cover is clean.
8. Specifications
| Specification | Detail |
|---|---|
| Material | Casting Aluminum |
| Light Color | Red |
| Power Supply | 0.3W 2V/150mAh Solar Panel |
| Battery | 1 x 1.2V/600mAh NI-MH battery |
| Display Mode | Constant lighting |
| Working Time | Up to 72 hours (after full charge, actual time may vary based on sunlight and conditions) |
| Viewing Distance | >1000m |
| Lifespan | >3 years |
| Work Environment | -20℃ to 70℃ (-4°F to 158°F) |
| Waterproof Level | IP68 |
| Luminous Flux | <500lm |
| Product Size (L*W*H) | Approx. 12 x 2.8 x 4 cm (4.7 x 1.1 x 1.6 inches) |
| Item Weight | Approx. 220g (7 ounces) |
| Light Source Type | LED |
| Number of Light Sources | 6 |
| Mounting Type | Floor Mount |
| Assembly Required | Yes (for mounting) |
9. Warranty and Support
For warranty information or technical support, please refer to the retailer's return policy or contact Zerodis customer service through the platform where the product was purchased. Keep your purchase receipt as proof of purchase.