
1. Introduction
This manual provides detailed instructions for the safe and effective use of your Neoteck 200mm Stainless Steel Digital Caliper. This precision measuring instrument is designed for accurate internal, external, step, and depth measurements. Constructed from high-quality stainless steel, it offers durability and resistance to rust.

Image 1: Neoteck 200mm Digital Caliper in use, displaying a measurement.
2. Safety Information
- Handle the caliper with care to avoid dropping or impacting it, which can affect its accuracy.
- Keep the caliper clean and free from dust, oil, and moisture.
- Do not attempt to disassemble or modify the caliper, as this may void the warranty and cause damage.
- Store the caliper in its protective case when not in use to prevent scratches and damage.
3. Package Contents
Verify that all items are present in the package:
- Neoteck 200mm Digital Caliper
- Protective Plastic Case
- Spare LR44 Battery
- Mini Screwdriver (for battery compartment)
- User Manual
4. Product Overview
Familiarize yourself with the components of the digital caliper:

Image 2: Labeled diagram of the Neoteck Digital Caliper components.
- Internal Measuring Jaws: Used for measuring inside dimensions.
- External Measuring Jaws: Used for measuring outside dimensions.
- Depth Blade: Used for measuring depth.
- Step Measuring Face: Used for measuring step dimensions.
- LCD Display: Shows measurement readings.
- On/Off Switch: Powers the unit on or off.
- Zero Switch: Sets the display to zero at any position.
- Unit Conversion Switch: Toggles between millimeters, inches, and fractions.
- Thumb Roller: Allows for fine adjustment of the measuring jaws.
- Slider Clamp Screw: Locks the measuring jaws in place.
- Battery Compartment: Houses the LR44 battery.
5. Setup
5.1. Battery Installation
The caliper uses one LR44 button cell battery. A battery is typically pre-installed, and a spare is included.
- Locate the battery compartment on the digital display unit.
- Use the provided mini screwdriver to loosen the screw on the battery cover.
- Remove the battery cover.
- Insert the LR44 battery with the positive (+) side facing up.
- Replace the battery cover and tighten the screw securely.
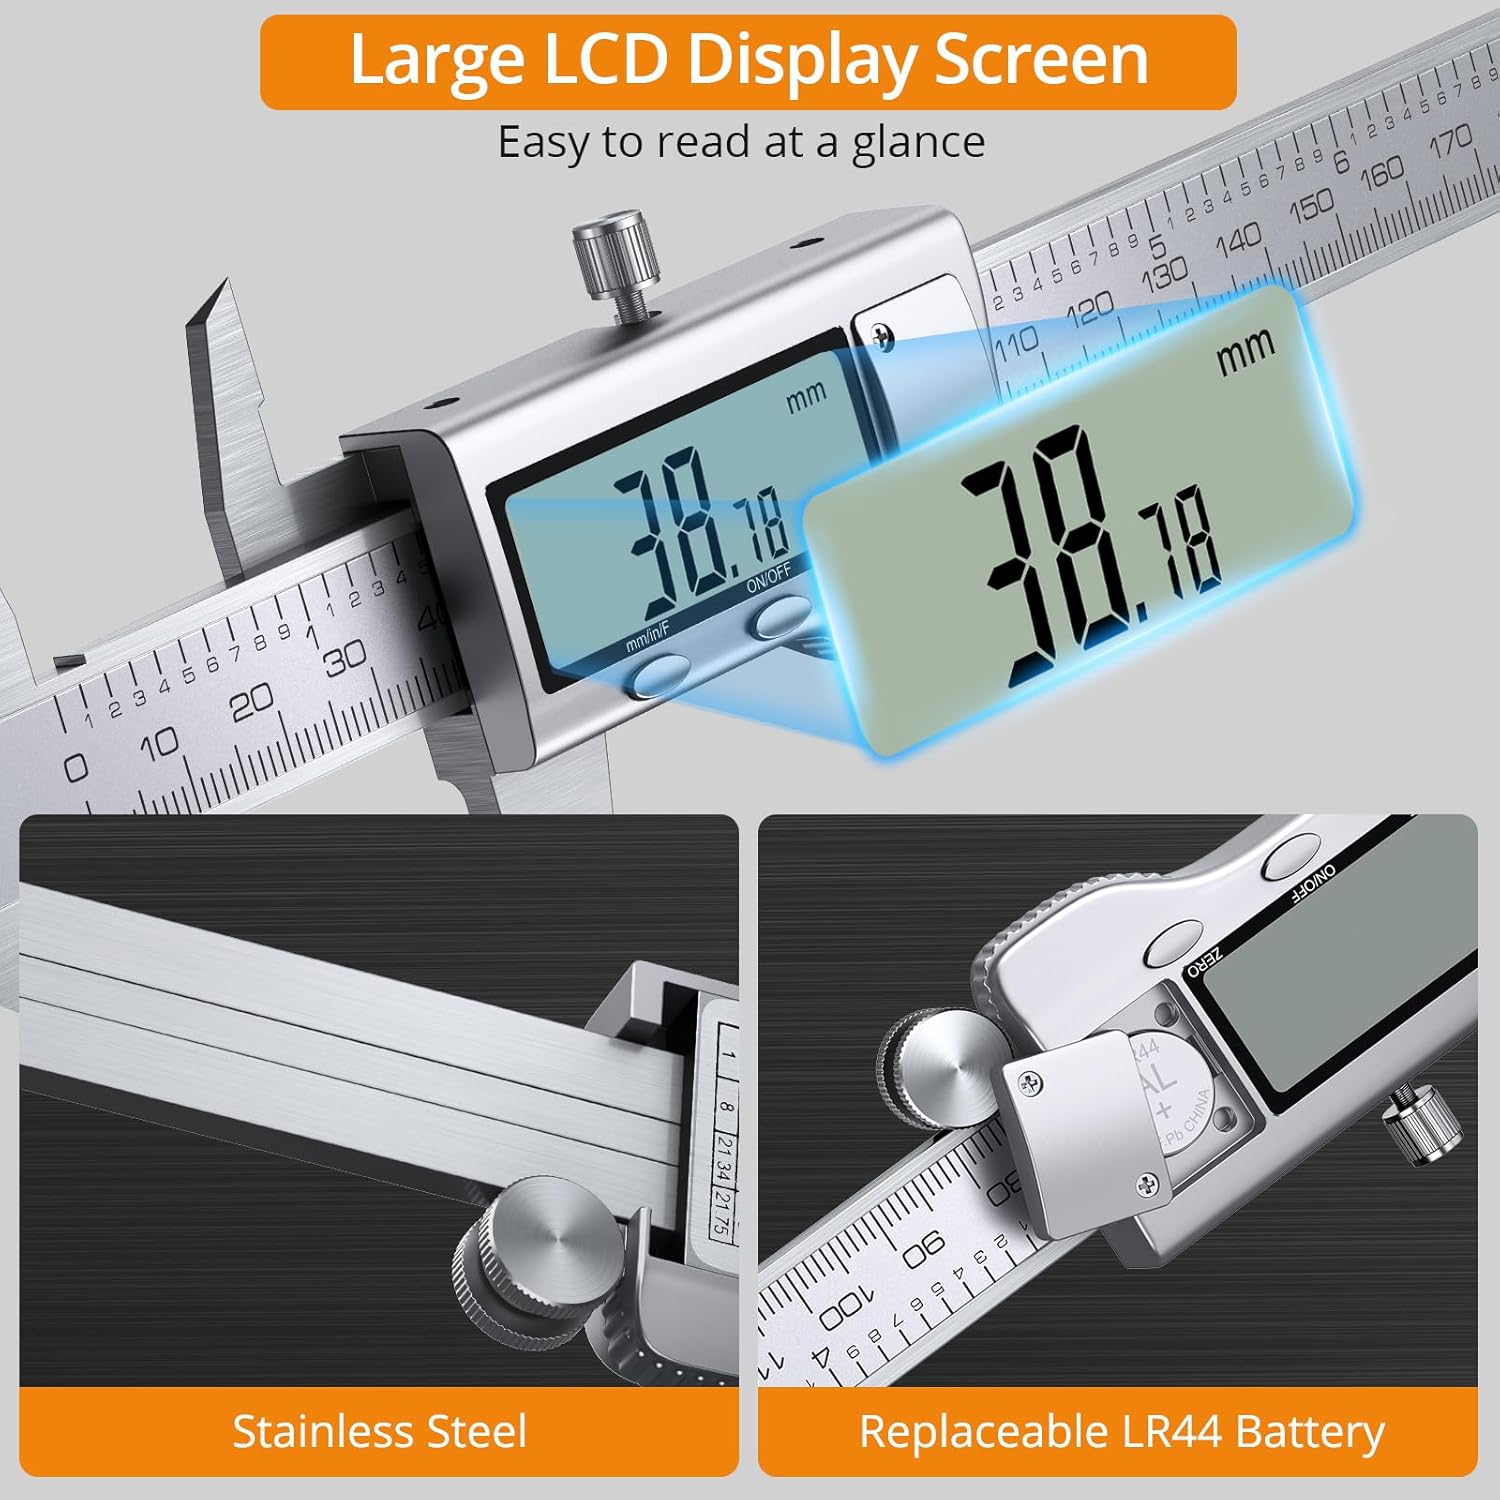
Image 3: Large LCD display and replaceable LR44 battery compartment.
6. Operating Instructions
6.1. Power On/Off
- Press the ON/OFF button to turn the caliper on.
- Press the ON/OFF button again to turn the caliper off.
- The caliper features an automatic shut-off function and will power off after approximately 5 minutes of inactivity to conserve battery life.
6.2. Zero Setting
The zero setting allows for relative measurements or to correct for any initial offset.
- Close the measuring jaws completely.
- Press the ZERO button. The display will show "0.00".
- You can also set zero at any open position to measure the difference from that point.
6.3. Unit Conversion
The caliper supports three measurement units: millimeters (mm), inches (in), and fractions.
- Press the mm/in/F button to cycle through the available units.
- The selected unit will be displayed on the LCD screen.
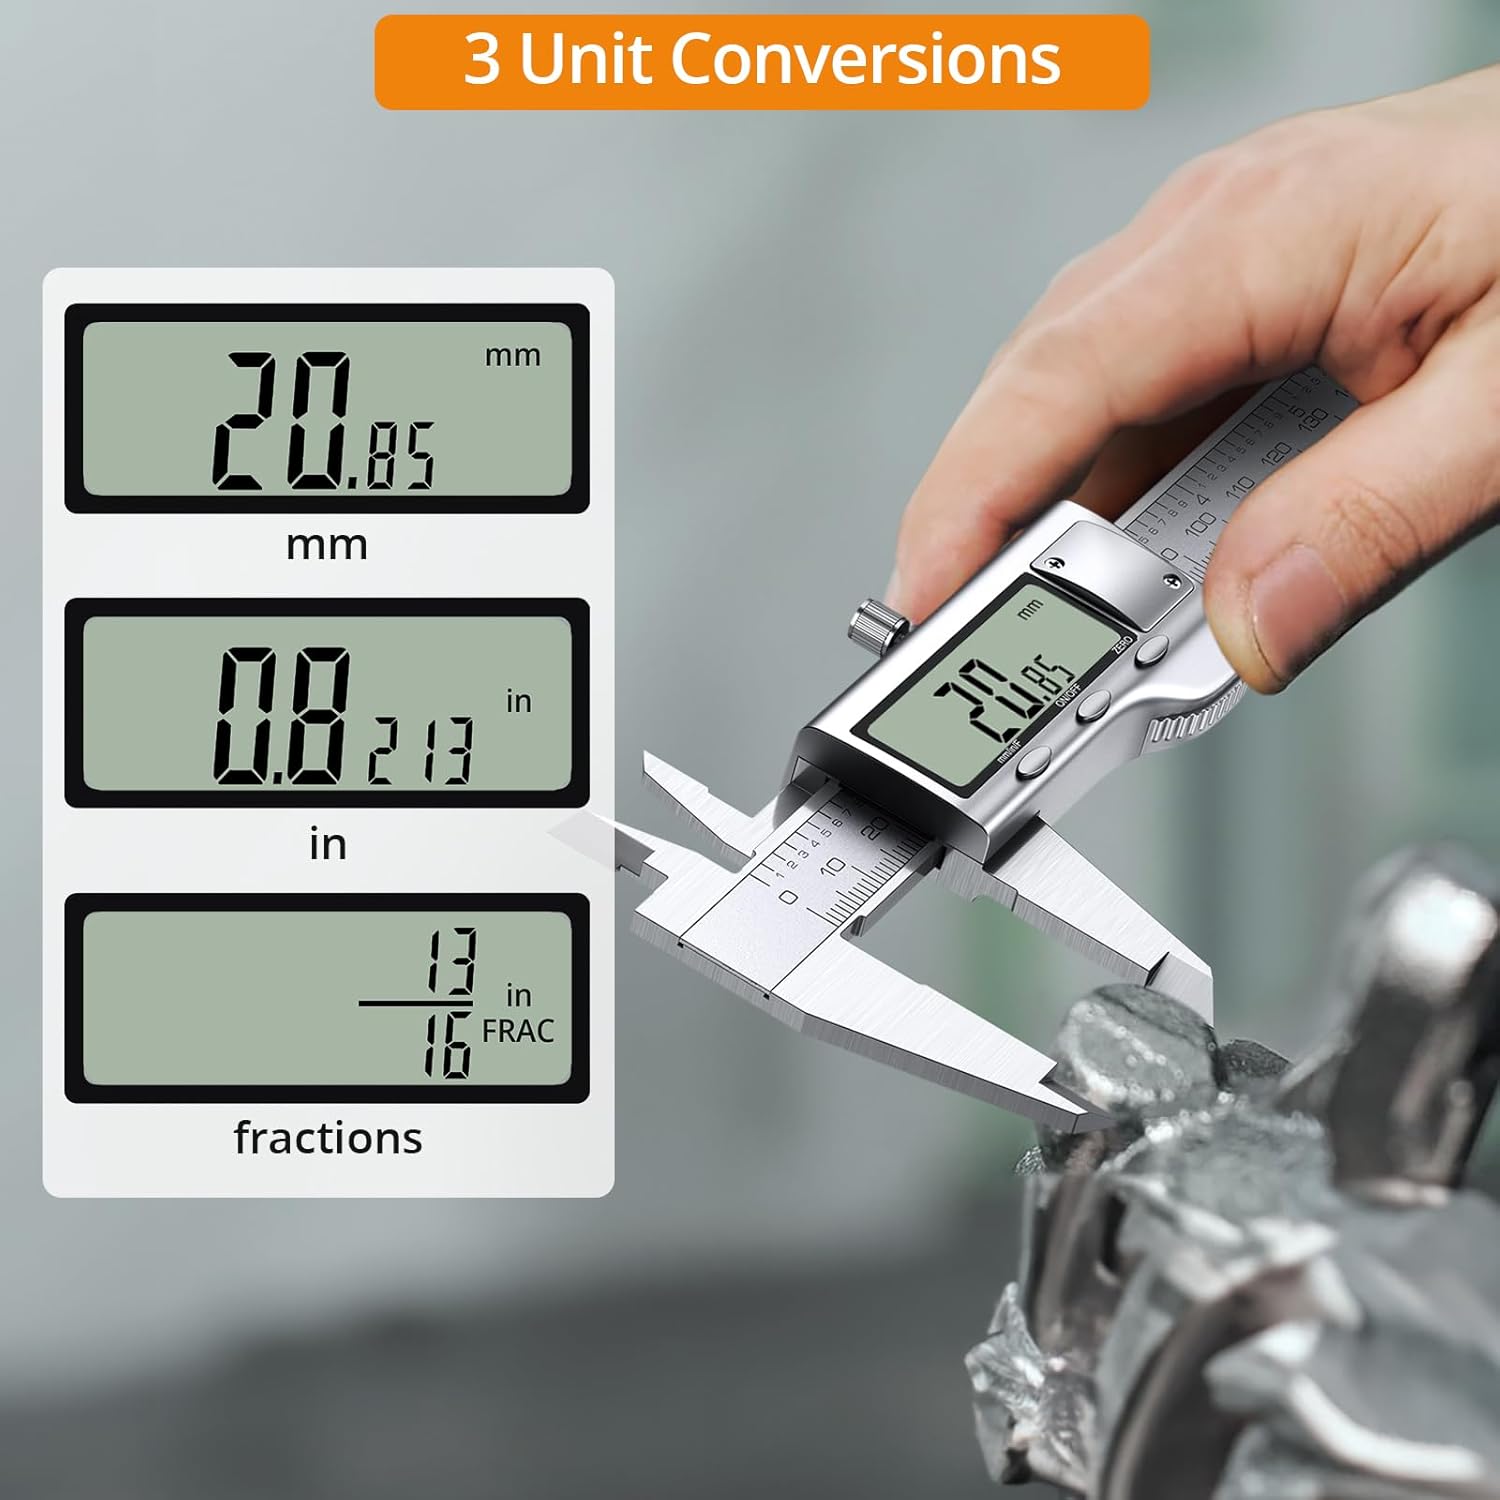
Image 4: Display showing three unit conversions: mm, inches, and fractions.
6.4. Measurement Types
The Neoteck Digital Caliper can perform four types of measurements:

Image 5: Demonstrations of Inside Diameter, Outside Diameter, Depth, and Step measurements.
- Outside Measurement: Use the external jaws to measure the outer dimensions of an object.
- Inside Measurement: Use the internal jaws to measure the inner dimensions of an object.
- Depth Measurement: Use the depth blade to measure the depth of a hole or step.
- Step Measurement: Use the step measuring face to measure the height of a step or shoulder.
7. Maintenance
- Clean the caliper regularly with a soft, dry cloth. Avoid using solvents or harsh chemicals.
- Ensure the measuring surfaces are free from debris before and after use.
- If the caliper will not be used for an extended period, remove the battery to prevent leakage.
- Store the caliper in its protective case in a dry, stable environment.
8. Troubleshooting
| Problem | Possible Cause | Solution |
|---|---|---|
| Display does not turn on | Dead or incorrectly installed battery | Check battery orientation or replace with a new LR44 battery. |
| Inaccurate readings | Dirty measuring surfaces, caliper not zeroed, or damaged. | Clean measuring surfaces. Close jaws and press ZERO. If problem persists, contact support. |
| Display flickers or shows random numbers | Low battery or electronic interference. | Replace battery. Move away from strong electromagnetic fields. |
9. Specifications
| Feature | Detail |
|---|---|
| Brand | Neoteck |
| Model Number | VTM-TL358 |
| Measurement Range | 0-200mm (0-8 inches) |
| Resolution | 0.01mm (0.0005 inches) |
| Accuracy | ±0.02mm (±0.001 inches) |
| Units | mm, inches, fractions |
| Display | Large LCD |
| Material | Stainless Steel |
| Battery Type | LR44 (1.5V) button cell |
| Automatic Shut-off | After approx. 5 minutes of inactivity |
| Product Dimensions (L x W) | 27.9 cm x 9.5 cm (approx. 11 in x 3.7 in) |
| Product Weight | 200 grams (approx. 0.44 lbs) |
10. Warranty and Support
For warranty information or technical support, please refer to the contact details provided with your purchase or visit the official Neoteck website. Keep your purchase receipt as proof of purchase for warranty claims.