
Tork 88411
Tork Toilet Paper Roll Dispenser Black T34, 4-Roll Capacity, 88411 User Manual
Model: 88411 | Brand: Tork
Product Overview
The Tork T34 4-Roll Capacity Toilet Paper Dispenser (Model 88411) is designed for high-traffic commercial restrooms, ensuring a continuous supply of toilet paper and promoting hygiene. Its robust construction and locking mechanism help prevent theft and maintain a clean environment.
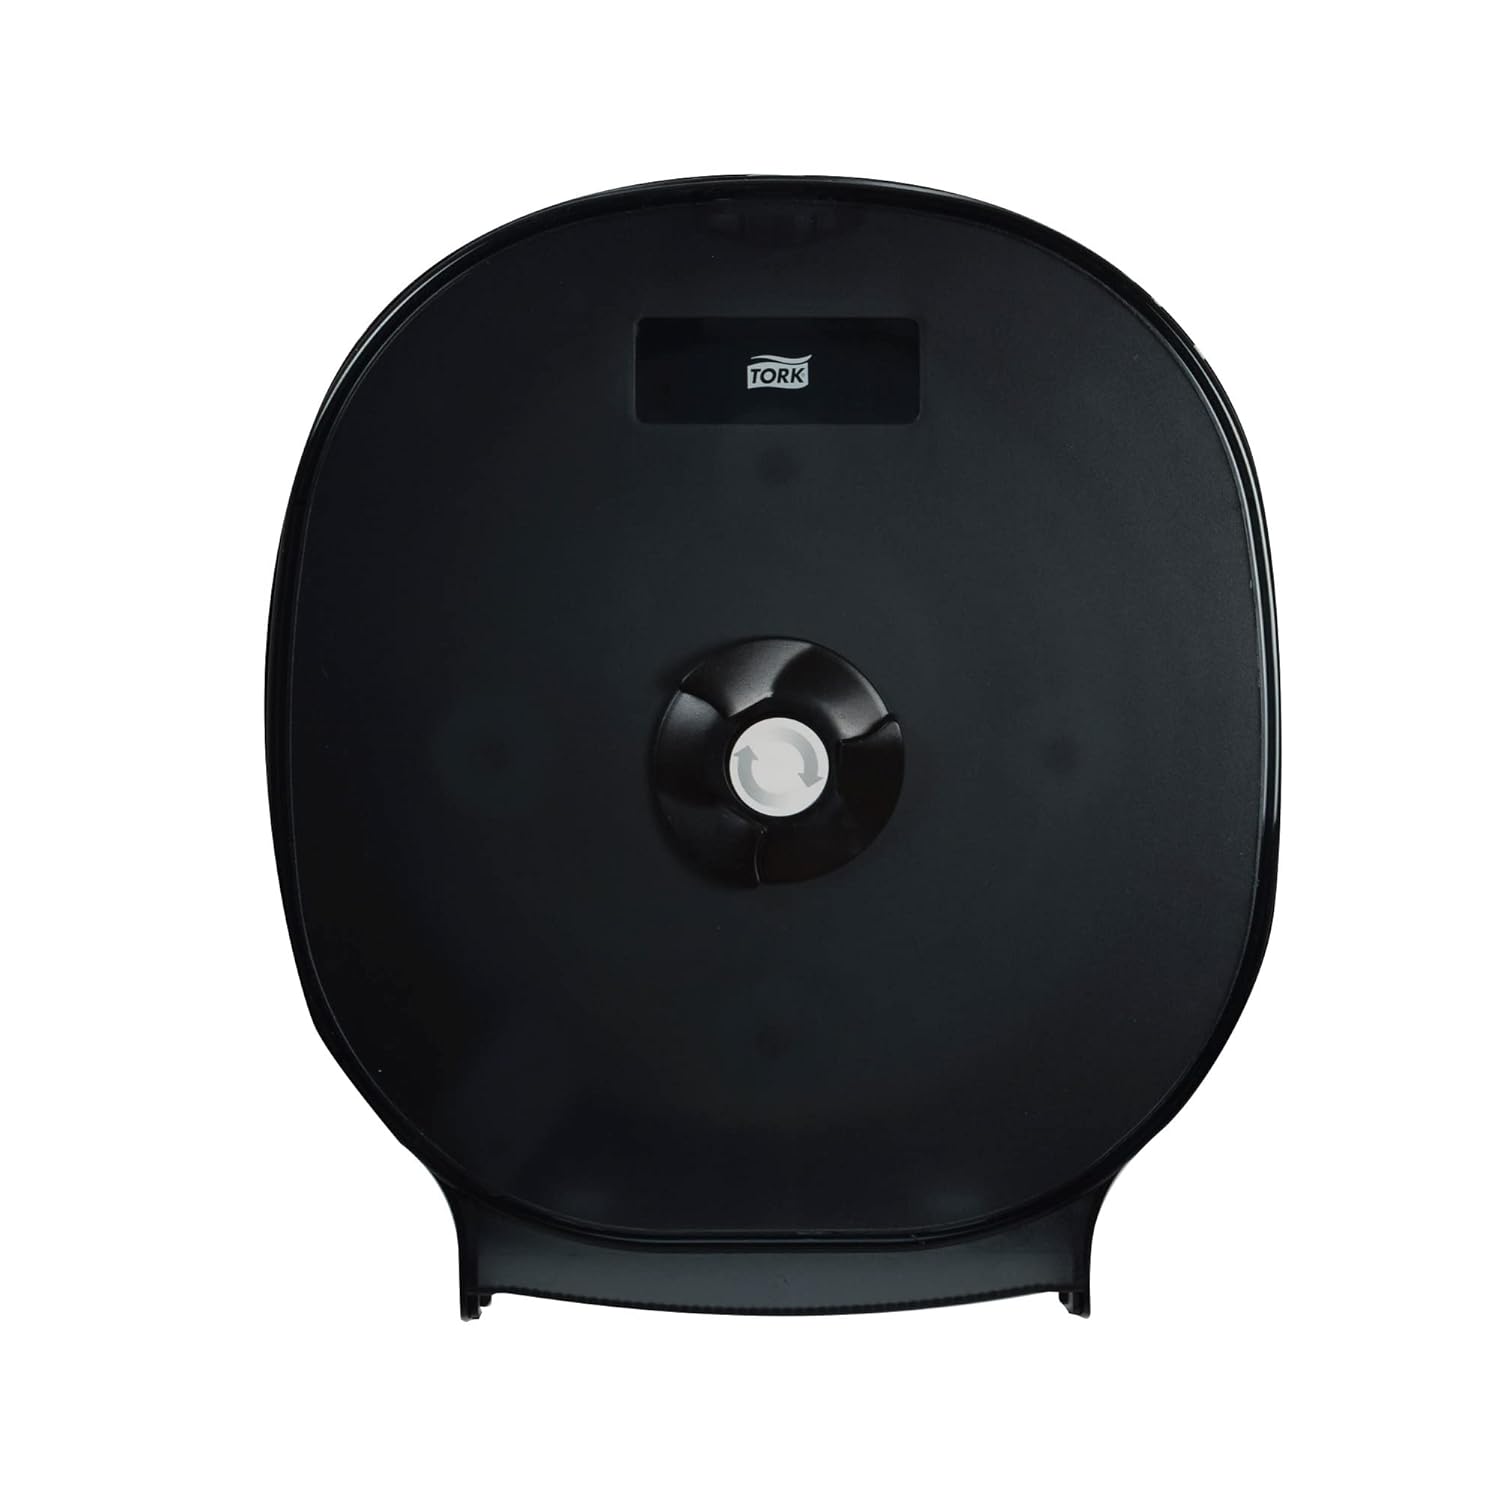
Figure 1: Tork T34 4-Roll Capacity Toilet Paper Dispenser (Model 88411)
Key Features:
- Promotes hygiene of toilet paper rolls between guests by protecting the roll within a closed dispenser.
- Includes a locking cover to secure toilet paper rolls and prevent theft.
- High-capacity design reduces maintenance time for refilling.
- Stores four rolls, minimizing the risk of toilet paper shortage.
- Dimensions: W 15.0" H 13.2" D 6.0". Material: Plastic. Color: Black.
- Compatible with Tork T34 refills.
Setup and Installation
Proper installation ensures optimal performance and security of your Tork dispenser. It is recommended to install the dispenser on a sturdy wall surface.
Required Tools:
- Drill
- Screwdriver (Phillips head recommended)
- Level
- Measuring Tape
- Pencil or Marker
- Appropriate wall anchors and screws (not always included, depending on wall material)
Installation Steps:
- Choose Location: Select a suitable wall location in the restroom, ensuring it is at an appropriate height for users and clear of obstructions.
- Mark Mounting Holes: Hold the dispenser against the wall at the desired height. Use a level to ensure it is straight. Mark the positions of the mounting holes with a pencil or marker.
- Drill Pilot Holes: Using a drill bit appropriate for your wall anchors (if used) and screws, drill pilot holes at the marked locations.
- Insert Wall Anchors (if needed): If installing into drywall or hollow walls, insert suitable wall anchors into the pilot holes.
- Mount Dispenser: Align the dispenser's mounting holes with the drilled holes (and anchors). Insert screws and tighten them securely with a screwdriver. Do not overtighten.
- Verify Stability: Gently pull on the dispenser to ensure it is firmly attached to the wall and does not wobble.

Figure 2: Dispenser installed in a restroom environment.
Operating Instructions
This section details how to load and operate your Tork T34 dispenser.
Loading Toilet Paper Rolls:
- Unlock Dispenser: Use the provided key to unlock the dispenser cover. The lock is typically located on the top or side of the unit.
- Open Cover: Gently pull the cover open to access the interior of the dispenser.
- Insert Rolls: Place up to four Tork T34 toilet paper rolls onto the spindles inside the dispenser. Ensure the rolls are properly seated and can rotate freely.
- Close and Lock: Close the dispenser cover firmly until it clicks into place. Turn the key to the locked position to secure the rolls and prevent unauthorized access.
- Feed Paper: Pull the leading edge of the toilet paper from the active roll through the dispensing slot at the bottom of the unit.

Figure 3: Dispenser with a roll loaded and ready for use.
Dispensing Paper:
Users simply pull the exposed toilet paper from the dispensing slot. The dispenser is designed for smooth and consistent paper delivery.
Maintenance
Regular maintenance ensures the longevity and hygienic operation of your Tork dispenser.
Cleaning:
- Exterior: Wipe the exterior surfaces with a soft, damp cloth and a mild, non-abrasive cleaner. Avoid harsh chemicals or abrasive materials that could damage the black finish.
- Interior: Periodically open the dispenser and wipe down the interior surfaces to remove any dust or paper residue.
- Frequency: Clean the dispenser as often as necessary to maintain hygiene standards, especially in high-traffic areas.
Refilling:
The 4-roll capacity design reduces the frequency of refills. Monitor the paper levels through the translucent black cover. When the active roll is low, prepare to load new rolls as described in the "Operating Instructions" section.
Troubleshooting
This section addresses common issues you might encounter with your Tork T34 dispenser.
| Problem | Possible Cause | Solution |
|---|---|---|
| Toilet paper does not dispense smoothly. | Roll is not properly seated or is obstructed. | Open the dispenser and ensure the roll is correctly placed on the spindle and rotates freely. Check for any debris or foreign objects. |
| Dispenser cover does not close or lock. | Obstruction or misalignment of the cover. | Ensure no rolls or paper are blocking the closing mechanism. Check if the cover is aligned correctly with the base. |
| Difficulty loading toilet paper rolls. | Incorrect toilet paper roll size or type. | This dispenser is specifically designed for Tork T34 refills. Standard household toilet paper rolls or other commercial roll sizes may not fit or function correctly due to differences in core size or roll diameter.  Figure 4: Tork T34 dispensers and compatible T34 toilet paper. Ensure you are using the correct Tork T34 compatible toilet paper rolls. |
Specifications
| Attribute | Detail |
|---|---|
| Product Dimensions | 6 x 15 x 13.17 inches |
| Item Model Number | 88411 |
| Weight | 3.6 Pounds |
| Brand | Tork |
| Material | Plastic |
| Finish Type | Black |
| Color | Black Translucent |
| Installation Type | Wall-mounted |
| Capacity | 4 Toilet Paper Rolls |
| Compatible Refills | Tork T34 |
Warranty and Support
For specific warranty information, please refer to the documentation included with your purchase or visit the official Tork website. Tork provides support for its products to ensure customer satisfaction.
When contacting support, please have your product model number (88411) and purchase details available.
Tork Official Website: www.torkusa.com
Tork Store on Amazon: Visit the Tork Store
Ask a question about this manual
Ask about setup, troubleshooting, compatibility, parts, safety, or missing instructions. Manuals+ will review the question and use this page’s manual context to help answer it.