
Introduction
This manual provides detailed instructions for the installation, operation, and maintenance of the Renogy Rover 40A MPPT Solar Charge Controller. This device is designed to optimize the power output from your solar panels to efficiently charge your battery bank, ensuring the longevity and performance of your solar power system.

Image: The Renogy Rover 40A MPPT Solar Charge Controller, shown with its temperature sensor cable and Bluetooth module. This image provides an overview of the main unit and key accessories.
Key Features
- Innovative MPPT Design: Achieves up to 99% tracking efficiency and 98% peak conversion efficiency, optimizing power harvest even in varying light conditions. Capable of activating 0-volt batteries.
- Automatic System Voltage Detection: Automatically detects 12V or 24V DC system voltages.
- Multiple Battery Compatibility: Supports Sealed Lead Acid, GEL, Flooded, and Lithium batteries. Features a user mode for custom Lithium battery parameter settings.
- Advanced Charging Stages: Offers 4-stage charging (Bulk, Absorption, Float, Equalization) for Lead Acid batteries and 2-stage charging (Bulk, Absorption) for Lithium batteries, including Lithium Reactivation.
- Comprehensive Safety Protections: Includes protection against reverse polarity, battery overcharging, battery over-discharging, overload, short-circuiting, overheating, and reverse current. UL certified with an insulated shell.
- User-Friendly Interface: Equipped with an LCD screen and LED indicators for displaying system information, customizable parameters, and error codes.
- Bluetooth Connectivity: Comes with a BT-2 (or BT-1) Bluetooth module for monitoring and custom parameter setting via the Renogy DC Home App through an RJ45 communication port.
- Efficient Heat Dissipation: Features an integrated heat sink for silent operation (0 dB) and optimal thermal management, ensuring maximum charging efficiency and safety.
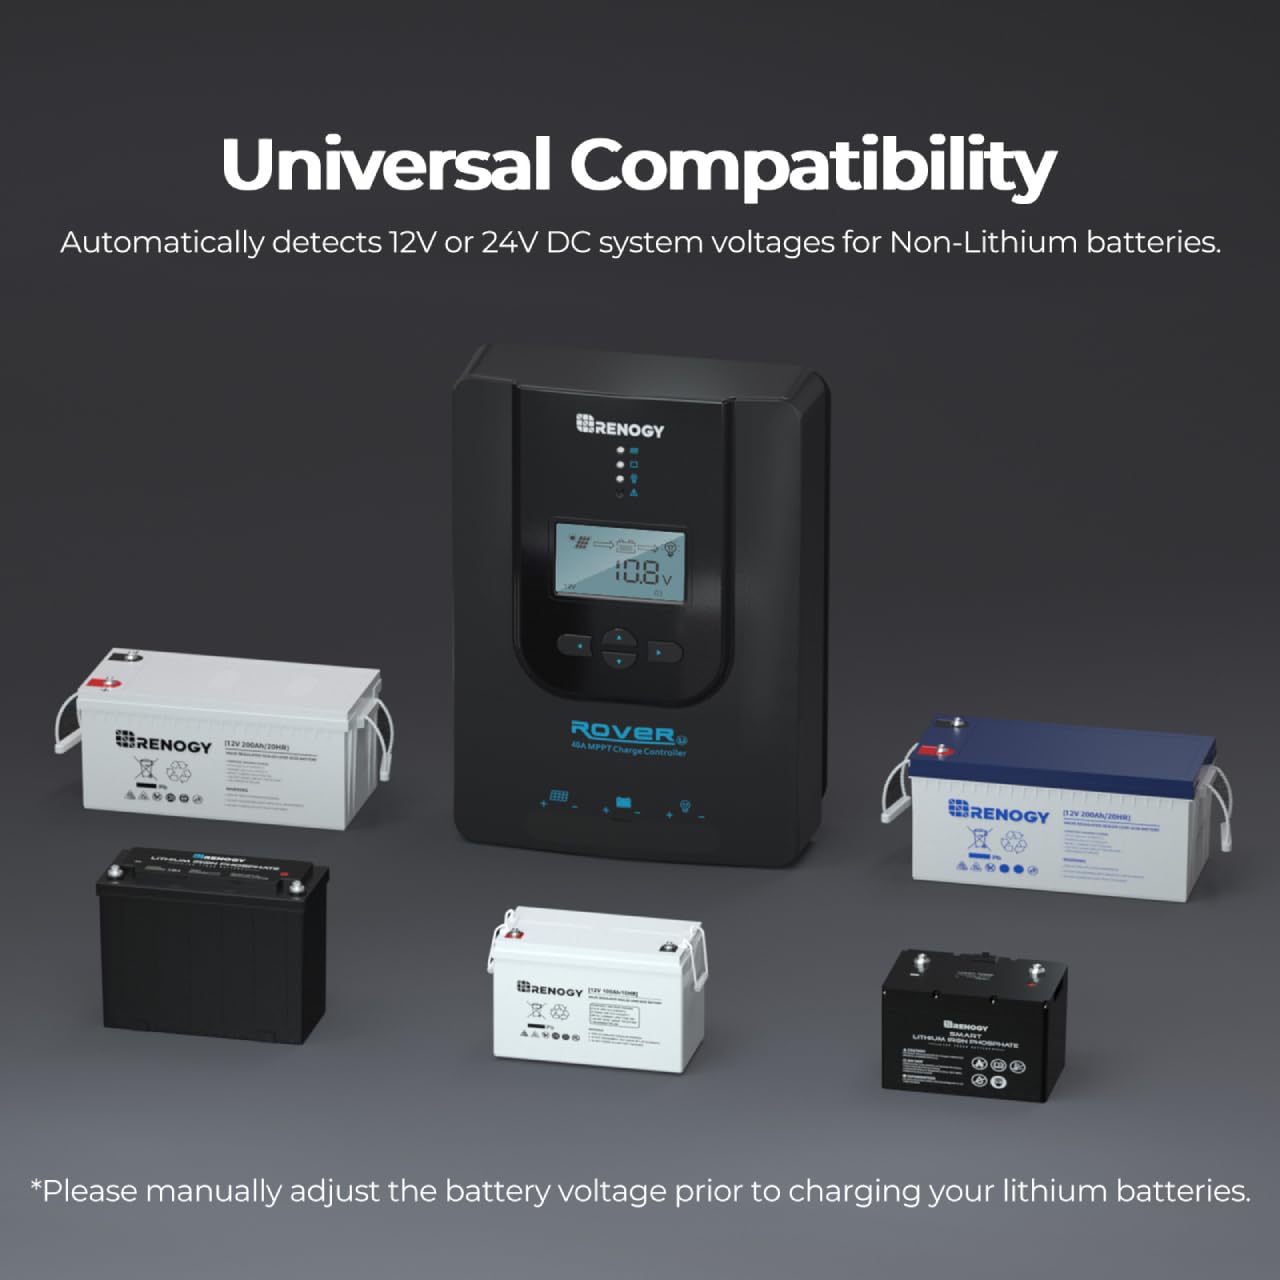
Image: Illustration highlighting the Renogy Rover's MPPT technology, demonstrating up to 99% tracking efficiency with a power curve graph. This emphasizes the controller's ability to maximize solar energy harvest.
What's in the Box
Upon unboxing, please verify that all components are present and undamaged:
- 1 x Renogy Rover MPPT Charge Controller
- 1 x Bluetooth Module (BT-2 or BT-1)
Image: The Renogy Rover 40A MPPT Solar Charge Controller, accompanied by its temperature sensor cable, Bluetooth module, and mounting hardware. This visual confirms the contents of the product package.
Setup and Installation
Mounting the Controller
The Renogy Rover 40A MPPT Charge Controller is designed for easy mounting. Select a dry, well-ventilated location away from direct sunlight and heat sources. Ensure adequate clearance around the unit for proper heat dissipation.

Image: The Renogy Rover 40A MPPT Solar Charge Controller mounted on a wall, with various tools and mounting accessories visible. This illustrates the ease of installation and the components involved.
Wiring Instructions
Follow these steps for safe and correct wiring. Always connect the battery first, then the solar panel, and finally the load. Disconnect in reverse order.
- Prepare Wires: Ensure all wires are cut to the appropriate length and stripped correctly. The Rover 40A can accept up to 8AWG wires.
- Connect Battery:
Loosen the screws above the battery terminals (marked with '+' and '-') to make the socket/hatch descend. Insert the positive battery wire into the '+' terminal and the negative battery wire into the '-' terminal. Tighten the screws to secure the connection. Ensure a firm connection to prevent loose contacts.
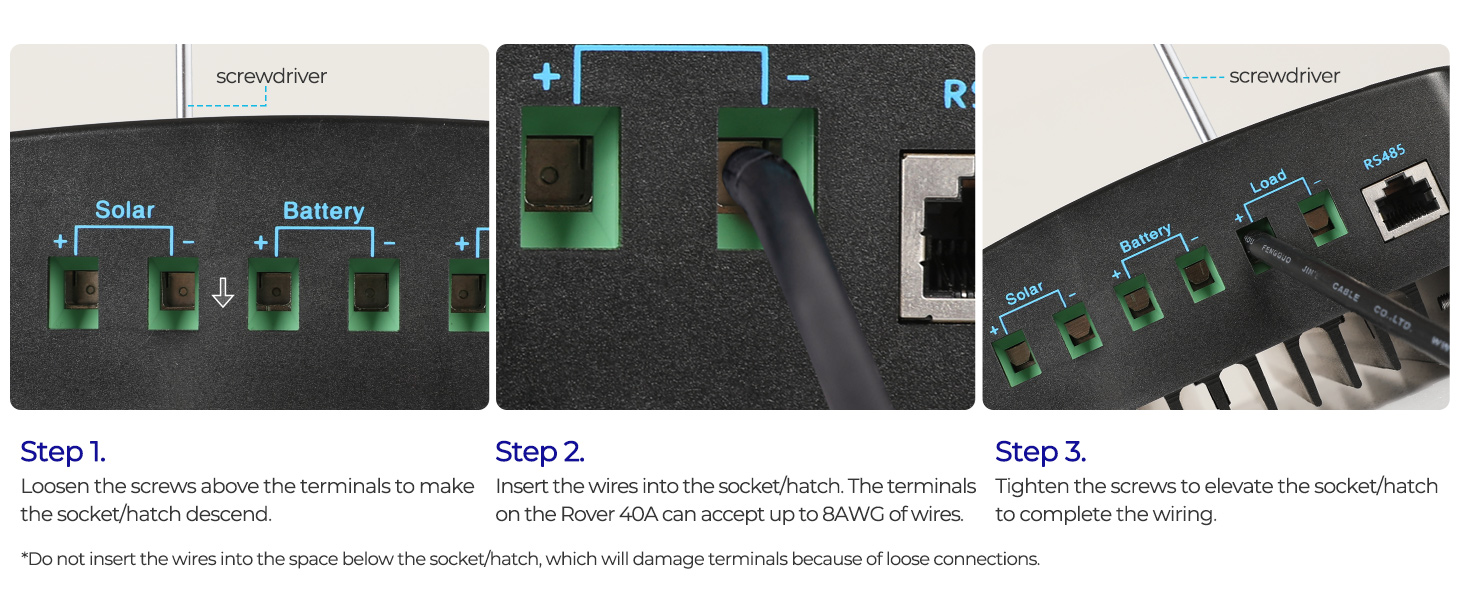
Image: A three-panel illustration demonstrating the wiring process for the Renogy Rover 40A MPPT Solar Charge Controller. Step 1 shows loosening screws, Step 2 shows inserting wires, and Step 3 shows tightening screws for secure connections.
- Connect Solar Panel:
Similarly, loosen the screws above the solar panel terminals (marked with '+' and '-') and insert the positive solar panel wire into the '+' terminal and the negative into the '-' terminal. Tighten the screws securely.
- Connect Load (Optional):
If connecting a DC load directly to the controller, loosen the screws above the load terminals and insert the positive and negative load wires. Tighten the screws. The controller offers 5 load modes for management.
- Connect Temperature Sensor:
Plug the temperature sensor into its dedicated port on the controller. Place the sensor near the battery to ensure accurate temperature compensation during charging.
- Connect Bluetooth Module:
Plug the BT-2 (or BT-1) Bluetooth module into the RJ45 communication port. This enables wireless monitoring and parameter adjustment via the Renogy DC Home App.
Important: Do not insert wires into the space below the socket/hatch, as this can damage terminals due to loose connections.

Image: A user interacting with the Renogy Rover 40A MPPT Solar Charge Controller's buttons to adjust settings, with a battery connected. This highlights the importance of setting the correct battery voltage, especially for lithium batteries, before charging.
Operation
LCD Display and Indicators
The LCD screen provides real-time information about your solar system's performance. Multiple LED indicators offer quick status updates.

Image: A detailed diagram of the Renogy Rover 40A MPPT Solar Charge Controller's LCD screen, with numbered labels pointing to various display elements such as daytime/nighttime indicators, battery type, charging stage, system voltage, and error codes. This aids in understanding the controller's operational status.
Refer to the diagram above for a detailed explanation of each indicator and display element. Use the buttons below the LCD to navigate menus and adjust parameters.
Battery Type Selection
It is crucial to select the correct battery type on the controller to ensure proper charging and prolong battery life. For Lithium batteries, use the user mode to manually set parameters if needed, addressing voltage matching issues.
Charging Process
The controller employs intelligent charging algorithms:
- Lead Acid Batteries: Bulk, Absorption, Float, and Equalization stages.
- Lithium Batteries: Bulk and Absorption stages, with Lithium Reactivation capability.
These stages optimize charging efficiency and protect the battery from overcharging.
Bluetooth Monitoring (Renogy DC Home App)
With the included Bluetooth module, you can monitor your system and customize parameters remotely using the Renogy DC Home App on your smartphone. Download the app from your device's app store and follow the in-app instructions to connect to your controller.
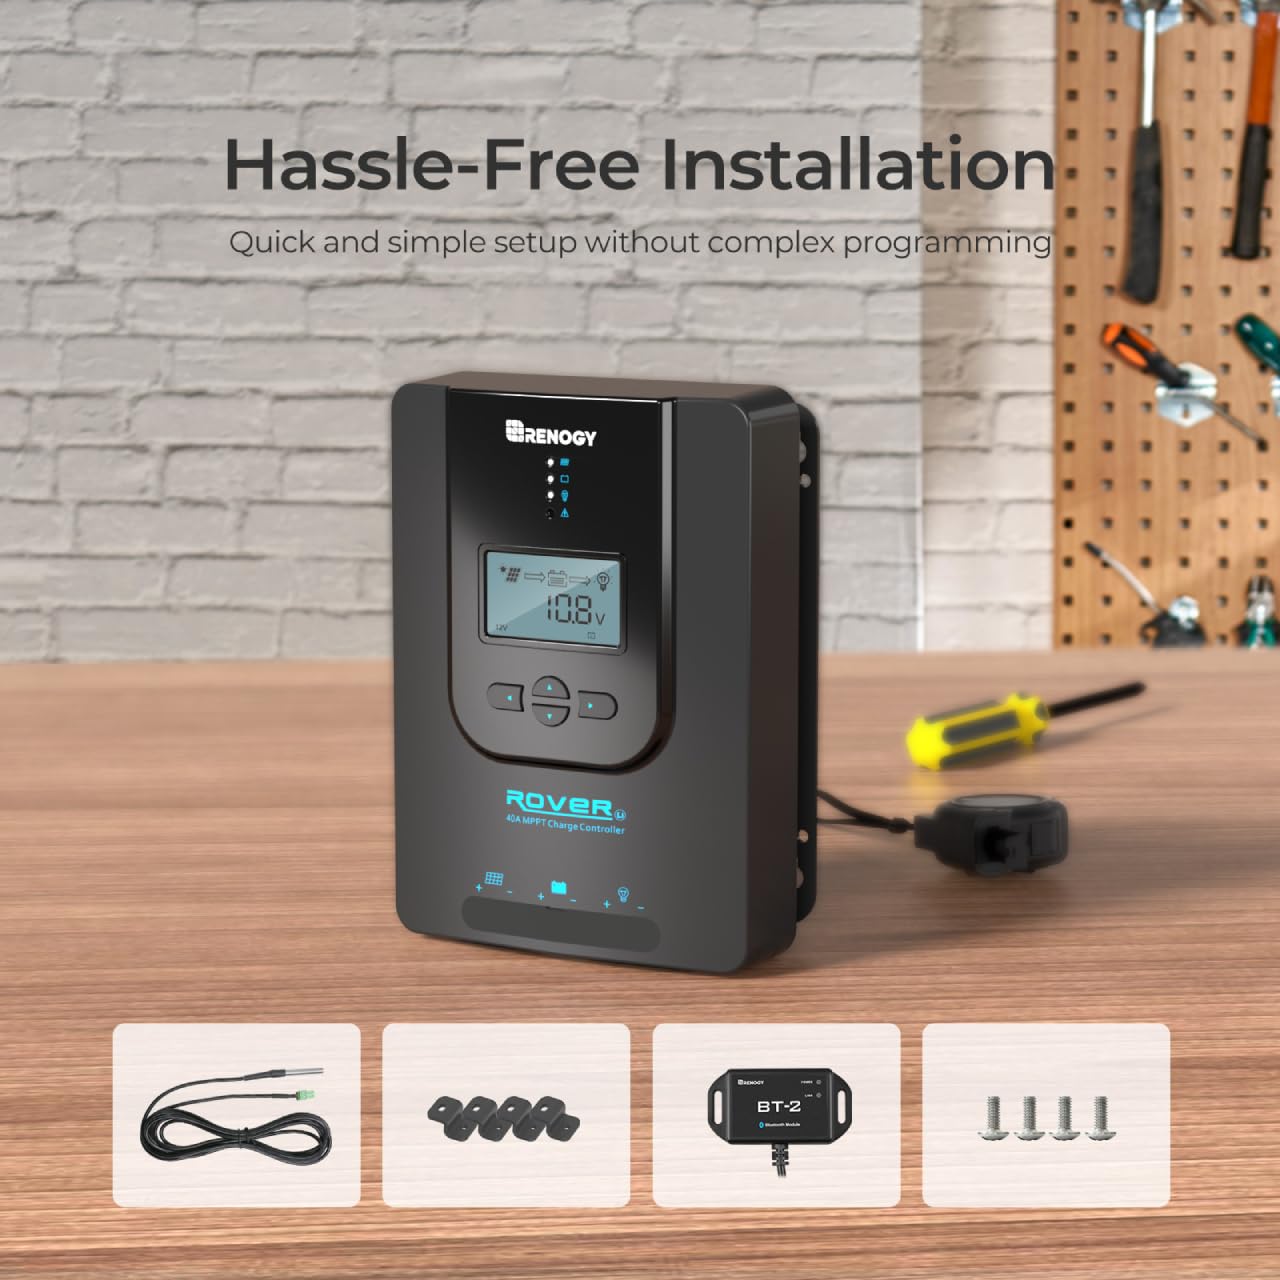
Image: The Renogy Rover 40A MPPT Solar Charge Controller alongside a smartphone displaying the Renogy DC Home app interface, illustrating real-time monitoring capabilities. This shows how users can track system performance and customize settings via Bluetooth.
Maintenance
Regular maintenance ensures the longevity and optimal performance of your Renogy Rover 40A MPPT Solar Charge Controller.
- Periodic Inspection: Regularly check all wiring connections for tightness and signs of corrosion. Ensure the controller is free from dust and debris.
- Environmental Conditions: Verify that the operating environment remains within the specified temperature range (-40°F to 149°F) and is free from excessive moisture.
- Heat Dissipation: Ensure the integrated heat sink is not obstructed to allow for efficient cooling. The fanless design provides silent operation and reliable heat management.

Image: The Renogy Rover 40A MPPT Solar Charge Controller depicted operating within a wide temperature range, from -40°F to 149°F. This highlights its robust design and adaptability to various environmental conditions.

Image: A diagram illustrating the powerful heat dissipation mechanism of the Renogy Rover 40A MPPT Solar Charge Controller, showing airflow arrows indicating efficient cooling. This emphasizes the strong build, corrosion resistance, and high thermal conductivity of the unit.
Troubleshooting
The Renogy Rover 40A MPPT Charge Controller features intelligent self-diagnostic capabilities. Error codes displayed on the LCD screen can help identify issues. Refer to the table below for common problems and their solutions.
| Problem | Possible Cause | Solution |
|---|---|---|
| No display/Power off | Battery not connected or low voltage; reverse polarity. | Check battery connections and voltage. Ensure correct polarity. |
| No charging from solar panel | Solar panel not connected; insufficient sunlight; panel short-circuited or open-circuited. | Verify solar panel connections. Check for adequate sunlight. Test panel voltage and current. |
| Battery not fully charged | Incorrect battery type setting; insufficient solar input; battery degradation. | Confirm battery type setting. Increase solar panel capacity or improve sun exposure. Test battery health. |
| Overload protection triggered | Load current exceeds controller's rating. | Reduce connected load or use a larger controller. |
| High temperature warning | Poor ventilation; excessive ambient temperature. | Improve ventilation around the controller. Relocate to a cooler area if possible. |
The controller is designed with full system protection against reverse polarity, battery overcharging, battery over-discharging, overload, short-circuiting, overheating, and reverse current. If an issue persists, contact Renogy customer support.

Image: A visual representation of the multiple protection features integrated into the Renogy Rover 40A MPPT Solar Charge Controller, including temperature protection, over-discharge, over-charge, short-circuit, and reverse polarity. This highlights the comprehensive safety measures.

Image: The Renogy Rover 40A MPPT Solar Charge Controller connected to a battery, with a multimeter showing a low voltage reading. This illustrates the controller's ability to reactivate dead batteries with a small current, bypassing the battery management system (BMS) protection mode.
Specifications
| Attribute | Detail |
|---|---|
| Model Number | RNG-CTRL-RVR40-BT |
| Brand | Renogy |
| Product Dimensions (L x W x H) | 9.37 x 6.81 x 2.85 inches (2.85"L x 6.81"W x 9.37"H) |
| Item Weight | 4.58 ounces |
| Color | Black |
| Material | Plastic |
| Voltage | 12V/24V Auto Detect (24 Volts DC listed as general) |
| Max. Solar Input Power (12V System) | Up to 520W |
| Max. Solar Input Power (24V System) | Up to 1040W |
| Date First Available | February 2, 2018 |

Image: The Renogy Rover 40A MPPT Solar Charge Controller shown alongside illustrations of an RV and a cabin, indicating its suitability for both 12V and 24V systems with respective maximum solar input capacities (520W for 12V, 1040W for 24V). This demonstrates its versatility across different applications.
Warranty and Support
For warranty information and technical support, please refer to the official Renogy website or contact their customer service directly. Keep your purchase receipt and product model number (RNG-CTRL-RVR40-BT) handy for any inquiries.
Visit the Renogy Store on Amazon for more products and information.


