Introduction
The PowerA Enhanced Wired Controller for Xbox One offers a familiar and comfortable form factor with a soft-touch rubberized finish, designed to work seamlessly with all your games. This officially licensed Xbox controller includes two mappable advanced gaming buttons on the back, dual rumble motors for immersive feedback, and a 3.5mm stereo headset jack for audio. It also features precision-tuned analog sticks, a plus-shaped D-pad, and a standard button/bumper/trigger layout. This controller provides a high-quality gaming experience at an accessible price point.
What's Included
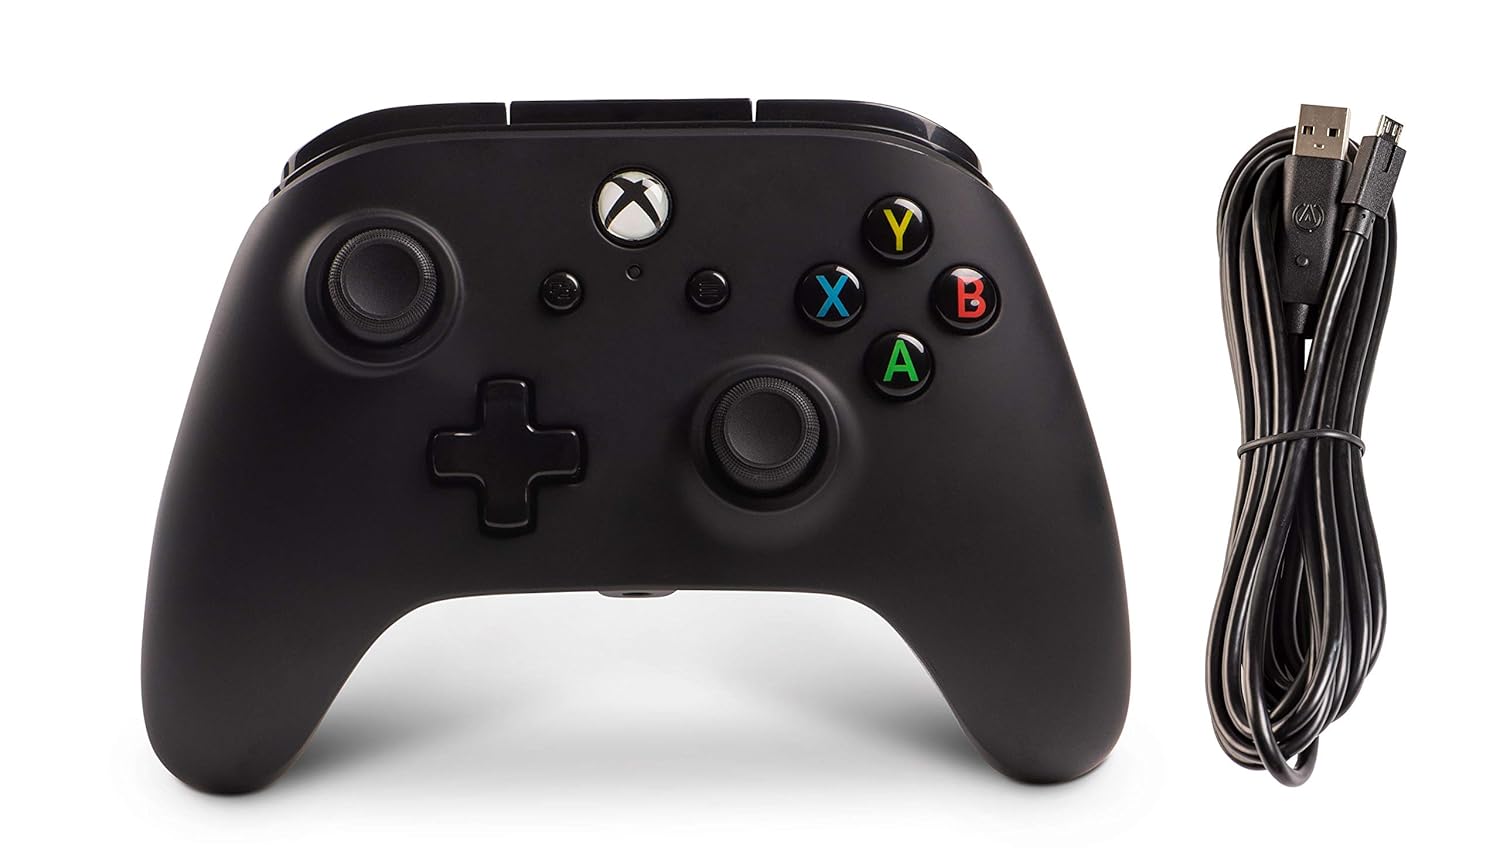
- PowerA Enhanced Wired Controller for Xbox One
- Detachable 9.8 feet (3 meter) USB Cable
Setup
- Connect the Controller: Connect the small (micro) USB end of the cable into the port located on the back of the controller.

Image: Side view of the controller showing the micro USB port and connected cable. - Connect to Xbox One: Connect the large (standard) USB end of the cable into an available USB port on your Xbox One console.
- Power On: Turn on your Xbox One console by either touching the Xbox Button on the console itself or by pressing the Xbox Button located on the controller.
- Ready to Play: The white LED indicator light above the Xbox Button on the controller will illuminate, indicating that the controller is connected and ready for use.

Image: Front view of the controller with the Xbox button lit up, indicating power.
For a visual guide on how to connect and use the controller, please watch the official PowerA video below:
Operating Instructions
Advanced Gaming Buttons
The PowerA Enhanced Wired Controller features two mappable Advanced Gaming Buttons (AGB) on the back, labeled AGL (Advanced Gaming Button Left) and AGR (Advanced Gaming Button Right). These buttons allow you to assign functions from other controller buttons for quick access and improved response during gameplay.

Mapping Advanced Gaming Buttons:
- Press the Program Button (1) on the back of the controller. The Program LED (2) will flash, indicating programming mode.
- Press the button you wish to map (e.g., A/B/X/Y, LB/RB, LT/RT, D-pad, Left Stick Click, Right Stick Click).
- Press the AGL or AGR button (3) you wish to assign. The Program LED will stop flashing, indicating the button has been successfully mapped.
Resetting Advanced Gaming Buttons:
To reset the Advanced Gaming Buttons to their default settings, press and hold the Program Button for 5 seconds. The Program LED will flash rapidly, then turn off, indicating that all AGBs have been reset.
Headset Jack
The controller includes a 3.5mm stereo headset jack, allowing you to connect your gaming headset directly to the controller for in-game audio and chat functionality.
Dual Rumble Motors
Experience enhanced immersion with dual rumble motors that provide tactile feedback during gameplay, reacting to in-game events like explosions, impacts, and more.
Maintenance
- Keep the controller clean by wiping it with a soft, dry cloth. Avoid using harsh chemicals or abrasive materials.
- Store the controller in a cool, dry place when not in use to prevent damage from extreme temperatures or humidity.
- Handle the detachable USB cable with care. Avoid sharp bends or excessive pulling to prevent damage to the cable or the controller's port.
Troubleshooting
Controller Not Responding / Not Turning On
- Check Cable Connection: Ensure the USB cable is fully and securely inserted into both the controller and the Xbox One console's USB port. Sometimes, the cable may not be pushed in all the way.

Image: Rear view of the controller, highlighting the cable connection point. - Reseat Xbox Power: Unplug your Xbox One console from its power source for a few seconds, then plug it back in. This can sometimes resolve connectivity issues.
- Inspect Ports: Gently inspect both the USB port on the Xbox One and the micro USB port on the controller for any debris or damage. If necessary, carefully clean the ports.
- Try Different USB Port: Connect the controller to a different USB port on your Xbox One console to rule out a faulty port.
- Test on Another Device (PC): If possible, test the controller on a Windows 10 PC. The controller should be recognized automatically without additional drivers. This can help determine if the issue is with the controller or the Xbox console.
For additional troubleshooting tips, you may find this user-submitted video helpful:
Specifications
| Feature | Detail |
|---|---|
| Model Number | 1505660-03 |
| Product Dimensions | 5.43 x 4.06 x 2.64 inches |
| Item Weight | 11.7 ounces |
| Cable Length | 9.8 feet (3 meters) |
| Headset Jack | 3.5mm Stereo |
| Rumble Motors | Dual |
| Advanced Gaming Buttons | 2 (Mappable) |
| Compatibility | Xbox One, Windows 10 |
| Manufacturer | POWER A |
| Release Date | March 15, 2018 |
Warranty and Support
This PowerA Enhanced Wired Controller comes with a 2-year limited warranty. This warranty reinforces PowerA's commitment to quality, ensuring you can trust their products to perform.
For detailed warranty information, technical support, or to view the official user manual in PDF format, please visit the PowerA website or refer to the provided user guide:
- Official User Manual (PDF): Download PDF
- PowerA Official Store: Visit Store


