
MelodySusie 05-06-001-010145
MelodySusie Cordless Gel Nail Lamp User Manual
Model: 05-06-001-010145
Brand: MelodySusie
1. Introduction
This manual provides detailed instructions for the safe and effective use of your MelodySusie Cordless Gel Nail Lamp. This professional-grade UV LED nail dryer is designed for curing various gel nail polishes, offering convenience and efficiency for both salon and home use.

Image 1: MelodySusie Cordless Gel Nail Lamp
2. Key Features
- Quick Charging with Rechargeable Battery: Equipped with a built-in 4000mAH battery, providing approximately 90 minutes of use after a 4-hour full charge. Ideal for portable use.
- Large LCD Touch Screen Panel: Features a touch-screen display showing service time remaining and power status. Includes 4 preset timer controls: 15s, 30s, 45s, and 60s.
- Portable & Cordless Design: Designed with a convenient handle for easy portability. The open design facilitates manicure and pedicure use and simplifies cleaning. Accommodates all five fingers or toes simultaneously.
- Compatible & Faster Curing: Utilizes 27 powerful LED light beads with dual light source technology (365nm-400nm) to cure all types of LED and UV gel polishes more rapidly.
- Automatic Sensor: Activates automatically via infrared induction when a hand is inserted, defaulting to a 15-second cure time. The light turns off when the hand is removed.
3. Product Components
Familiarize yourself with the various parts of your gel nail lamp:

Image 2: Labeled components including handle, battery power indicator, touch-screen display panel, 15s/30s/45s/60s touch screen buttons, and power port.

Image 3: Internal view highlighting 14 powerful LED/UV bulbs (365nm-405nm) and the high-capacity lithium battery compartment.
The lamp also features a removable magnetic base for easy cleaning and pedicure use, and a collapsible foot stand for elevated use.
4. Setup Instructions
- Initial Charging: Before first use, fully charge the lamp for at least 4 hours. For new lamps, ensure the battery is completely used up before the initial recharge to optimize battery life.
- Charging Mode: When charging, ensure the power switch is set to the charging mode. The lamp will not charge if not in the correct mode.
- Remove Protective Film: A protective film is present on the touch screen panel. Gently peel this off to reveal a smooth and bright display.
- Power Connection: Connect the power adapter to the power port on the back of the lamp and plug it into a suitable electrical outlet.

Image 4: Removing the protective film from the touch screen panel.
5. Operating Instructions
5.1 Powering On/Off
Use the power switch located at the back of the unit to turn the lamp on or off.
5.2 Automatic Sensor Mode
When the lamp is on, simply place your hand or foot into the curing area. The infrared sensor will automatically detect it and start the curing process for 15 seconds. The light will turn off when your hand or foot is removed.

Image 5: Demonstrating the automatic sensor feature: light on when hand is in, light off when hand is out.
5.3 Manual Timer Settings
To select a specific curing time, touch the desired timer button (15s, 30s, 45s, or 60s) on the touch screen panel. The lamp will begin curing for the selected duration. To activate the lamp in non-automatic mode, touch the desired timer button twice.
5.4 Pedicure Use
For pedicures, the lamp features a removable magnetic base and a collapsible foot stand. Detach the base and extend the foot stand for comfortable and hygienic foot placement during curing.

Image 6: Using the collapsible foot stand for pedicure applications.
5.5 Gel Compatibility
This lamp is compatible with a wide range of gel nail polishes, including UV gel, UV resin, poly gel, builder/extension gel, nail sculpture gel, rhinestone gems glue, CND Shellac, OPI, and Gelish. Curing times may vary depending on the specific gel product used.
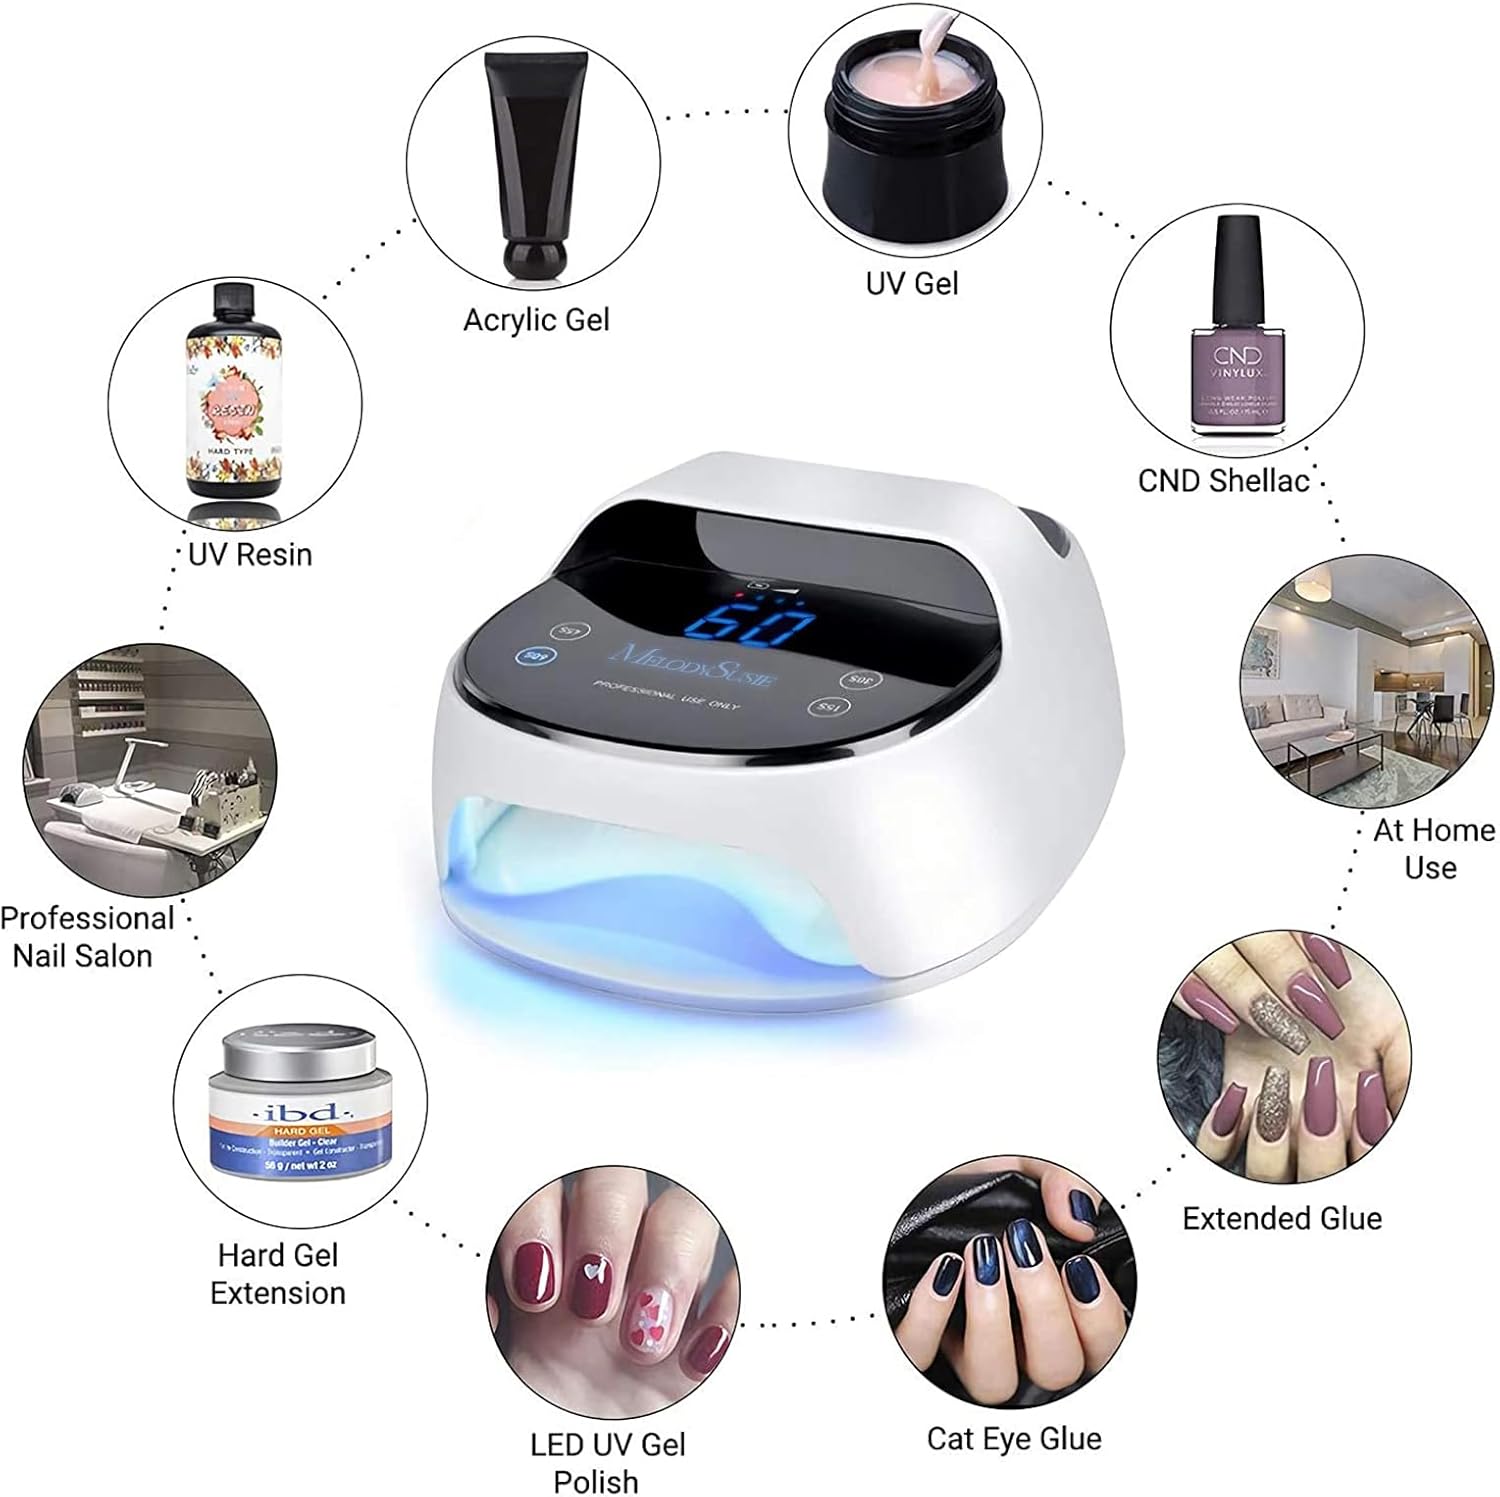
Image 7: Compatibility chart for various gel types.
5.6 Instructional Video
For a visual guide on the features and usage of the MelodySusie Rechargeable UV LED Nail Lamp, please watch the official product video below:
Video 1: Official product video demonstrating the features and usage of the MelodySusie Rechargeable UV LED Nail Lamp.
6. Maintenance
To ensure optimal performance and longevity of your nail lamp, follow these maintenance guidelines:
- Cleaning: The open design and removable magnetic base allow for easy cleaning. Use a soft, dry cloth to wipe down the exterior and interior surfaces. Avoid using abrasive cleaners or solvents.
- Storage: Store the lamp in a cool, dry place away from direct sunlight and extreme temperatures.
- Battery Care: To prolong battery life, avoid completely draining the battery frequently. Recharge the lamp when the battery indicator shows low power.
7. Troubleshooting
If you encounter any issues with your MelodySusie Cordless Gel Nail Lamp, refer to the following common problems and solutions:
| Problem | Possible Cause | Solution |
|---|---|---|
| Lamp does not turn on or hold charge. | Battery not fully charged; incorrect charging mode; battery degradation. | Ensure the lamp is fully charged (4 hours for initial charge) and the power switch is in charging mode. If the issue persists after prolonged use, the battery may need replacement. |
| Touch screen buttons are unresponsive or insensitive. | Protective film still present; debris on screen; sensor malfunction. | Remove any protective film. Clean the touch screen with a soft, dry cloth. If the problem continues, contact customer support. |
| Magnetic base detaches easily. | Weak magnetic connection. | Ensure the base is properly aligned and securely attached. Handle the lamp carefully when moving to prevent accidental detachment. |
| Gel polish is not curing properly. | Insufficient curing time; incompatible gel type; lamp malfunction. | Increase curing time or try a different timer setting. Verify the gel polish is compatible with UV/LED lamps. Ensure the lamp is clean and all LED beads are functioning. |
8. Specifications
- Model Number: 05-06-001-010145
- Lamp Type: LED Lamp
- Power: 45W (implied from product title, though not explicitly in specs list)
- Light Source: Dual LED/UV (365nm-400nm)
- Number of LED Beads: 27 PCS
- Battery: 1 Lithium Ion battery required (built-in 4000mAH)
- Item Weight: 2.8 Pounds
- Package Dimensions: 12.44 x 10.51 x 5.2 inches
- Base Material: Plastic
- Manufacturer: MelodySusie
- Date First Available: May 23, 2018
9. Safety Information
- Do not look directly into the UV/LED light. Prolonged exposure may cause eye damage.
- Keep the device away from water or other liquids.
- Do not use the lamp if the power cord or plug is damaged.
- Keep out of reach of children.
- Unplug the device when not in use or before cleaning.
- This product is intended for nail curing purposes only. Do not use for any other applications.
10. Warranty and Support
For warranty information, product support, or to inquire about replacement parts, please contact MelodySusie customer service. Refer to the product packaging or the official MelodySusie website for current contact details.
You may also find additional support and FAQs on the MelodySusie Store on Amazon.
Ask a question about this manual
Ask about setup, troubleshooting, compatibility, parts, safety, or missing instructions. Manuals+ will review the question and use this page’s manual context to help answer it.