
RockJam SML650BK
Singing Machine SML650 Bluetooth Karaoke System
User Manual
Introduction
This manual provides detailed instructions for the setup, operation, and maintenance of your Singing Machine SML650 Bluetooth Karaoke System. Please read this manual thoroughly before using the product to ensure proper function and to maximize your enjoyment.
Important Safety Information
- Do not expose the unit to rain or moisture.
- Do not block any ventilation openings.
- Use only attachments/accessories specified by the manufacturer.
- Refer all servicing to qualified service personnel.
- Ensure proper battery installation and disposal if using battery power.
- Keep the unit away from direct sunlight, heat sources, and strong magnetic fields.
Package Contents
Please check that all items listed below are included in your package:
- Singing Machine SML650 Karaoke System
- 1 Wired Microphone
- RCA Cable
- AC Power Adapter
- User Manual (this document)
Product Overview
Familiarize yourself with the various parts and controls of your karaoke system.

Figure 1: Front Panel and Controls. This image shows the front of the karaoke machine, highlighting the main display, control buttons, volume knobs, and the integrated LED light show. A smartphone is depicted next to the unit, illustrating Bluetooth connectivity.

Figure 2: Rear Panel Connections. This image displays the back of the karaoke machine, detailing the various input and output ports, including microphone inputs, video out, audio out, AUX in, and the DC power input. The battery compartment is also visible.
Control Panel Features:
- Power Button: Turns the unit on or off.
- Master Volume Knob: Adjusts the overall sound output level.
- Microphone Volume Knob: Adjusts the microphone input volume.
- Voice Changer Button: Cycles through various voice effects (Echo, Male, Female, Robot, Chipmunk, Radio).
- LED Light Button: Controls the multi-color LED lights.
- Bluetooth Indicator: Shows Bluetooth connection status.
- Display: Shows track number or other relevant information.
- Play/Pause, Skip Buttons: For media playback control.
Setup
1. Powering the Unit
The SML650 can be powered by either the included AC adapter or 6 x 'C' size batteries (not included).
- AC Power: Connect the AC power adapter to the DC 9V input jack on the rear of the unit and plug the other end into a standard wall outlet.
- Battery Power: Open the battery compartment on the bottom of the unit. Insert 6 'C' size batteries, ensuring correct polarity (+/-). Close the compartment securely.
2. Connecting Microphones
Plug the included wired microphone into the MIC 1 input jack on the rear of the unit. An optional second microphone (not included) can be connected to the MIC 2 input.
3. Connecting to a TV (for Lyrics Display)
To display lyrics on your television, use the included RCA cable.
- Connect the yellow plug of the RCA cable to the VIDEO OUT jack on the SML650.
- Connect the other end of the yellow plug to the VIDEO IN jack on your television.
- Connect the red and white plugs of the RCA cable to the AUDIO OUT (R/L) jacks on the SML650.
- Connect the other end of the red and white plugs to the AUDIO IN (R/L) jacks on your television.
- Select the correct video input source on your TV.

Figure 3: Displaying Lyrics. This image shows the karaoke machine with a tablet placed on top, demonstrating how lyrics can be displayed for singing along. While a tablet is shown, the unit connects to a TV via RCA for lyric display.
4. Bluetooth Pairing
Connect your Bluetooth-enabled device (smartphone, tablet, etc.) to the SML650 for wireless audio streaming.
- Turn on the SML650. The Bluetooth indicator will flash, indicating it's in pairing mode.
- On your Bluetooth device, enable Bluetooth and search for "SML650".
- Select "SML650" from the list of available devices.
- Once paired, the Bluetooth indicator on the SML650 will glow solid.
- You can now stream audio from your device to the karaoke system.
Operating Instructions
1. Basic Operation
- Power On/Off: Press the Power button to turn the unit on or off.
- Adjusting Volume: Use the Master Volume knob to control the overall sound. Use the Microphone Volume knob to adjust microphone loudness.
2. Using Voice Changer Effects
The SML650 features six fun voice-changing effects.
- Press the Voice Changer button repeatedly to cycle through the available effects: Echo, Male, Female, Robot, Chipmunk, and Radio.
- To turn off the voice changer, continue pressing the button until no effect is active.
3. LED Light Show
The multi-color LED lights synchronize with the music, creating a dynamic light show.
- Press the LED Light button to turn the lights on or off.
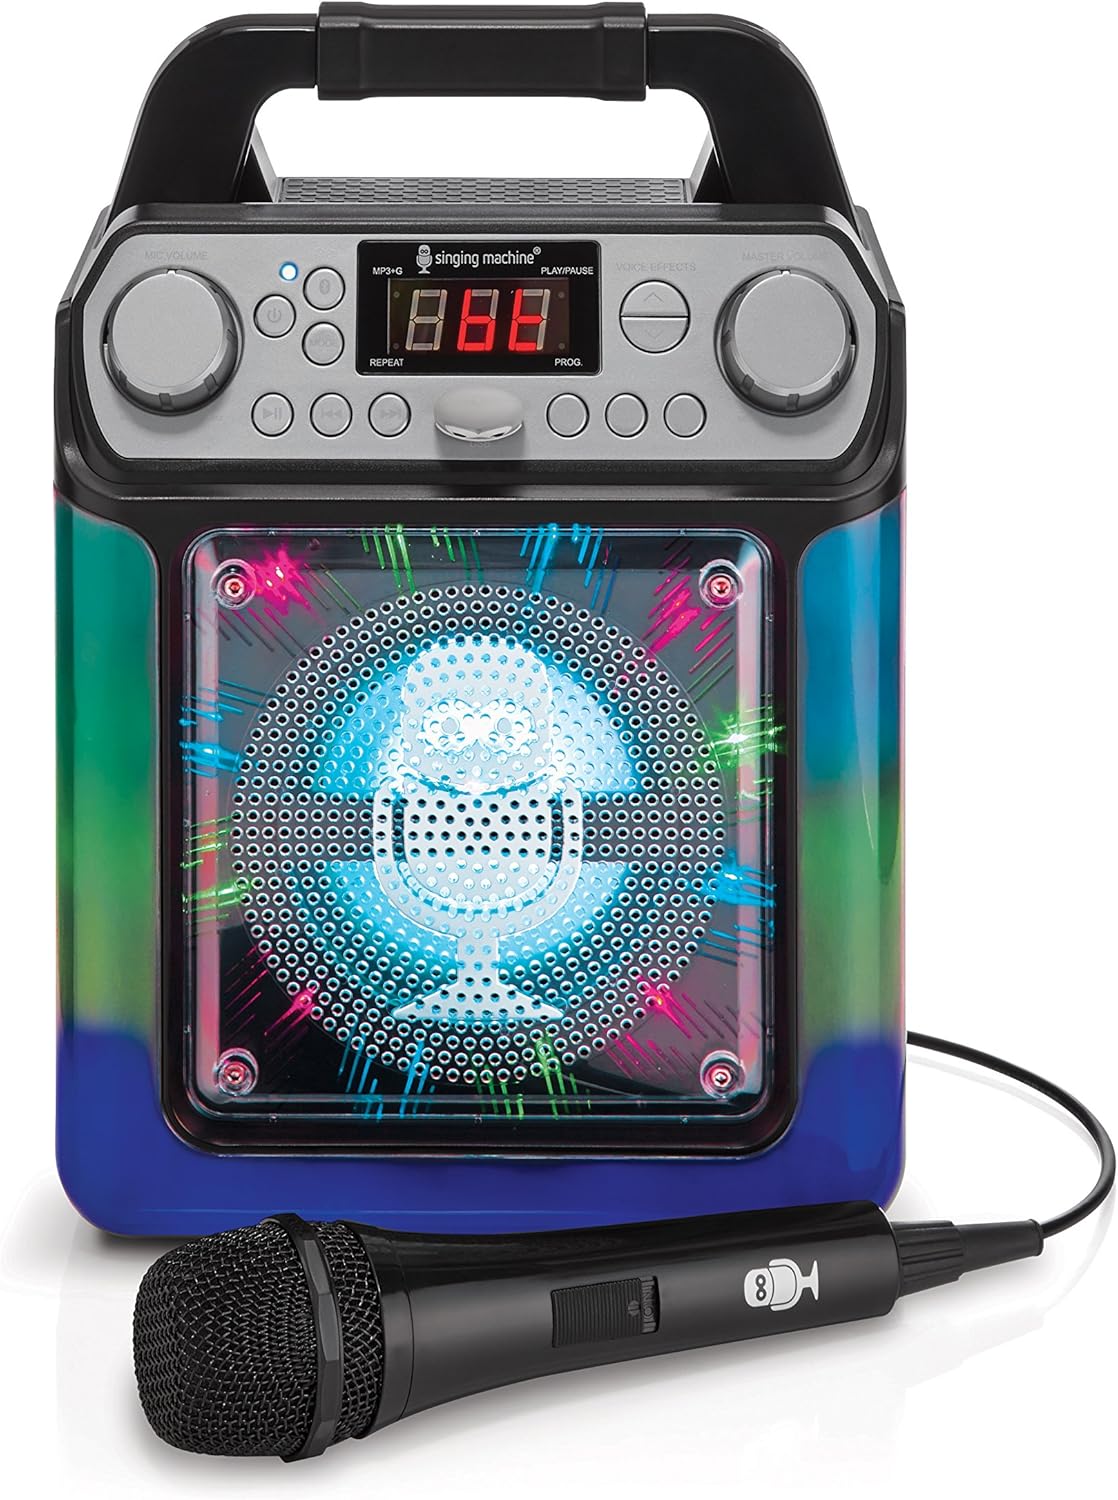
Figure 4: LED Lights (Blue/Green). This image shows the karaoke machine with its front speaker grille illuminated by blue and green LED lights, demonstrating one of the light show patterns.
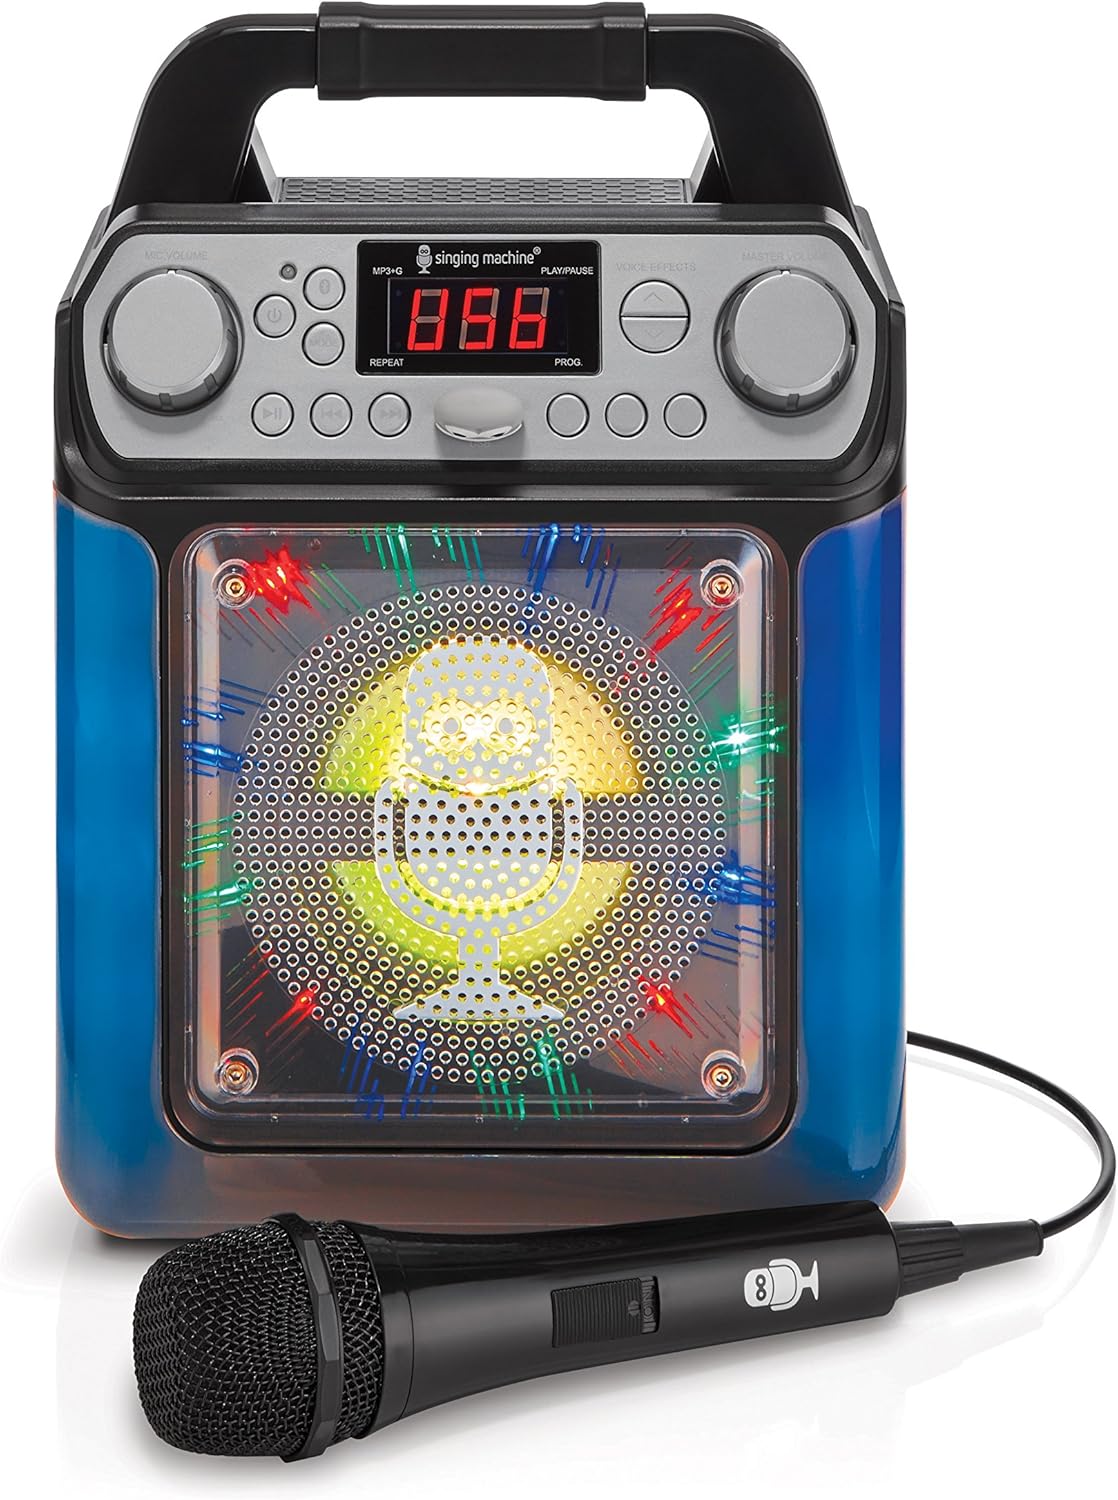
Figure 5: LED Lights (Blue/Yellow). This image shows the karaoke machine with its front speaker grille illuminated by blue and yellow LED lights, demonstrating another light show pattern.

Figure 6: LED Lights (Blue/Green, Angled). An angled view of the karaoke machine with blue and green LED lights active, providing a different perspective of the light effects.
4. Playing Music via AUX Input
Connect an external audio device using an AUX cable (not included).
- Connect one end of a 3.5mm audio cable to the AUX IN jack on the SML650.
- Connect the other end to the headphone jack or audio output of your external device.
- Play music from your external device. The audio will play through the SML650 speakers.
Maintenance
Cleaning the Unit
- Always unplug the unit from the power source before cleaning.
- Use a soft, dry cloth to wipe the exterior surfaces.
- Do not use abrasive cleaners, waxes, or solvents as they may damage the finish.
Storage
- If storing the unit for an extended period, remove any batteries to prevent leakage.
- Store the unit in a cool, dry place, away from direct sunlight and extreme temperatures.
Troubleshooting
| Problem | Possible Cause | Solution |
|---|---|---|
| No power |
|
|
| No sound from microphone |
|
|
| Bluetooth not connecting |
|
|
| No lyrics on TV |
|
|
Specifications
| Feature | Detail |
|---|---|
| Model Number | SML650BK |
| Dimensions (Package) | 32.4 x 25.5 x 18.6 cm |
| Weight (Item) | 1.32 Kilograms |
| Power Source | AC Powered, Battery Powered (6 x 'C' batteries) |
| Voltage | 230 Volts (AC) |
| Number of Speakers | 1 |
| Connectivity Technology | RCA, Bluetooth |
| Voice Effects | Echo, Male, Female, Robot, Chipmunk, Radio |
| LED Lights | Multi-color, music-synchronized |
Warranty and Support
For warranty information or technical support, please refer to the contact details provided with your purchase or visit the manufacturer's official website. Keep your proof of purchase for any warranty claims.
Related documentsSML650BK

Ask a question about this manual
Ask about setup, troubleshooting, compatibility, parts, safety, or missing instructions. Manuals+ will review the question and use this page’s manual context to help answer it.