1. Introduction
Thank you for choosing PowerLocus P2 Bluetooth Over-Ear Headphones. These headphones are designed to provide a high-quality audio experience with versatile connectivity options. This manual will guide you through the setup, operation, and maintenance of your new headphones.
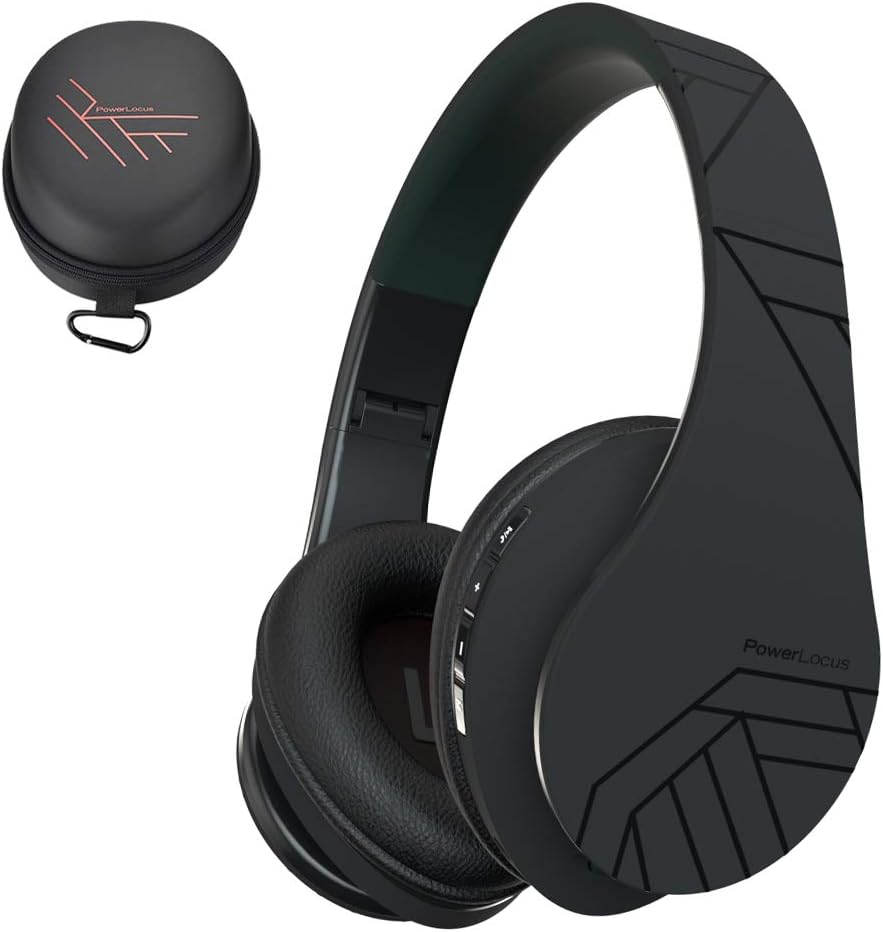
Image 1.1: PowerLocus P2 Headphones and Carrying Case
2. Package Contents
Please check the package for the following items:
- 1x PowerLocus P2 Wireless Headphones
- 1x 3.5mm Audio Cable
- 1x USB-C Charging Cable
- 1x Elegant Hard Shell Carry Case

Image 2.1: Included Package Contents
3. Setup
3.1 Charging the Headphones
Before first use, fully charge your PowerLocus P2 headphones. The charging port is located on the right earcup.
- Connect the small end of the USB-C charging cable to the charging port on the headphones.
- Connect the larger end of the USB-C charging cable to a USB power source (e.g., computer USB port, wall adapter).
- The LED indicator will illuminate during charging and turn off when charging is complete.
A full charge takes approximately 2.5 hours.

Image 3.1: USB-C Charging Port
3.2 Powering On/Off
- To power on: Slide the On/Off button located on the earcup. The LED indicator will flash.
- To power off: Slide the On/Off button again. The LED indicator will turn off.
3.3 Bluetooth Pairing
The PowerLocus P2 headphones use Bluetooth 5.3 for a stable wireless connection.
- Ensure the headphones are charged and powered off.
- Slide the On/Off button to power on the headphones. The LED indicator will flash blue and red, indicating pairing mode.
- On your device (smartphone, tablet, computer), enable Bluetooth and search for available devices.
- Select "PowerLocus P2" from the list of devices.
- Once connected, the LED indicator will show a solid blue light or flash blue slowly.

Image 3.2: Key Features including Bluetooth 5.0
3.4 Wired Connection (3.5mm Audio Cable)
You can use the headphones in wired mode when the battery is low or with non-Bluetooth devices.
- Connect one end of the 3.5mm audio cable to the audio input jack on the headphones.
- Connect the other end of the 3.5mm audio cable to your audio source's headphone jack.
- The headphones will automatically switch to wired mode.

Image 3.3: Wired Mode Connection
4. Operating Instructions
4.1 Button Controls
The controls are located on the right earcup for easy access.

Image 4.1: Headphone Button Controls and Features
| Button/Action | Function |
|---|---|
| Power Button (Slide) | Power On/Off |
| Play/Pause Button | Press once to Play/Pause music; Answer/End calls |
| Volume Up (+) | Short press to increase volume; Long press for next track |
| Volume Down (-) | Short press to decrease volume; Long press for previous track |
| Mode Button (M) | Switch between Bluetooth, Micro SD, and FM Radio modes |
4.2 Music Playback
- Play/Pause: Press the Play/Pause button once.
- Next Track: Long press the Volume Up (+) button.
- Previous Track: Long press the Volume Down (-) button.
- Volume Adjustment: Short press the Volume Up (+) or Volume Down (-) buttons.
4.3 Call Management
When connected via Bluetooth, you can manage phone calls directly from the headphones.
- Answer/End Call: Press the Play/Pause button once.
- Reject Call: Long press the Play/Pause button.
4.4 Micro SD/TF Card Mode
The headphones support Micro SD/TF cards for direct music playback.
- Insert a Micro SD/TF card (up to 32GB) with MP3 audio files into the card slot.
- Press the Mode (M) button to switch to Micro SD mode.
- Music will begin playing automatically. Use the Play/Pause and Volume buttons for control.

Image 4.2: Micro SD Card Slot
4.5 FM Radio Mode
The headphones include a built-in FM radio function.
- Press the Mode (M) button to switch to FM Radio mode.
- Long press the Play/Pause button to automatically scan and save available FM stations.
- Use the Volume Up (+) and Volume Down (-) buttons (short press) to switch between saved stations.
5. Maintenance
5.1 Cleaning
- Wipe the headphones with a soft, dry cloth.
- Do not use abrasive cleaners, alcohol, or chemical solvents.
- Avoid getting moisture into any openings.
5.2 Storage
When not in use, store the headphones in the provided hard shell carry case to protect them from dust, scratches, and impacts. The foldable design allows for compact storage.

Image 5.1: Headphones Stored in Carry Case
6. Troubleshooting
| Problem | Solution |
|---|---|
| Headphones do not power on. | Ensure the headphones are fully charged. |
| Cannot pair via Bluetooth. | Ensure headphones are in pairing mode (flashing blue/red LED). Turn off and on Bluetooth on your device. Move closer to the device. |
| No sound in Bluetooth mode. | Check volume levels on both headphones and connected device. Ensure headphones are correctly paired. |
| No sound in wired mode. | Ensure the 3.5mm audio cable is securely connected to both the headphones and the audio source. Test with a different cable if possible. |
| FM radio not working. | Ensure you are in FM mode. Perform an auto-scan for stations by long-pressing the Play/Pause button. |
7. Specifications
| Feature | Detail |
|---|---|
| Model Name | P2 |
| Connectivity Technology | Wireless (Bluetooth 5.3), Wired (3.5mm Jack) |
| Audio Driver Size | 40 mm |
| Frequency Range | 20 Hz - 20,000 Hz |
| Impedance | 32 Ohm |
| Battery Life | Up to 15 Hours |
| Charging Time | Approximately 2.5 Hours |
| Bluetooth Range | Up to 36 Feet (11 meters) |
| Microphone | Built-in (Echo Cancellation) |
| Special Features | Foldable, Micro SD/TF Card Slot, FM Radio |
| Weight | 150 Grams (5.3 ounces) |
| Material | Leather (earcups, carrying case) |
| Compatible Devices | Smartphones, Tablets, Laptops, Gaming Consoles, PCs |
8. Warranty and Support
8.1 Warranty Information
PowerLocus P2 headphones come with a 24-month warranty from the date of purchase. This warranty covers manufacturing defects and ensures customer satisfaction. Please retain your proof of purchase for warranty claims.
8.2 Customer Support
For any questions, technical assistance, or warranty claims, please contact PowerLocus customer support. We are committed to 100% customer satisfaction and offer 24/7 support.
- Website: www.powerlocus.com
- Email (EU Importer): info@powerlocus.com
- Email (UK Importer): info@powerlocus.com


