
Chengying CYS-60-p10
Chengying 60-inch 10-Point Multi-Touch Infrared Touch Frame User Manual
Model: CYS-60-p10 | Brand: Chengying
1. Introduction
This manual provides comprehensive instructions for the setup, operation, and maintenance of your Chengying 60-inch 10-Point Multi-Touch Infrared Touch Frame. This product is designed to add multi-touch functionality to existing displays, transforming them into interactive touchscreens.
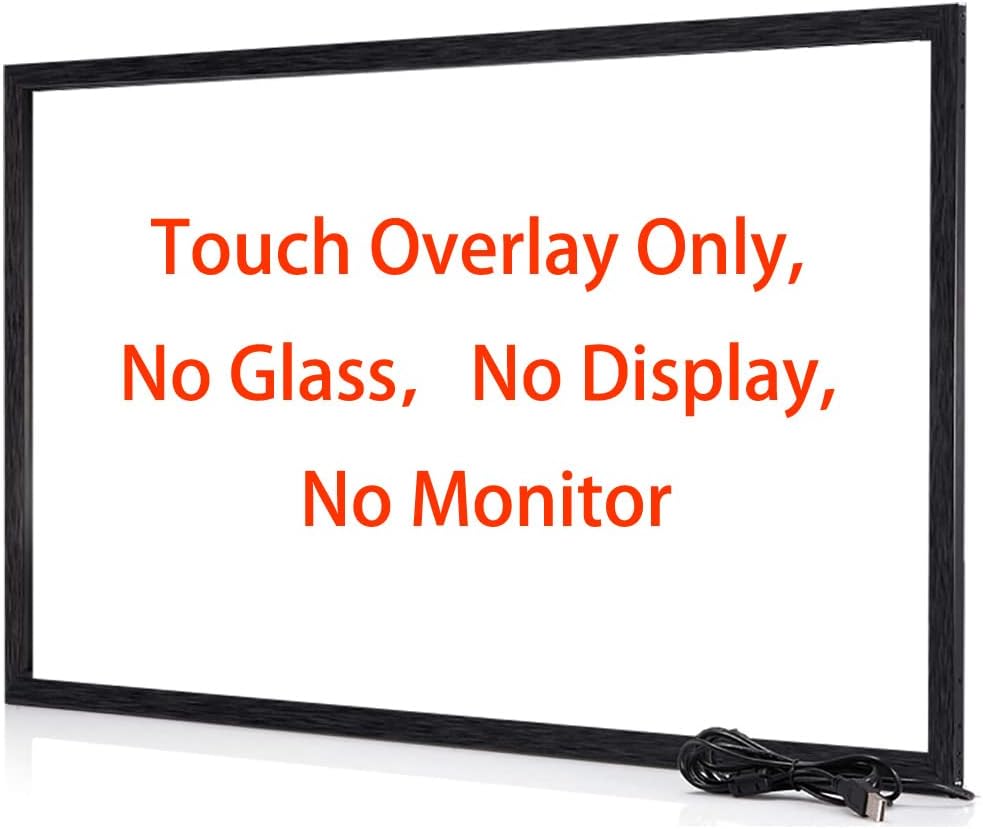
Important Note: This product is a touch overlay only. It does not include a display, monitor, or screen. It functions as a touch pointing device.
Key features include:
- High-end touch experience with fast response.
- Strong ambient light immunity, up to 150,000 lux.
- Easy integration and HID plug & play driver-free capability.
- Built-in multi-core high-speed chip and multi-point scanning algorithm for sensitive operation and smooth line drawing.
- High-performance electronic components ensure stable performance, high touch precision, and long life.
- Compatible with 2K, 4K, and 8K monitors (not suitable for curved displays).
- Requires a computer connection via USB.
- Fully compatible with Windows OS and Poly Conference Systems.
- Free SDK provided for product developers, supporting C/C++ and protocols like HID, TUIO, Flash.

2. Safety Information
Please read and follow all safety instructions to prevent damage to the product or injury to yourself.
- Do not expose the touch frame to extreme temperatures or humidity.
- Avoid dropping or subjecting the frame to strong impacts.
- Keep the frame away from liquids and corrosive substances.
- Ensure proper ventilation around the display when the frame is installed.
- Handle the frame gently during assembly and installation to avoid damage to internal components.
- This product is designed for indoor use only.

3. Package Contents
Verify that all items are present in your package:
- Infrared Touch Frame sections (4 pieces for rectangular frames)
- USB Cable
- Corner Connectors (4 pieces)
- Screws for assembly
- Screwdriver
- Double-sided adhesive tape for mounting
- User Manual

4. Setup
Follow these steps to assemble and install your infrared touch frame:
- Assemble the Frame: Lay the disassembled frame sections on a clean, flat surface. Pay close attention to the marked ends (A, B, C, D) on each stick. Connect A to A, B to B, C to C, and D to D. The C end typically does not have a pin and does not require connection to another frame piece.
- Secure Connections: Push each stick (A, B, and D) against its corresponding connector. Ensure the 10-pin connector at the end of the stick enters fully into the socket.
- Install Corner Covers: Place the corner covers over the assembled corners and secure them tightly with the provided screws using the screwdriver.
- Connect to Computer: Connect the USB cable from the touch frame to an available USB port on your computer.
- Mounting: After successful testing (see Section 5), use the provided double-sided adhesive tape to securely mount the assembled touch frame onto your monitor or TV screen. Ensure the frame is aligned precisely with the display area.
For visual guidance, please refer to the assembly videos below:
Video 1: This video demonstrates the assembly process for the GreenTouch F series infrared touch frame, showing how to connect the frame sections and secure them.
Video 2: This video provides detailed assembly instructions for the GreenTouch TF series infrared touch frame, focusing on the connection points and securing mechanisms.

5. Operating Instructions
Once assembled and connected, the Chengying Infrared Touch Frame provides multi-touch capabilities to your display.
5.1 Initial Test and Calibration
Before permanent installation, it is recommended to test the touch functionality and perform calibration.
- Connect the assembled frame to your computer via USB.
- The device is HID plug & play, meaning drivers should install automatically on Windows OS.
- Use a touch test application (often available from the manufacturer's website or built into the OS) to verify touch points and sensitivity.
- Perform touch calibration if necessary to ensure accurate touch response across the entire screen.
5.2 General Usage
The touch frame allows you to interact with your display using gestures similar to a tablet or smartphone. It supports up to 10 touch points simultaneously.
- Single Touch: Functions as a mouse click.
- Drag: Move items or scroll by dragging a finger across the screen.
- Multi-Touch Gestures: Depending on your operating system and application, you can use gestures like pinch-to-zoom, two-finger scrolling, etc.
The touch frame is compatible with various applications, including educational whiteboards, conference machines, advertising displays, interactive tables, digital signage, kiosks, and more.
Video 3: This video illustrates various usage scenarios for the Infrared Touch Overlay, demonstrating its application in different interactive environments.
Video 4: This video showcases the working performance of the GreenTouch IR Touch Frame, demonstrating its responsiveness and accuracy in various interactive tasks.
6. Maintenance
Proper maintenance ensures the longevity and optimal performance of your touch frame.
- Cleaning: Gently wipe the frame with a soft, dry, lint-free cloth. Avoid using harsh chemicals or abrasive cleaners, as these can damage the surface or internal components.
- Handling: While the frame is robust, avoid applying excessive force or bending it, especially during installation or relocation.
- Storage: If storing the frame, disassemble it carefully and keep it in its original packaging or a protective case to prevent damage.
7. Troubleshooting
If you encounter issues with your Chengying Infrared Touch Frame, refer to the following common solutions:
- No Touch Response:
- Ensure the USB cable is securely connected to both the touch frame and the computer.
- Verify that the computer's USB port is functional. Try a different USB port.
- Restart your computer.
- Check device manager on Windows to see if the touch device is recognized and drivers are installed correctly.
- Inaccurate Touch or Calibration Issues:
- Perform a touch calibration. This is usually done through your operating system's tablet PC settings or a dedicated utility provided by the manufacturer.
- Ensure the frame is securely and correctly mounted on the display, without any gaps or misalignment.
- Clean the frame's sensors to ensure no obstructions are interfering with the infrared beams.
- Intermittent Unresponsiveness:
- This could indicate a loose connection. Recheck all frame connections and the USB cable.
- Ensure the computer's power settings are not putting the USB port to sleep.
- Mac OS Specific Issues: For Mac users, full multi-touch functionality may require additional drivers or software, such as "touch-base" drivers, to enable features like scrolling and zooming. Without these, touch input might be limited to single-click actions.
- Physical Damage or Component Failure: If the frame experiences physical damage or internal components appear to be failing (e.g., circuit board split), contact customer support for assistance.
8. Specifications
| Feature | Detail |
|---|---|
| Brand | Chengying |
| Series | CYS-60-p |
| Model Number | CYS-60-p10 |
| Screen Size (Diagonal) | 60 Inches |
| Touch Points | 10 Point Multi-Touch |
| Screen Resolution (Max) | 32768 x 32768 Pixels |
| Aspect Ratio | 16:9 |
| Item Weight | 2.2 pounds |
| Package Dimensions | 55.5 x 3 x 3 inches |
| Color | Black |
| Voltage | 5 Volts (DC) |
| Connectivity | USB |
| Compatibility | Windows OS, Poly Conference System (also Android, Linux, Chrome OS, Mac with potential additional drivers) |

9. Warranty Information
For specific warranty details regarding your Chengying Infrared Touch Frame, please refer to the documentation included with your purchase or contact the manufacturer directly. Standard warranties typically cover manufacturing defects for a specified period from the date of purchase.
10. Customer Support
If you require further assistance, technical support, or have questions not covered in this manual, please contact Chengying customer service. Contact information can typically be found on the product packaging, the manufacturer's official website, or through your retailer.
Ask a question about this manual
Ask about setup, troubleshooting, compatibility, parts, safety, or missing instructions. Manuals+ will review the question and use this page’s manual context to help answer it.