
1. Product Overview
The Acctim 71893 Cole Radio Controlled Alarm Clock is designed for precise timekeeping and user convenience. It automatically sets itself by receiving signals from the UK's Atomic Clock transmitter, ensuring absolute accuracy and adjusting for seasonal time changes. Its Superbrite backlight enhances visibility in low-light conditions, and the multi-function LCD displays time, calendar, and indoor temperature.
Key Features:
- Radio Controlled (UK & Ireland only): Automatic time synchronization with the UK's Atomic Clock, including automatic summer/winter time adjustments.
- Acctim Superbrite White Backlight: Provides a clear and bright display for easy night time viewing.
- Multi-function LCD Display: Shows current time, full calendar (date and day), and indoor temperature.
- Alarm with Snooze Function: Reliable alarm with a convenient snooze feature for extra rest.
- Compact Design: Dimensions of 6 x 7.2 x 4 cm, weighing 0.10 kg, making it ideal for bedside tables or desks.
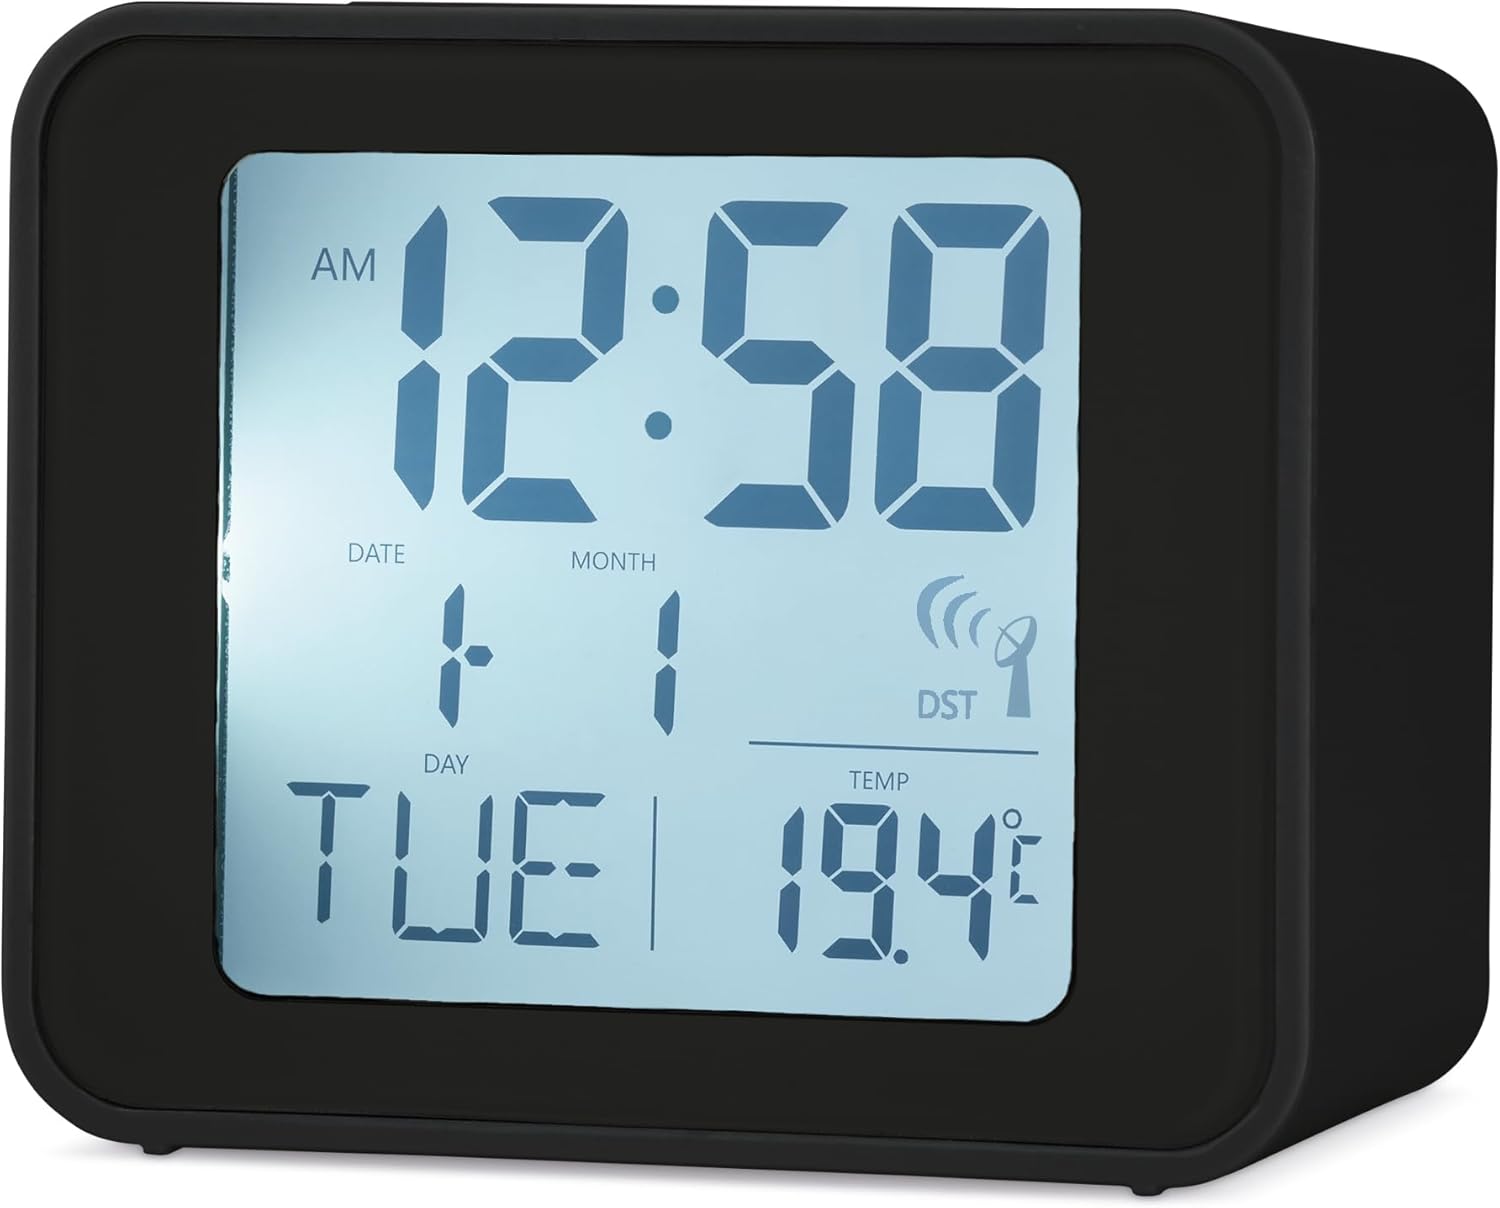
Figure 1: Front view of the Acctim 71893 Cole Radio Controlled Alarm Clock, displaying the time, date, day of the week, and indoor temperature.
2. Setup
2.1 Battery Installation
The clock requires 2x AAA batteries (not included). To install:
- Locate the battery compartment cover on the back of the clock.
- Slide the cover downwards to open.
- Insert 2 new AAA batteries, ensuring the correct polarity (+ and -) as indicated inside the compartment.
- Replace the battery compartment cover by sliding it upwards until it clicks into place.

Figure 2: Rear view of the clock, highlighting the battery compartment and control buttons.
2.2 Initial Setup and Radio Control Signal Acquisition
Upon battery installation, the clock will automatically attempt to receive the radio control signal (MSF signal from Anthorn, UK). This process may take a few minutes to several hours, depending on your location and environmental conditions.
- Place the clock near a window, away from electronic devices that may cause interference.
- A signal icon (often resembling a radio tower or waves) will flash on the display during signal acquisition.
- Once the signal is successfully received, the icon will become solid, and the time, date, and day will automatically set to the correct values.
2.3 Manual Time Setting (If Radio Control Fails)
In areas with poor radio signal reception, you may need to set the time manually. Refer to the 'Operating Instructions' section for details on adjusting time and date using the control buttons.
3. Operating Instructions
The Acctim Cole alarm clock features several buttons for operation, typically located on the top and back of the unit.
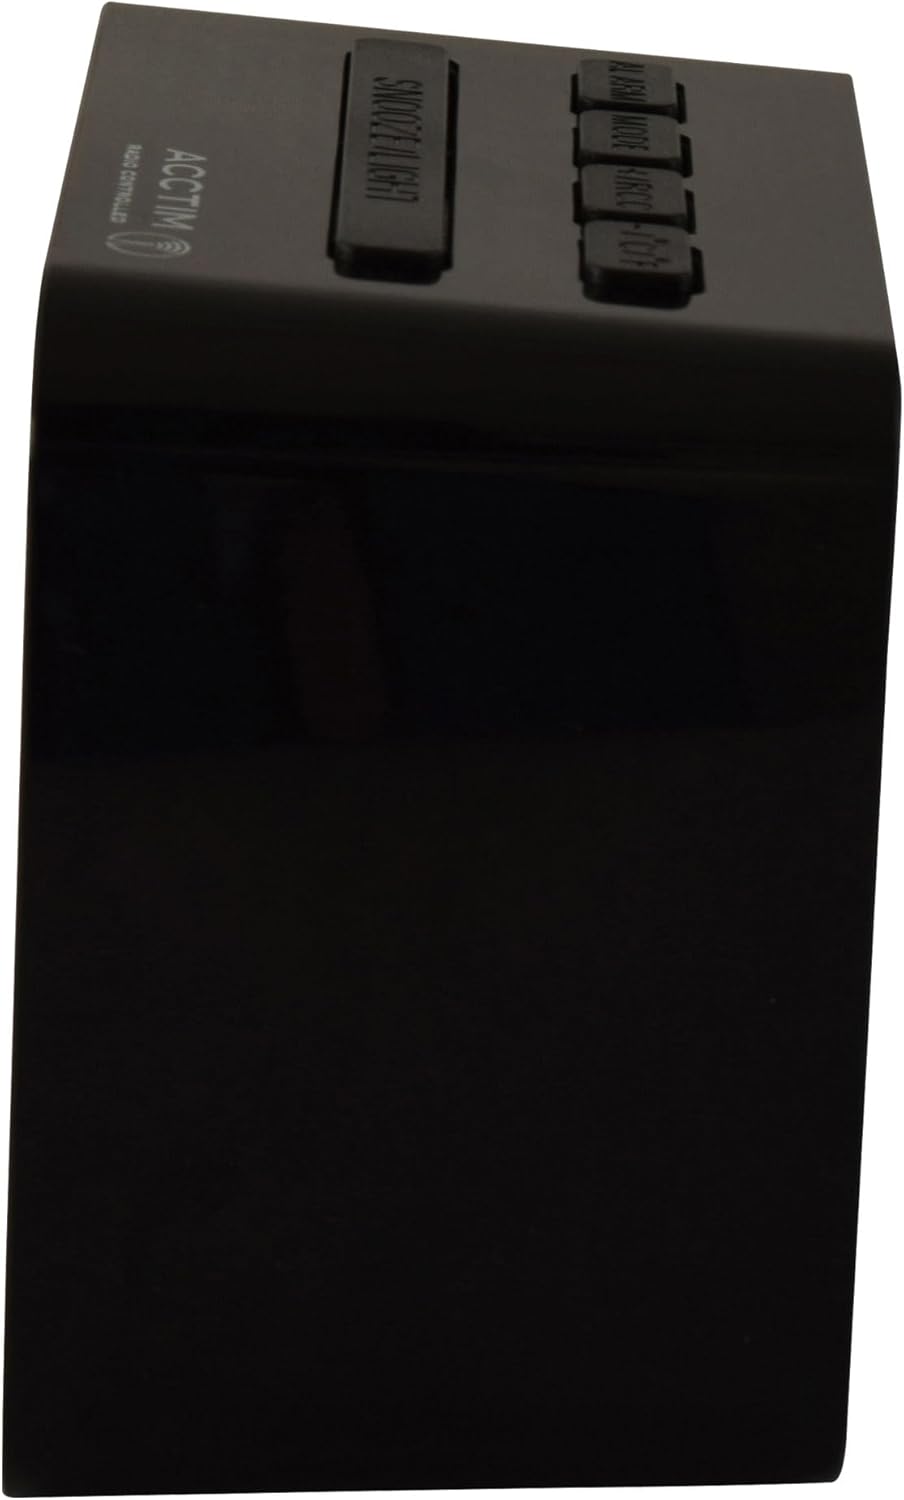
Figure 3: Side view showing the top control buttons.
3.1 Setting the Alarm
- Press the ALARM button (usually on the back or top) to enter alarm setting mode. The alarm time will flash.
- Use the + or - buttons (often labeled as UP/DOWN or ADJ) to adjust the hour.
- Press ALARM again to confirm the hour and move to minute adjustment.
- Use the + or - buttons to adjust the minutes.
- Press ALARM once more to confirm and exit alarm setting mode.
- To activate or deactivate the alarm, press the ALARM ON/OFF switch or button. An alarm icon will appear on the display when active.
3.2 Using the Snooze Function
When the alarm sounds, press the large SNOOZE/LIGHT button on the top of the clock. The alarm will temporarily stop and sound again after approximately 5-10 minutes (duration may vary by model).
3.3 Activating the Backlight
Press the SNOOZE/LIGHT button on the top of the clock to activate the Superbrite white backlight. The backlight will illuminate the display for a few seconds, making it easy to read in the dark.
3.4 Display Modes (Time, Date, Temperature)
The clock's LCD display cycles through various information. Typically, the time is always visible. The date, day, and temperature are also displayed simultaneously. No specific button is usually required to switch between these, as they are part of the multi-function display.
4. Maintenance
4.1 Battery Replacement
When the display becomes dim or the clock stops functioning, it is time to replace the batteries. Follow the battery installation steps in Section 2.1. Always use new AAA batteries and dispose of old batteries responsibly.
4.2 Cleaning
To clean the clock, gently wipe the surface with a soft, dry cloth. Do not use abrasive cleaners, solvents, or chemical sprays, as these can damage the casing or display. Avoid getting moisture into the clock's internal components.
4.3 Environmental Considerations
Keep the clock away from direct sunlight, extreme temperatures, and high humidity. These conditions can affect the clock's performance and lifespan. Ensure it is placed on a stable, flat surface.
5. Troubleshooting
5.1 Clock Not Setting Automatically
- Check Location: Ensure the clock is placed near a window and away from potential sources of interference such as TVs, computers, or other electronic devices.
- Signal Strength: Radio signals can be weaker during certain times of day or due to atmospheric conditions. Allow up to 24 hours for the clock to acquire the signal.
- Battery Check: Ensure batteries are new and correctly inserted. Low batteries can hinder signal reception.
- Manual Set: If automatic setting consistently fails, set the time and date manually as described in Section 2.3.
5.2 Display is Dim or Blank
- Battery Replacement: This is the most common cause. Replace the AAA batteries with new ones.
- Temperature: Extreme cold can sometimes affect LCD display performance. Move the clock to a warmer environment.
5.3 Alarm Not Sounding
- Alarm Activation: Ensure the alarm is activated (check for the alarm icon on the display).
- Alarm Time: Verify that the alarm time is set correctly.
- Battery Level: Low batteries may prevent the alarm from sounding effectively.
5.4 Incorrect Temperature Reading
- Ventilation: Ensure the clock's ventilation holes (usually on the back) are not blocked, as this can affect temperature sensor accuracy.
- External Factors: Avoid placing the clock near heat sources (e.g., radiators, direct sunlight) or cold drafts, which can skew readings.
6. Specifications
| Feature | Detail |
|---|---|
| Brand | Acctim |
| Model Number | 71893D |
| Colour | Black |
| Product Dimensions (L x W x H) | 4 x 7.2 x 6 cm |
| Item Weight | 120 g |
| Material | Crystal (referring to display material) |
| Display Type | Digital LCD |
| Power Source | Battery Powered (2x AAA, not included) |
| Special Features | Alarm, Radio Controlled, Backlight, Temperature Display |
| Style | Modern |
| Room Type | Living Room (suitable for various rooms) |
| Shape | Rectangular |
7. Warranty and Support
This Acctim product is manufactured to high-quality standards. For information regarding warranty coverage, please refer to the warranty card included with your purchase or visit the official Acctim website. If you encounter any issues not covered in this manual or require further assistance, please contact Acctim customer support through their official channels.
Please retain your proof of purchase for any warranty claims.